 FREE 1 to 3-Day Delivery on Orders $149+ Details
How To Install an MMD Fuel Door on Your 2010-2014 Mustang
Installation Time
30 minutes
Tools Required
- 7mm Socket Wrench, or Combination Wrench
- Drill and 1/4" Drill Bit
- Flathead Screwdriver (smaller the better)
- 8mm or 3/8" Combination Wrench
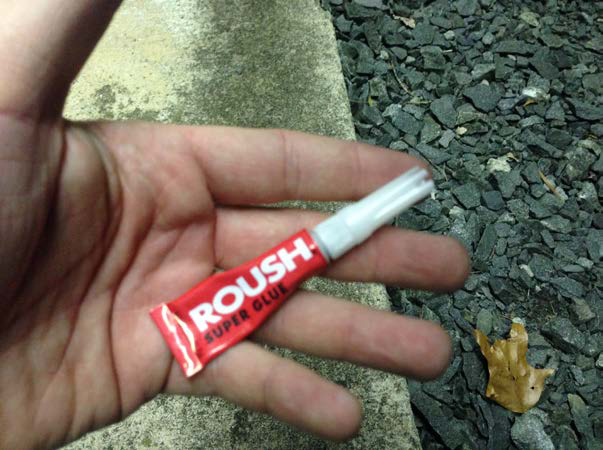
- Possibly some Superglue

Shop Parts in this Guide
Installation Instructions:
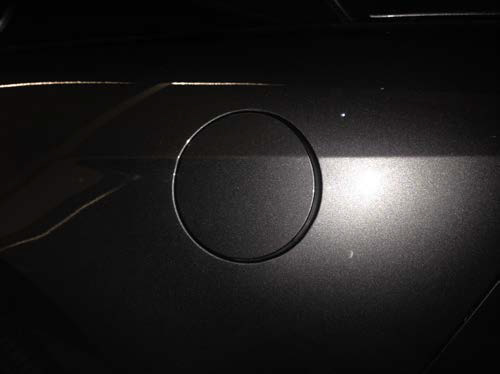
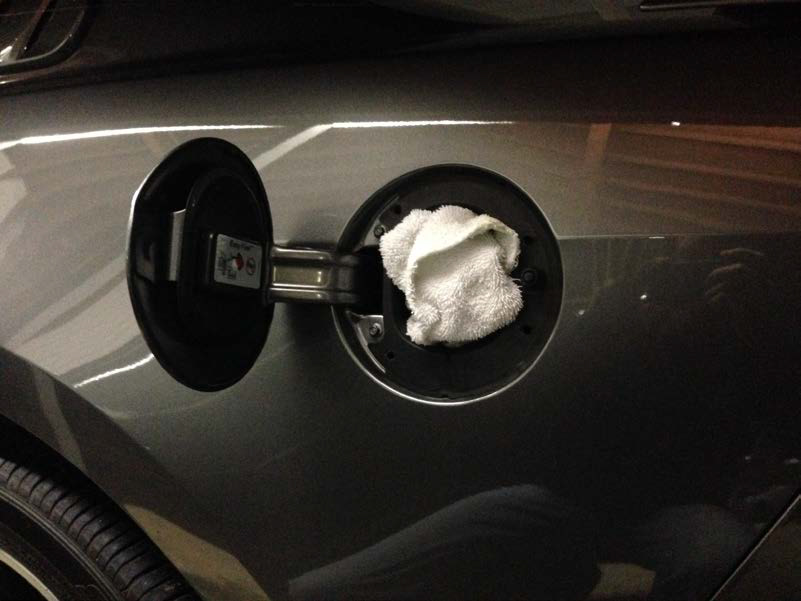
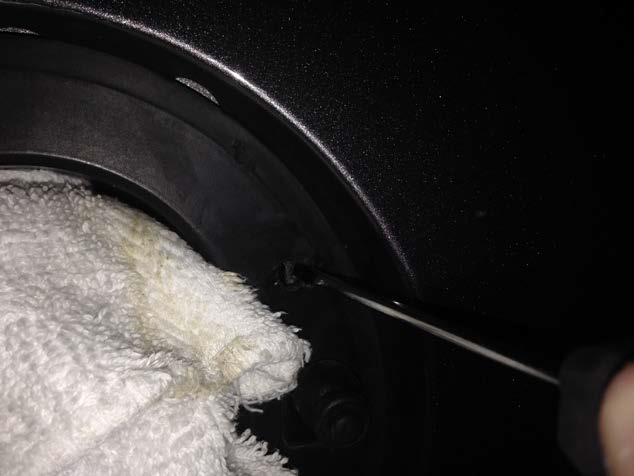
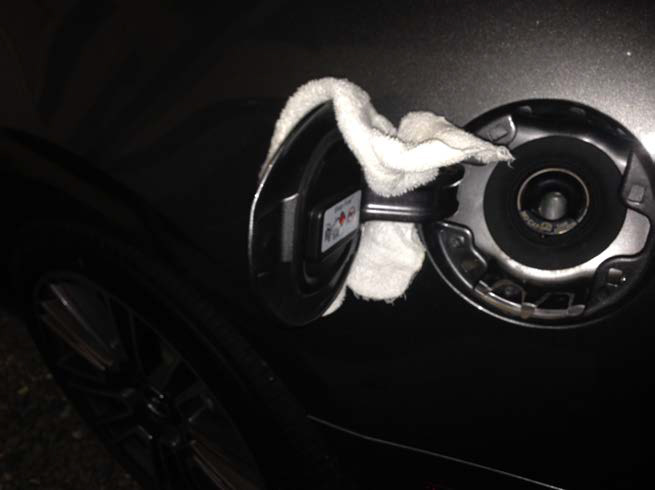
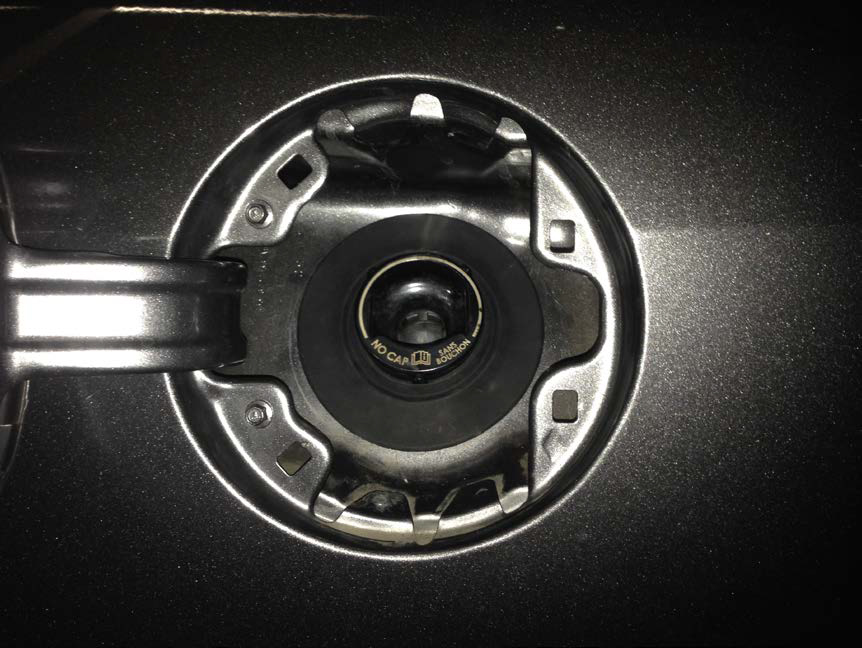
1. With your car off and parked, open the fuel door and insert a rag into the capless filler neck. This helps preventing any unwanted plastic or dirt from getting where it shouldn’t.
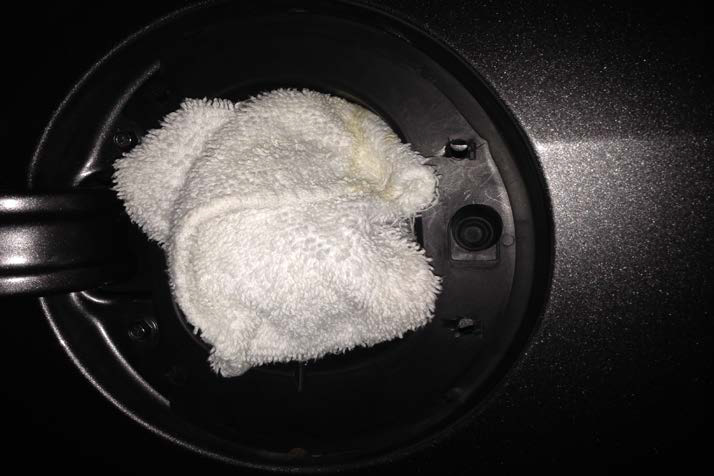
2. With the rag inserted you will now drill four holes into the factory plastic shroud. There are little indentations in the four spots for you to drill and you can use those as your guides for the drill bit. There is nothing behind where your drilling so don’t be afraid to press hard with the drill, which you will need to do.
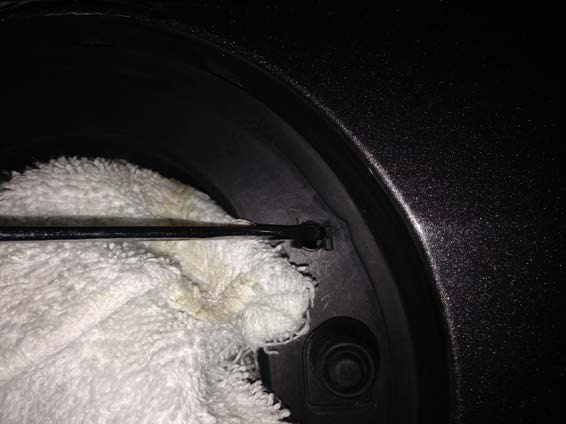
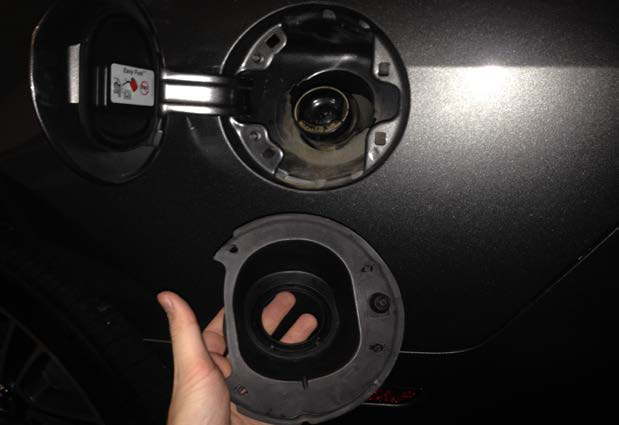
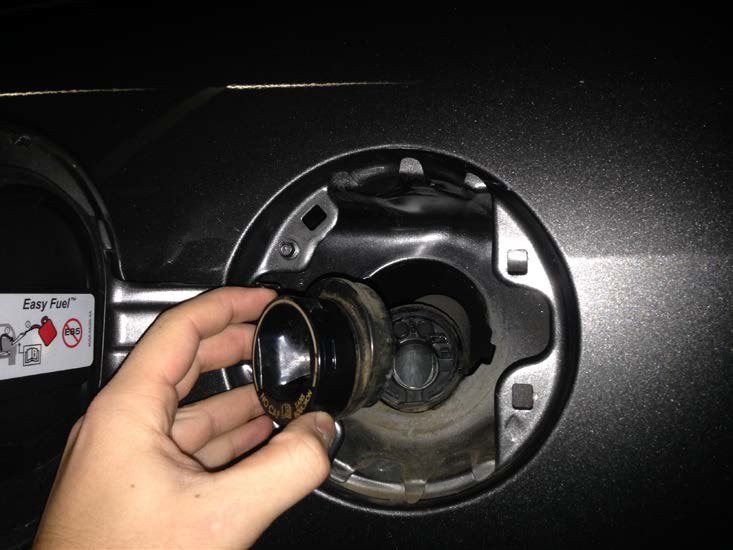
3. Once the four holes have been drilled, use your flat head screwdriver to release the clips on the factory shroud that hold it to the body of the car. There are little indentations marking where the clips are. Take the screwdriver from the opposite side of the hole and lift it upward, pushing the clips towards the hole opening, allowing the shroud to release from the body. The clips break easily, so be careful if you want to keep the original factory shroud. Also be careful when pulling the shroud off of the body of the car as it is snugged up to the filler neck cap.

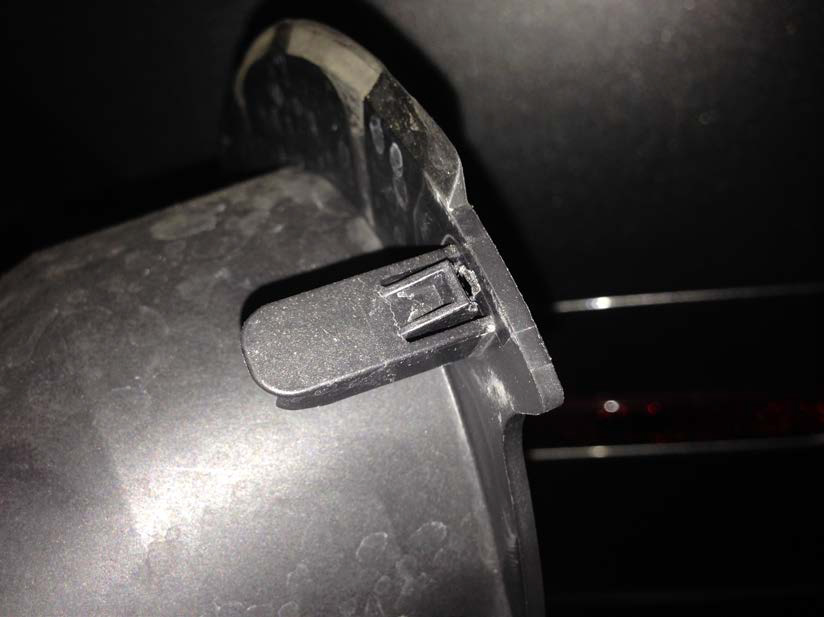
*Note: If you aren’t careful (like me) you can cause the filler neck cap to separate from the rest of the assembly. In the event that this occurs, you can use some super glue to glue the cap back to the assembly. Just test fit the cap before attempting to permanently reassemble so you can get an idea for where it is properly positioned. Glue was all that held it to the assembly originally which is why super glue should be fine. Just put the glue on the outer ring areas wherever you see a connection point.
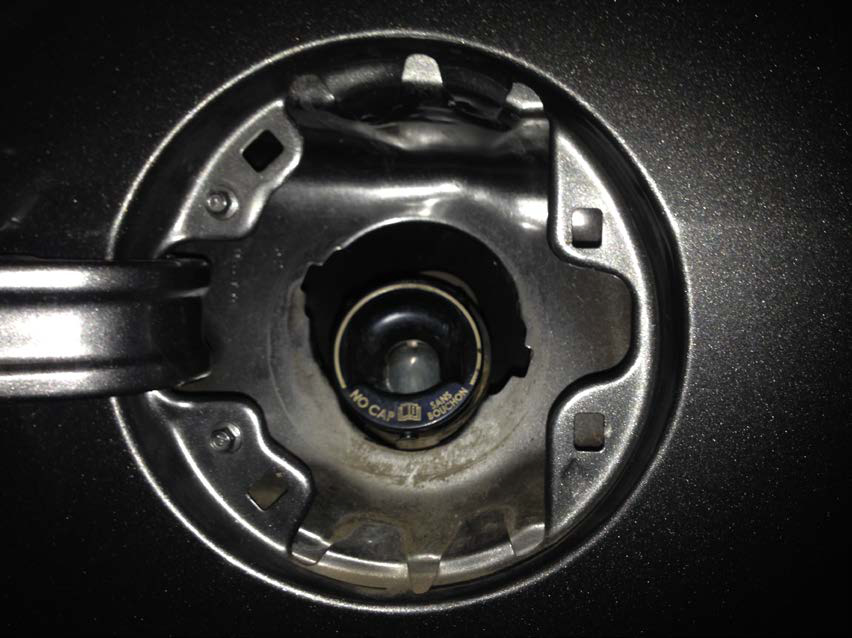
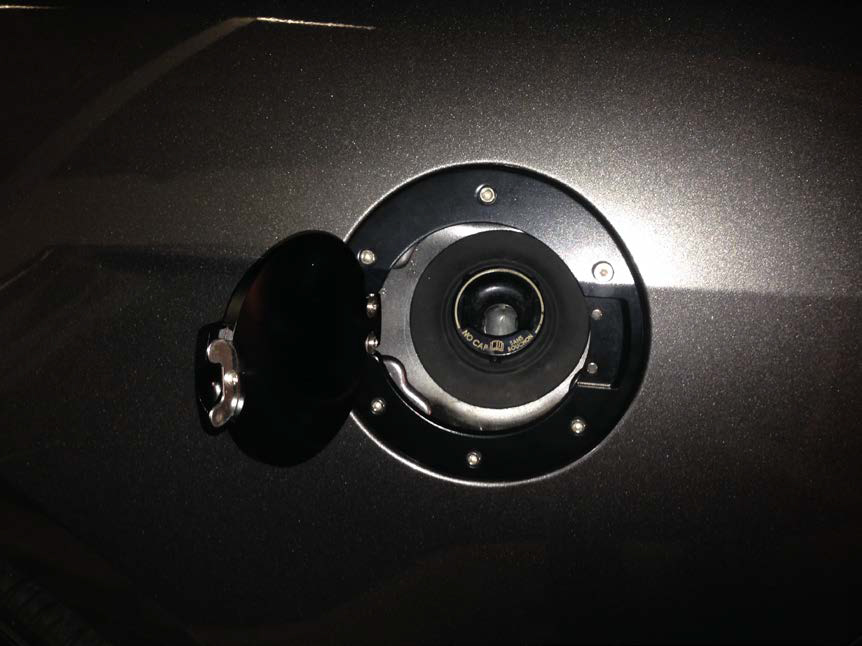
4. At this point you’ll need the 7mm Socket Wrench to remove the original fuel door. You should be holding the fuel door as you remove it to make sure it doesn’t damage the quarter panel. You can also take the rag from inside the filler cap and place it over and behind the original fuel door to help prevent any damage to your paint.
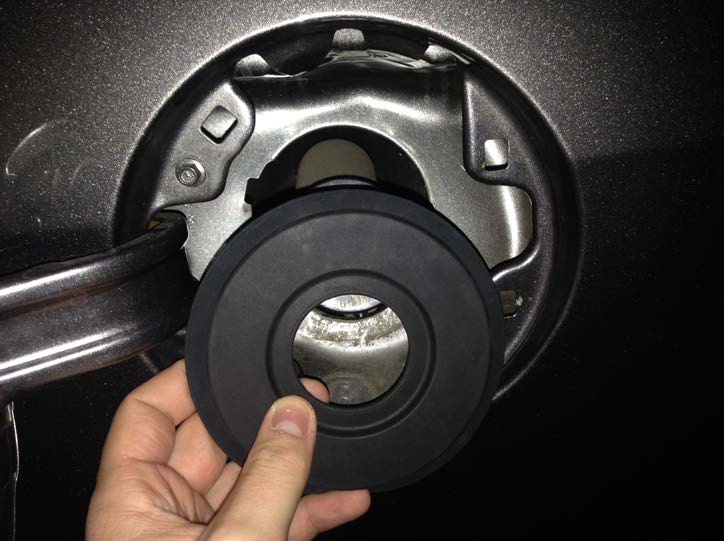
5. Next you will install the gasket. The larger diameter side will go inside the body and the smaller on the outside. This can be difficult so just be patient and take your time. I started from the top and worked my way down the sides. It is a tight fit but important in making sure the filler neck doesn’t move around.
6. The final step is to install the new fuel door. Start by removing the nuts and top spacers only from the fuel door, keeping track of which spacer came from where. Install the fuel door on the car and make sure it looks flush with the body.
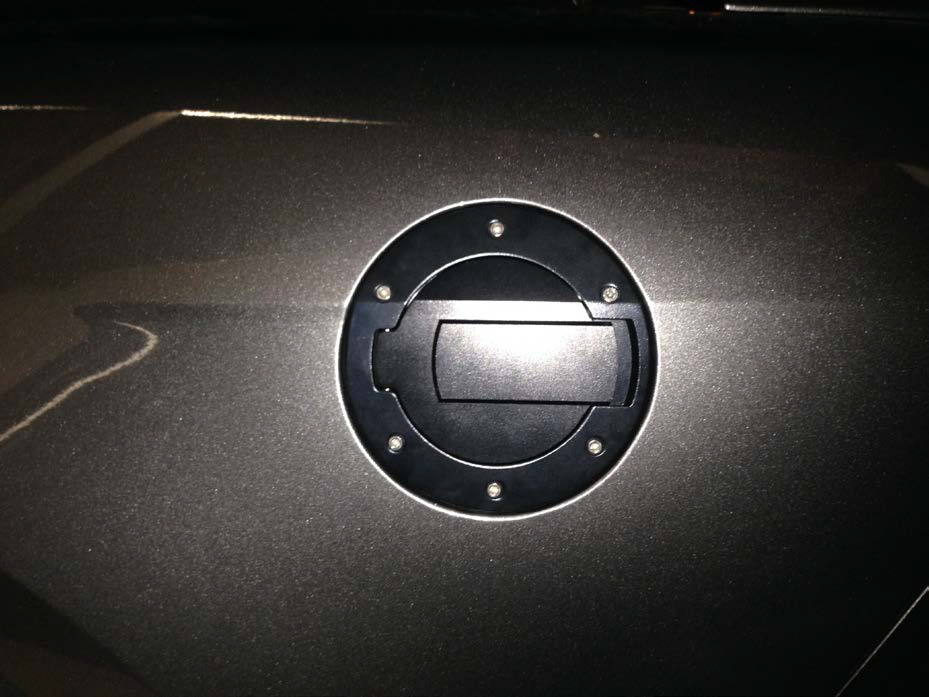
7. Put the top spacers back on and hand tighten the nuts. Finish tightening with your 8mm or 3/8” combination wrench.
8. Shut the door and find someone to show it off to!
Installation Instructions written by AmericanMuscle customer Brian Sabat 11.05.2014

