 FREE 1 to 3-Day Delivery on Orders $149+ Details
How to Install BMR Rear Lower Control Arm Relocation Brackets on Your 2005-2013 Mustang
Installation Time
3 hours
Tools Required
- 15/18/22mm socket
- 18/18/22mm wrench
- Torque wrench
- Pry bar
- Vehicle ramp or jack with stands

Shop Parts in this Guide
Installation
Installation Instructions:
1. Raise the rear end of your vehicle using with car ramps or a jack with stands.
Passenger side:
2. Remove axle weights using a 15mm socket or wrench.

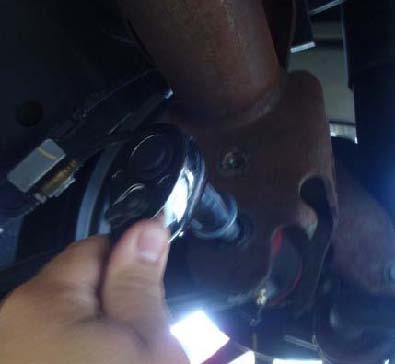
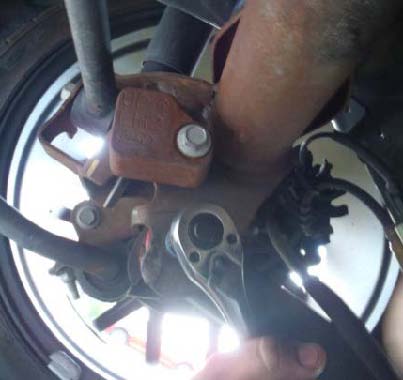
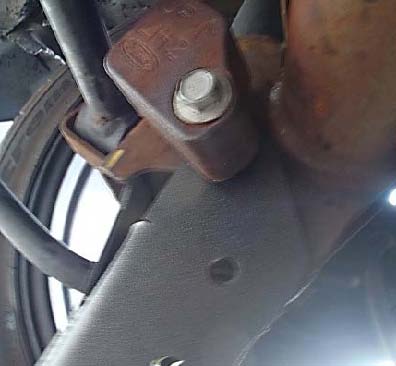
3. Remove the bolt holding the control arm using an 18mm socket, move the control arm out of the way.
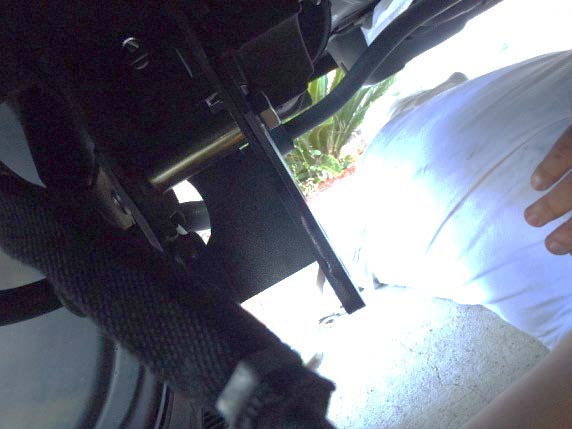
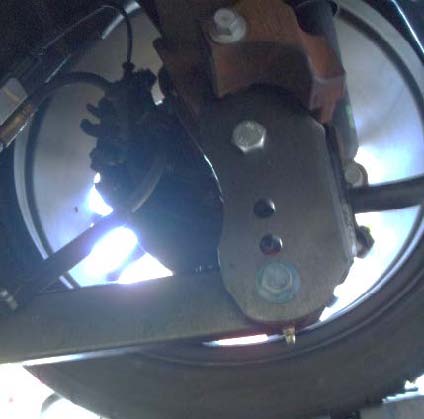
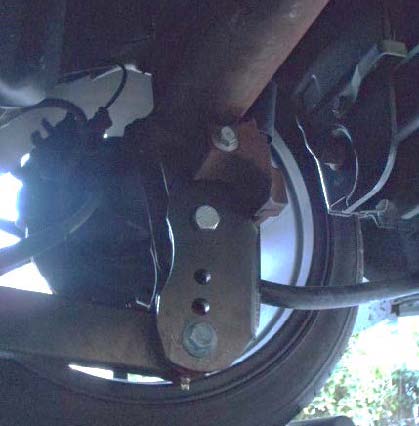
4. Slide the bracket over the factory mount. Try to align the holes the best you can.
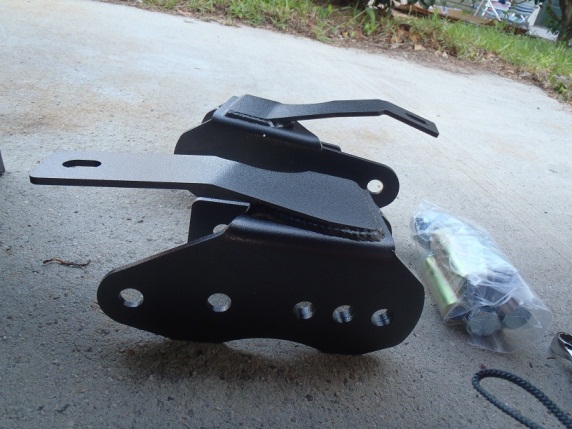
bmr-rear-lower-control-arm-relocation-brackets-05-13-all
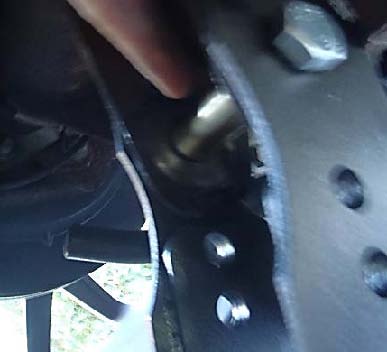
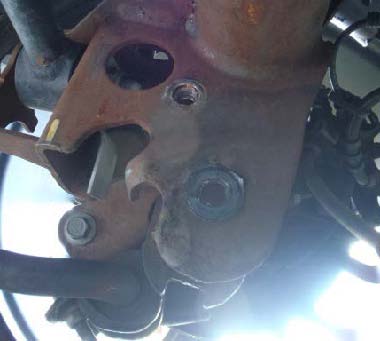
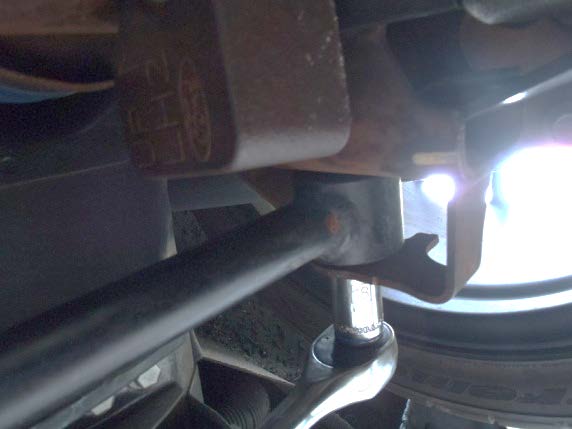
5. Use a gold spacer and a long bolt and insert it into the factory mounting hole. Do not tighten yet.
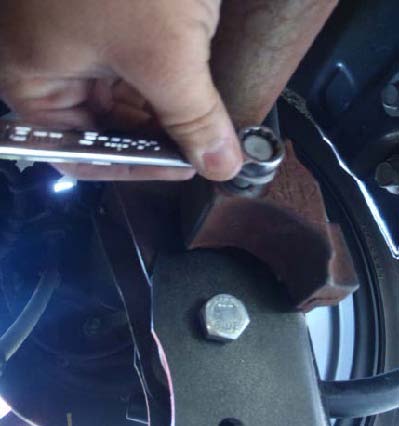
6. Use a short 14mm bolt and a nut and insert it in the upper hole of the bmr bracket. Slide the bolt from the back and install the nut from the inside of the bmr bracket. Tighten this to 129ft/lbs with a 22mm wrench holding the nut and a 22mm socket tightening it.
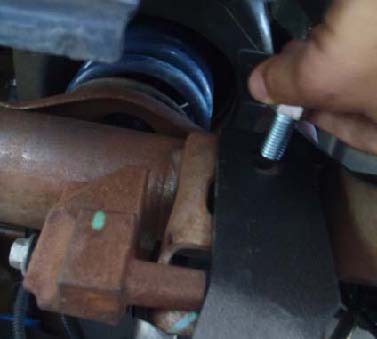
7. Go back and tighten the gold sleeve and long bolt to 129ft/lbs using a 22mm socket.
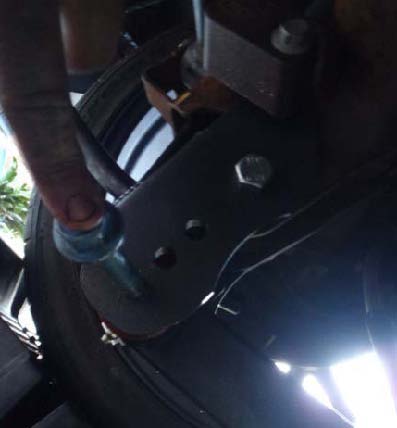
8. Reinstall the axle weight. Tighten it down to 45ft/lb using a 15mm socket
9. Put the lower control arm into the desired setting and insert a new long bolt. Tighten down to 129ft/lb.
10. If you have aftermarket control arms with grease fittings, now would be a good time to re-grease them.
Drivers Side:
1. Remove the axle weight using a 15mm socket or wrench.
2. Remove the bolt holding the control arm using an 18mm socket, move the control arm out of the way.
3. Remove the bolt holding the panhard bar using an 18mm socket or wrench.
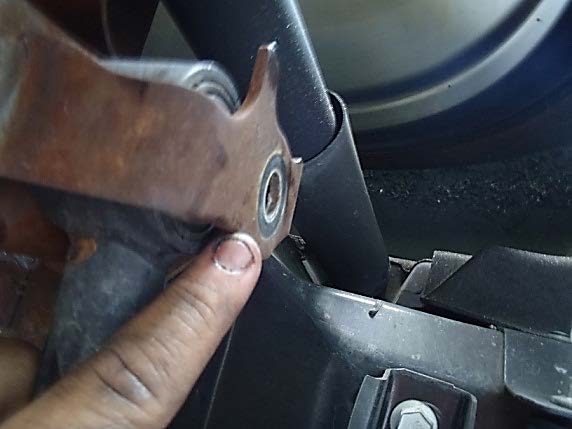
4. Slide the BMR bracket over the mount. The rear of this mount should fit inside of the factory bracket.
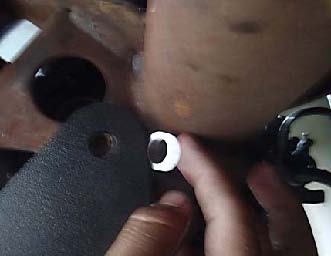
5. Insert the spacer behind the upper hole where the axle weight would be installed, then reinstall the axle weight. Do not tighten yet.
6. Install the gold spacer and long bolt into the factory mount. Do not tighten yet.
7. Reinstall the panhard bar bolt and tighten to 100ft/lb using an 18mm socket.
8. Go back and tighten the gold sleeve and long bolt to 129 ft/lbs using a 22mm socket.
9. Tighten the axle weight to 45 ft/lb using a 15mm socket.
10. Put the lower control arm into the desired setting and insert a new long bolt. Tighten down to 129ft/lb.
11. If you have aftermarket control arms with grease fittings, now would be a good time to re-grease them.
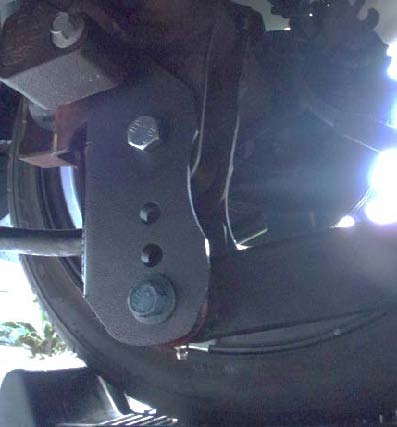
12. Once both sides are complete, lower vehicle back on the ground. Ensure that geometry of the control arms is either parallel to the ground or the rear of the control arm is lower than the front of the control arm.
Installation Instructions provided by AmericanMuscle customer Ricardo Iglesias 5.1.12

