Guaranteed 12/24 Delivery Still Available see item page for details! available on most items - Details
Brake Control for '03-'04 Mach1/Cobra Mustang Installation Guide
Installation
1. To complete the installation on a COBRA or MACH 1 vehicle it will be much easier to remove the master cylinder from the car.
2. First loosen both the front and rear line nuts from the master cylinder. Reference photo I on page 2 for location of front and rear line nuts on the master cylinder.
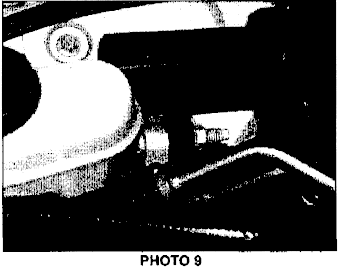
3. Next, loosen both nuts from the master cylinder to brake booster. These two nuts are the only nuts that hold the master cylinder to the brake booster. There will be one nut on a stud facing the firewall coming from the master cylinder on tops and another nut with a stud facing the front of the car on the bottom of the master cylinder, opposite the upper stud. Reference photo 9 below for location of nuts.

4. After both nuts are removed, carefully slide the master cylinder toward the front of the vehicle until it can be lifted from the car.
5. The master cylinder reservoir does not have to be drained as you can store the master cylinder on the ground. up-side-down so that it is standing on the cap. This will keep most of the brake fluid from dripping out of the master cylinder while you complete the remainder of the installation.
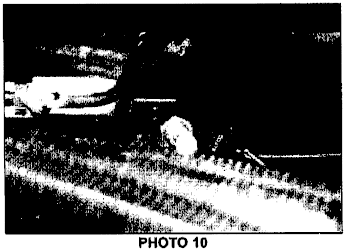
6. Next remove the rear brake line from the proportioning valve. Reference photo 10 below when removing the brake line.

7. Next assemble the SLP brake line kit as shown in photo 2 on page 2.
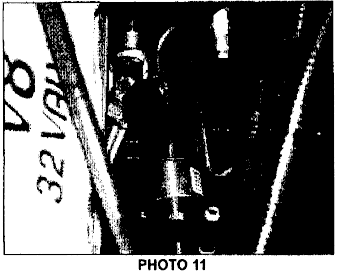
8. Next screw and tighten the short straight line side of the SLP assembly made in step 7 to the gold In color proportioning valve. Reference photo 11 below.
9. Next, position the solenoid so the lower mounting bracket is square and sits just above the seams of the inside fenders. To get this proper alignment you might have to slightly bend the short line by pulling up on the solenoid. This can be done as long as the fitting is tight on the proportioning valve.
10. When the solenoid is in position, mark with a pen the two mounting holes on the inner fender.
11. Follow step 6, 7 and 8 on page 3. It may be necessary to remove the wheel from the vehicle so that you can get a drill into the wheel well and drill the two holes.
12. Next, install the master cylinder back onto the vehicle
13. First, start both brake lines into the master cylinder then slide the master cylinder completely onto the studs and install both nuts.
14. Next, follow steps 9 through 17 on pages 3 through S to install th~ wire harnesses and complete the installation.

Related Guides
-
Installation
-
Installation
