 FREE 1 to 3-Day Delivery on Orders $149+ Details
How To Install Chrome Locking Lug Nuts on Your 1979-2014 Mustang

Shop Parts in this Guide
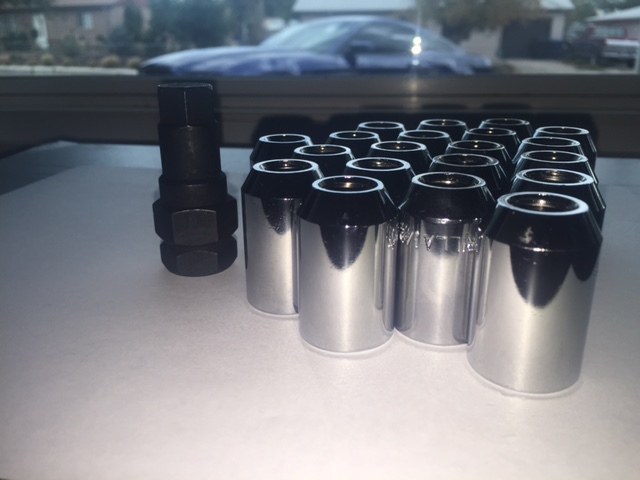
Hardware included in the box:
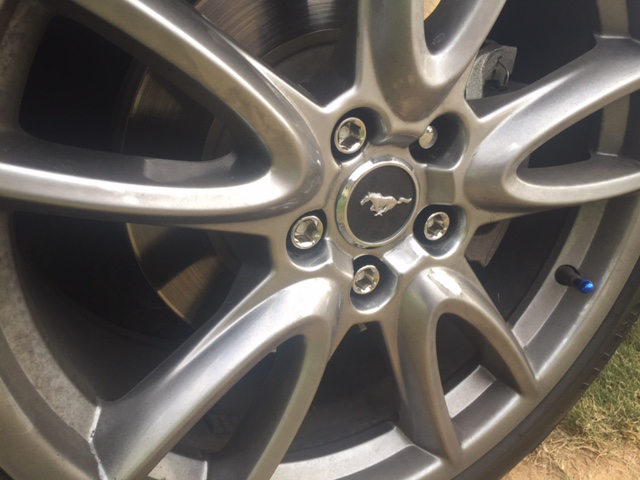
(20) Chrome lug nuts
(1) Key lock
Installation procedure:
1. Safety first! Make sure engine is turned off and vehicle is parked on a level surface.
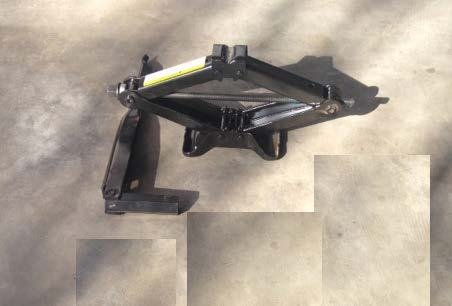
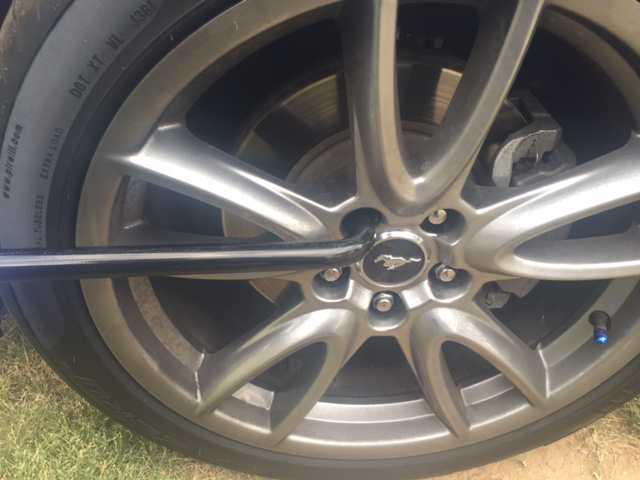
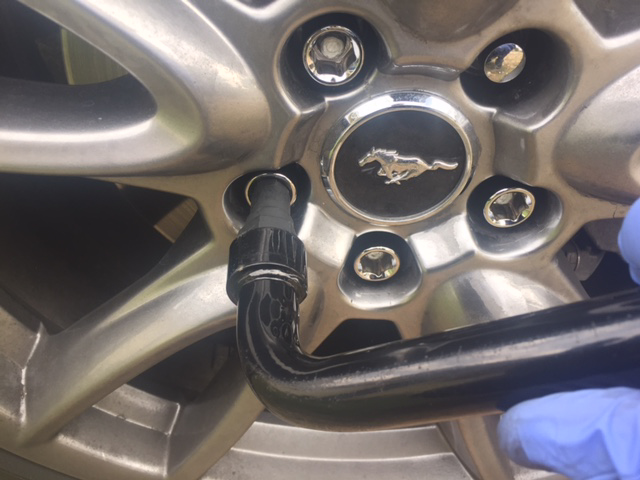
2. Lift vehicle off the ground-using jack. For safety purposes, work on installing wheel locks one wheel at a time. Start to remove factory wheel locks for first wheel by turning lug nut wrench counter clockwise.
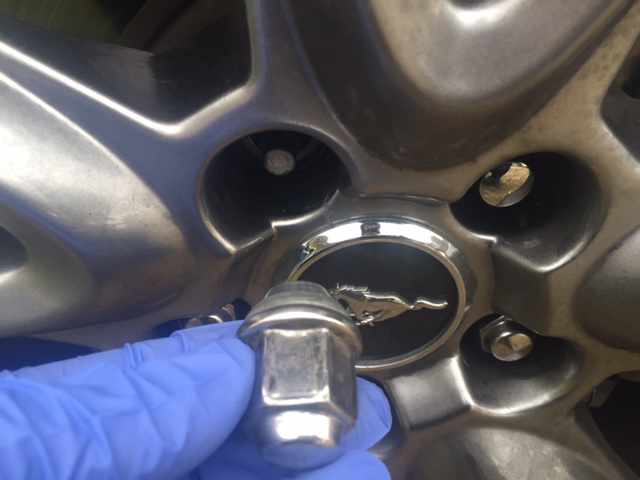
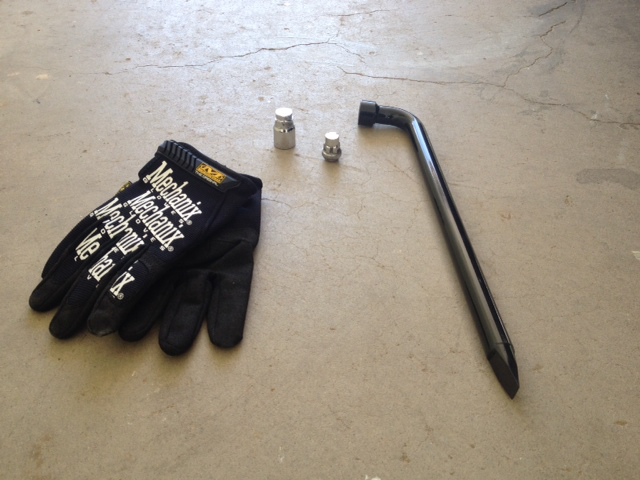
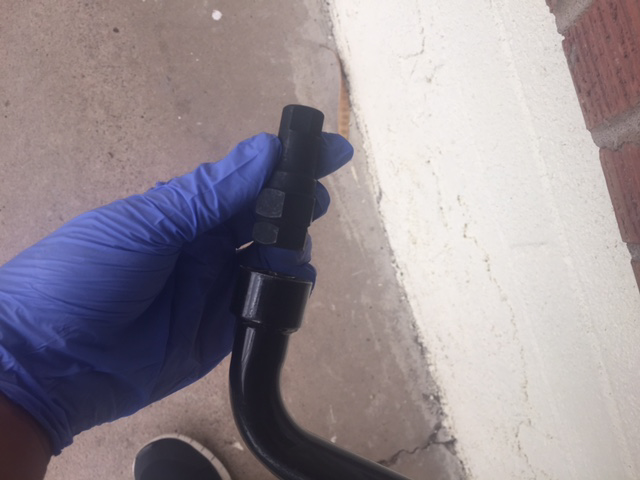
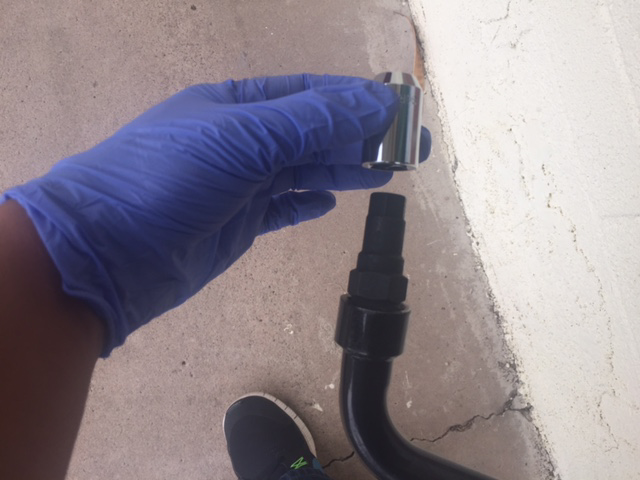
3. Attach key lock to lug nut wrench. Now use this to install new chrome wheel locks.
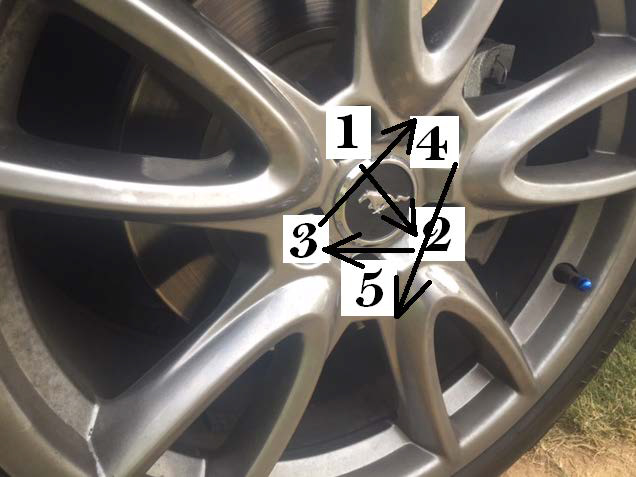
4. When mounting wheel back to vehicle, remember to install wheel locks in an alternating pattern which is also referred to as the star pattern. Simply tighten lugs in the pattern as shown underneath. This helps the wheel fit evenly against mounting surface and also prevents any uneven lug nut torque values. This is crucial to insure that wheel is securely fastened to vehicle.
5. Turn lug nut wrench clockwise to tighten wheel locks. Torque lug nuts to factory specification, which can be found in vehicle manual. Most mustangs built between 79-15 are recommended to be tightened with 100ft/lbs. of torque.
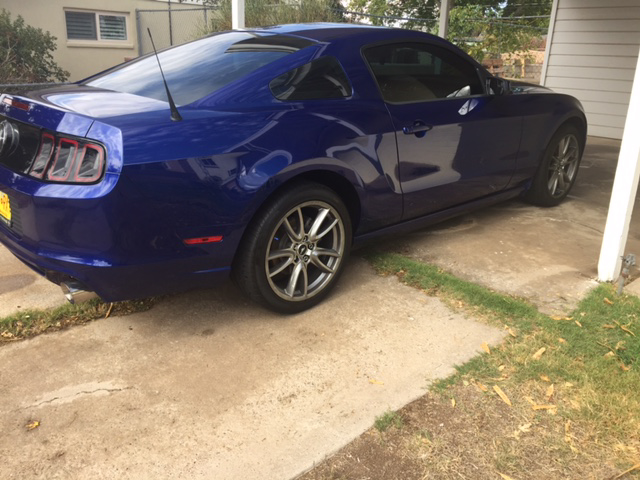
6. Repeat process until all lug nuts are replaced on first wheel. Once done with the first wheel. Move on to work on the remaining wheels that need replacing. Once done with all four wheels remember to lower car back down with jack stand. Car is now ready for use and install is complete. Remember to re-torque lug nuts after the first 200 miles.
Installation Instructions written by AmericanMuscle Customer Allen Syed 12.16.2014

