 FREE 1 to 3-Day Delivery on Orders $149+ Details
How to Install MMD Bolt On Hood Strut Kit on your 2010-2013 Mustang
Installation Time
30 minutes
Tools Required
- 10mm socket wrench
- Flat head screwdriver
- Tin snips or razor cutter

Shop Parts in this Guide
Installation Instructions:
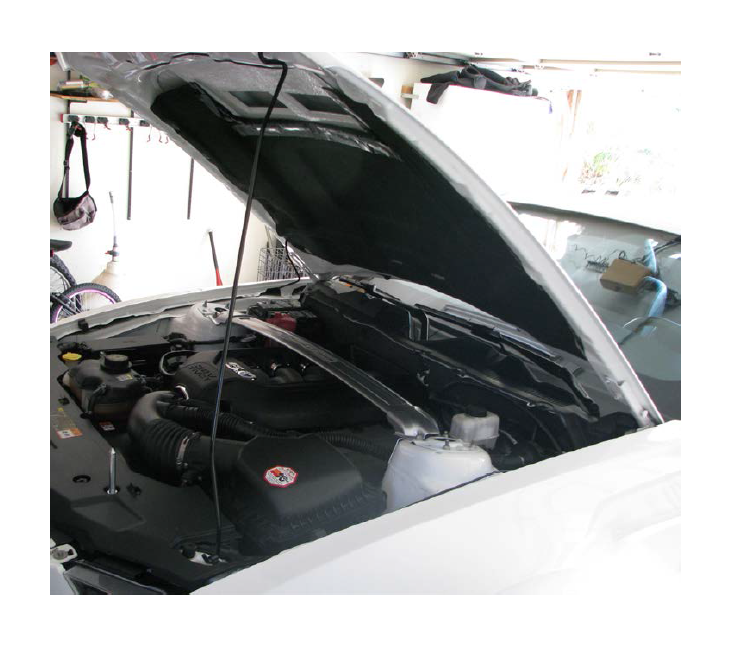
1. Open your hood and use the stock prop rod to hold it up.
2. Starting on the passenger side. Using your 10 mm socket wrench, remove the fender bolt shown.
3. Install the bracket provided marked P-L (Passenger lower). Utilize the factory fender bolt you removed in Step No. 3.

4. Check that the hood is properly supported by the factory prop rod. Then utilize your 10 mm socket wrench to remove the forward bolt from the hood hinge.
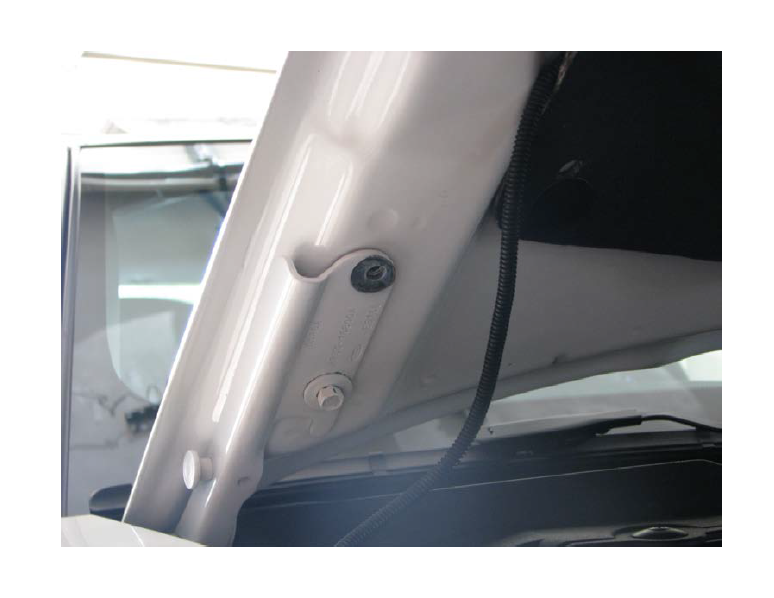
5. Using your 10 mm socket wrench, loosen the rear bolt on the hood hinge. (Do not remove completely). Loosen enough so you can slide the U part of the larger bracket (marked P-U) in between the hood hinge and bolt. Do not place the bracket between the hood hinge and hood. Now reinstall and tighten both hood hinge bolts.
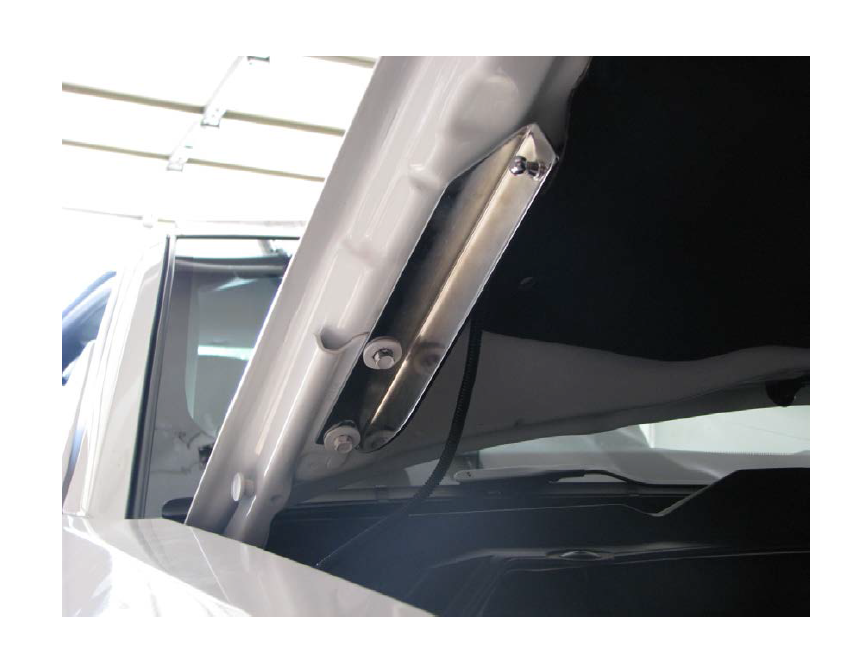
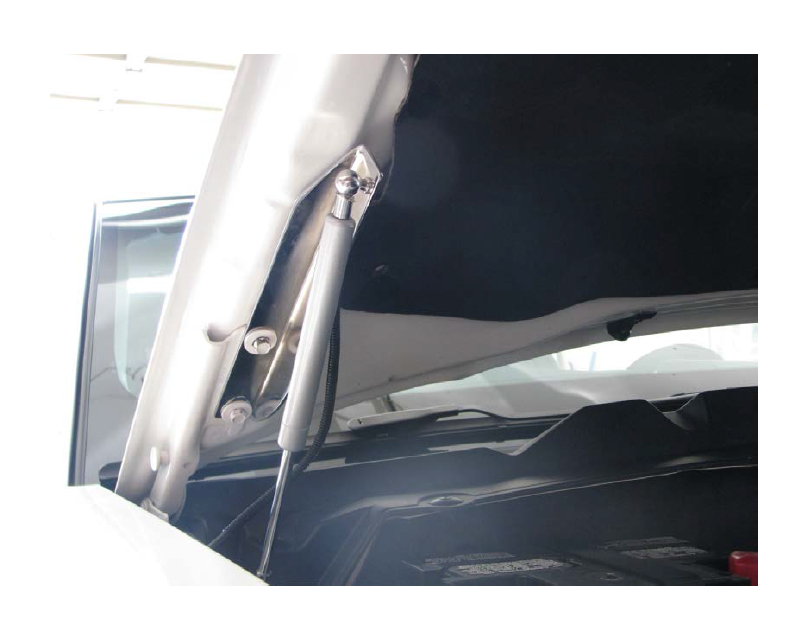
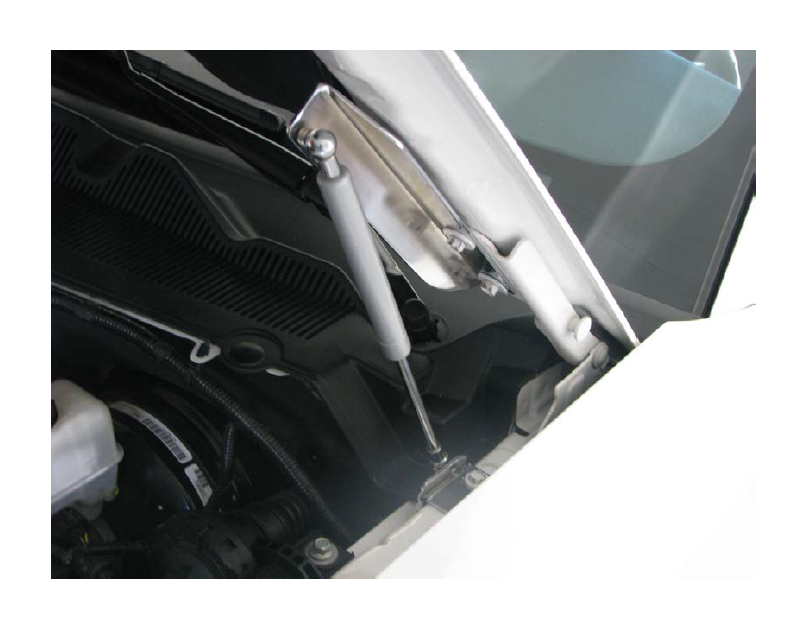
6. Remove the small retaining clips from the strut balls on your MMD struts. (Do not lose them). Pop the strut ball over the ball mount on the lower bracket, then replace the retaining clip. Raising the hood up and down for proper installation elevation, pop the strut ball of the upper strut ball over the ball mount on the upper bracket. Now replace the upper retaining clip.
7. Repeat Steps Numbers 3 thru 7 for the driver's side.
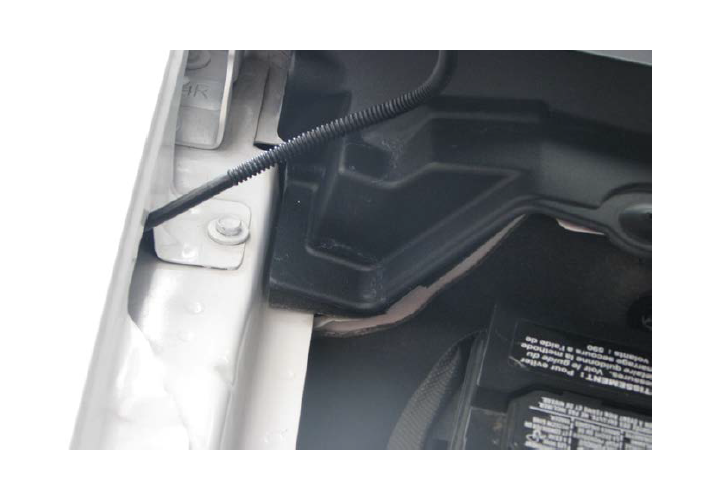
8. Using your 10 mm socket wrench, remove the bolt holding your factory prop rod. You can now remove the prop rod and discard.
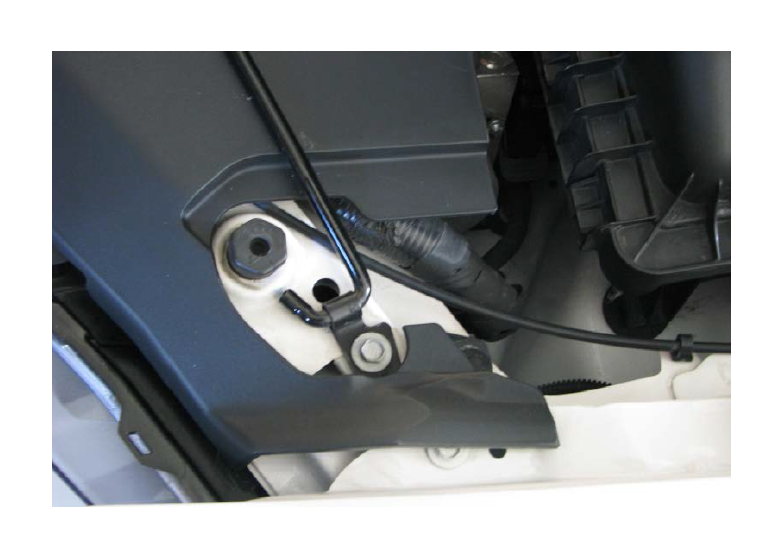
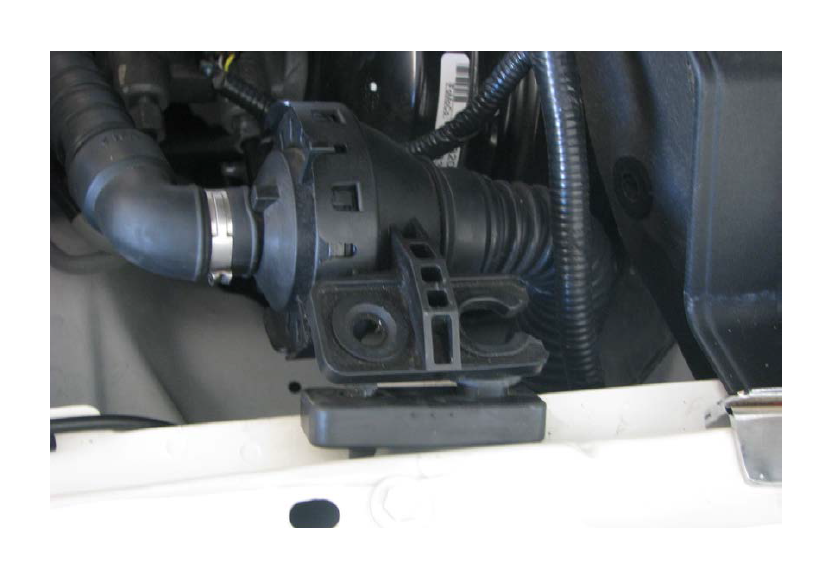
9. Using your 10 mm socket wrench, remove the bolt holding the sound tube canister bracket. Remember to also remove and save the factory U-nut from the fender after you remove the bolt.
10. Using a flat head screwdriver, pry the metal bushing from the bracket. It comes out pretty easy. You may be able to remove it with just your fingers.

11. Remove the rectangular rubber bushing from the bottom of the bracket. This will simply pull right off.
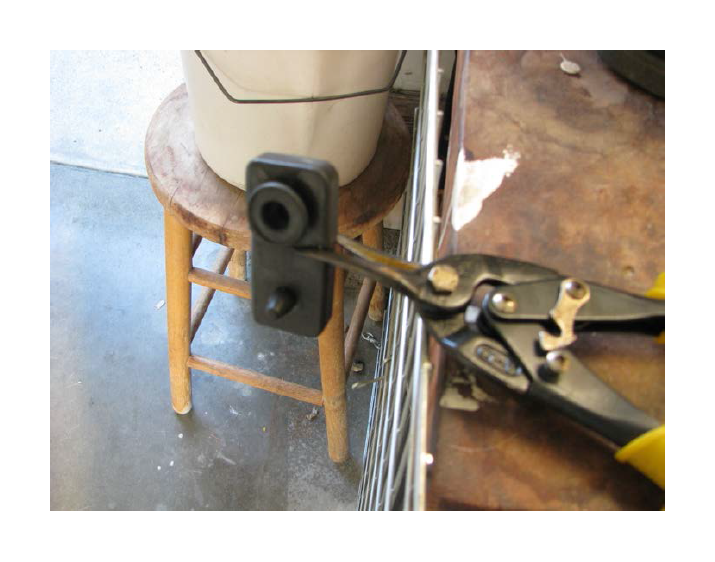
12. Using your tin snips or razor cutter, cut about 1/2 inch from the center of the rubber bushing. You will end up with two smaller bushings.
13. Place the two smaller bushings onto the top side of the sound tube canister bracket.

14. Re-insert the metal bushing (removed in Step No. 11), into the bottom right side of the bracket.
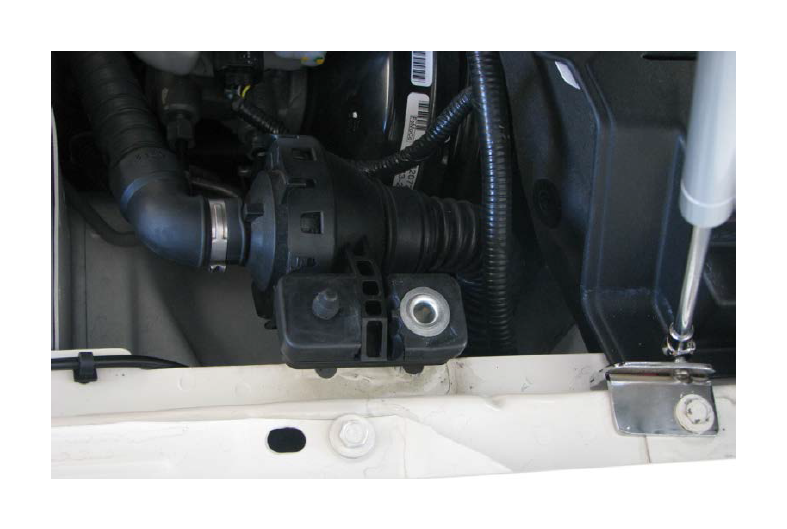
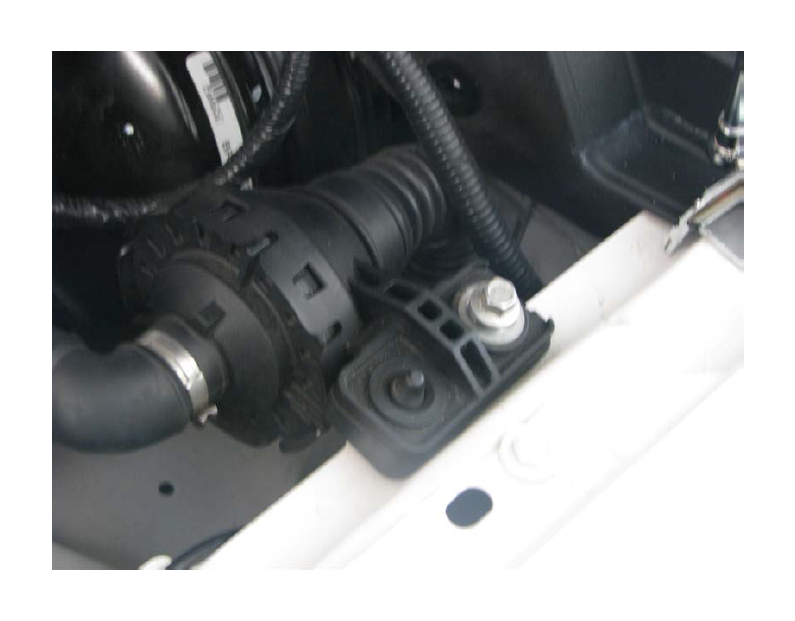
15. Reinstall assembly on the bottom side of the inner fender using the original hardware. Position so the rubber nipple on the forward section is protruding through the hole forward of the bolt.
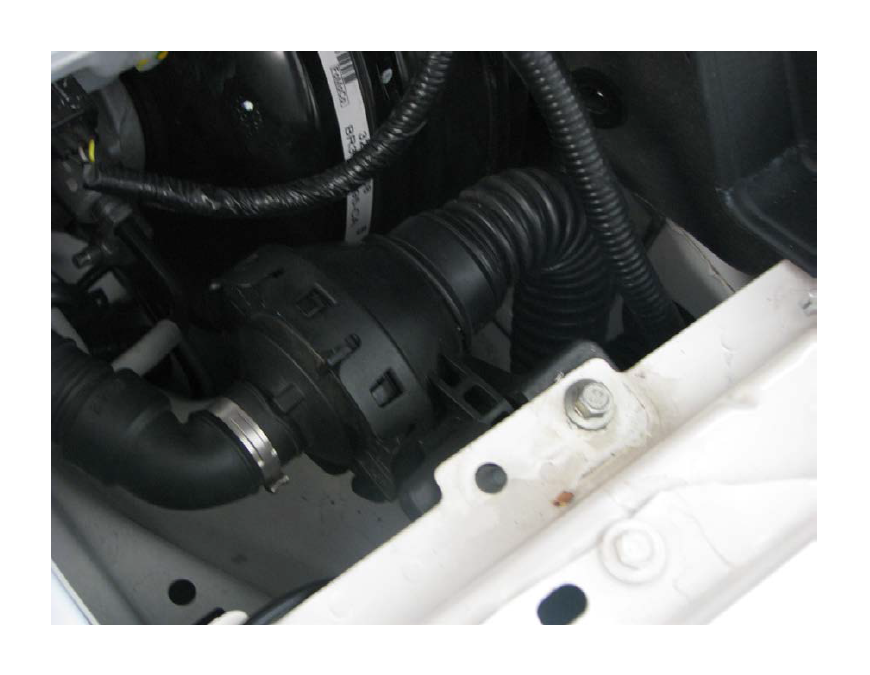
16. Your driver's side hood strut should now clear. Take caution in closing your hood for the first time (Do not slam shut). Make sure your hood is aligned and gently close it. Check to make sure you have no clearance issues. Enjoy your hood struts.

