 FREE 1 to 3-Day Delivery on Orders $149+ Details
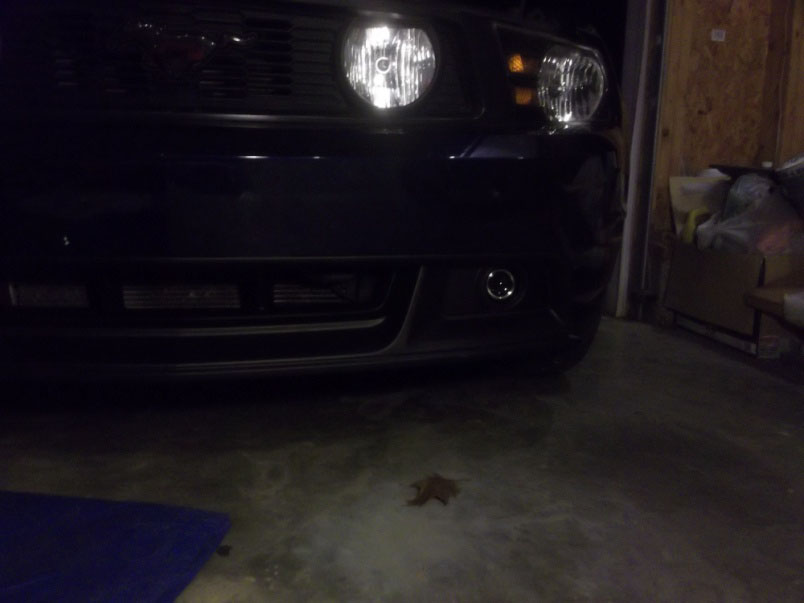
How To Install BOSS/CS Style Lower Front Fascia with Foglights on your 2010-2012 GT Mustang
Installation Time
3 hours
Tools Required
- Flat Head Screw Driver
- Phillips Head Screw Driver
- Socket Wrench- with 7mm, 5/16 in, 7/32 in sockets
- Table
- Jack Stands (optional)

Shop Parts in this Guide
Note:
If you have Jack stands it may be easier to jack up the front end of the car. While taking off the bottom screws, I found it harder to take them off with the car being on the ground and found myself in awkward positions trying to unscrew them with my socket wrench.
Installation Procedure:
1. Begin by popping up the hood of the car and take out the clips in the cover over top the radiator fan in the engine bay. There are eight (8) clips that need to be removed.
• The easiest way I found to do this was to take a flat head screw driver and pry the middle part up then once the head is all the way up, pull out the clip or pry it up again with the screw driver. Be careful not to drop one, but if you do, you will most likely find it because we’re taking off the entire bottom cover under the fan.
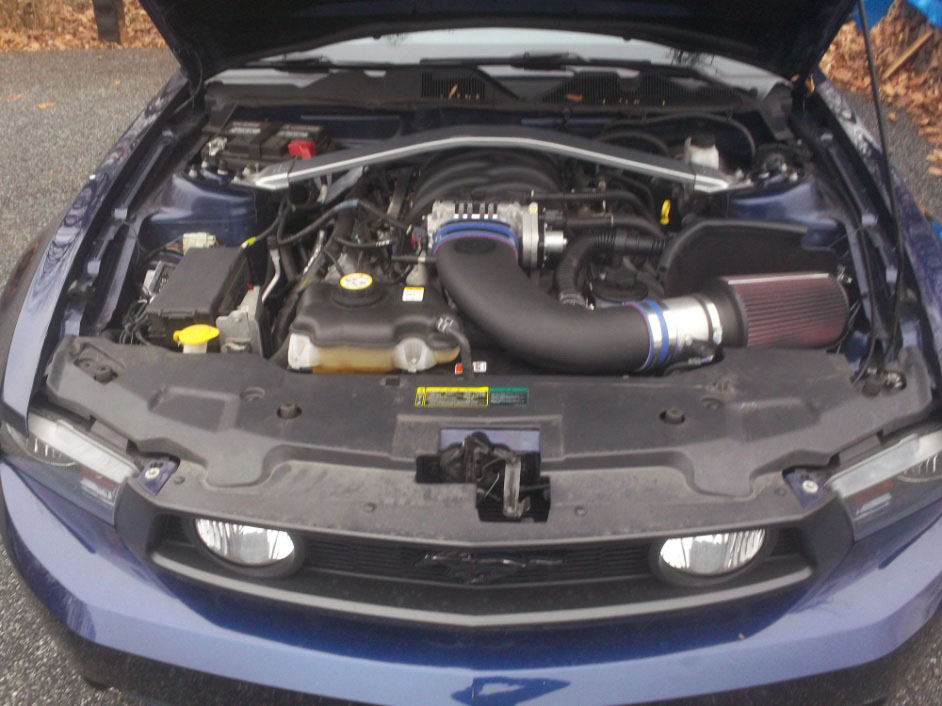
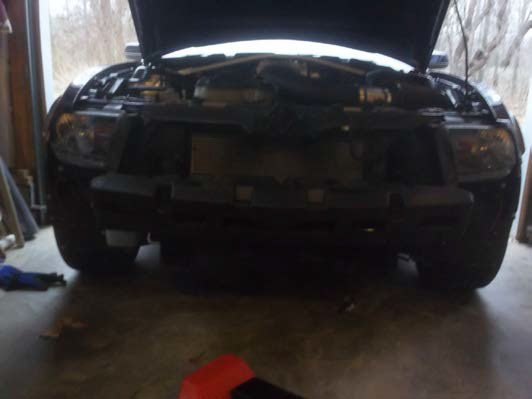
2. Once this is done, remove the plastic cover from the engine bay. It should just slide out. After the removal of that cover you will be able to see the back of the Fog Lights and the outlet to which they connect. Eventually you will want to unplug them. I waited until I had the front bumper disconnected from everything else because I couldn’t fit my hands behind to unplug it. If you can do it now, great, If not don’t worry, you can pull them out a little later down the road.
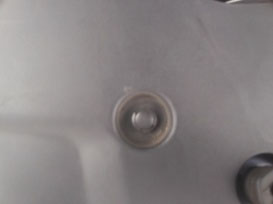
3. If you look right above the two Fog Lights you will see two screws. Using the 5/16 inch socket, unscrew them and place them aside because they will be used after you install the new Front Fascia.
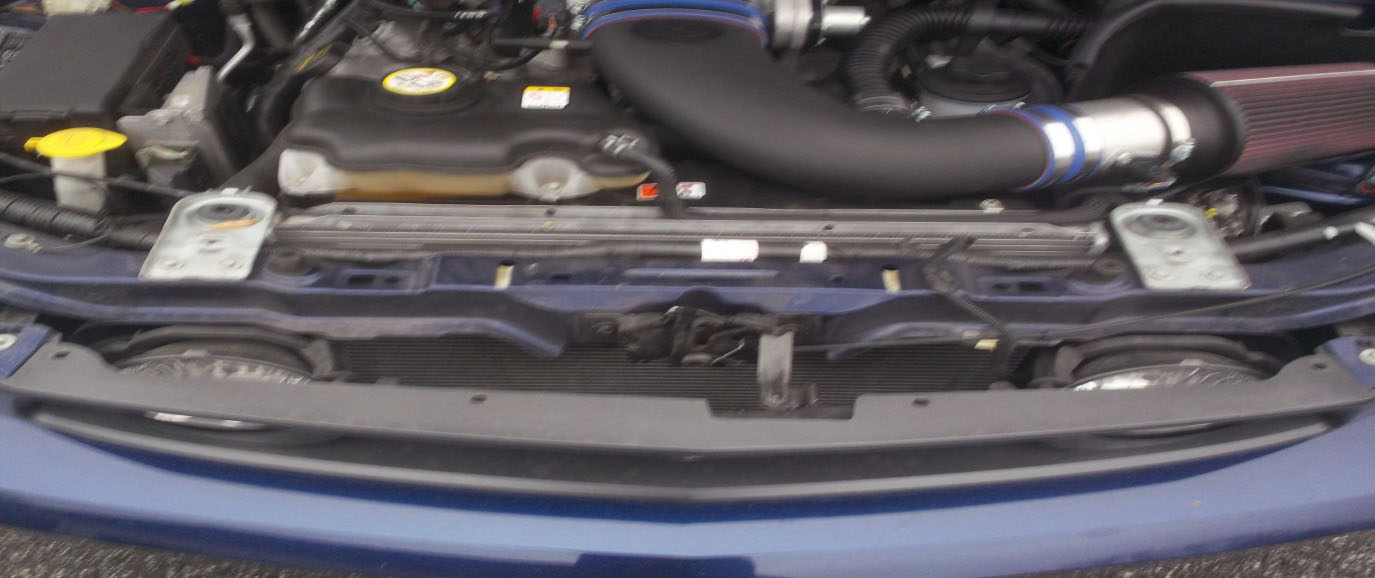
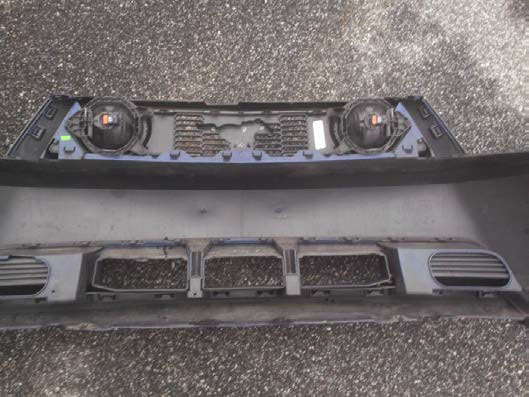
4. Next, go underneath the front of the car and locate the nine screws in the bottom cover. (Make sure you remember which way the bottom cover is sitting.) There will be four screws in the front, three in the back and one on both the left and right sides. Unscrew them. You will need approximately a 7/32 inch socket to unscrew. You should now be able to remove this plastic cover piece the same way you did the one on top the engine bay. Simply slide it out.
• Note: I started by getting the harder ones first. Going back to front and then doing the sides. This is where I said using the jack stands may help out in making the job easier.
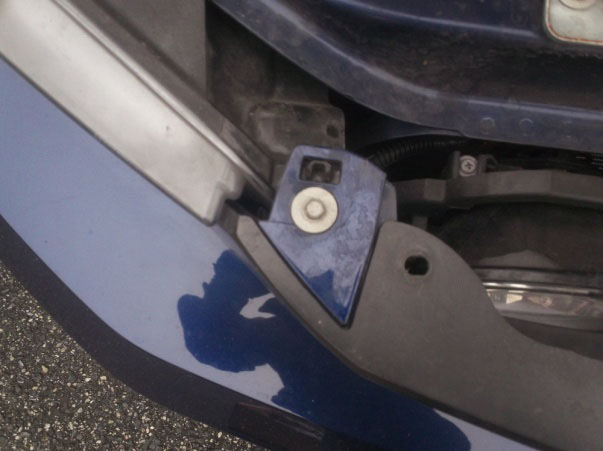
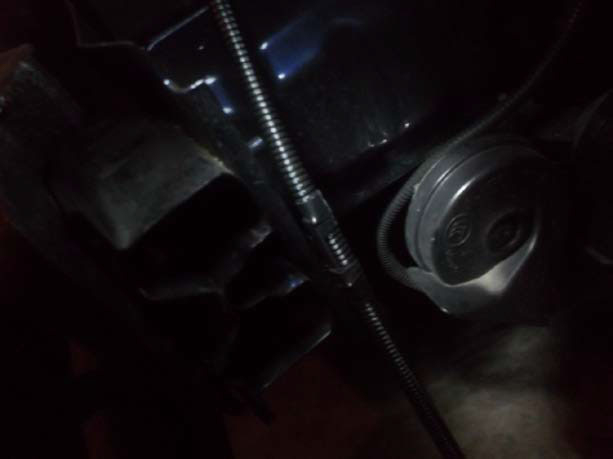
5. After the bottom cover piece is removed, look in the wheel well of the front two tires. You should see 2 screws. You will want to unscrew them using a 7mm socket and set them aside. You will be using them again. Make sure they are out on both sides before you begin to remove the bumper.
6. If you remember a few steps ago we talked about all the lights and their connections. Now is the time to remove them. Be careful when removing them. In all cases if you haven’t disconnected the battery you run the risk of potential electric shock. Slowly begin to pry off the sides of the fascia. They will have 2 clips on each side at the top. Just give it a little tug slowly and it should pop out. Then work your way around on side of the car. Above the two fog lights there will be two little notches-make sure the piece connected to the fog lights is unhooked before you start to tug. Once everything has been unhooked, slowly move the front fascia and have it rest on the mount in the front of the car. You will notice it’s the only piece that remains after the removal of the front bumper. Proceed to disconnect the side marker lights on both sides and the fog lights. There should be little clips on all of them that you just push down and pull out. Also disconnect the sensor below in the bottom of the original chin spoiler, you should just be able to pull it out but it will require some effort. Be careful not to break it- I did it very slowly.
7. Carefully remove the whole front bumper from the car. I set the bumper on top of a table because it was hard to hold and remove the original chin spoiler, and I didn’t want to get it dirty or scratch it up by setting it on the ground. Once you have it on the table you should see a lot of clips. Don’t pull them out yet. If you look on both sides of the original chin spoiler you’ll see that there is a screw and a clip like the one in the first few steps. Go ahead and remove them and set them aside for later use. Once both sides are unclipped /unbolted, go ahead and begin to pull out the chin spoiler. Starting from one end, begin carefully prying it from the front fascia all the way until you get to the other side.
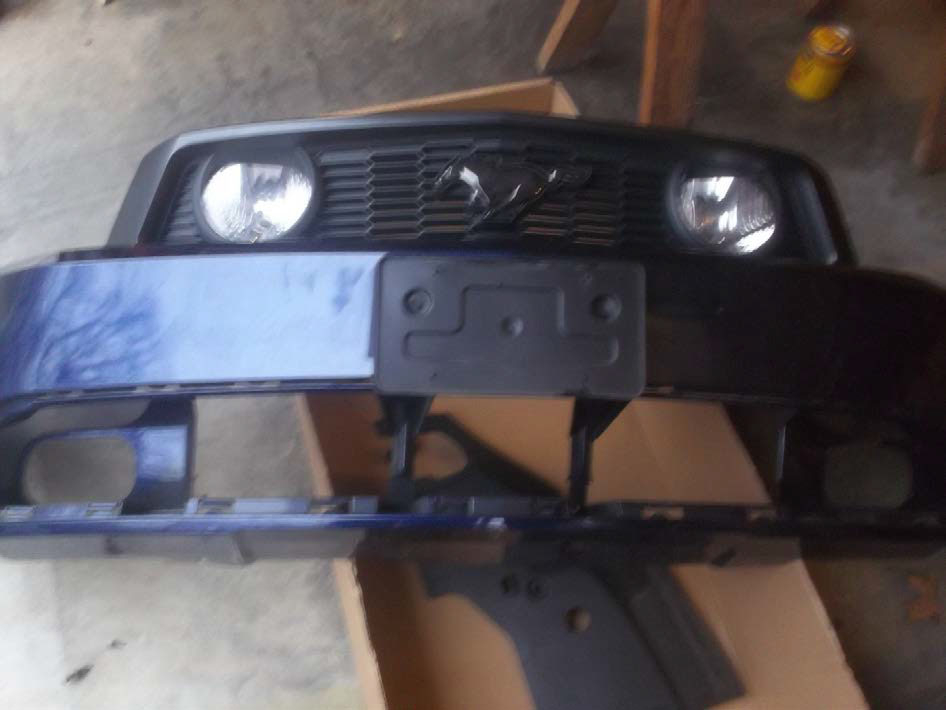
8. Once the old fascia is removed, set it aside. You will not need it anymore. Now you’ll take the Boss/CS Part and begin to put it in the original place.
• I found that the easiest way of doing this was to line it up in the middle and clip the middle and work my way out. Be careful the ends don’t touch the paint part. They have a little metal tab that could scratch your paint. Then clip both sides in carefully. Once the two sides are in, you can go ahead and put in the bolts and clips on each side and continue to pop in the Boss/CS part until all the tabs are fully clipped in.
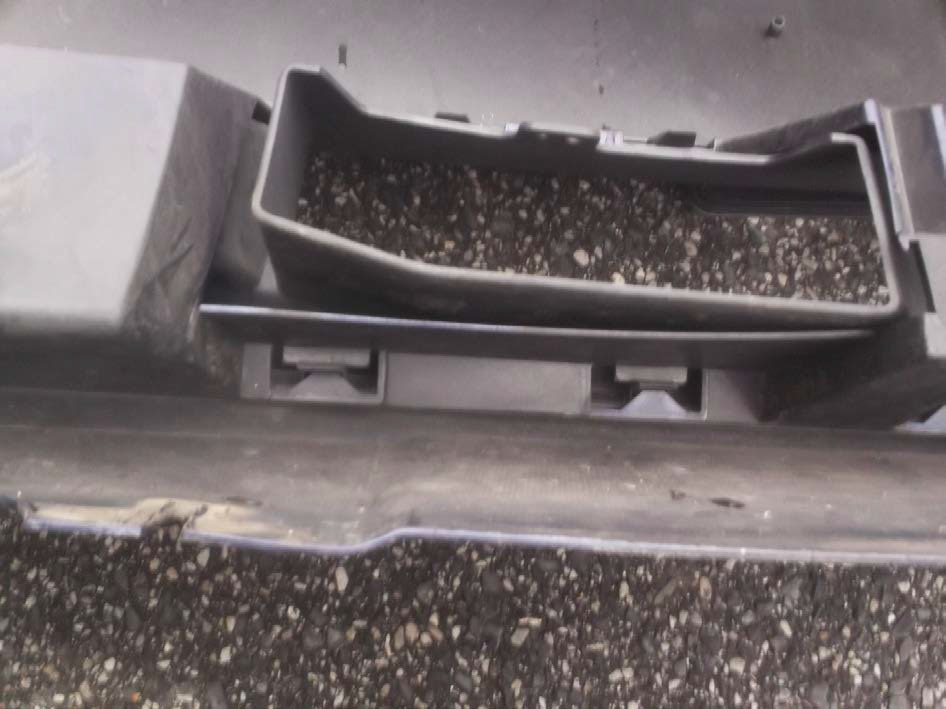
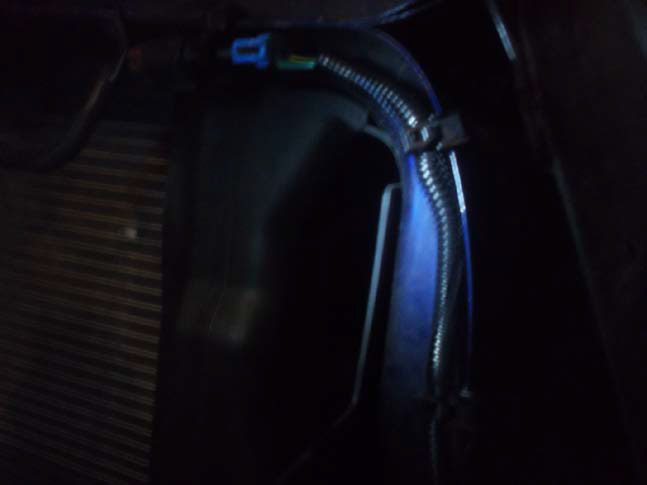
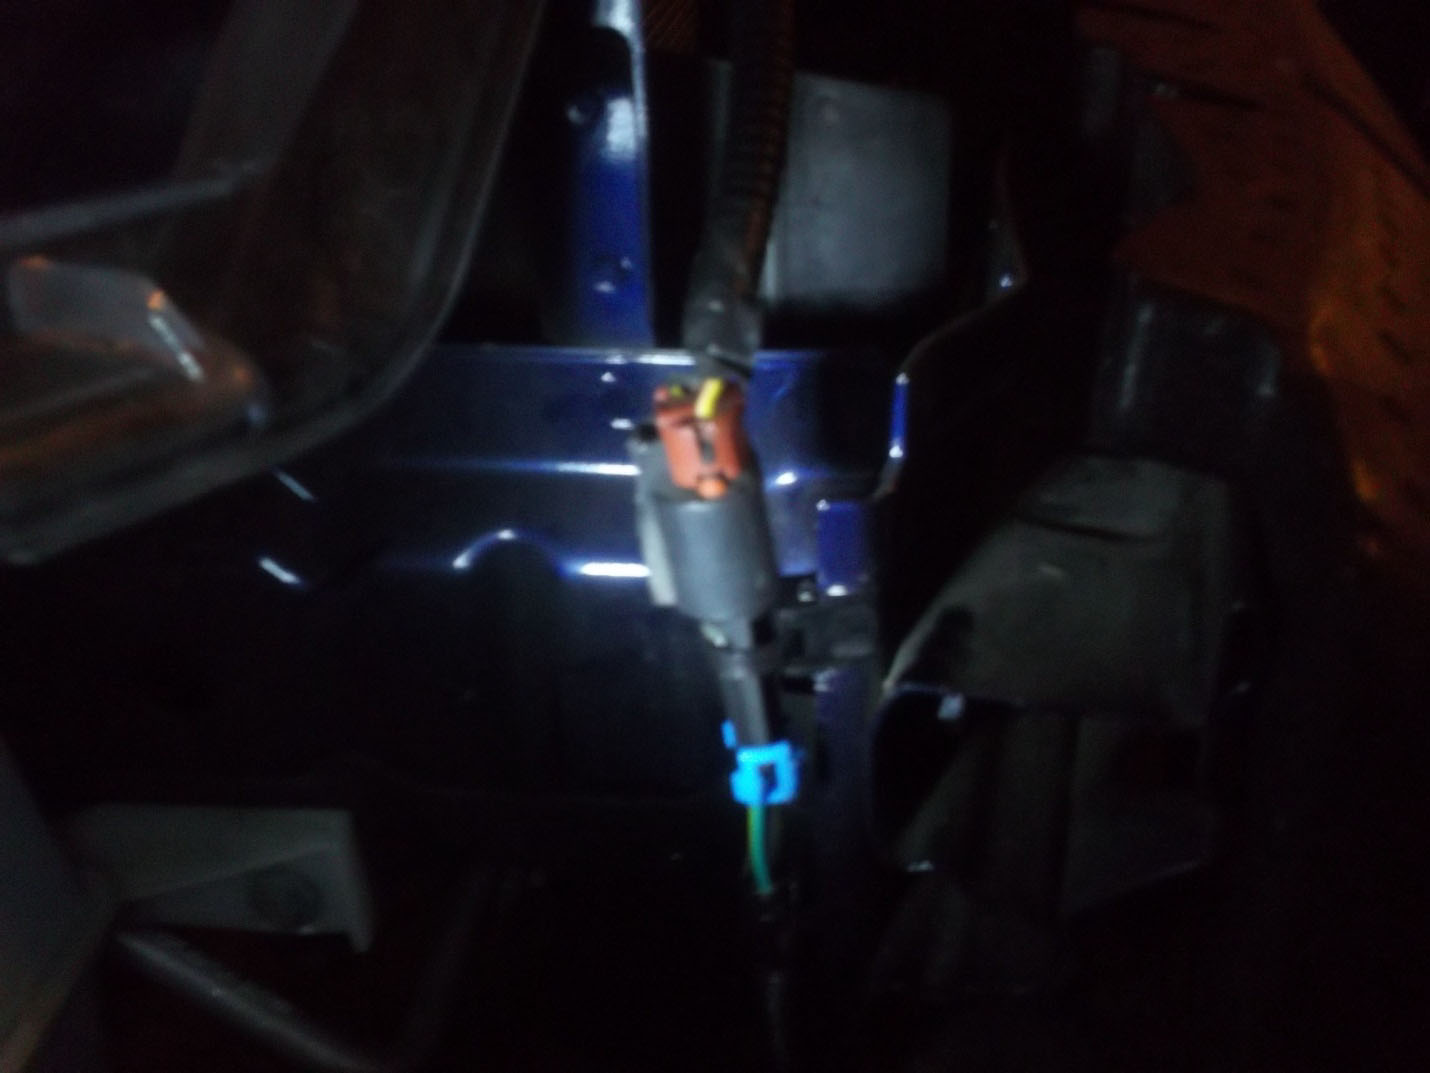
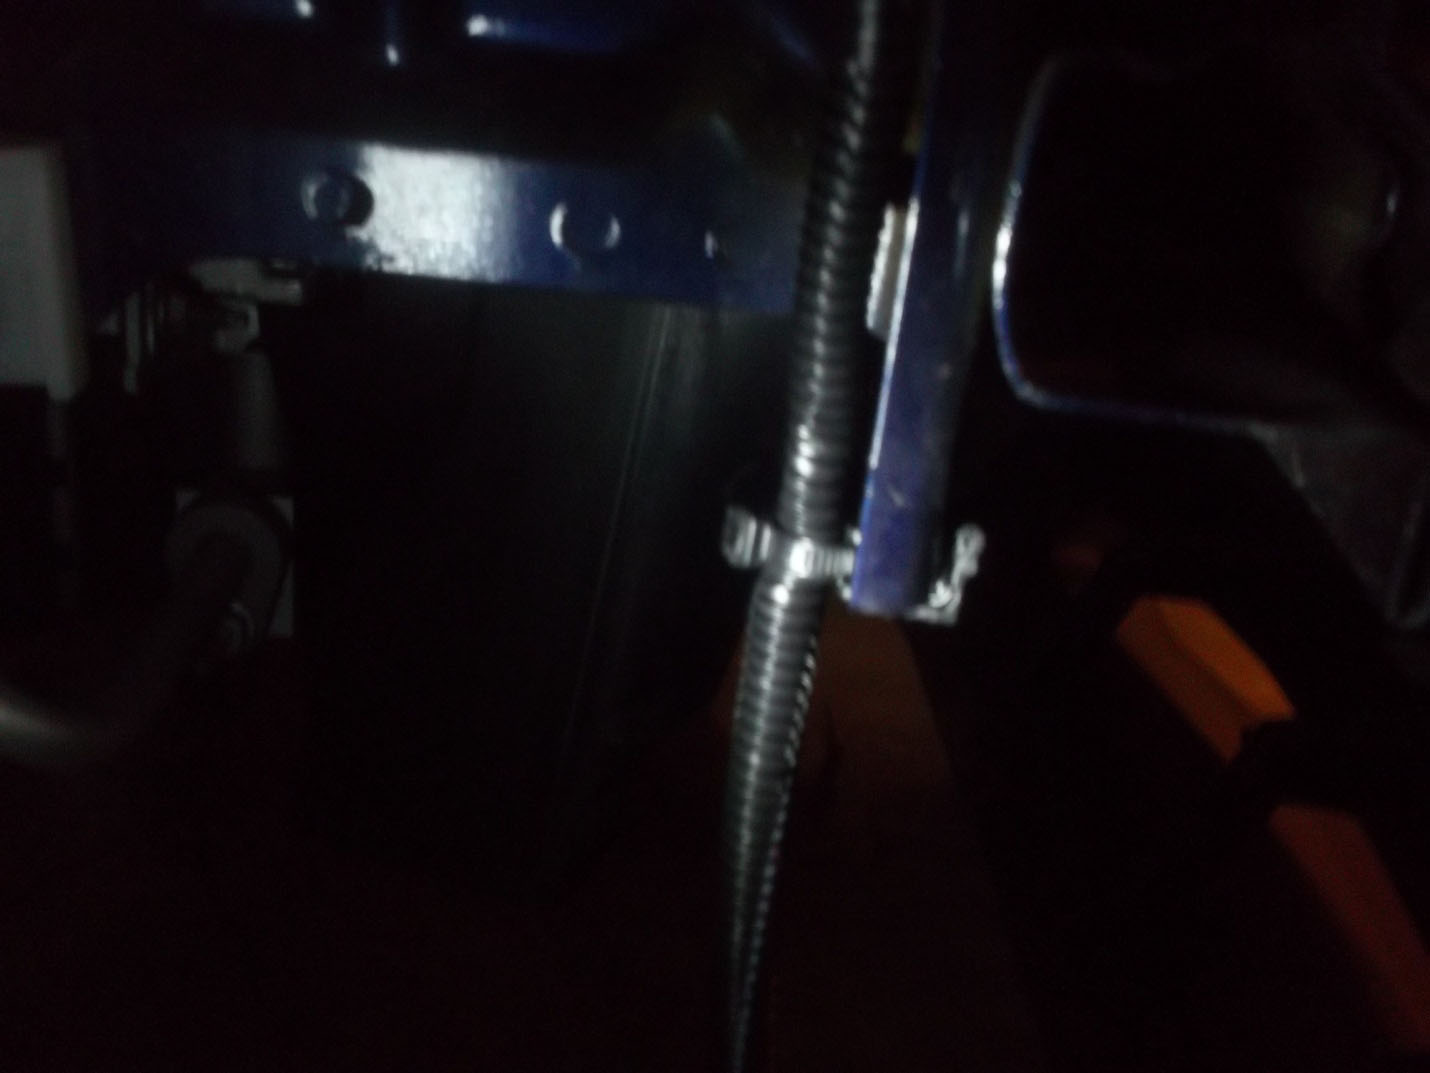
9. Keep the front bumper with your newly installed Boss/CS front fascia on the table but make sure it won’t fall down. This next part may seem difficult at first, but it’s easier than it sounds. Go over to your bumperless car, with both of the wiring sets they give you in the box. You will notice one is longer than the other and has two tabs instead of one. The one with two tabs will be used on the right side of the car (when you are looking at it) and the one with only one tab will be on the left. On the right hand side go ahead and plug in the wire given to you to the original outlet, but no to the light. You will clip the plug to the frame of the car that is horizontal and right above the original piece that goes into the clip. To the right of that there will be a vertical metal frame piece to which you can clip the remaining 2 clips so that the light outlet sits in the vicinity of the newer right fog light in the chin spoiler. The same goes for the left side except both clips will be on the same frame. The outlet will have to hang in the vicinity of the left newer fog light in the Boss/CS chin spoiler.
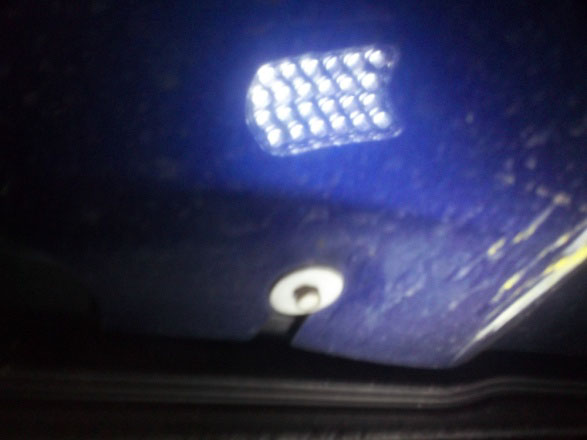
When installing right side of the electrical component of the lights, place the loop over the stud near the horn.
Diagram of right side.
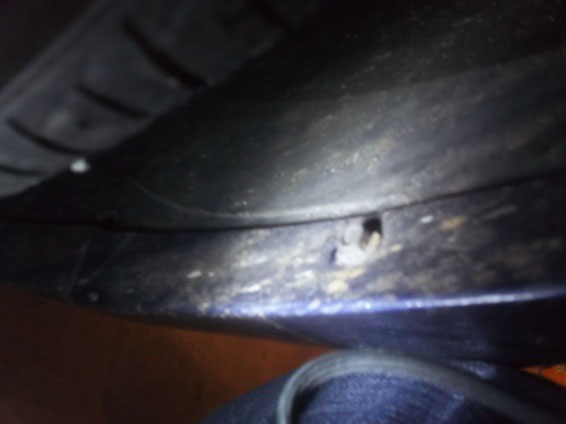
Top of left side/Side shot. Front is facing ->
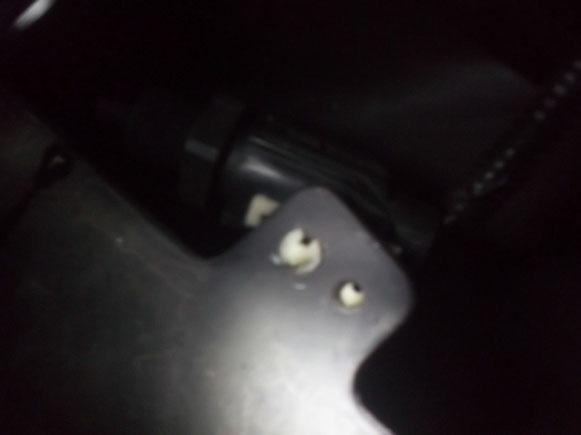
Bottom of left side
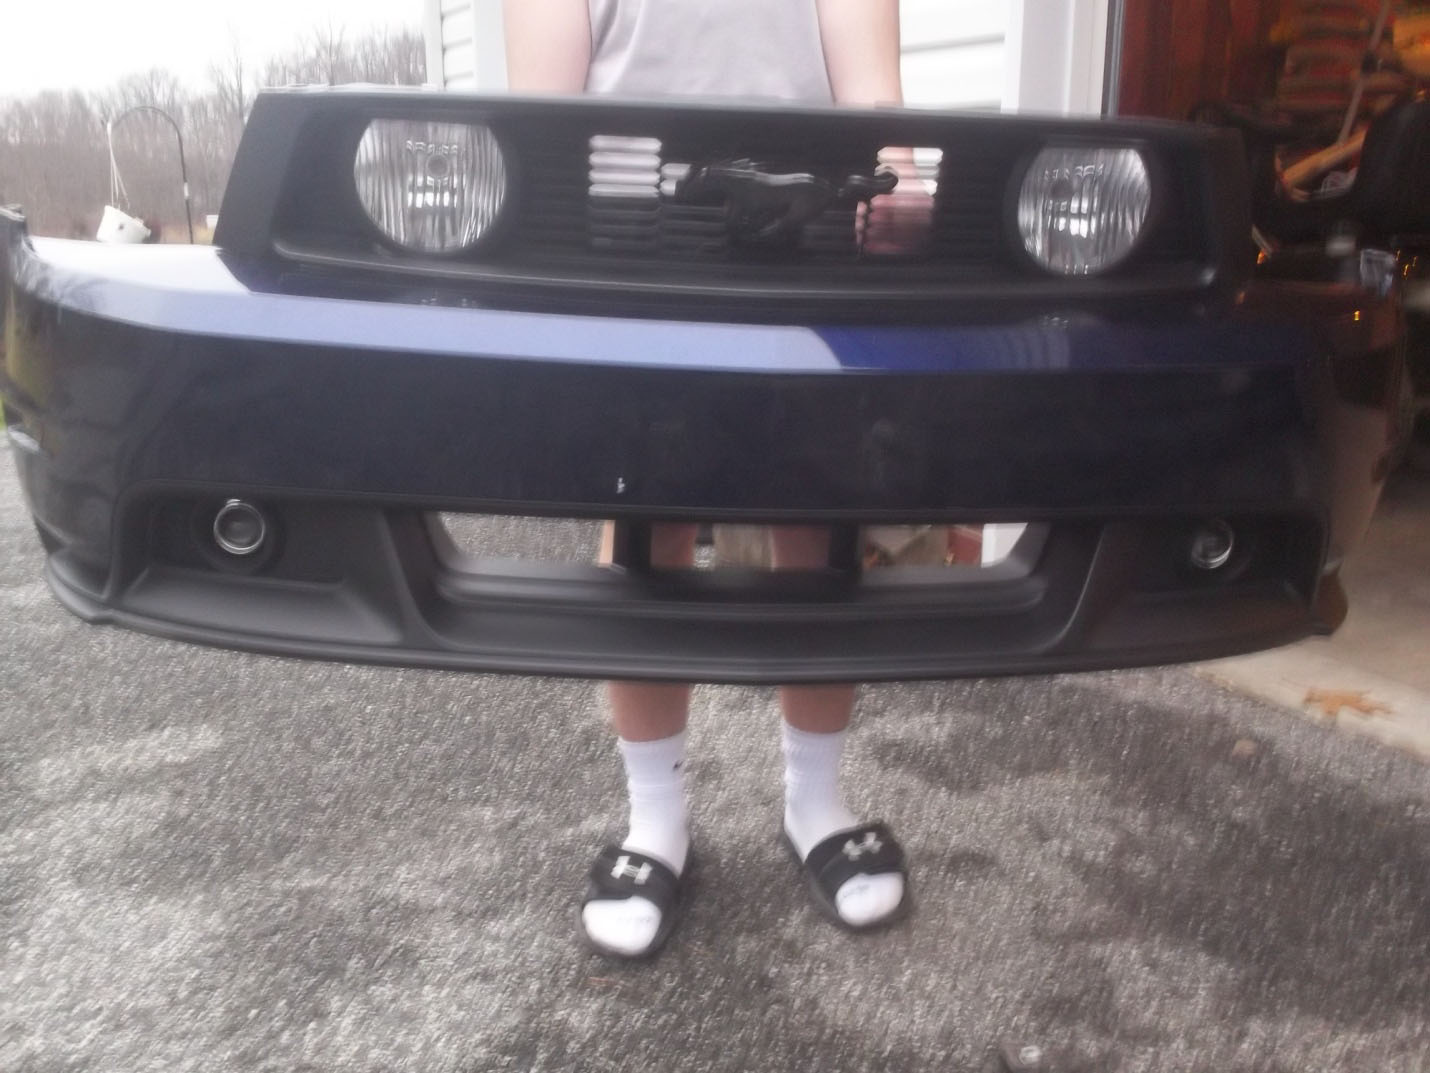
10. Begin to mount the new chin spoiler.
• I found it easier to start from the left side work my way over. Remember the wheel well has to go behind the metal piece on the sides of the front bumper.
Once the bumper is aligned and in place, and the clips and tabs sticking out are all clipped in and hooked, hook up the lights on both the newer fog lights and the side marker lights. Then begin to put in all the bolts and clips that we set aside previously. Also, don’t forget to put the floor cover of the engine bay back in. It was easier to put in last.
Enjoy your new BOSS/CS front fascia!


Installation Instructions written by AmericanMuscle Customer Eric Lucas 2.1.2013
