 FREE 1 to 3-Day Delivery on Orders $149+ Details
How to Install Eibach Pro-Alignment Camber Adjustment Camber Bolts on your 1994-2004 Mustang
Installation Time
2 hours
Tools Required
- 15, 16, and 18mm Sockets
- 1/2" Socket
- 13/16" Deep Well Socket
- Torque Wrench
- Ratchet
- Breaker Bar
- PB Blaster or Other Penetrating Oil
- 2 Jack Stands
- Floor Jack or Scissor Jack

Shop Parts in this Guide
After installing a set of lowering springs in your Mustang, you will notice that your front wheels have a few degrees of negative camber (leaning inward), and if left uncorrected, can cause accelerated wear on one side of your front tires. This can be easily corrected with Eibach's adjustable camber bolts.
Install Time: 1-2 hours depending on skill level and tools available.
Tools Required:
• 15, 16, and 18mm sockets
• 1/2" socket
• 13/16" deep well socket
• Torque wrench
• Ratchet
• Breaker bar
• PB Blaster or other penetrating oil
• 2 Jack stands
• Floor jack or scissor jack
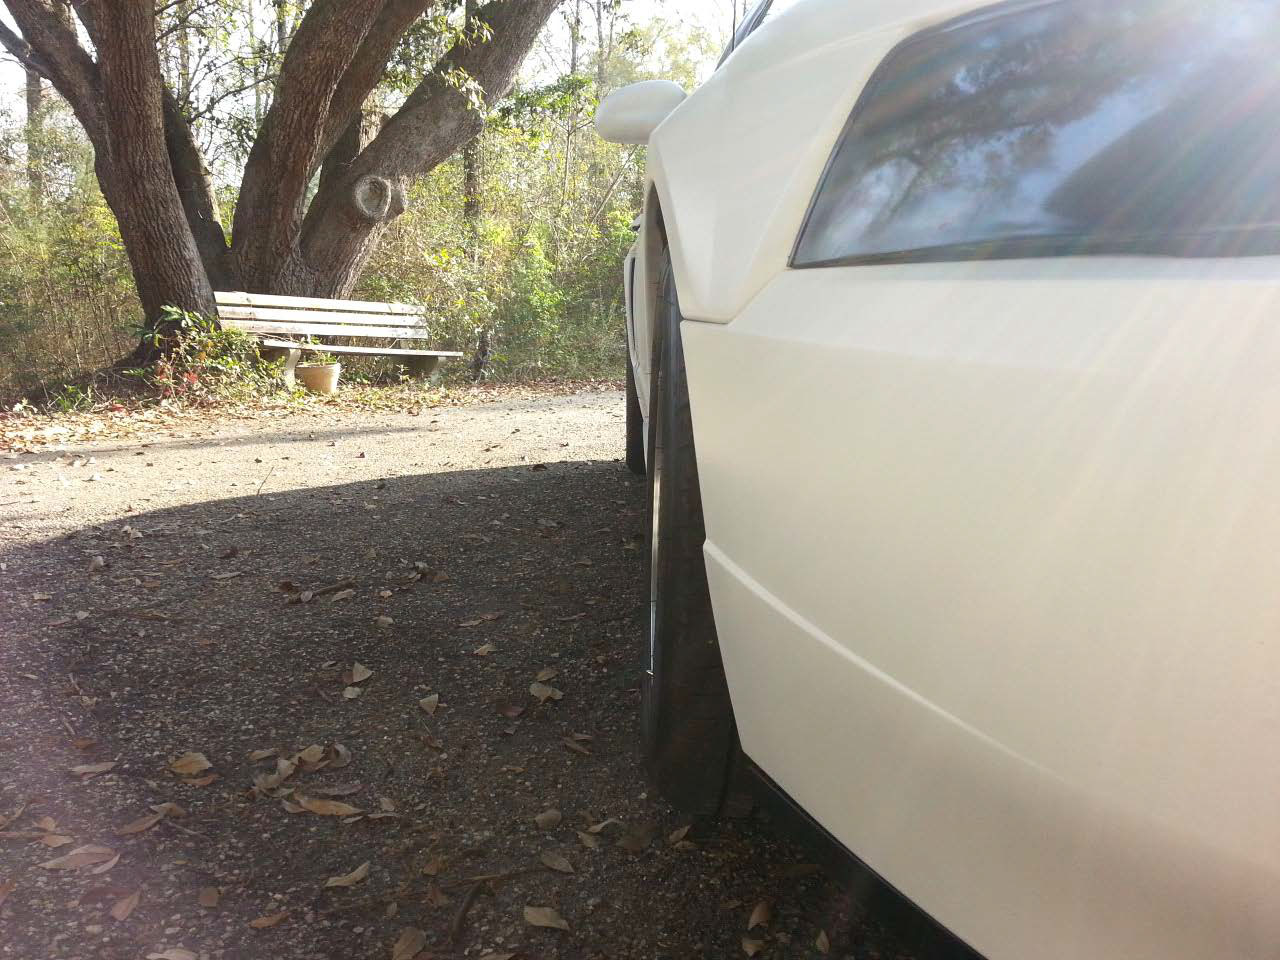
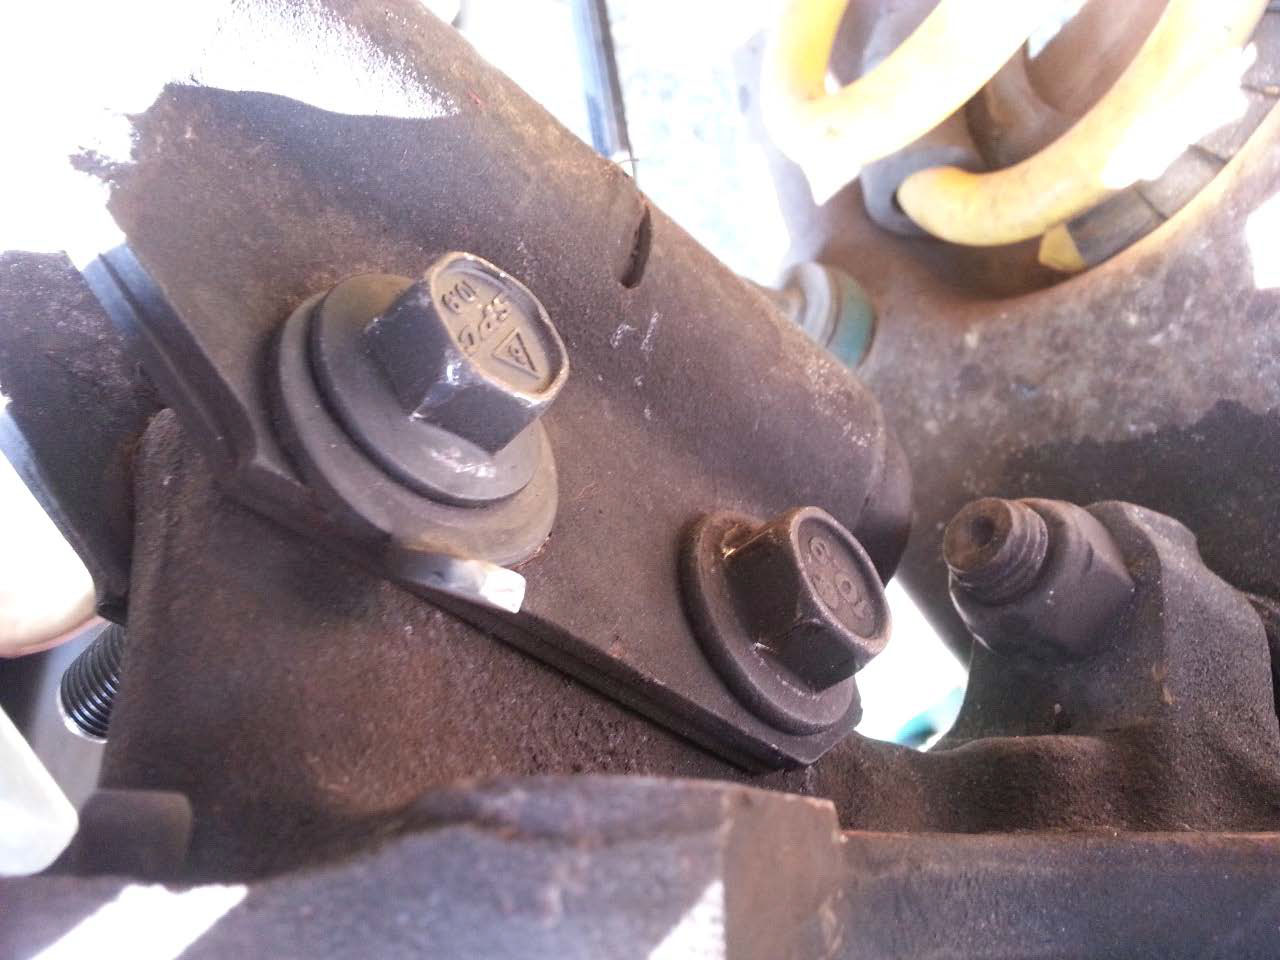
Before:
Installation:
1. Get the front end of the car into the air, and place jack stands under the pinch rail.
2. Once the wheel is removed, remove the two bolts on the rear of the caliper that hold it to the spindle, and place the caliper and brake rotor out of your way. (I used a floor jack with a piece of wood as a shelf to sit the caliper on.)
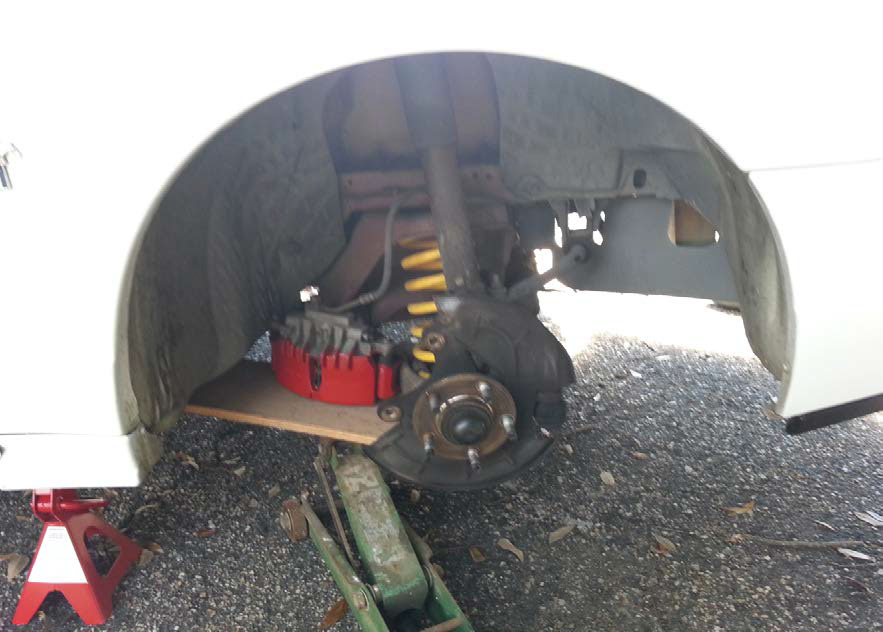
3. Remove the top bolt that holds the strut to the spindle, and loosen or remove the nut from the bottom one. (Do not remove the bottom bolt completely, or the control arm will drop, and the spring will violently decompress.)
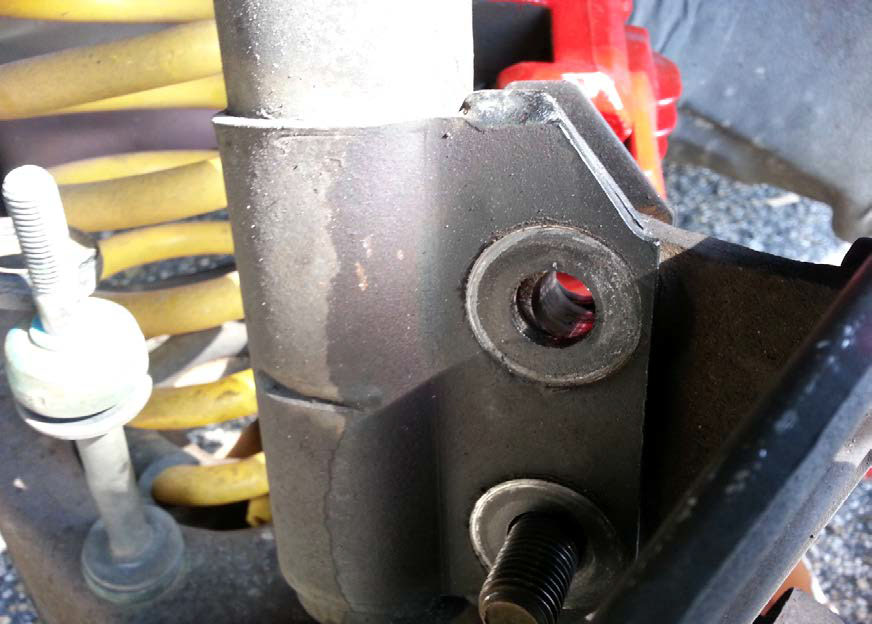
4. Your new camber bolt has a cam lobe that pushes the top of the spindle toward or away from the strut. To correct for the usual negative camber, we want it to push the top of the spindle AWAY from the strut, as shown in the above photo.
5. Slide the new bolt into the top bolt hole, and rotate it until the cam lobe has the top part of the spindle pushed away from the strut.
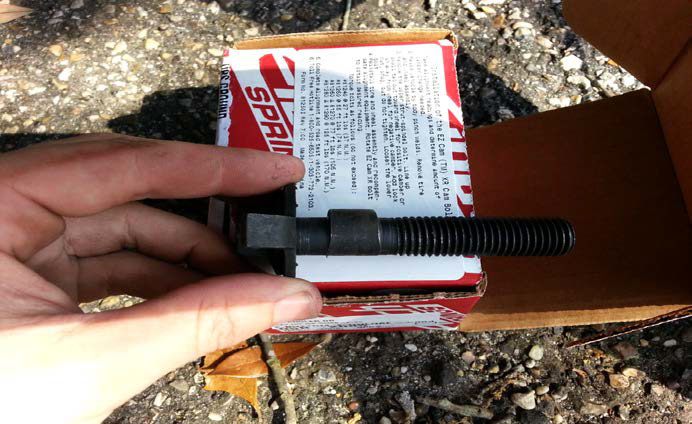
6. Align the stamped washer so that the 45o tab is pointed toward the spindle, and tap this gently in place until it is flush.
7. With a breaker bar, hold the bolt still while you thread on the lock nut. (if the bolt rotates in the hole, the cam will rotate and change the camber.
8. Tighten the lock nut to the torque specifications listed on the box.
9. Re-install rotor and caliper, and check that your dust shield did not get bent during the install, which may cause it to rub on the rotor.
10. Repeat steps on other side of car.
11. Bolt wheels back on, remove your jack stands, and lower the car back down.
After:
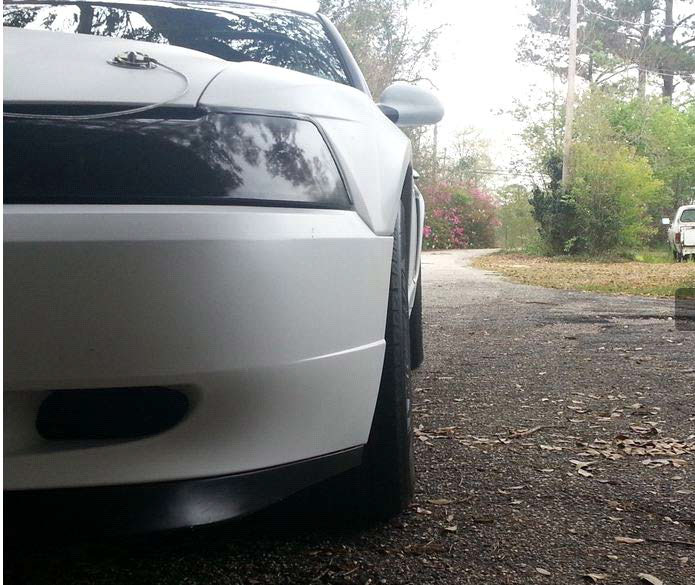
Camber has been corrected so that it cannot be detected by the naked eye; however it is still wise to have your car professionally aligned.
Installation Instructions written by AmericanMuscle customer Corey Ford 3-9-13
