 FREE 1 to 3-Day Delivery on Orders $149+ Details
How to Install a Satin Map Light Accent on your 2005-2009 Mustang
Installation
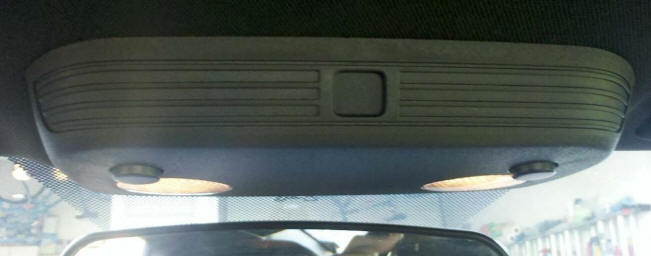
Before:
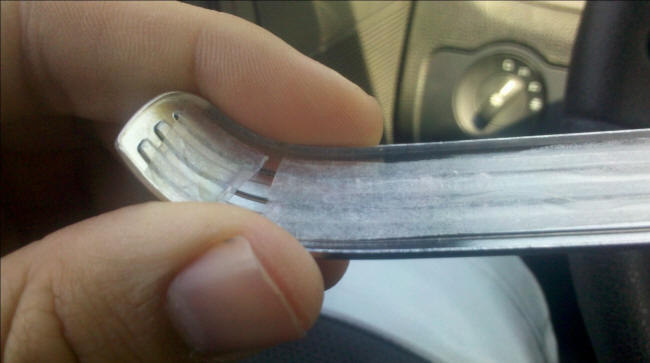
1. When you cut the trim out of the packaging be very careful because the metal is easily manipulated.
2. Use the soap and water to clean the surface of the dome light then dry it.
3. Remove the paper from the adhesive on the trim carefully because you can easily pull the adhesive off.
4. Get super glue (which you can purchase from your local convenience store) and put a few dabs along the adhesive.
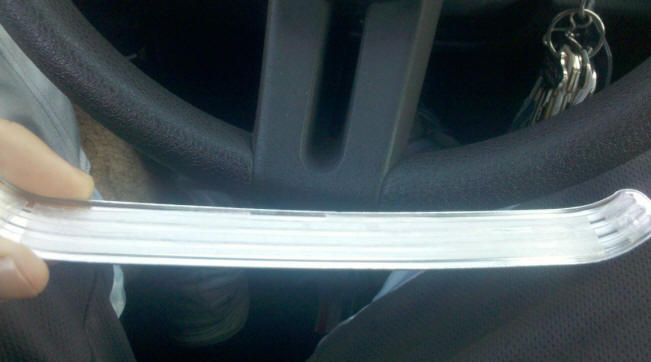
5. Line it up with the grooves on the dome light piece and apply pressure once you have it lined up correctly.
6. Hold it there for 30 seconds applying just enough pressure for it to stay.
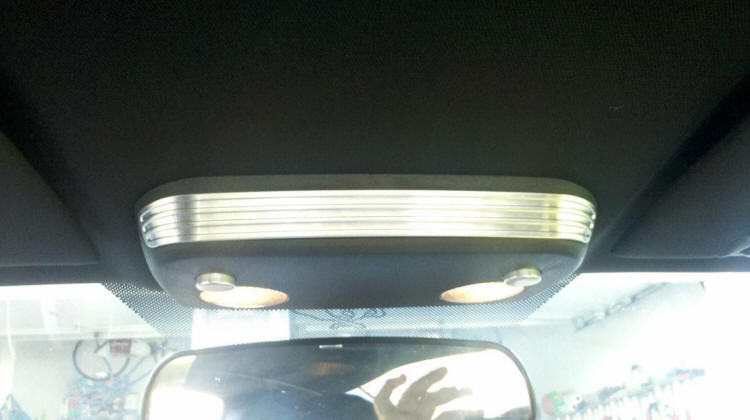
7. Enjoy.
Installation Instructions written by AmericanMuscle customer Mike Russo 6.21.12
