 FREE 1 to 3-Day Delivery on Orders $149+ Details
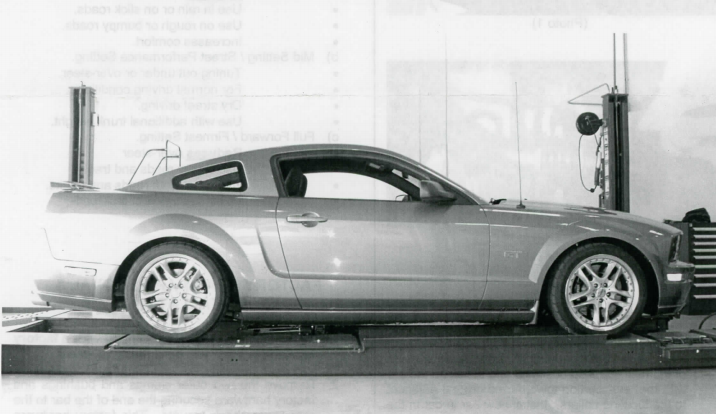
How to Install Ford Racing Assembled Handling Pack - Coupe on your Mustang
FACTORY FRONT BAR REMOVAL & INSTALLATION
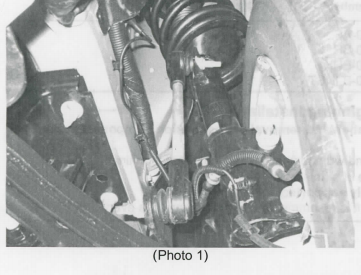
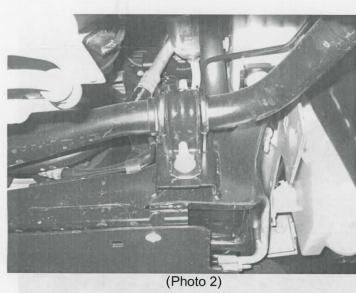
1. With the vehicle safely supported, remove all 4 wheels. Disconnect the front end links from the factory front bar on both sides. Remove the center frame mount bushing securing both sides of the bar to the frame. (See photos 1 &2)
2. Remove the bar from the car. Lubricate the inside of.the new supplied bushings and install on the bar with the "cut" portion towards the ground adjacent to the locating collars. Install new bar in car in the reverse order of removal.
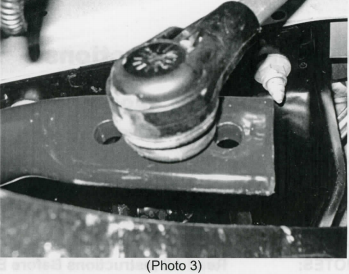
3. The front bar is three position adjustable, before connecting the end link to the bar see the guide below. (See photo 3)
TUNING YOUR FRONT BAR
FRONT
a) Full Rear/ Softest Setting.
Reduces under-steer
Use in rain or on slick roads. Use on rough or bumpy roads. Increases comfort.
b) Mid Setting/ Street Performance Setting.
Tuning out under or over-steer. For normal driving conditions. Dry street driving.
Use with additional trunk weight.
c) Full Forward/ Firmest Setting.
Reduces over-steer
Use on dry roads and tracks. Use on smooth roads and tracks.
Do not use on wet or slick roads .
FACTORY REAR BAR REMOVAL & INSTALLATION
1. Note: 6cyl models not equipped with a factory rear anti-roll bar will go directly to step four.
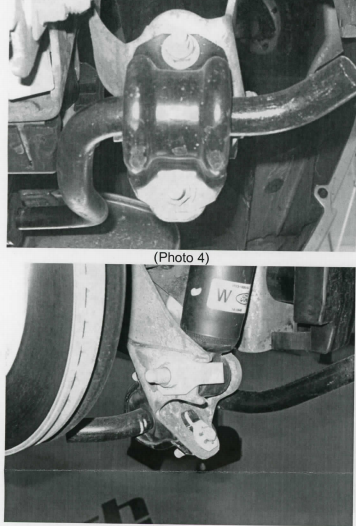
2. Remove the two outer clamps and bushings and factory hardware securing the end of the bar to the rear lower shock mounts. This factory hardware will not be reused. (See photos 4 & 5 on following page)
3. Next remove the top end link bolt securing the bar to the car, use caution, as the bar will become loose. Remove the rear bar from the car completely. (See photo 6)
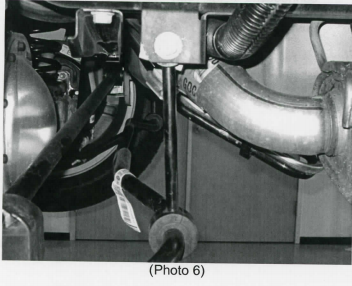
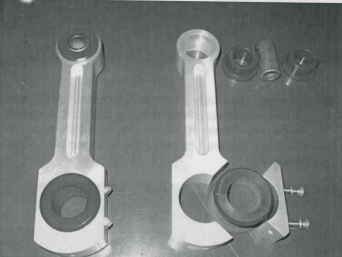
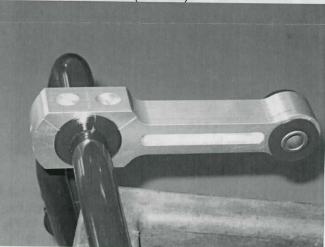
4. Now you are ready to assemble the new rear end links and secure them to the new Eibach rear bar. Using photo 6 as a guide, apply the supplied lubricant to the inside of the new top end link bushings and Install the bushing and sleeve in the link. Lubricate the inside portion of the lower bushings and install on the new rear bar. Attach end link to bar making sure the "cap" portion is towards the rear of the car. Install the assembly in the car with the new supplied bolt and nut. (See photos 7 & 8)
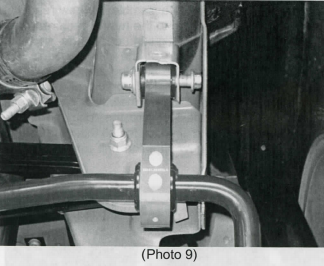
5. Install your new Anti-Roll bar in the car loosely by securing the end links to the factory mounts with the supplied nut and bolt for each side. (See photo 9 on following page)
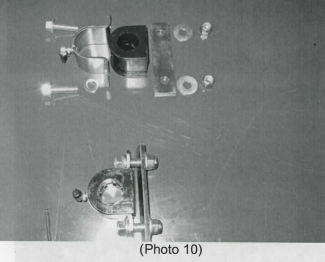
6. Now you are ready to connect the ends of the bar to the rear lower shock mounts with the supplied hardware. Photo 10 shows the assembly order of the parts required to make this connection. (See photo 10)
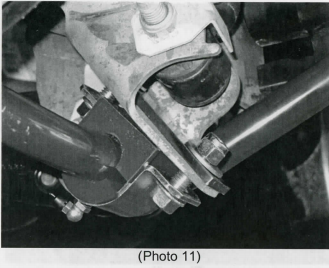
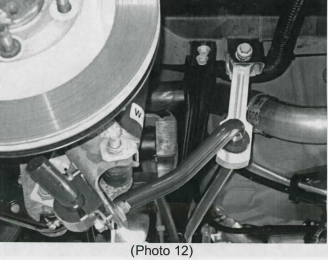
7. Lubricate the inside of the end bushings and install them on the bar with the "cut" portion towards the ground. Loosely secure the bushing clamp to the lower shock mount and backing plate with two bolts, four washers and two nylok nuts per side, do not tighten at this time. (See photos 11 & 12)
8. With all the above steps complete and rear connections still loose, re-install the wheels and tires and set car on the ground under its own weight. With the car sitting under its own weight or on a drive on type of hoist, tighten all connections in the rear. This is done to prevent bushing pre-load and premature wear of the bushings.
