 FREE 1 to 3-Day Delivery on Orders $149+ Details
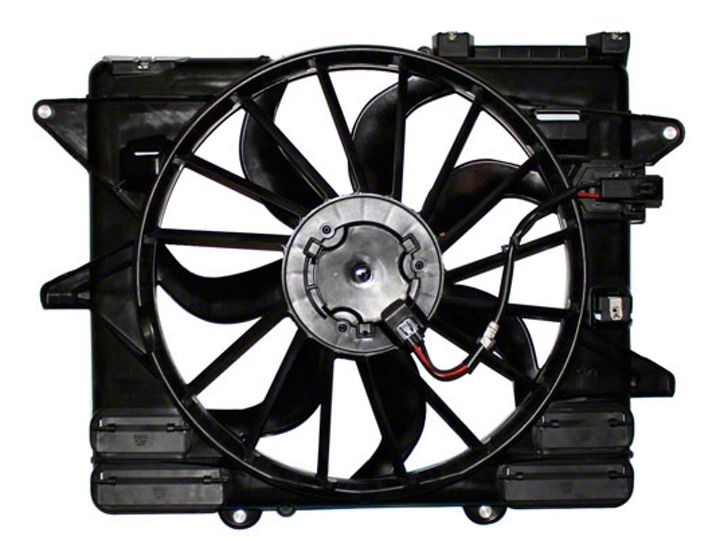
How to Install Ford Performance SVT Performance Cooling Fan (05-14 GT, GT500) on your Ford Mustang
Installation Time
2 hours
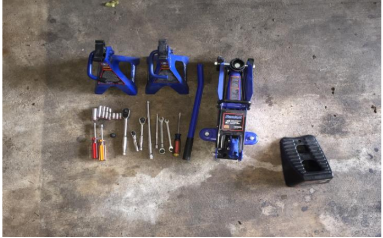
Tools Required
- 2 Jack Stands
- 1 Floor Jack
- 2 Wheel Chocks
- 1 Flat Head Screwdriver
- Deep and Short Sockets 4mm-13mm
- 8mm and 10mm boxed and open end Wrenches
- 1/2 in. and 3/8 Ratchets
- 12 in. Extension
Shop Parts in this Guide
1. Securing the vehicle: Place wheel chocks behind rear tires, put car in gear (if Standard) and park for manual and put on the E-brake.
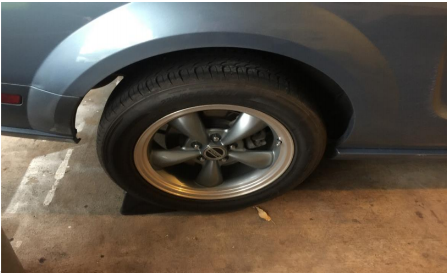
2. Put the car on jack stands, insure you are working on a flat and level surface.
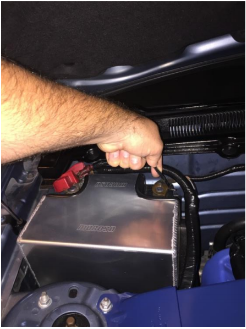
3. Disconnect the negative battery cable using the 8 mm boxed/open end wrench.
4. Using the flat head screwdriver, take out the inserts that hold the radiator cover off.
5. Disconnect and remove the cars air filter system and or cold air intake to allow more room to work.
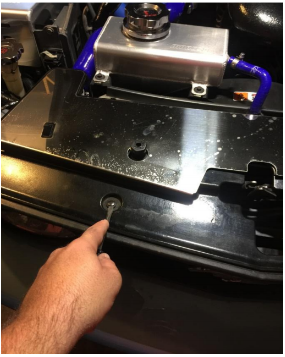
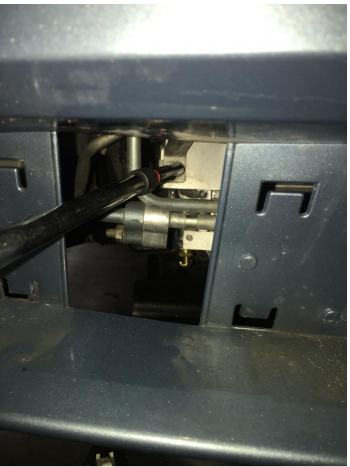
6. Loosen the radiator expansion cap, this will allow the coolant to flow once you open the pet cock/drain plug.
7. Open the drain plug and empty the coolant from the radiator into a catch basin.
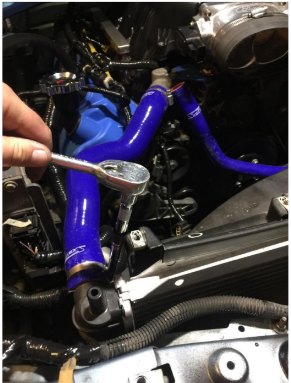
8. Remove the radiator hose from the expansion tank that leads to the top of the radiator.
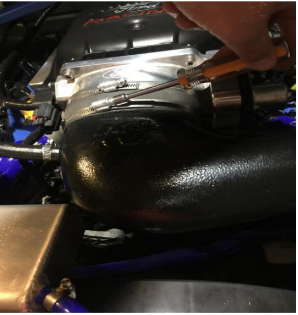
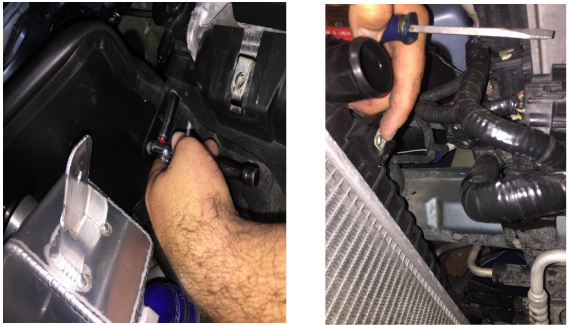
9. Using the 10 mm socket remove the radiator brackets on the left and right side on top of the radiator. Set aside for reinstallation.
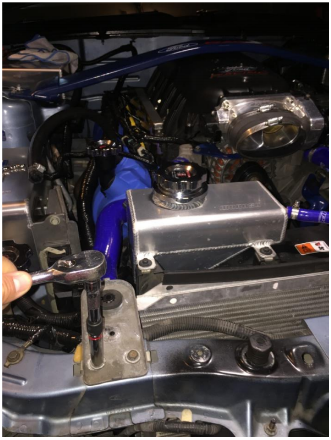
10. Using the 10 mm socket remove the two bolts holding the expansion tank.
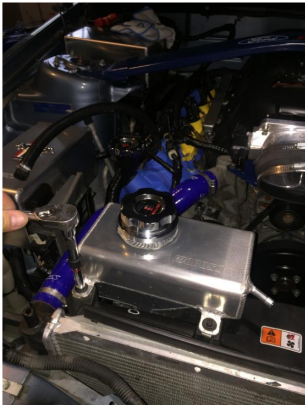
11. Remove the upper radiator hose.
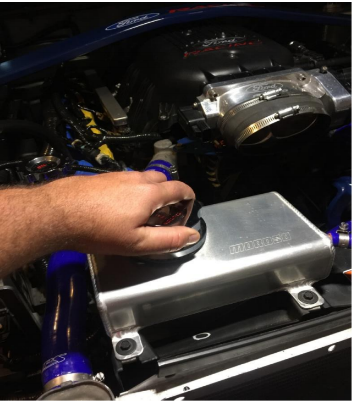
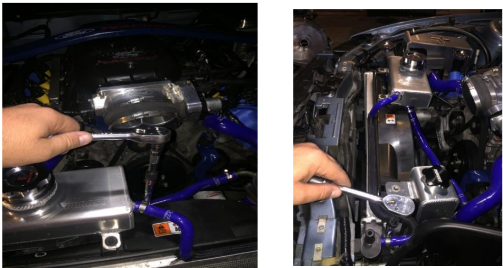
12. Using the 8mm socket remove the bolt holding the power steering reservoir and set aside the reservoir.
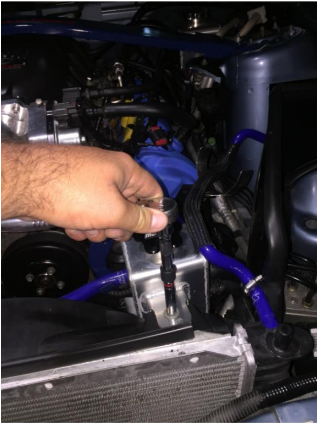
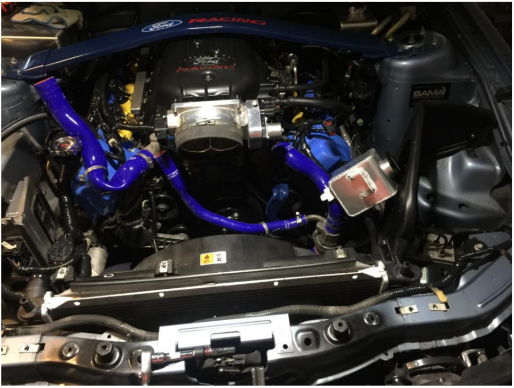
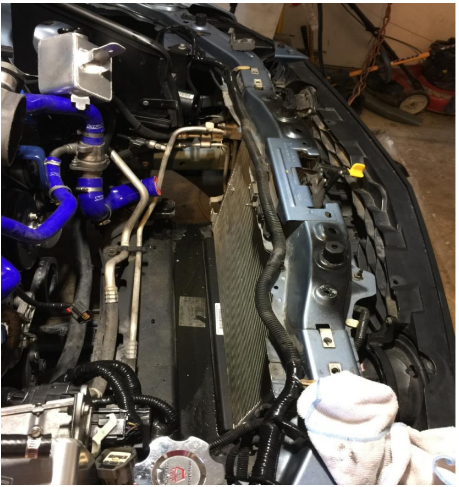
After removing the expansion tank, power steering reservoir and radiator hoses.
13. Disconnect the fan.
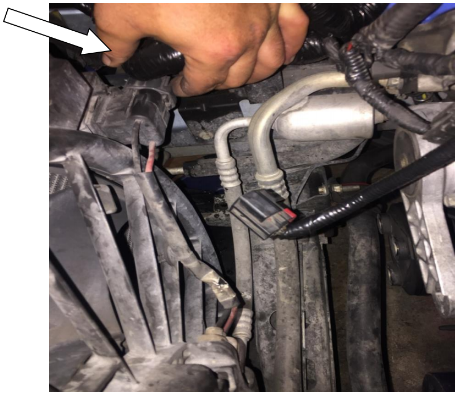
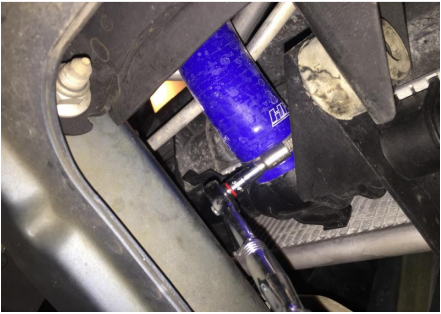
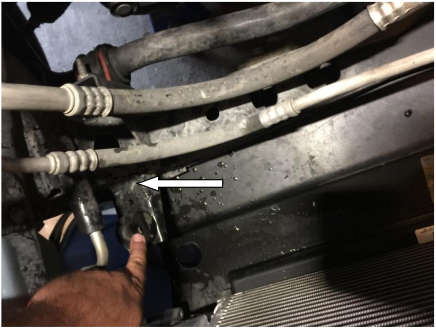
14. Disconnect the lower radiator hose.
15. There are two bolts holding the fan to the radiator, using an 8 mm socket, remove them and remove the hardware using a flat head screw driver, set aside to install onto new radiator. Then remove the fan.
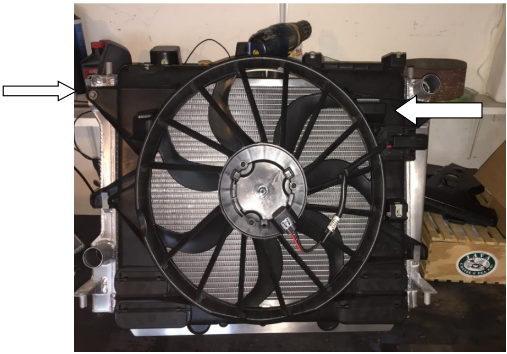
Comparison of the old vs. new radiator

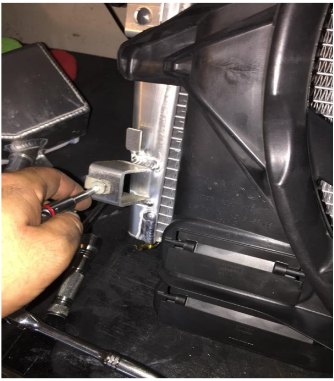
16. Insert the hardware onto the new radiator.

17. Using the bolts from the old fan, reuse them to put new fan onto the new radiator.
18. There are two brackets that hold the radiator to the a/c condenser,using an 8mm boxed end wrench remove the bolts and brackets and set aside for reinstallation.
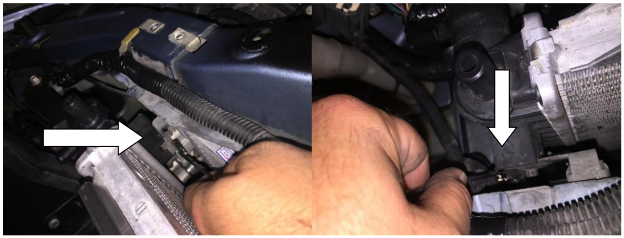
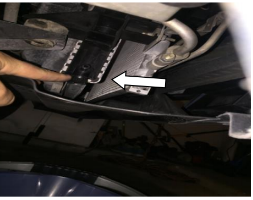
19. To gain access to the two lower bolts holding the radiator to the a/c condenser, remove the lower grill....using a 10 mm socket remove the nut and using a 4mm socket, remove the bolt. Also remove the hardware and keep aside for later use and reinstallation.
20.Inspect the rubber gaskets that hold the radiator for serviceability.
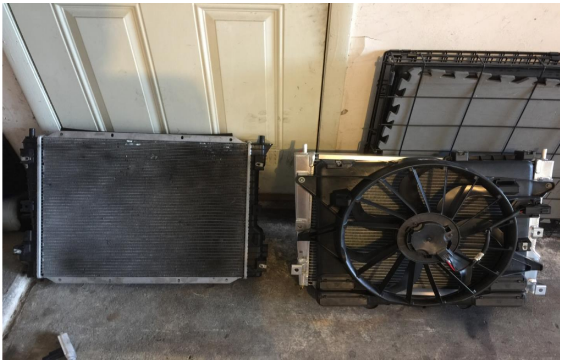
Side by side comparison of the old vs. new radiator
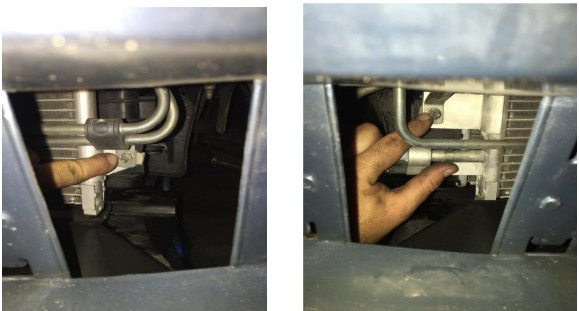
21. Using the old hardware, install them onto the new radiator.
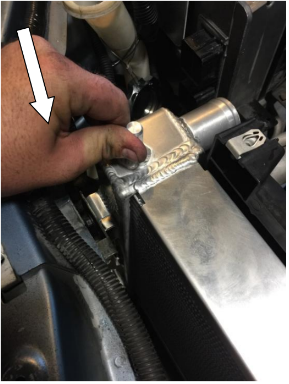
22. When installing the new radiator and fan, place the metal guides on the bottom of the radiator into the rubber gasket.

23. Once the radiator is properly seating, reinstall the brackets, mounting the radiator to the bottom of the a/c condenser.
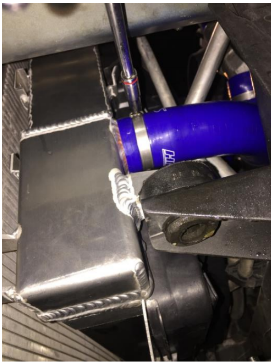
24. Next reconnect the lower radiator hose.
26. Next reinstall the two brackets on the top of the radiator.
27. Reinstall the power steering reservoir.
28.Connect the Fan.
29.Reinstall the expansion tank and radiator hose.
30. Reinstall the upper radiator hose.
31.Reinstall the radiator hose that connects the expansion tank to the top of the radiator.
32.Install the top radiator brackets.
33.Make sure the drain plug/ pet cock is in the closed position and fill the radiator with approved radiator coolant for the Ford Performance Aluminum Radiator. Follow service guide to ensure proper filling technique.
34.Reinstall Air Filter/Cold Air Intake.
35.Reinstall the Radiator Cover. Once you have filled the radiator, inspect for leaks and tighten clamps and refill coolant as needed.
Install Guide Created by AmericanMuscle Customer: Christopher Lee on 6/9/17

