 FREE 1 to 3-Day Delivery on Orders $149+ Details
How To Install J&M Mustang Rear Adjustable Lower Control Arms for your 1999-2004 Mustang
Installation Time
4 hours
Tools Required
- 3/8” ratchet
- 1/2” ratchet
- 18mm deep socket
- 18mm standard socket (optional)
- 19mm open end wrench (or socket w/additional ratchet)
- 13mm socket w/6” extension
- 3/4” open end wrench
- Rubber mallet
- Jack stands (2 required, 3 preferred)
- Wheel chocks
- Jack lift
- Thin flathead screwdriver
- Pliers
- Tape measure
Shop Parts in this Guide
1. Remove all purchased materials from box and verify that all parts are included.
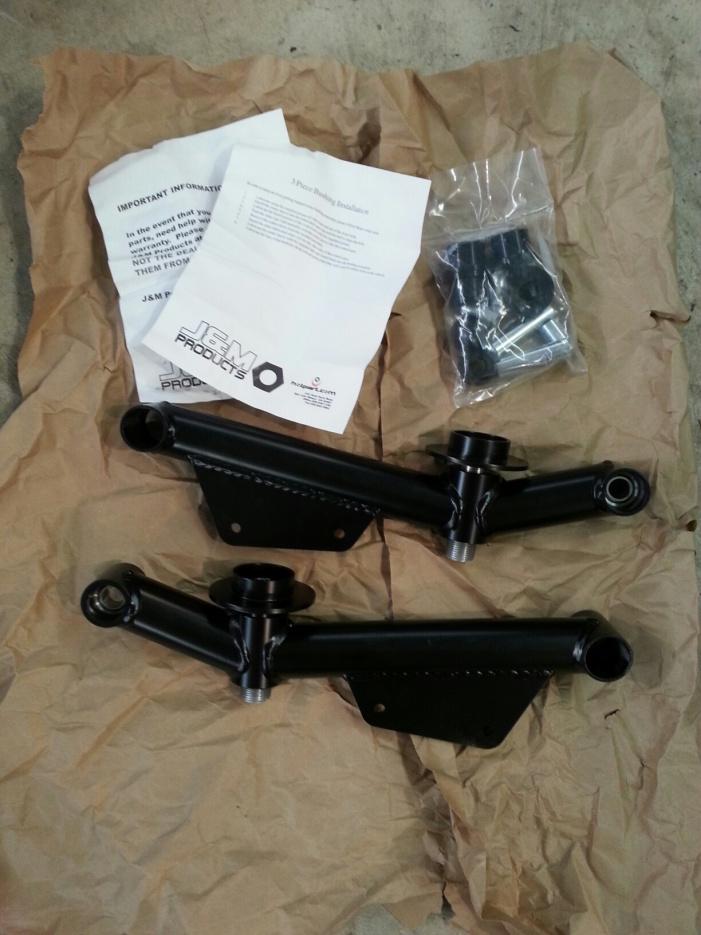
Packaging:
2. The following items should be included:
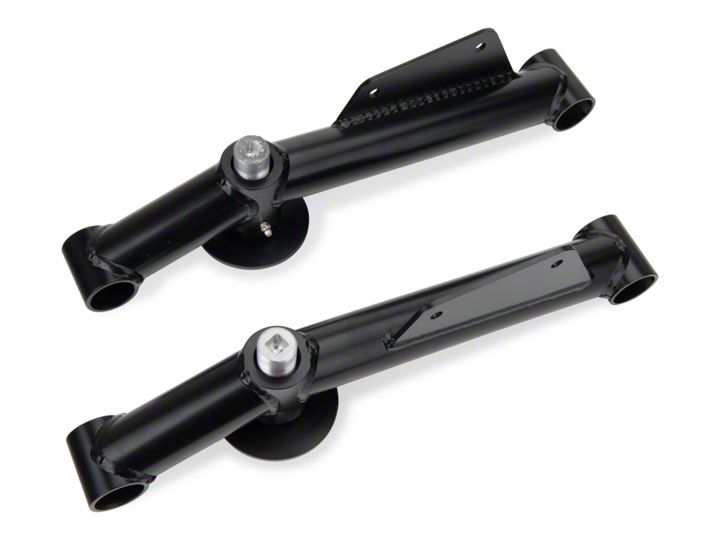
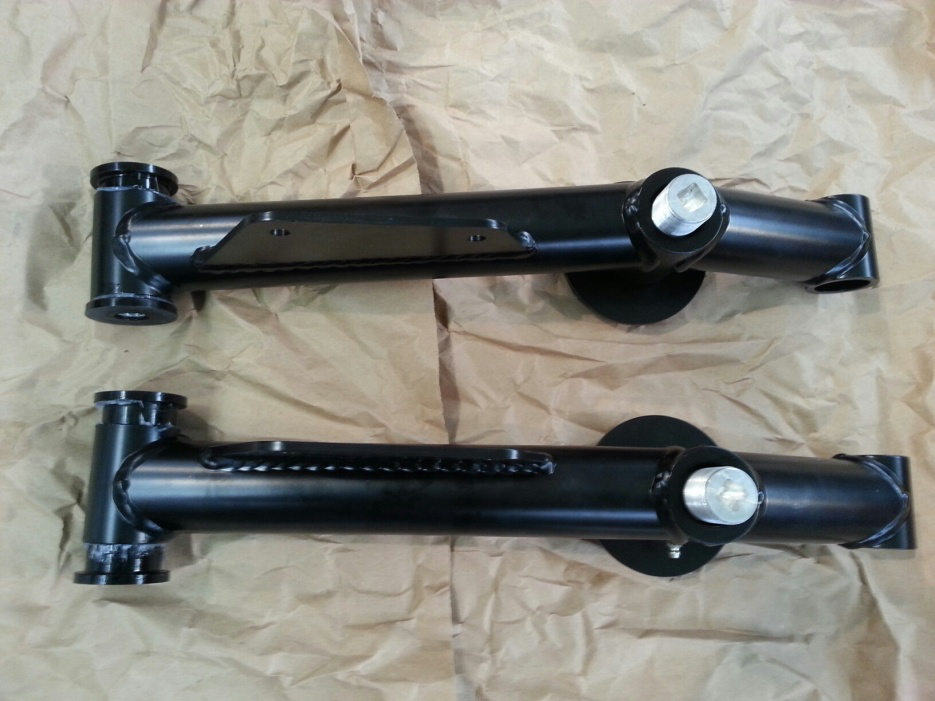
2.1. Left & right control arms
2.2. Package containing bushings, sleeves and lube
2.3. J&M 3 piece bushing installation guide
Setting Up Bushings:
1. Using the supplied lube, grease the bushings and sleeves to ensure coverage as shown below. Note: There is no need to grease the 4 identical sleeves.

2. Install the long sleeve into ball bushing and into one cup bushing as shown (2x).

3. Install one sleeve bushing assembly into the front side of the control arm. Then insert the opposing cup bushing on the other side of the assembly. A rubber mallet can be used to aid in putting these bushing together, but a thin flathead screwdriver is best. Use the flathead screwdriver to release trapped air from between the metal sleeve and cup bushing, then press the bushing together.
4. The additional 4 sleeves should remain off of the control arms until they are ready to be bolted on.
Procedure:
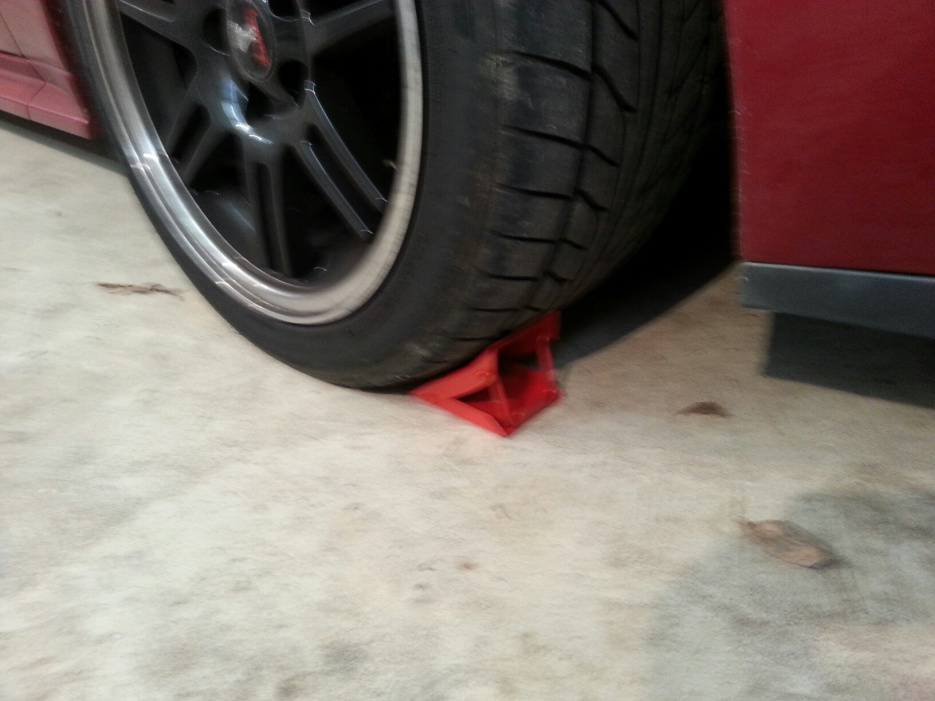
1. Park the car (in gear with the e-brake on) on flat ground and use wheel chocks on the front tires.
2. Measure wheel gap and record.
3. Using the jack, raise the car from the pumpkin. If you are worried about metal-on-metal contact, use wood between the jack and the car.
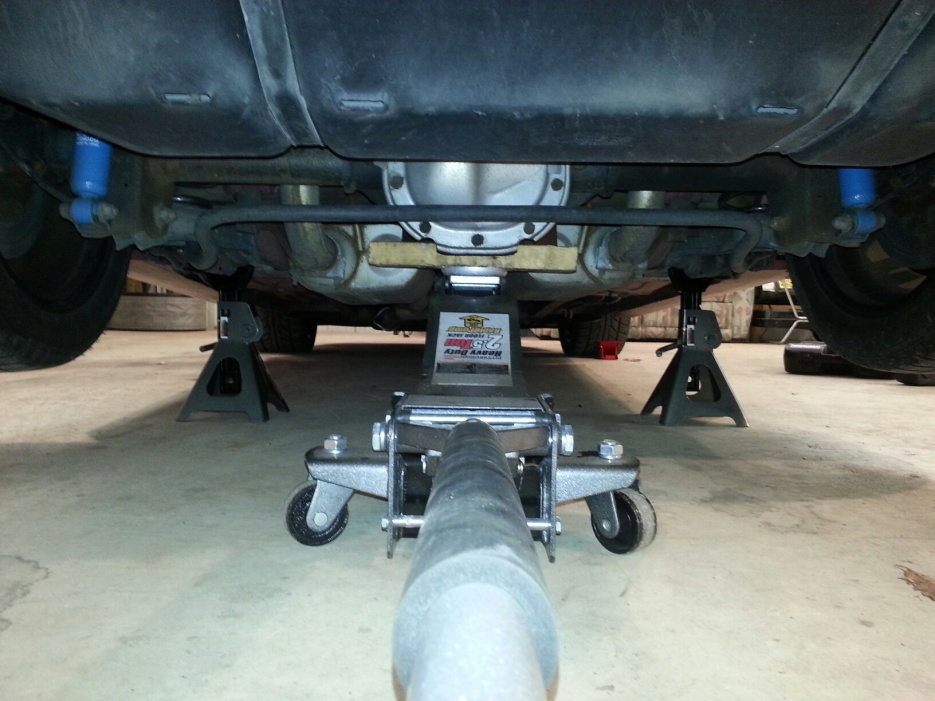
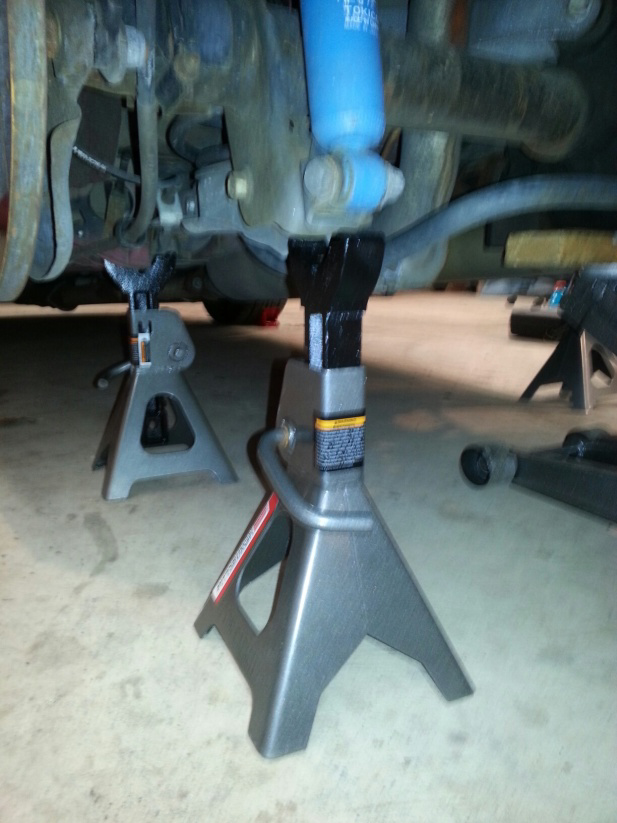
4. Place jack stands under the pinch welds leaving room to remove the front control arm bolts. Lower the car so that the jack stands engage, but do not put the entire weight on the jack stands at this point.
5. Remove both rear tires.
6. Remove the rear sway bar using a 13mm socket with 6” extension. There are two bolts per side.
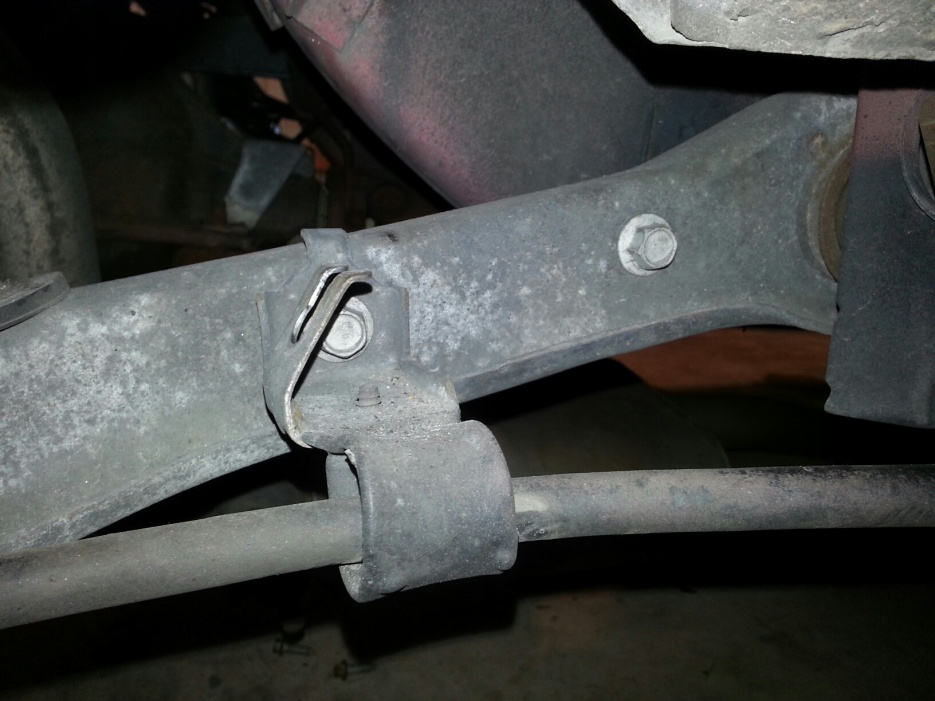
7. Note: The bracket that holds the emergency brake cable to the control arm has a bent tab on the top. This tab will need to be bent upward for installation on the new control arms. Use a screwdriver through the bolt hole and pliers to bend the tab up.
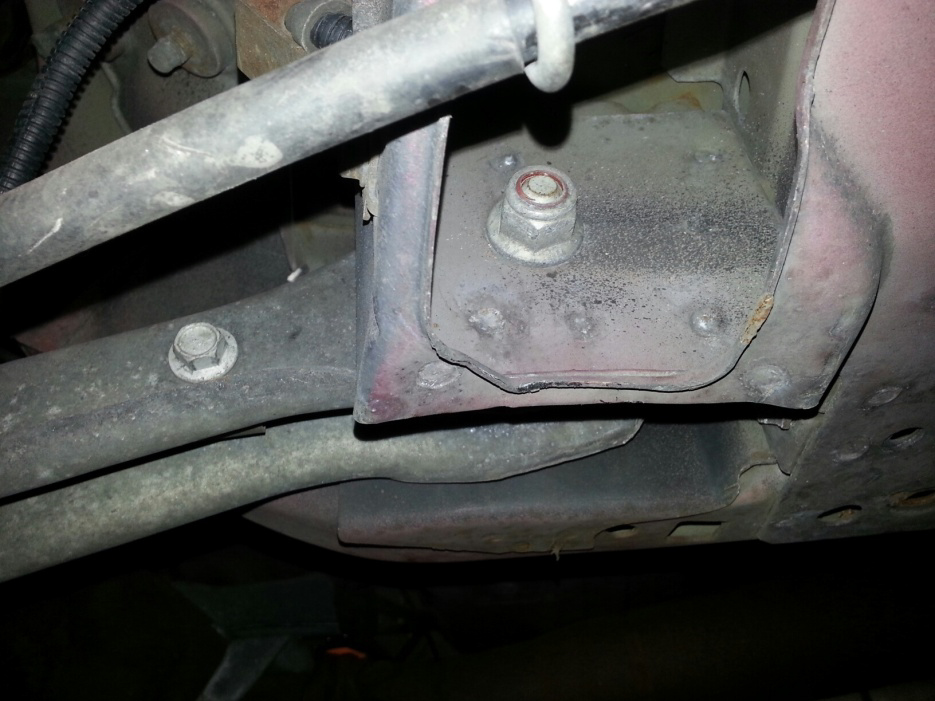
8. Remove the horizontal shock using the 18mm socket. Remove the nut connected to the frame only.
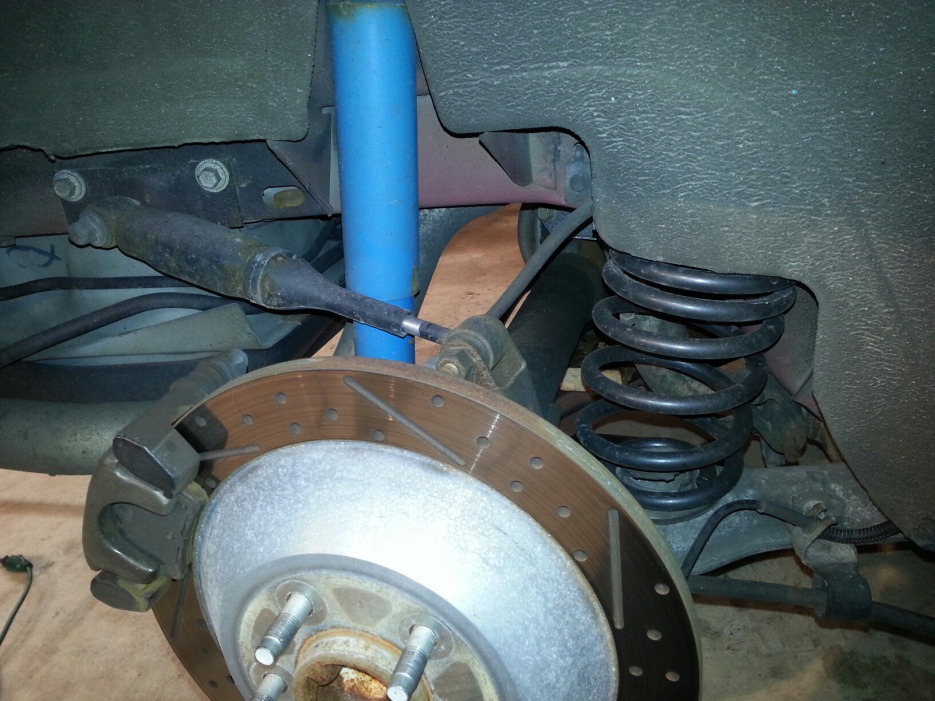
9. Use the 18mm socket and 19mm wrench to unbolt the lower portion of the vertical shock.
10. Optional: Determine which side you will do first. Place a jack stand under the axle on the opposite side that you will be working on. This will force the axle to tilt and make it easier to remove the spring.
11. Lower the jack to its lowest position.
12. While pressing the axle down on the side you are working on, pull the spring out.
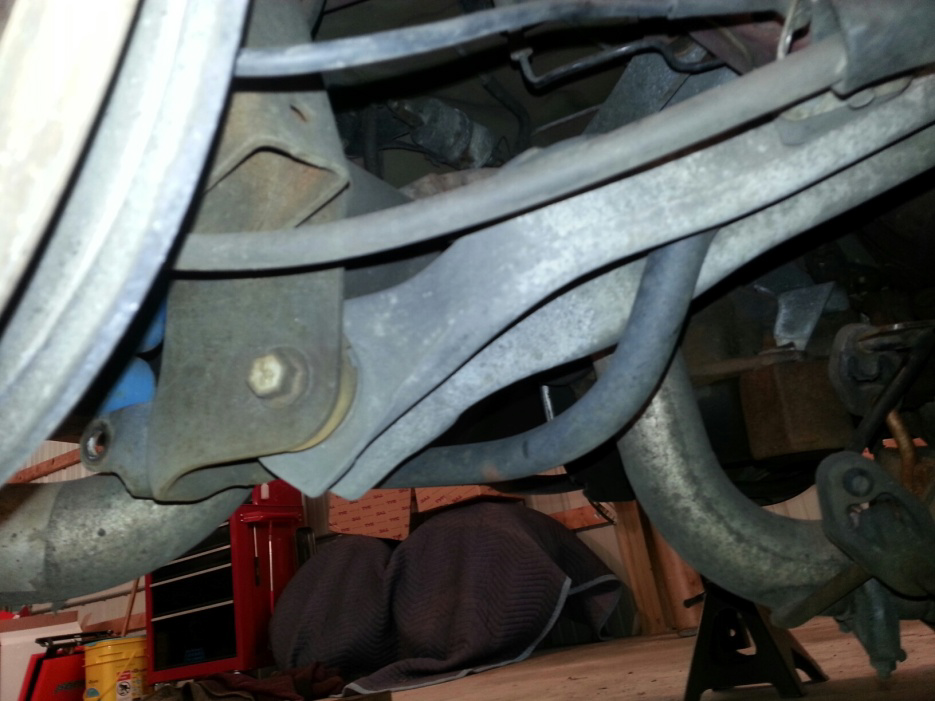
13. Remove the front control arm bolt using 18mm deep socket and 3/4” wrench.
14. Remove the rear control arm bolt using the 18mm deep socket and 3/4” wrench.
15. Determine the correct J&M control arm for the side you are working on. The vertical plates on the control arm should be closest to the outside of the car.
16. Install the front of the control arm using the factory bolts. Greasing the outside of the bushings should help it slide in easier.
17. Install 2 of the metal sleeves (provided by J&M) onto the rear end of the control arm. Then, install the rear end of the control arm.
18. Reinstall the spring. Be sure to align the pigtails as they were.
19. Raise the jack until the rear shock bolt hole aligns with the bolt hole on the axle.
20. Bolt the vertical and horizontal shock back in place.
21. Repeat this procedure from section 4.5 for the opposite side of the car.
22. After other side is installed, raise the car until the axle is relatively straight, and then reinstall the rear sway bar.
23. Raise car up off of jack stands, remove stands, and lower car.
24. Remove wheel chocks.
To Adjust Ride Height:
1. Turn the screw under the perch using a 1/2” ratchet.
2. Compare recorded gap height.
3. If you are going lower, verify that you will not encounter any wheel rub.
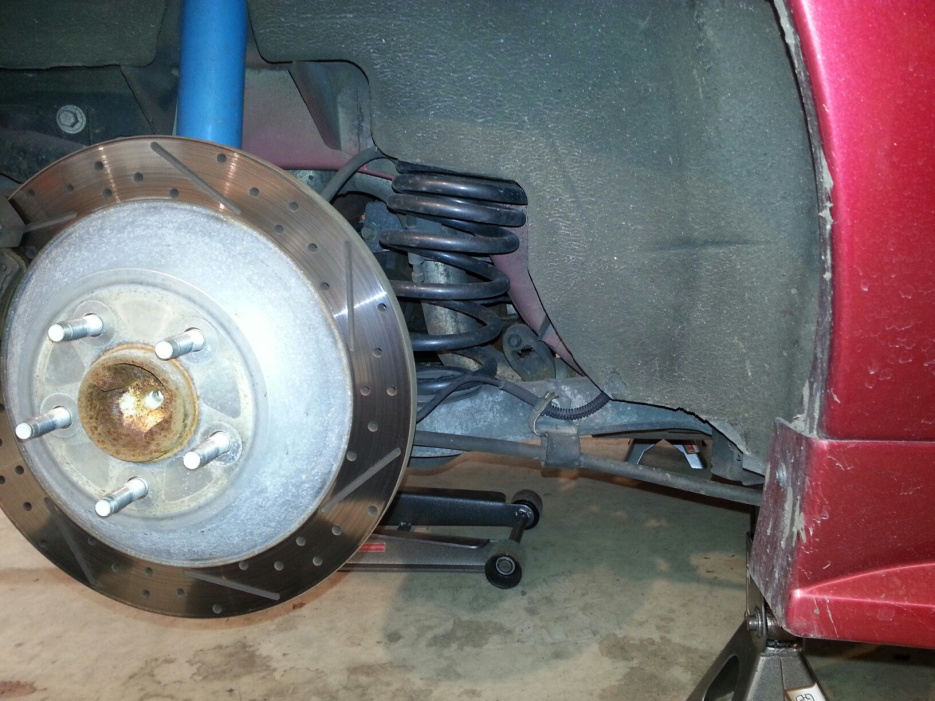
Before:
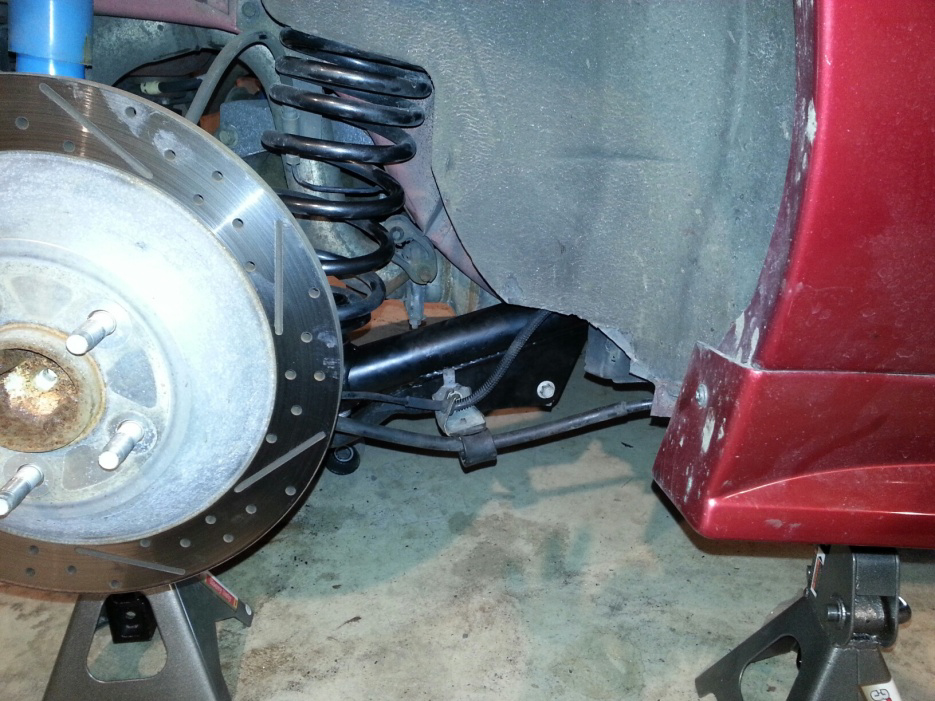
After:
Installation instructions provided by AmericanMuscle customer Shawn O’Donnell on 3.25.13.
