 FREE 1 to 3-Day Delivery on Orders $149+ Details
How To Install a JPC Racing Single Turbo System - Tuner Kit on your 2011-2014 GT, Boss Mustang
Installation Time
2 days
Tools Required
- Full Metric Tool Set
- Several Extensions
- Regular Screw Driver
- Philips Head Screw Driver
- Drill
- Cutting Tool
- Needle Nose Pliers
- Welder (Optional)
- Allen Keys/ Sockets
- Soldering Iron
Note:
These directions do expect some level of automotive experience. This should be left to someone with professional automotive experience.
Instructions:
Disconnect the Battery (Both Positive and Negative).
Put the car on a set of jack stands. Get the car as high as possible to make the installation of the
piping easier. If a lift is available that would be the preferable.
Remove the catalytic converters and H Pipe from the car.
Next we will be removing the bumper cover. We're going to start with the 8 plastic clips that
retain the radiator cover.
Remove the 2 bolts that are near each headlight securing the bumper cover and the 2 bolts
inside of each fender.
Remove the 9 bolts securing the under tray (underside of bumper).
Unplug the foglights and any other connections
The bumper is at this point secured with clips just clips. Grab the bumper up were it meets the
fender and pull towards you. This should free the bumper and allow for removal.
By the headlights there are 2 tab your going to need to pull the bumper cover over to completely
remove it from the car. The bumper should have some flex to it.
Set the bumper in a safe place for the time of the installation
Drain the coolant from the car
Remove factory coolant tank
Remove the factory airbox / cold air intake.
Remove the factory fan
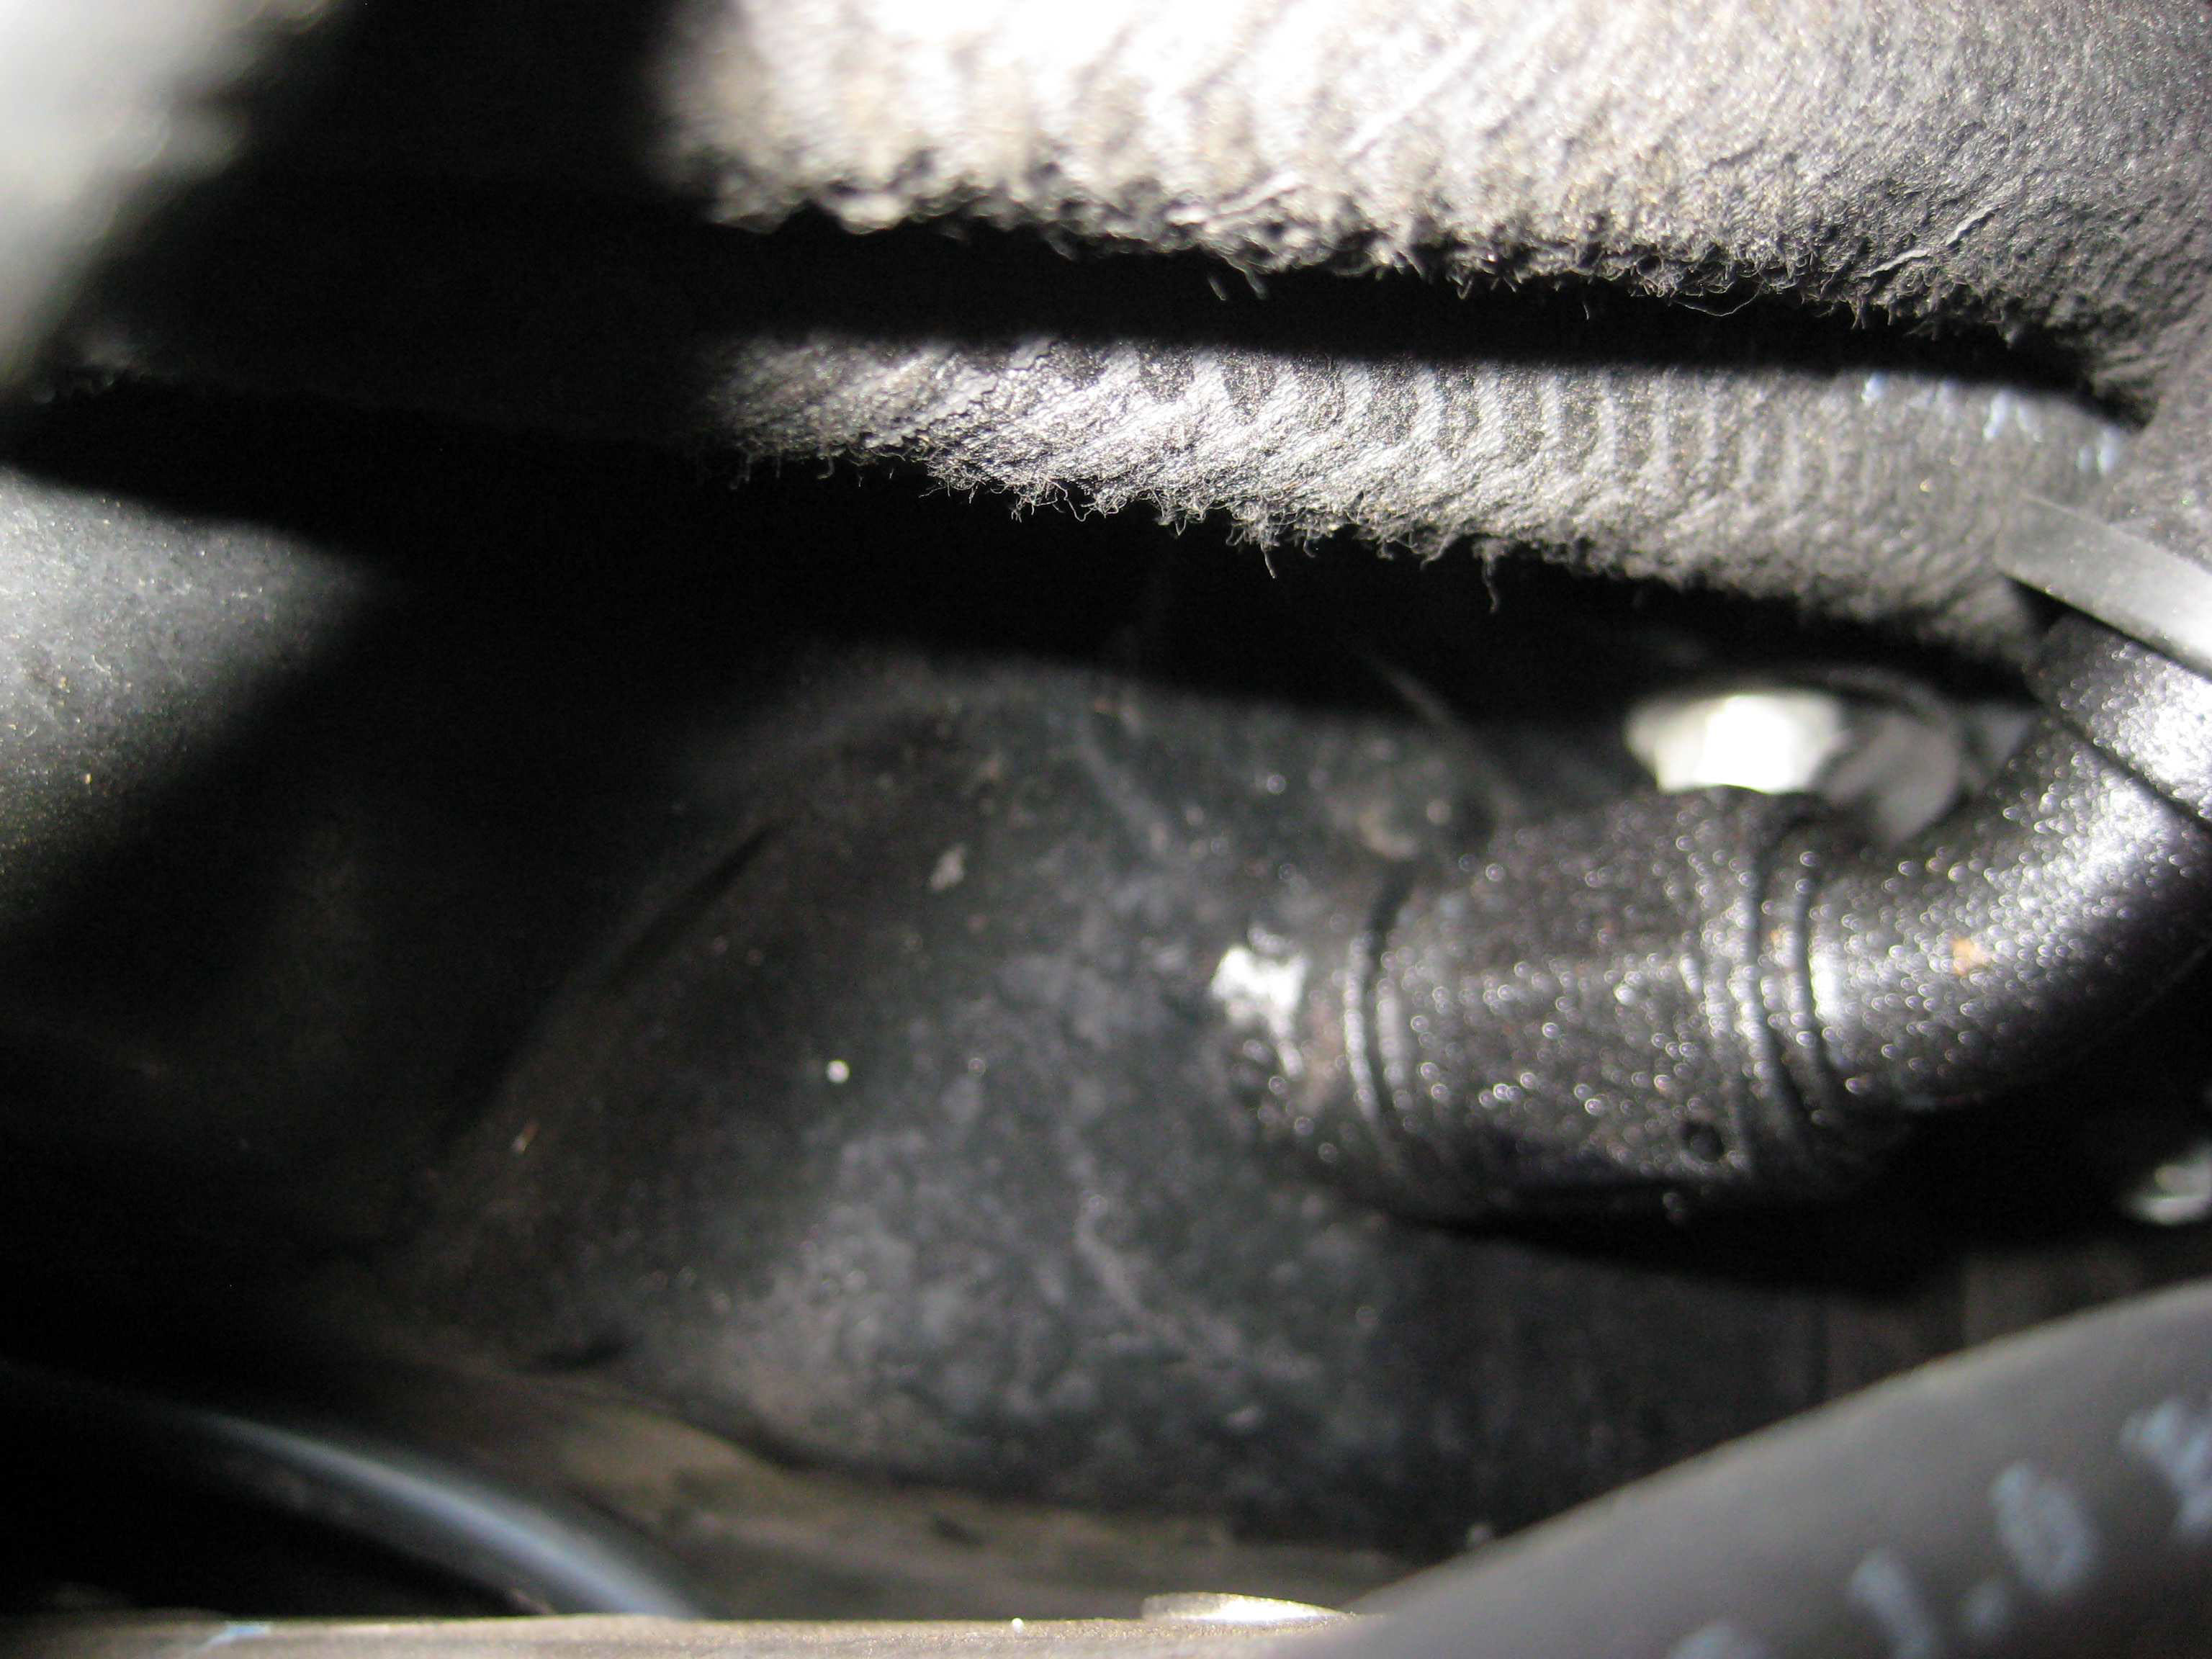
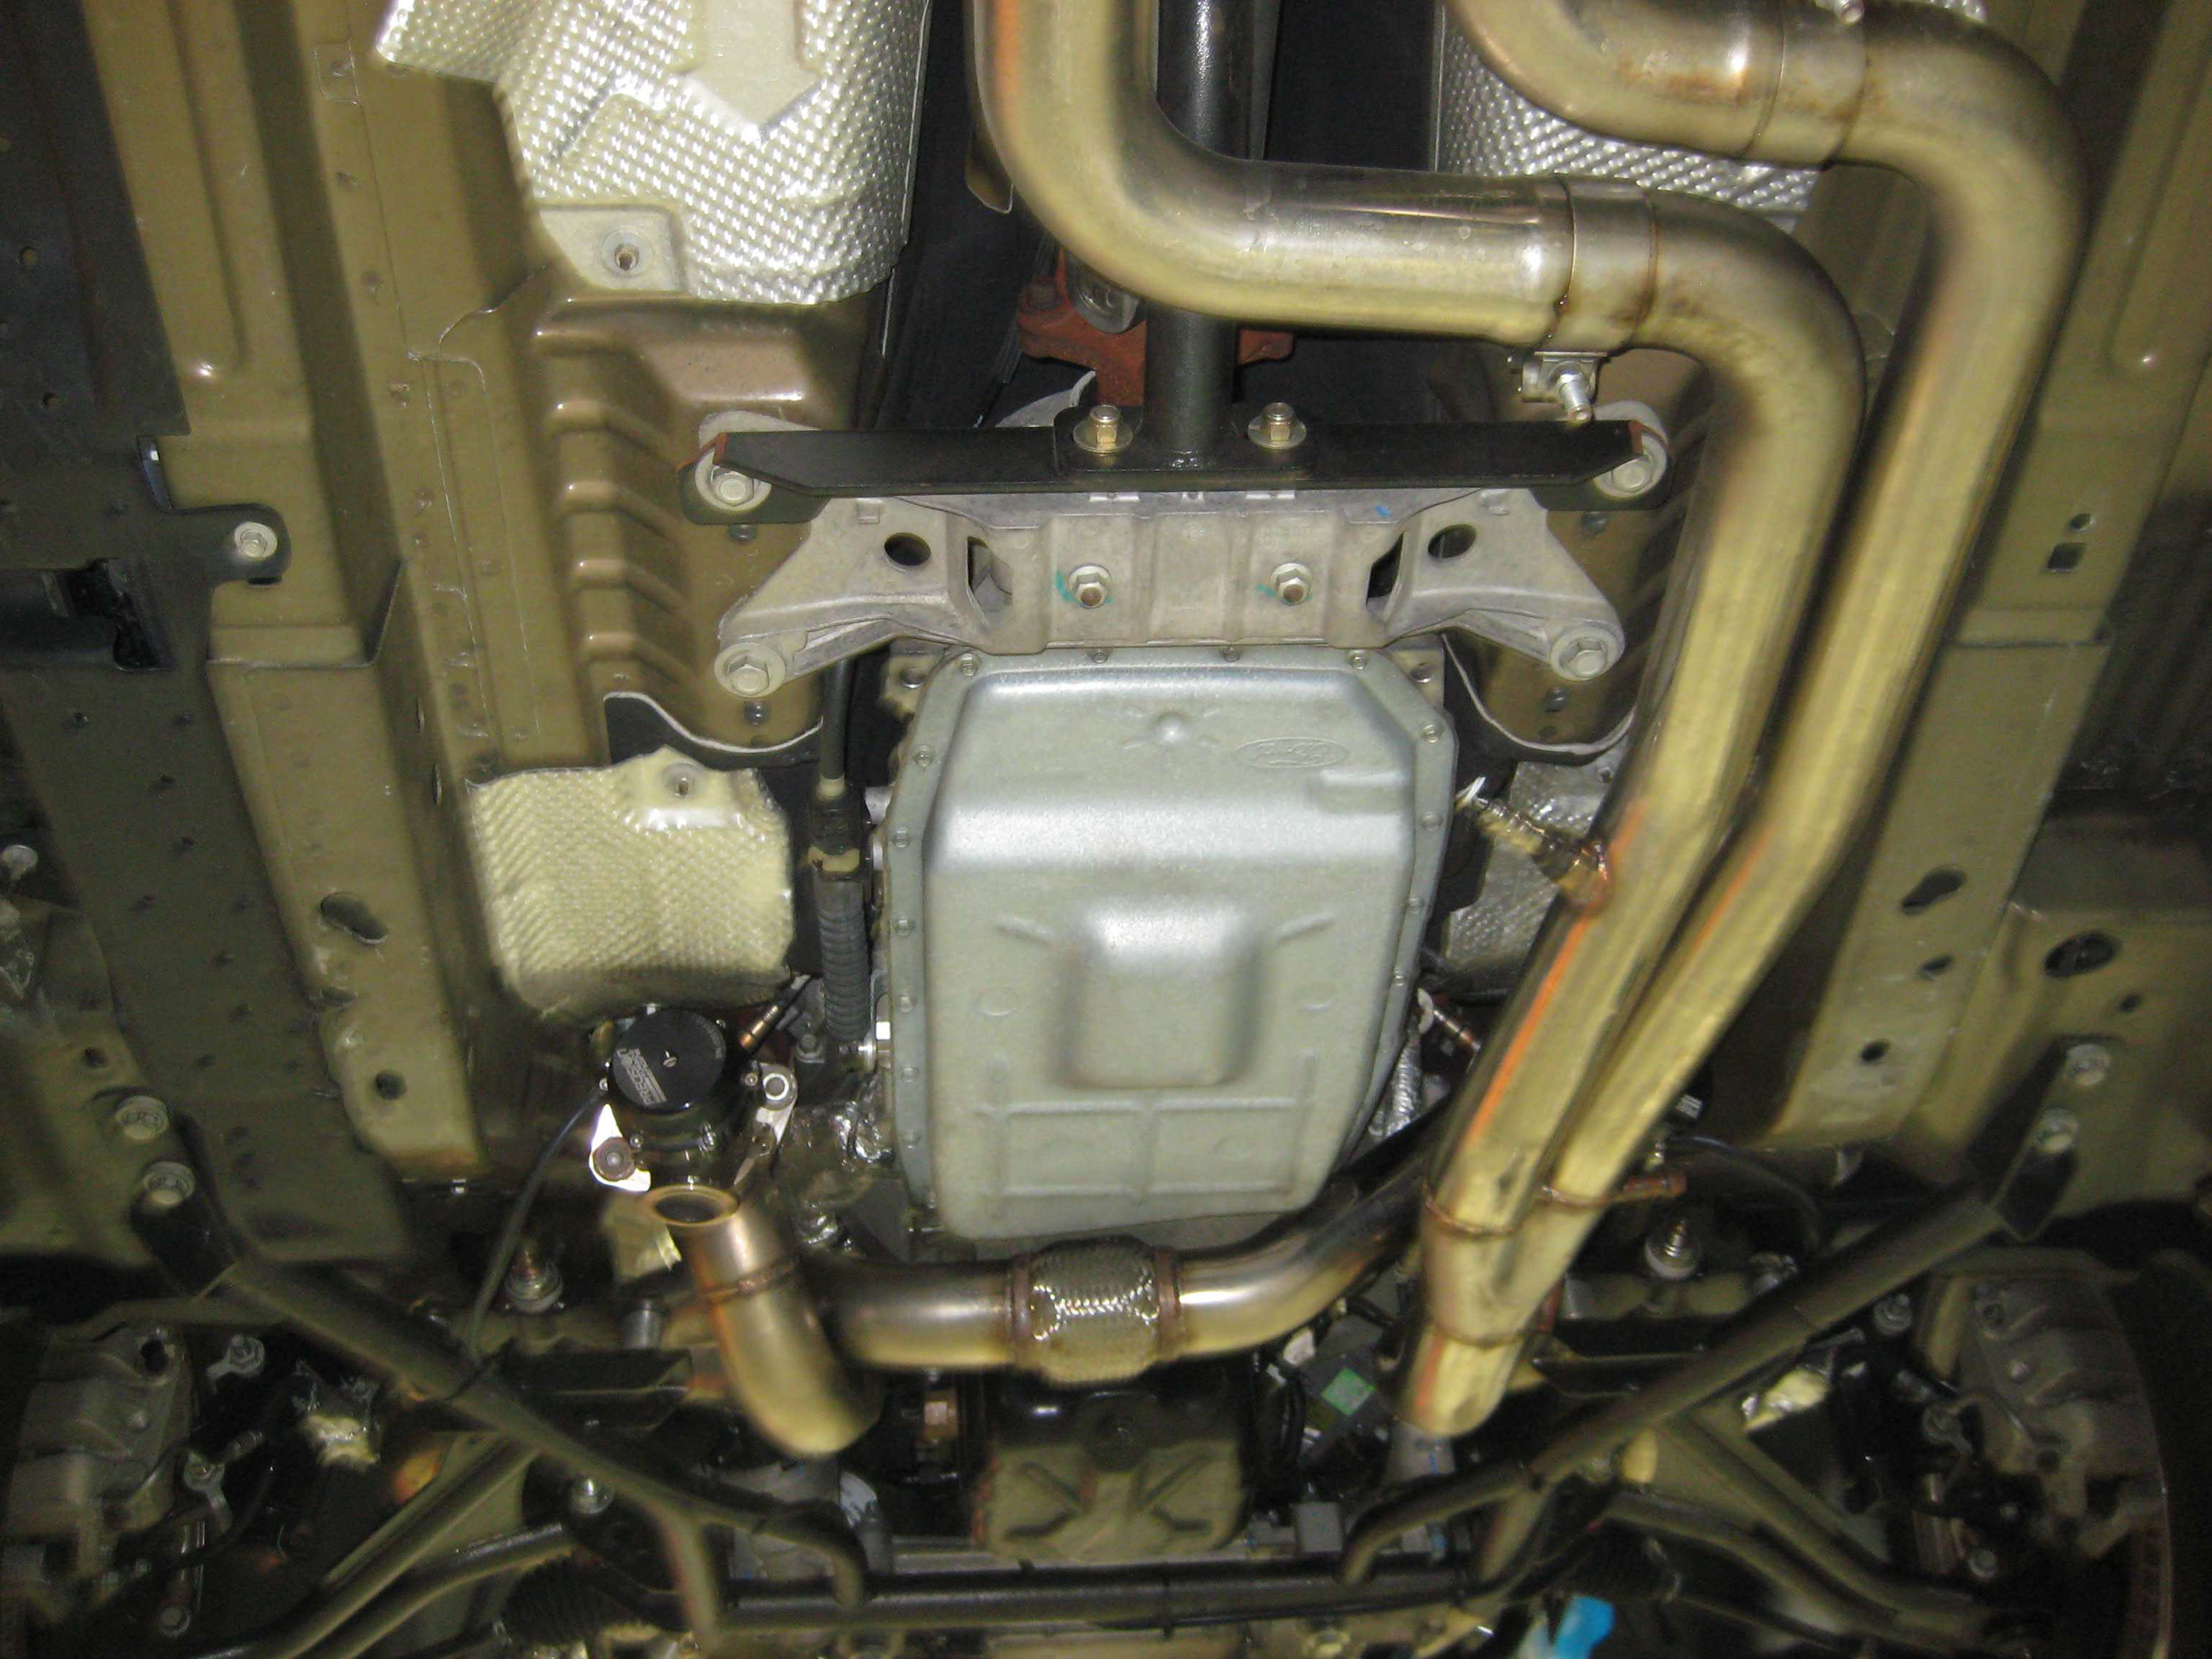
Remove the oil pan from the car and having the supplied -10 fitting welded into the side. This is
the preferred method for long term use. Drilling a hole and tapping the oil pan can be done, but it is not the preferable method as it will leak. Install the fitting on the side of the oil pan behind the oil filter (seen below). Typically we place the oil drain 1” infront of the 3rd bolt on the driver side of the oil pan.
16. Now let's begin installing the turbo kit. We're going to start with the Y pipe that connects to both manifolds. You can also install both of the wastegates once the pipe is bolted in. I recommend leaving these bolts loose as to give you some adjustment when installing the next pipe.
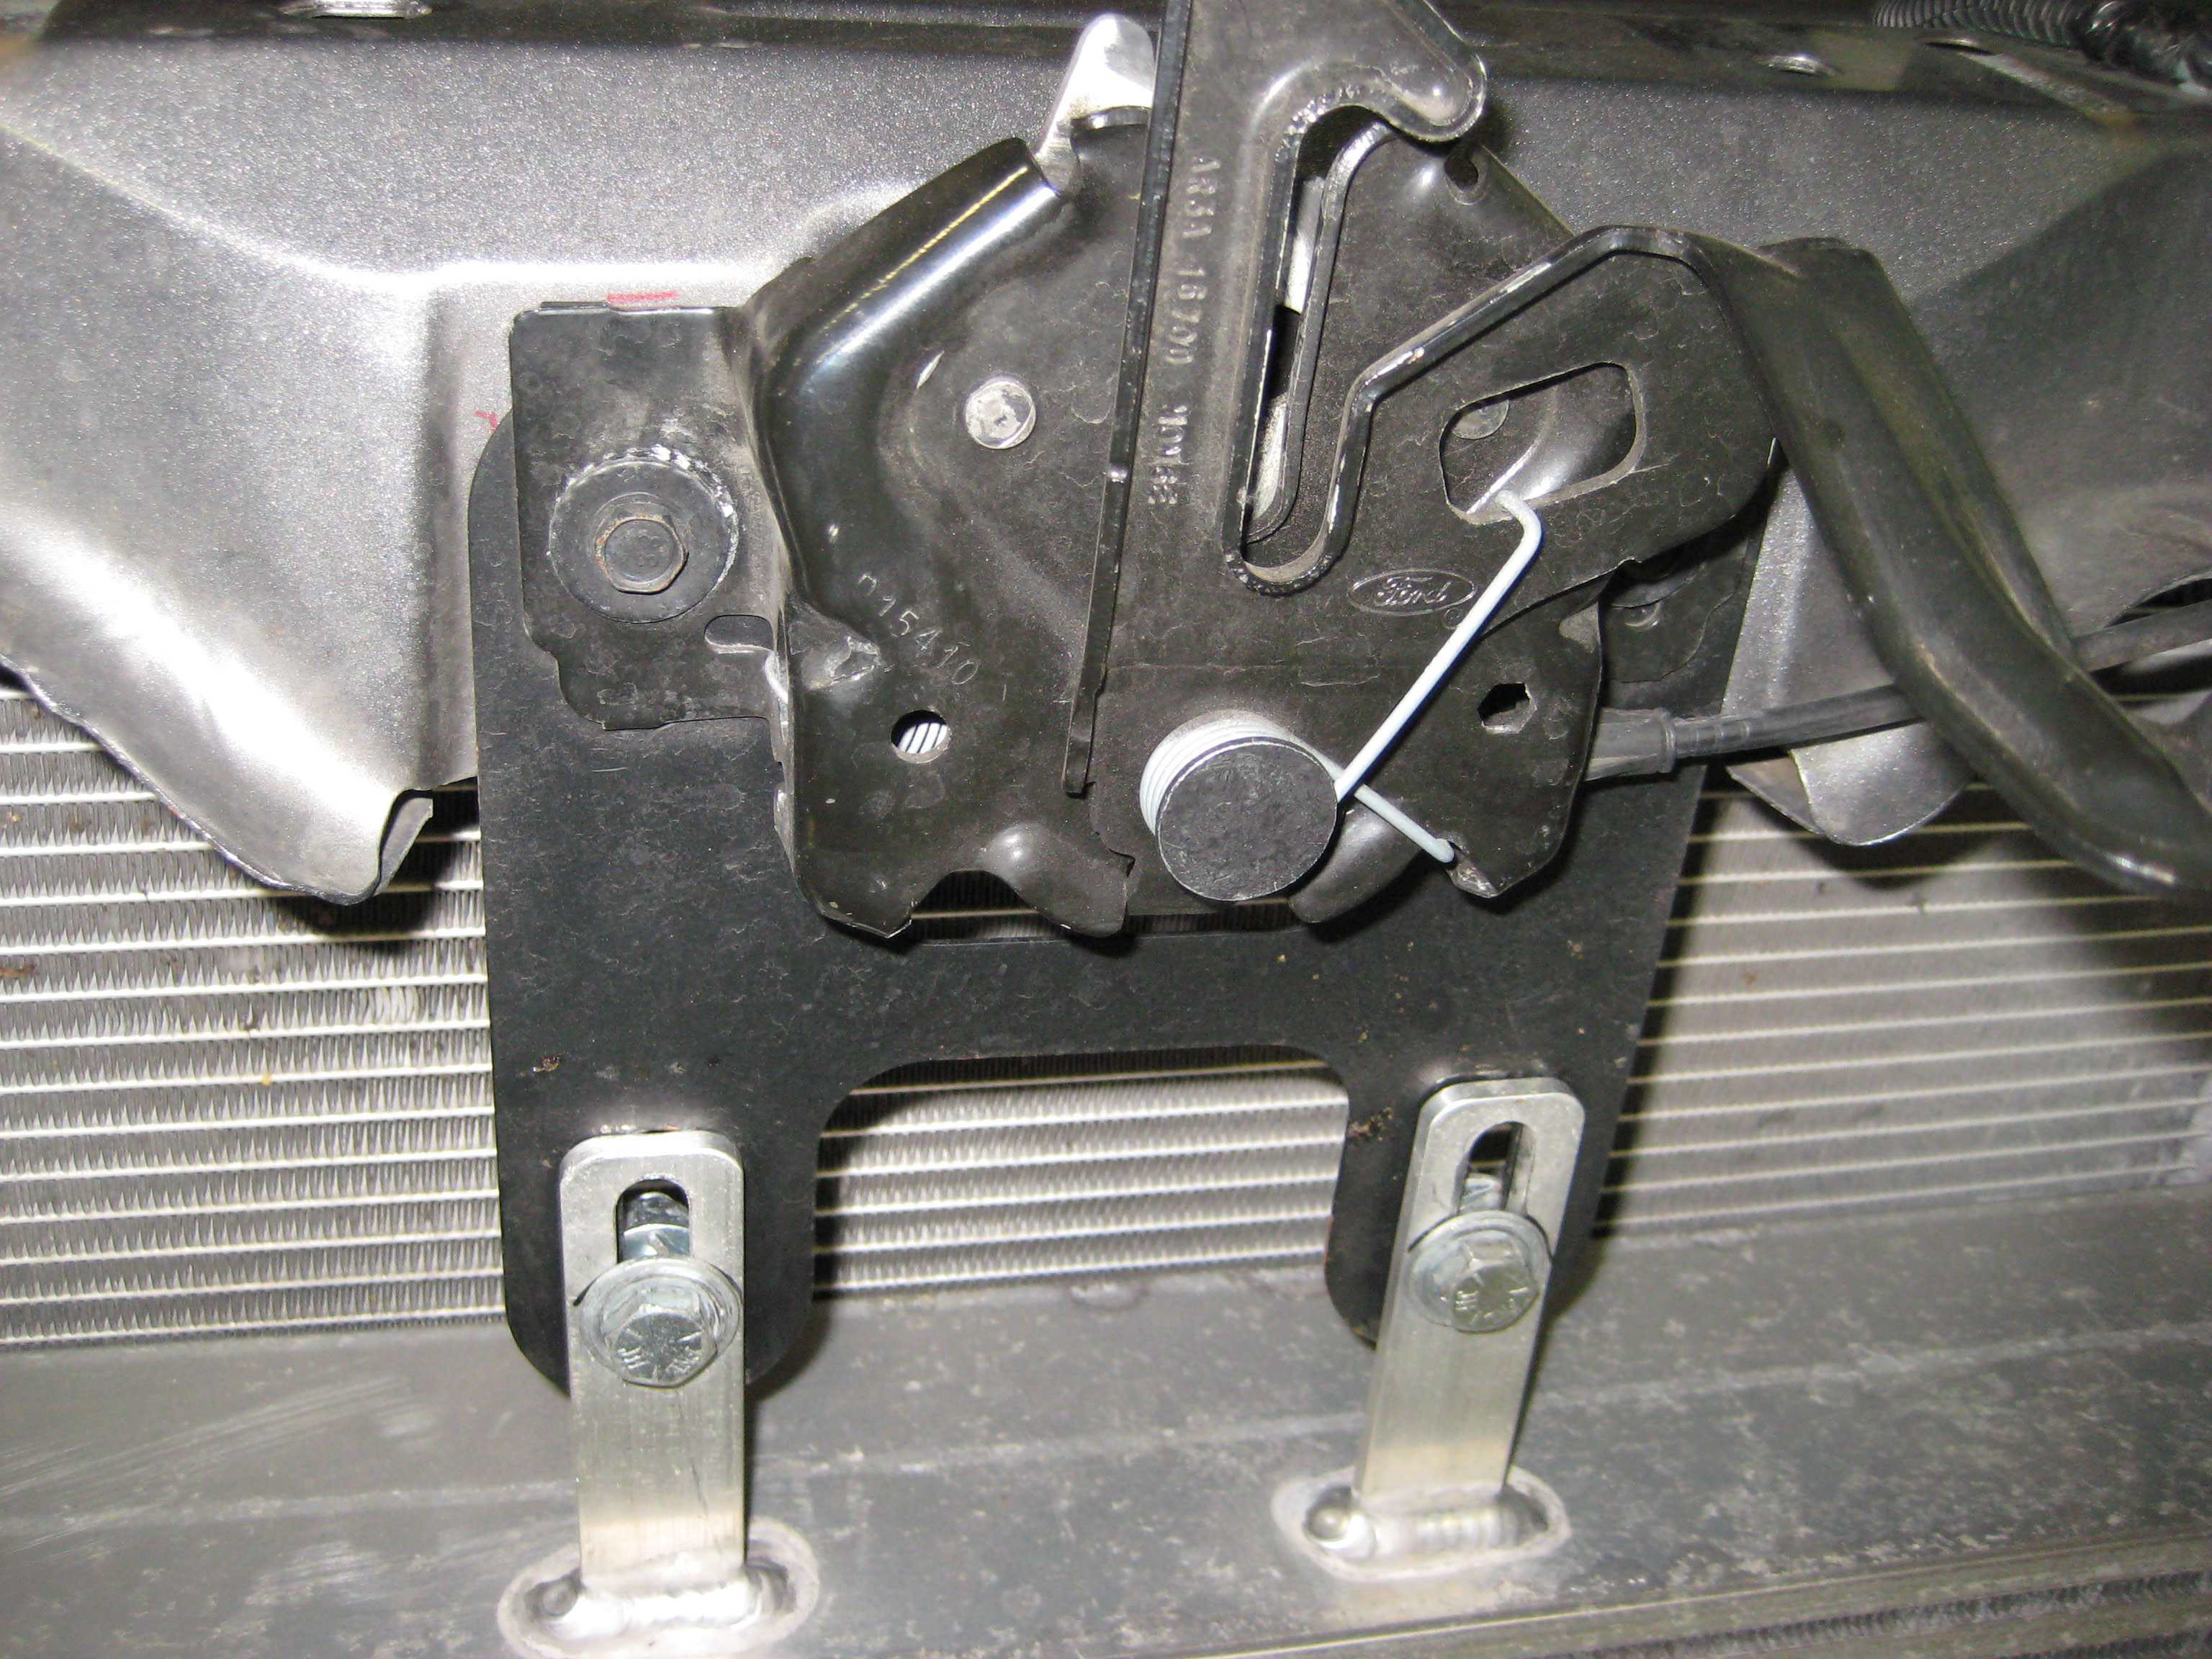
Next were going to remove the factory lower radiator support and install our new tubular lower radiator support. You'll need to remove the factory end links as well.
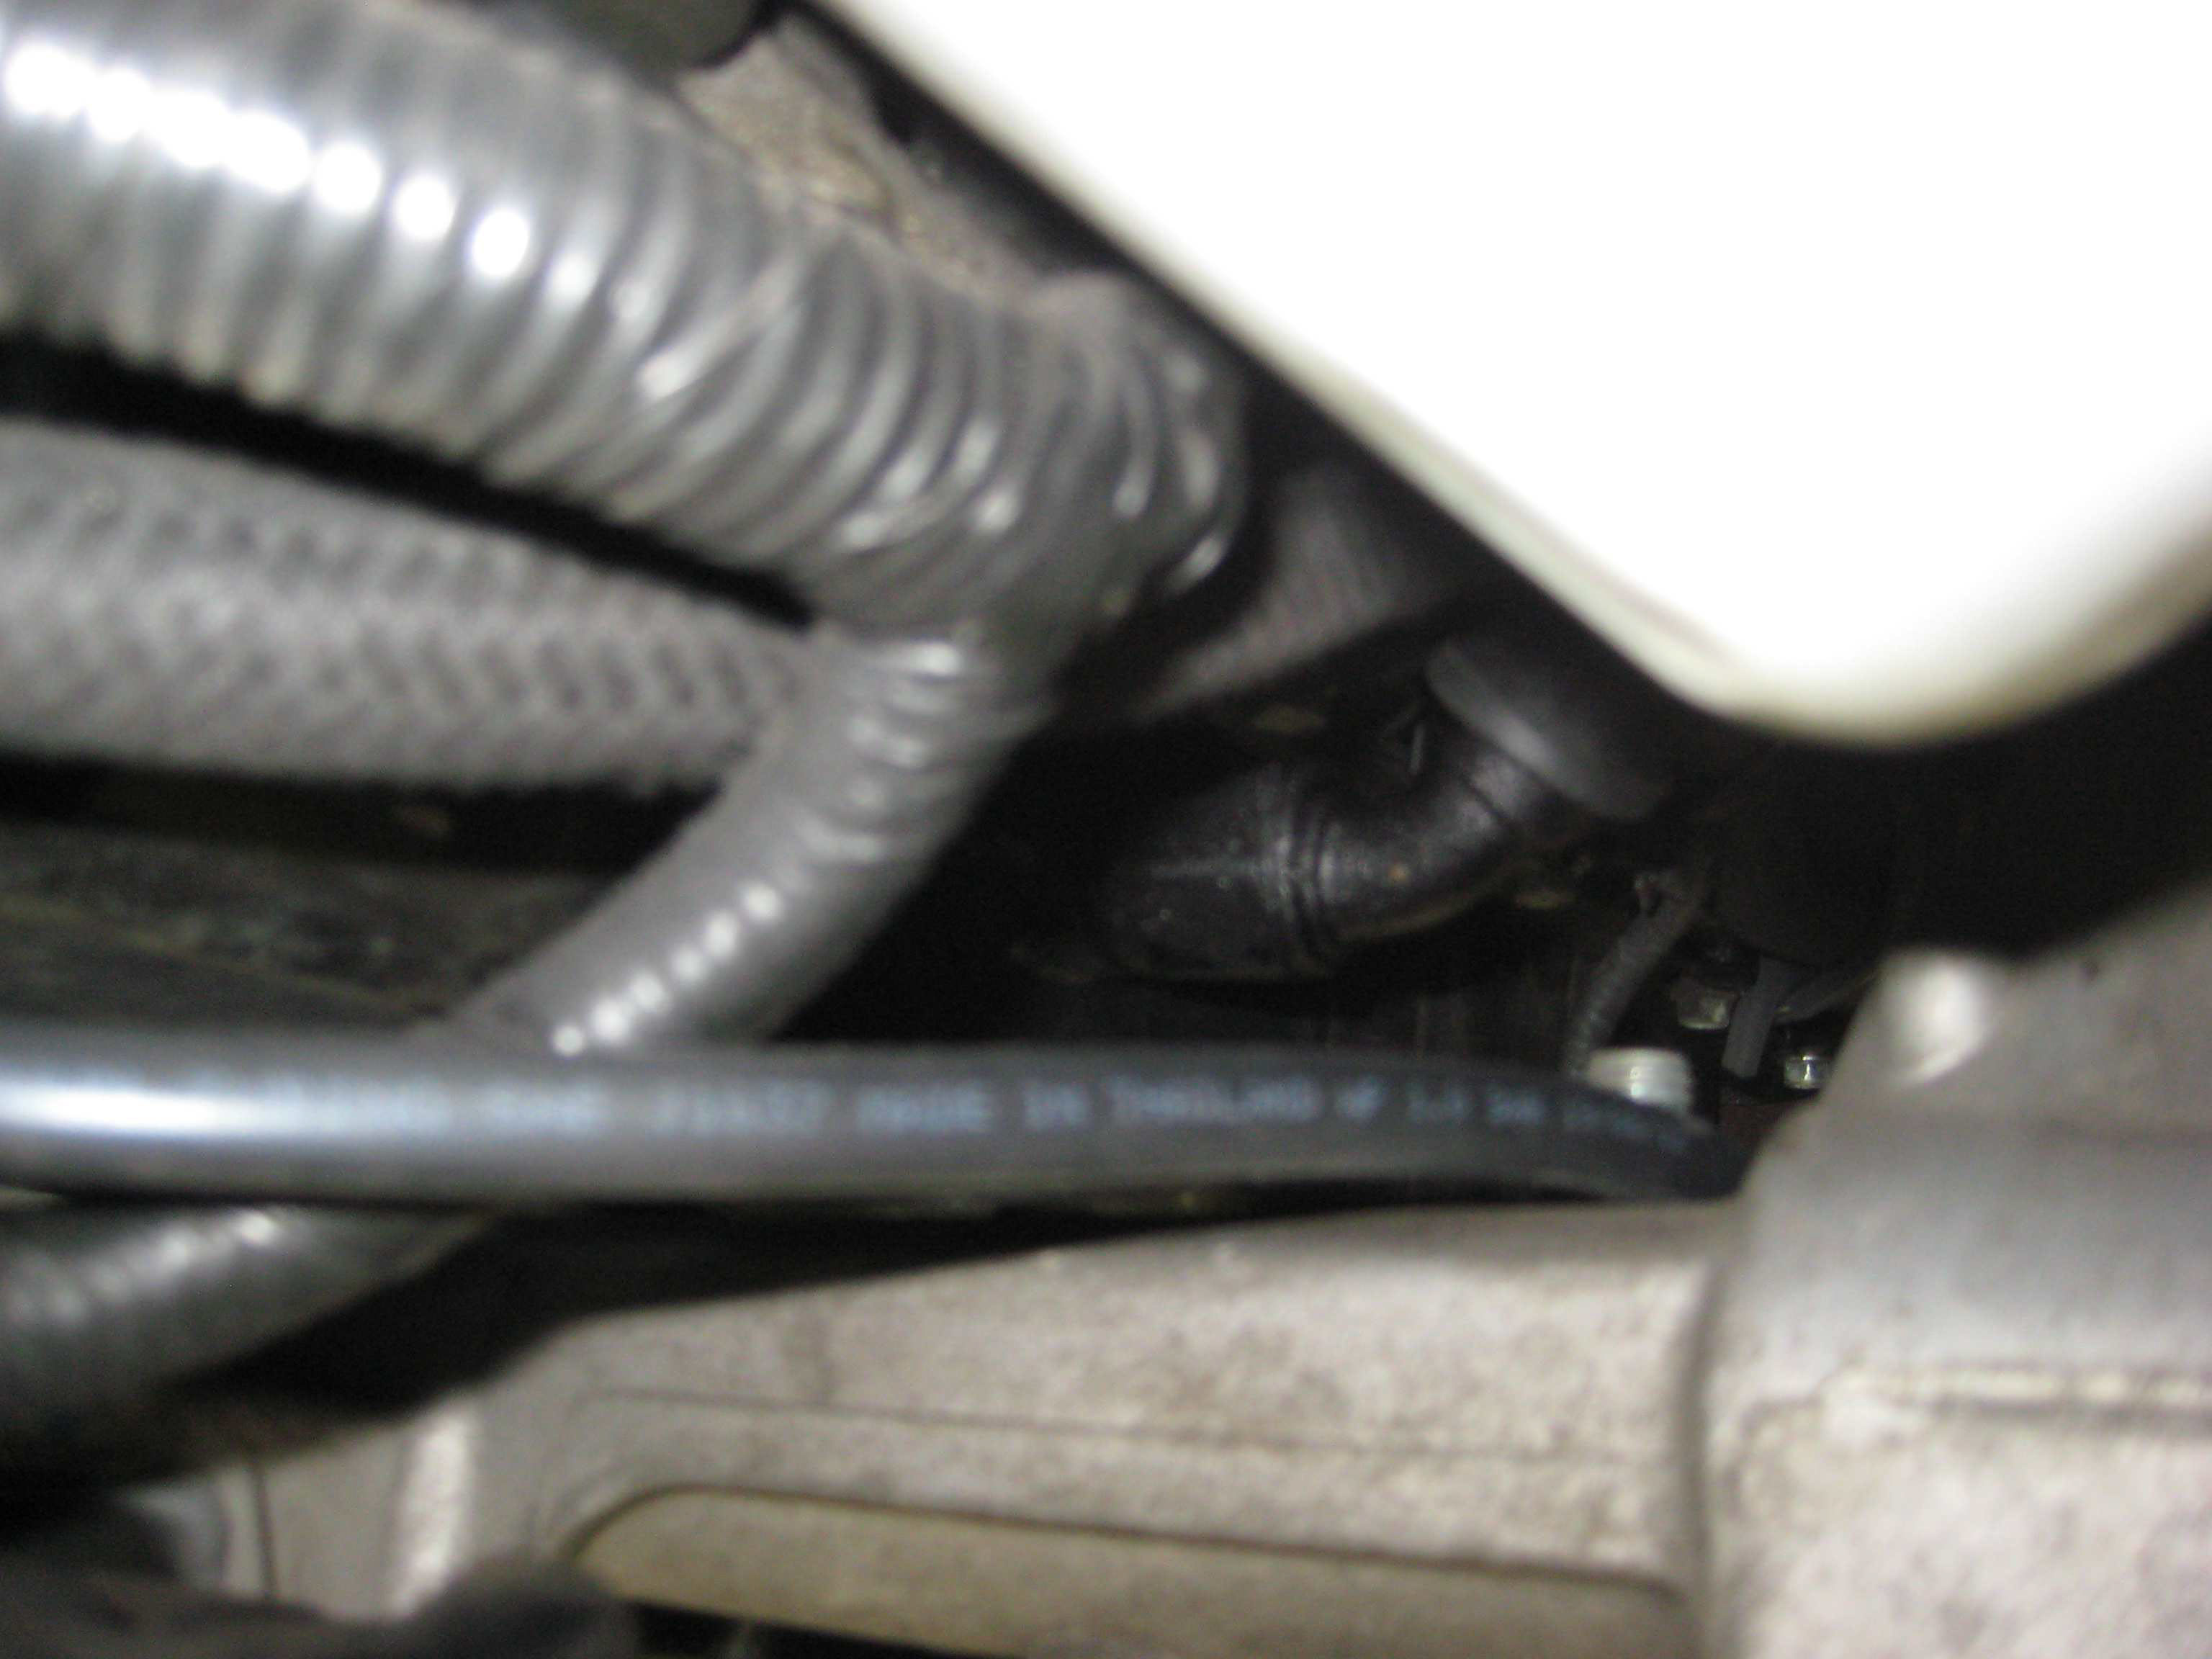
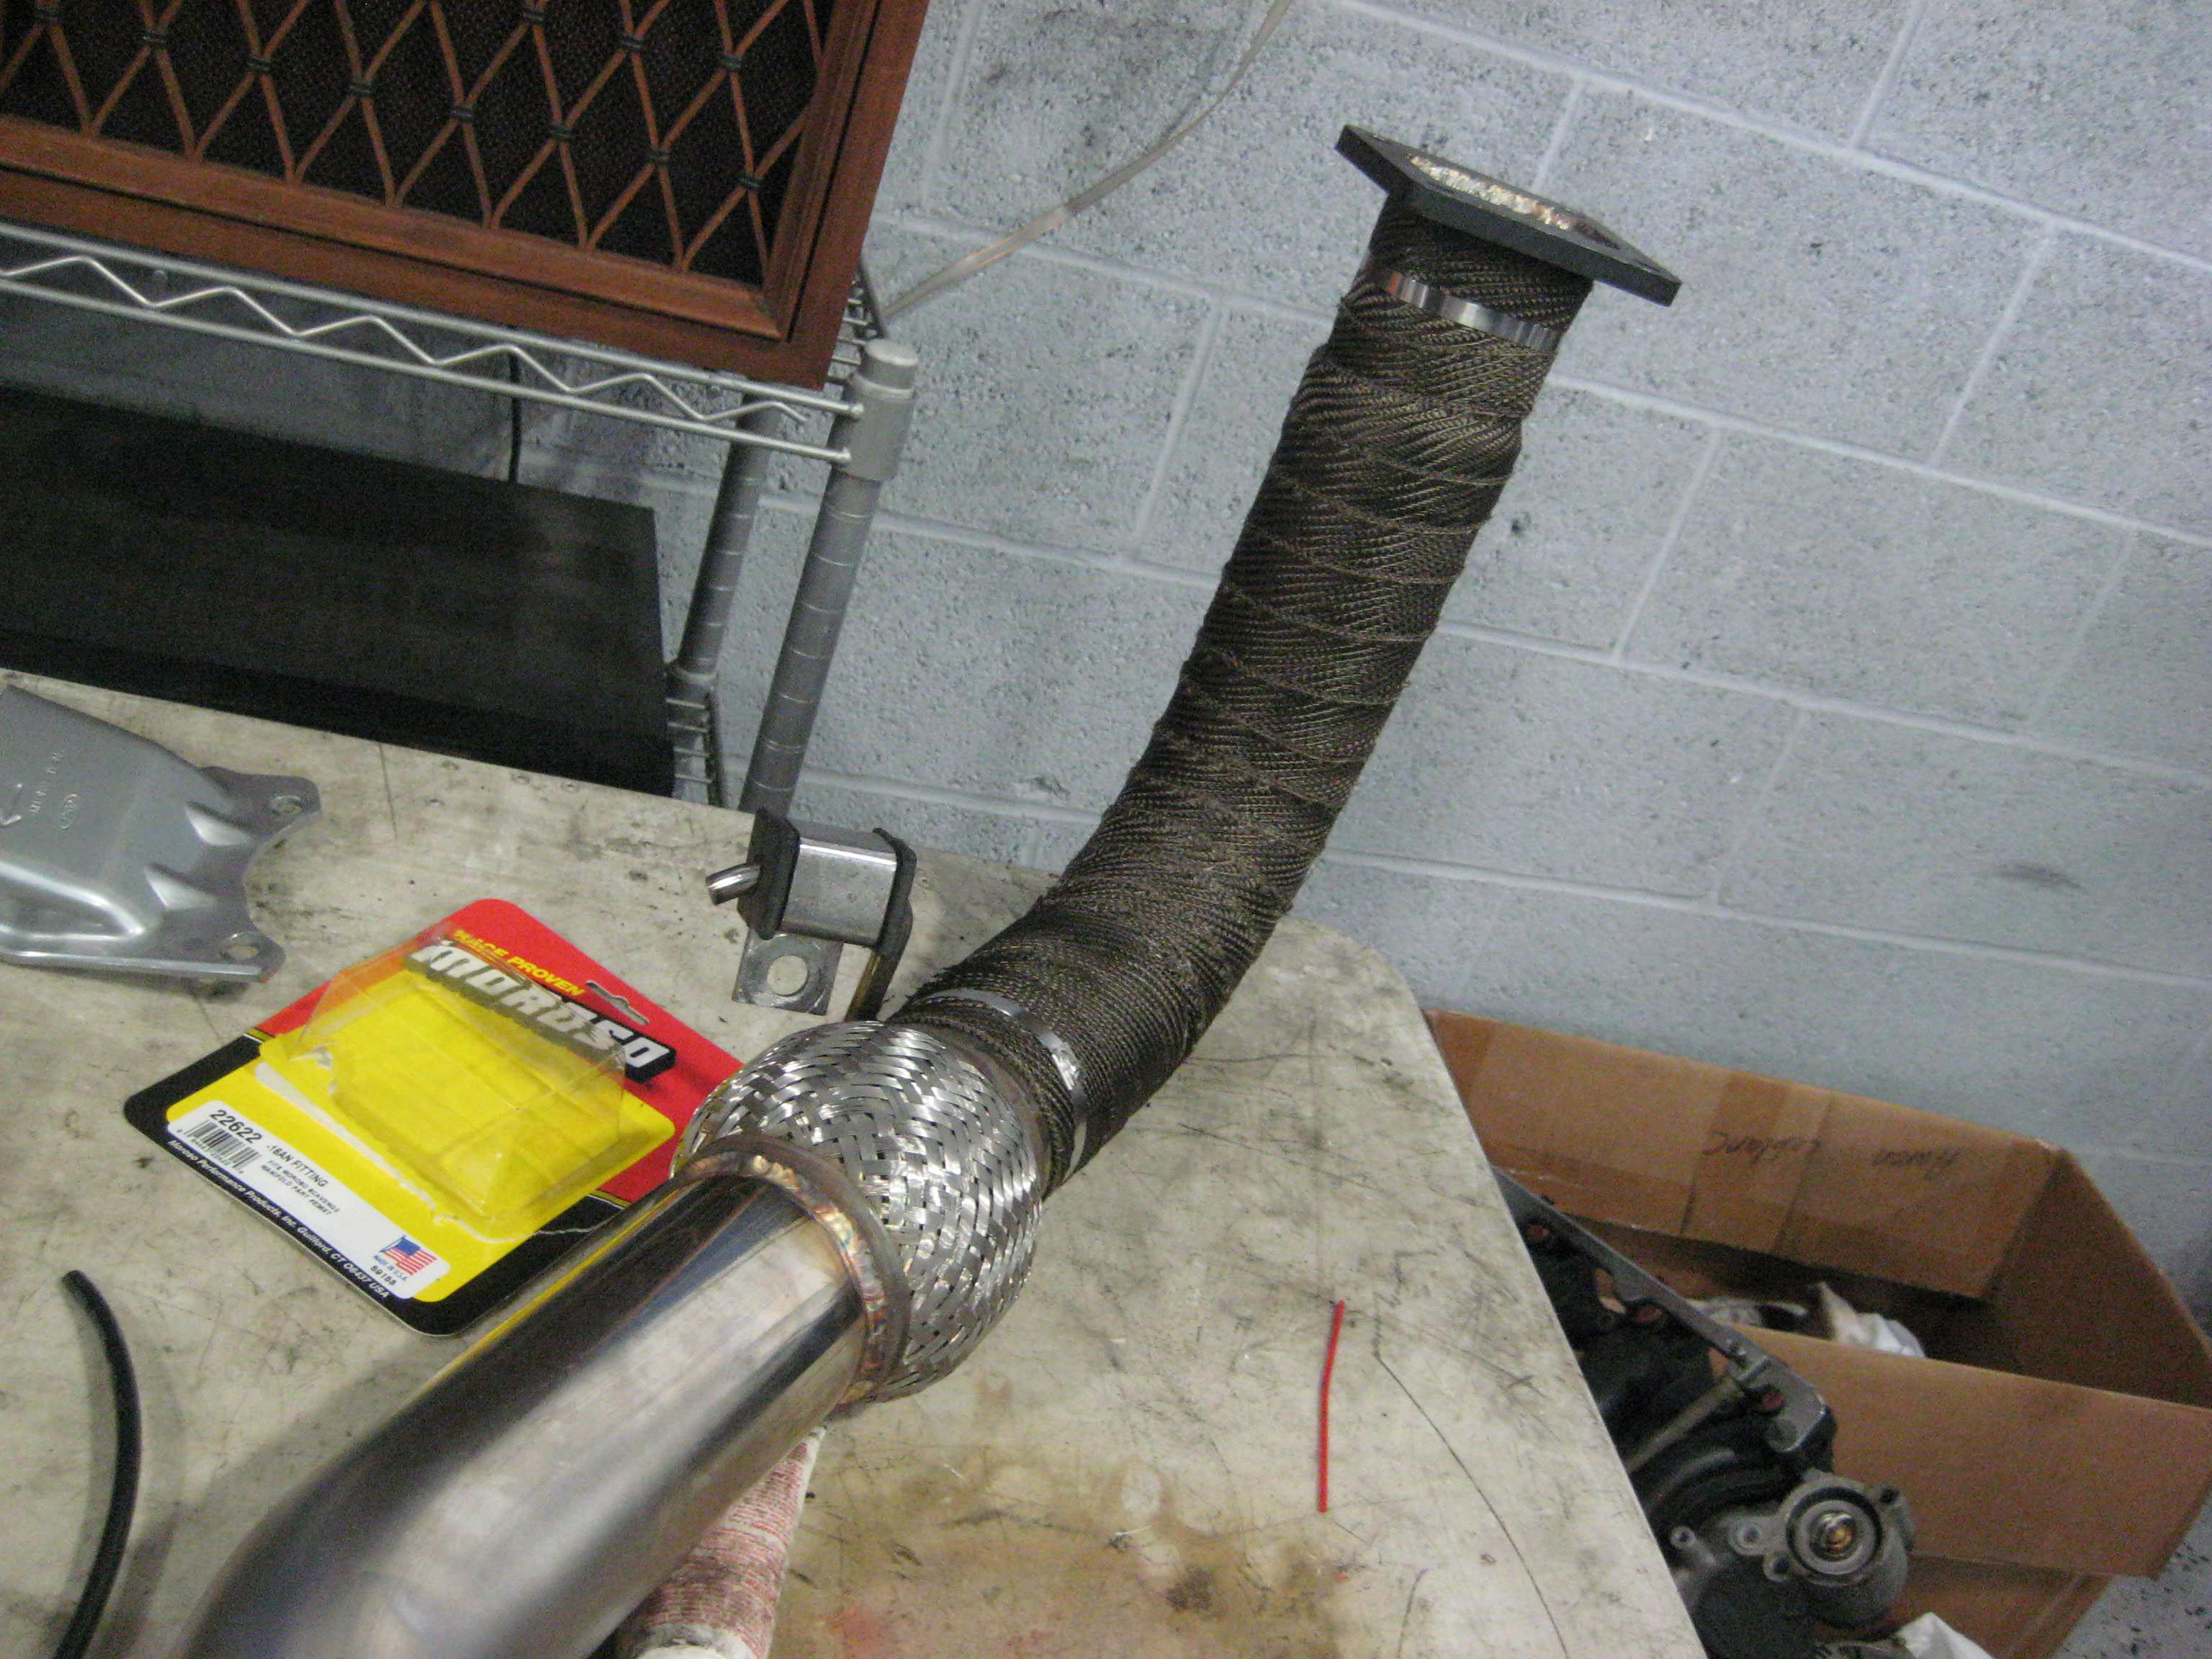
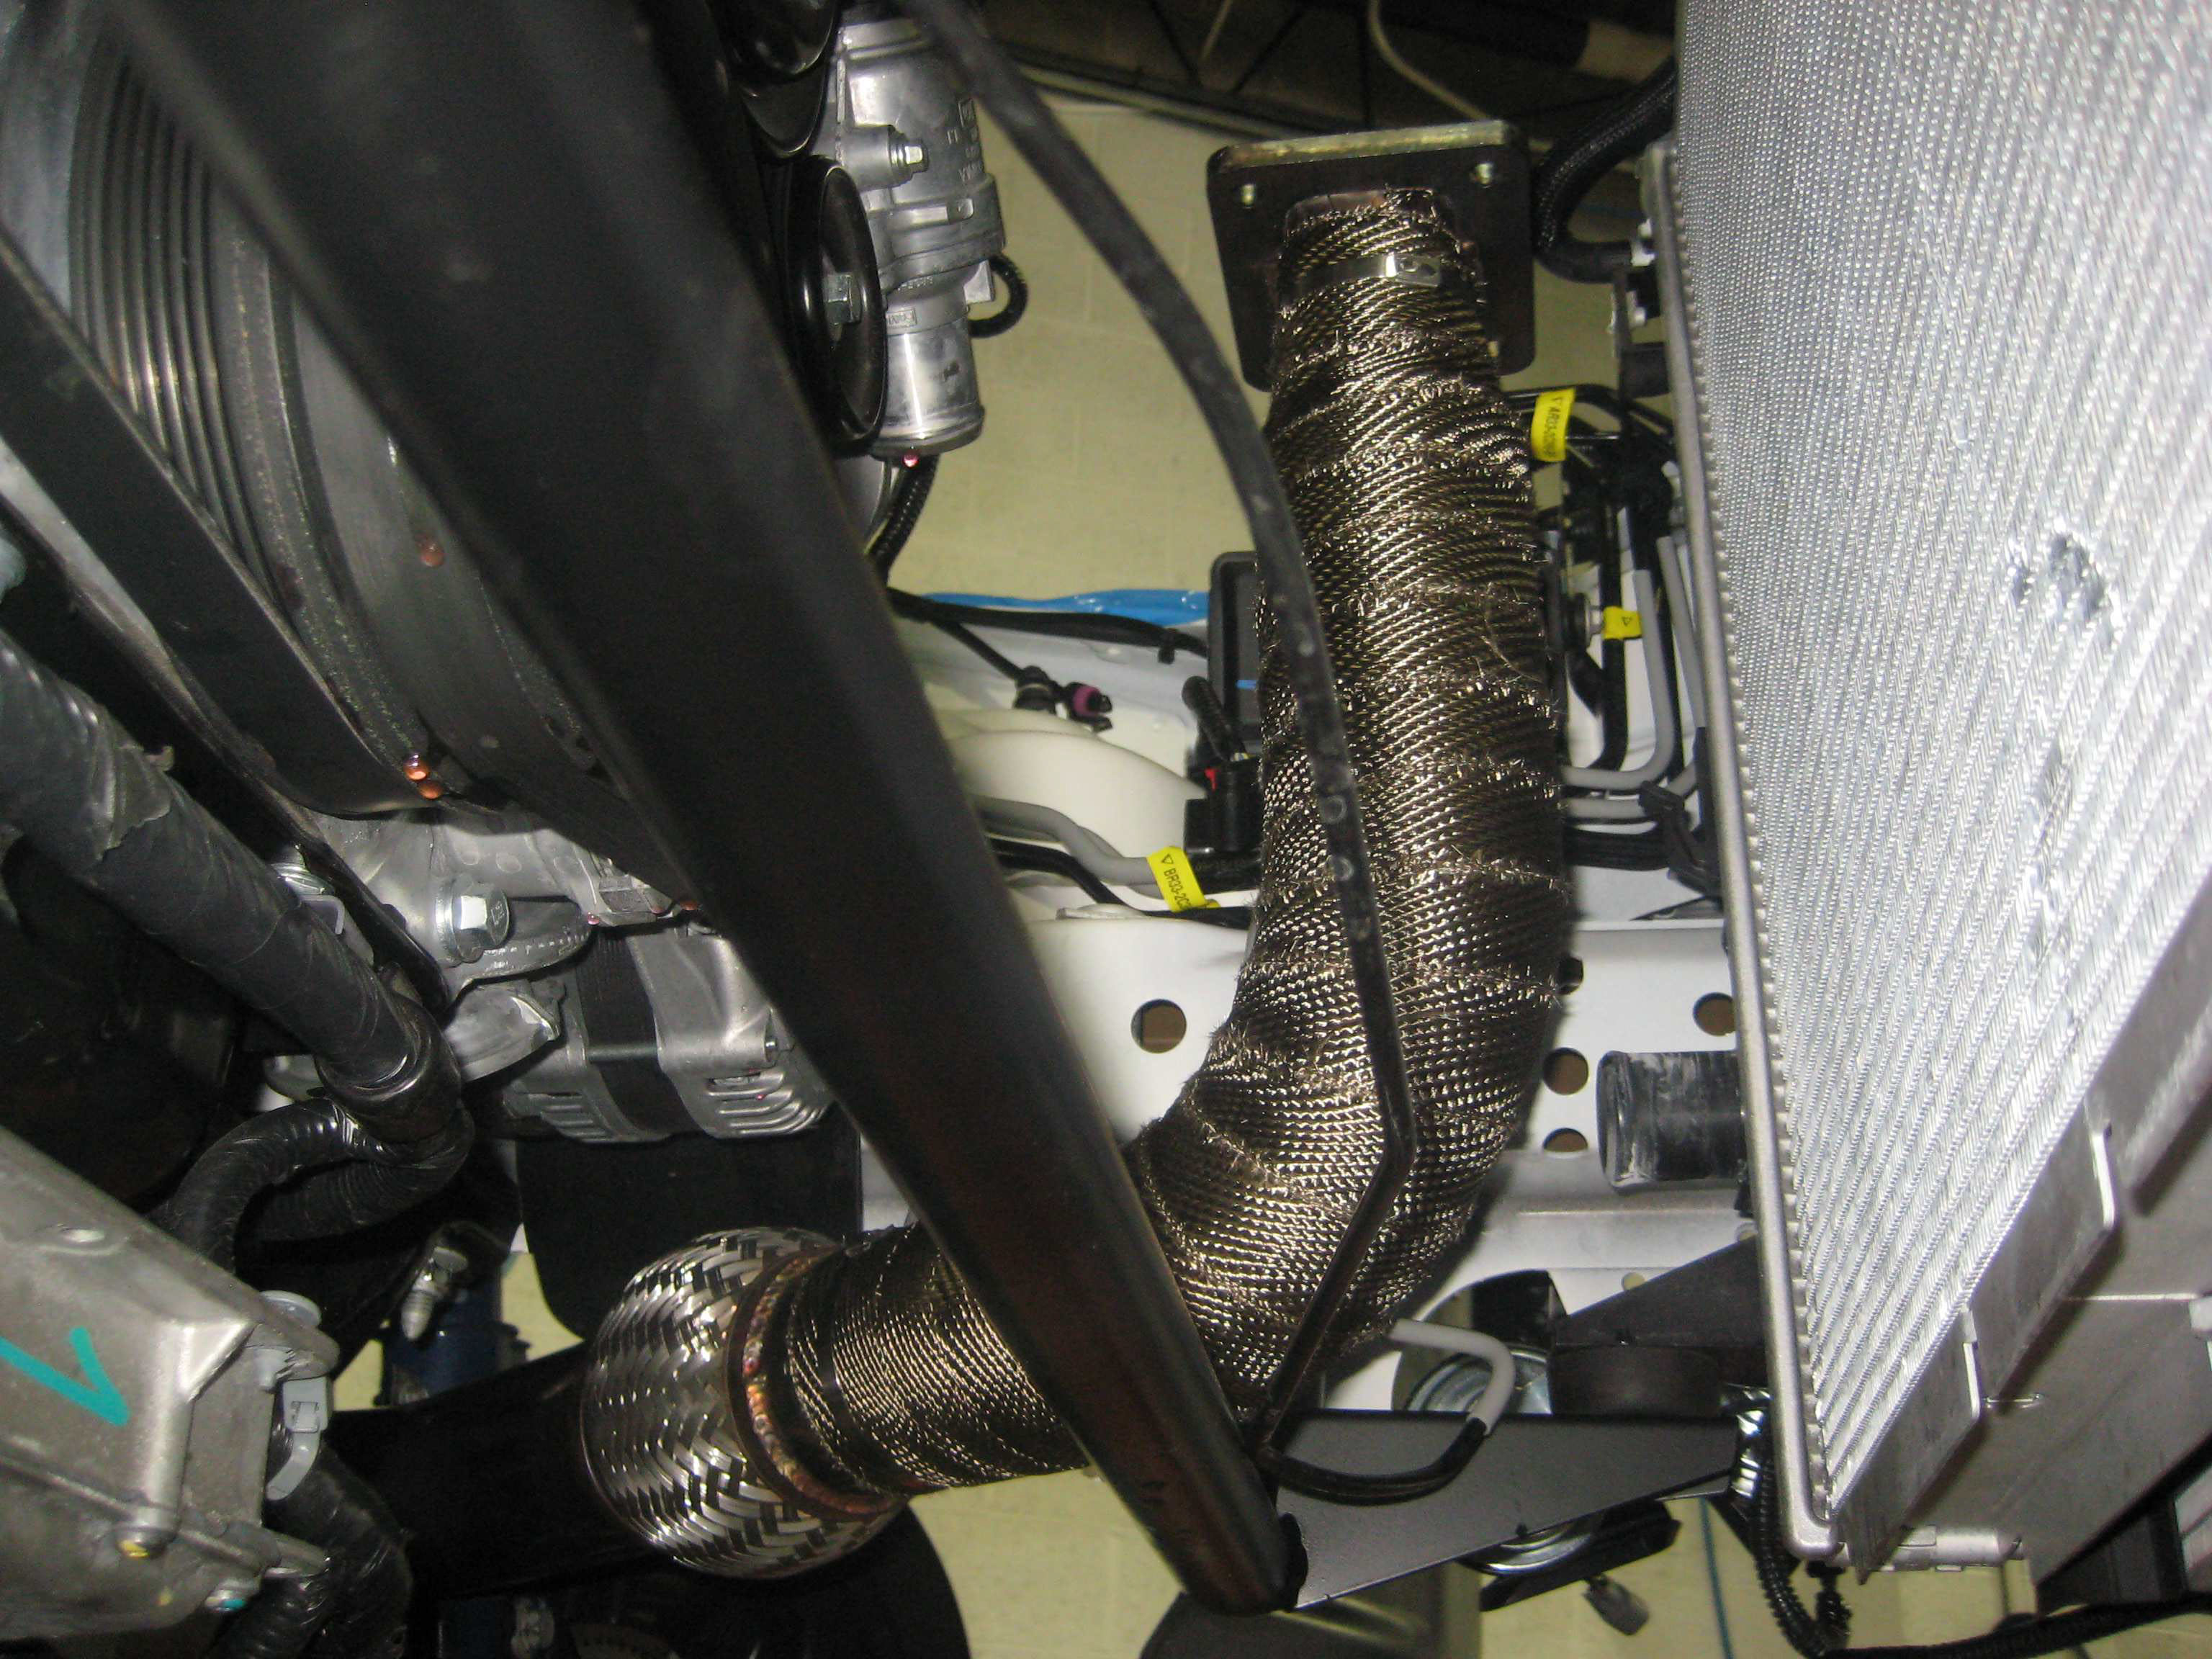
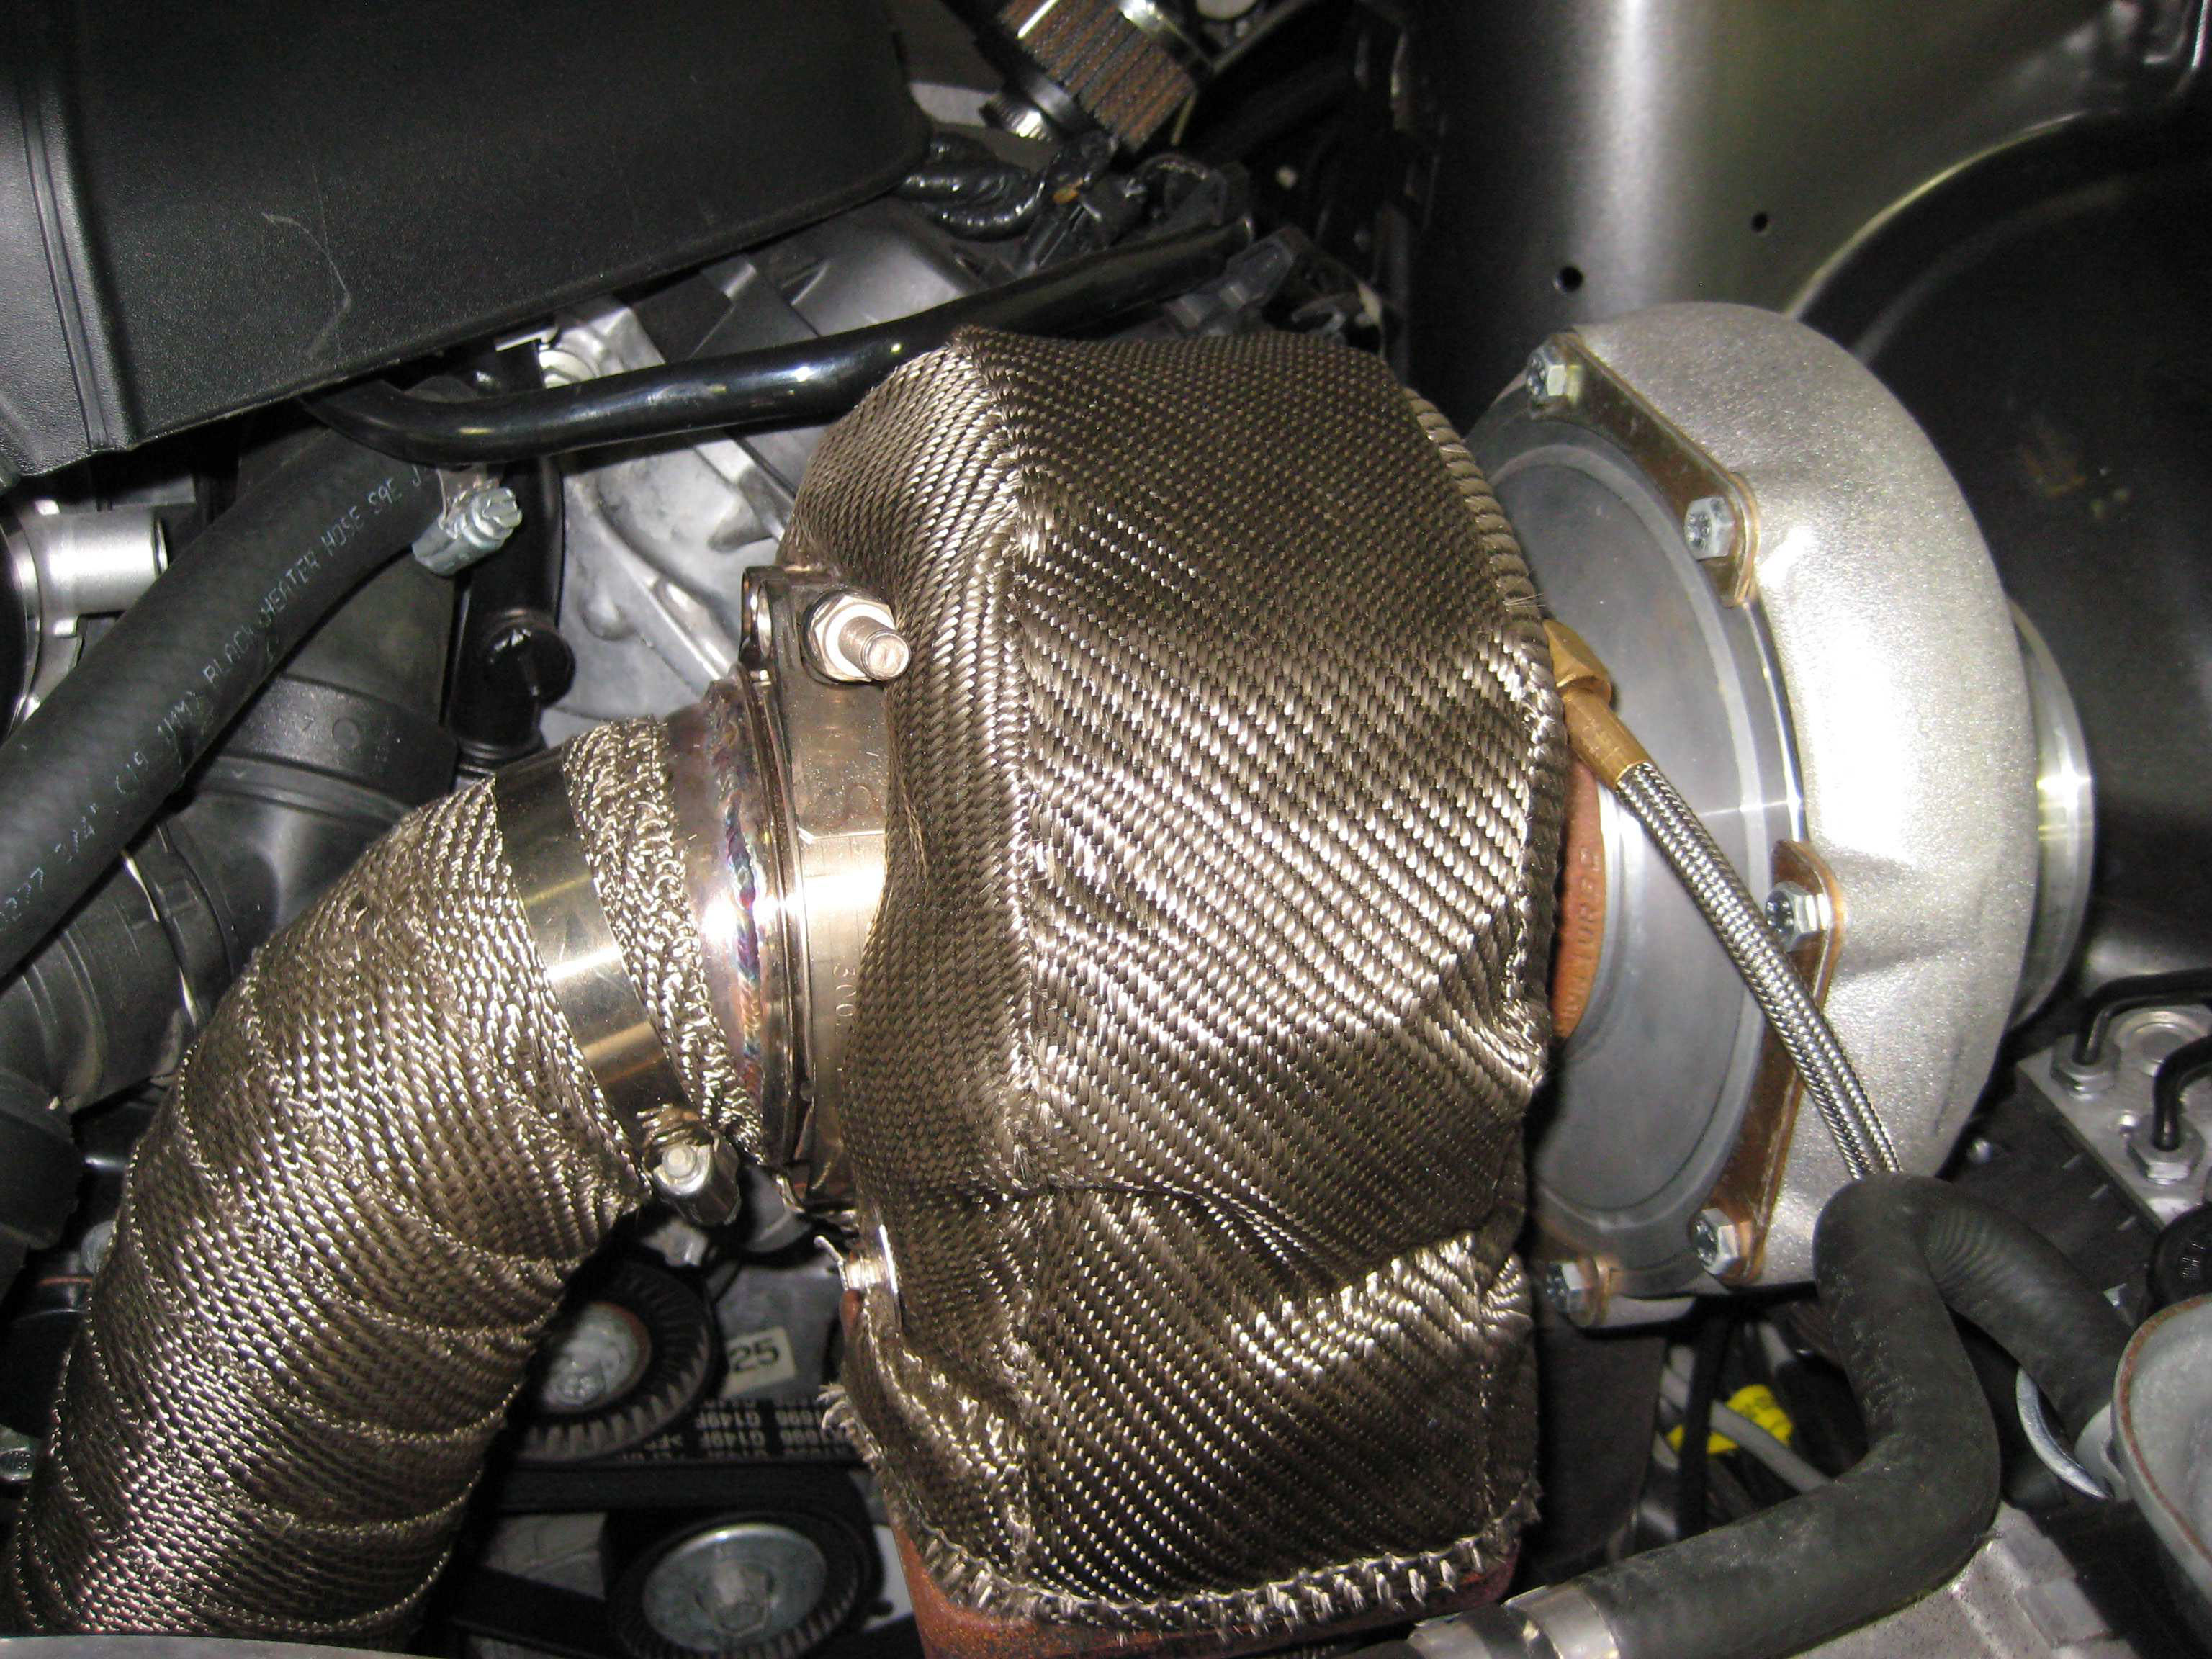
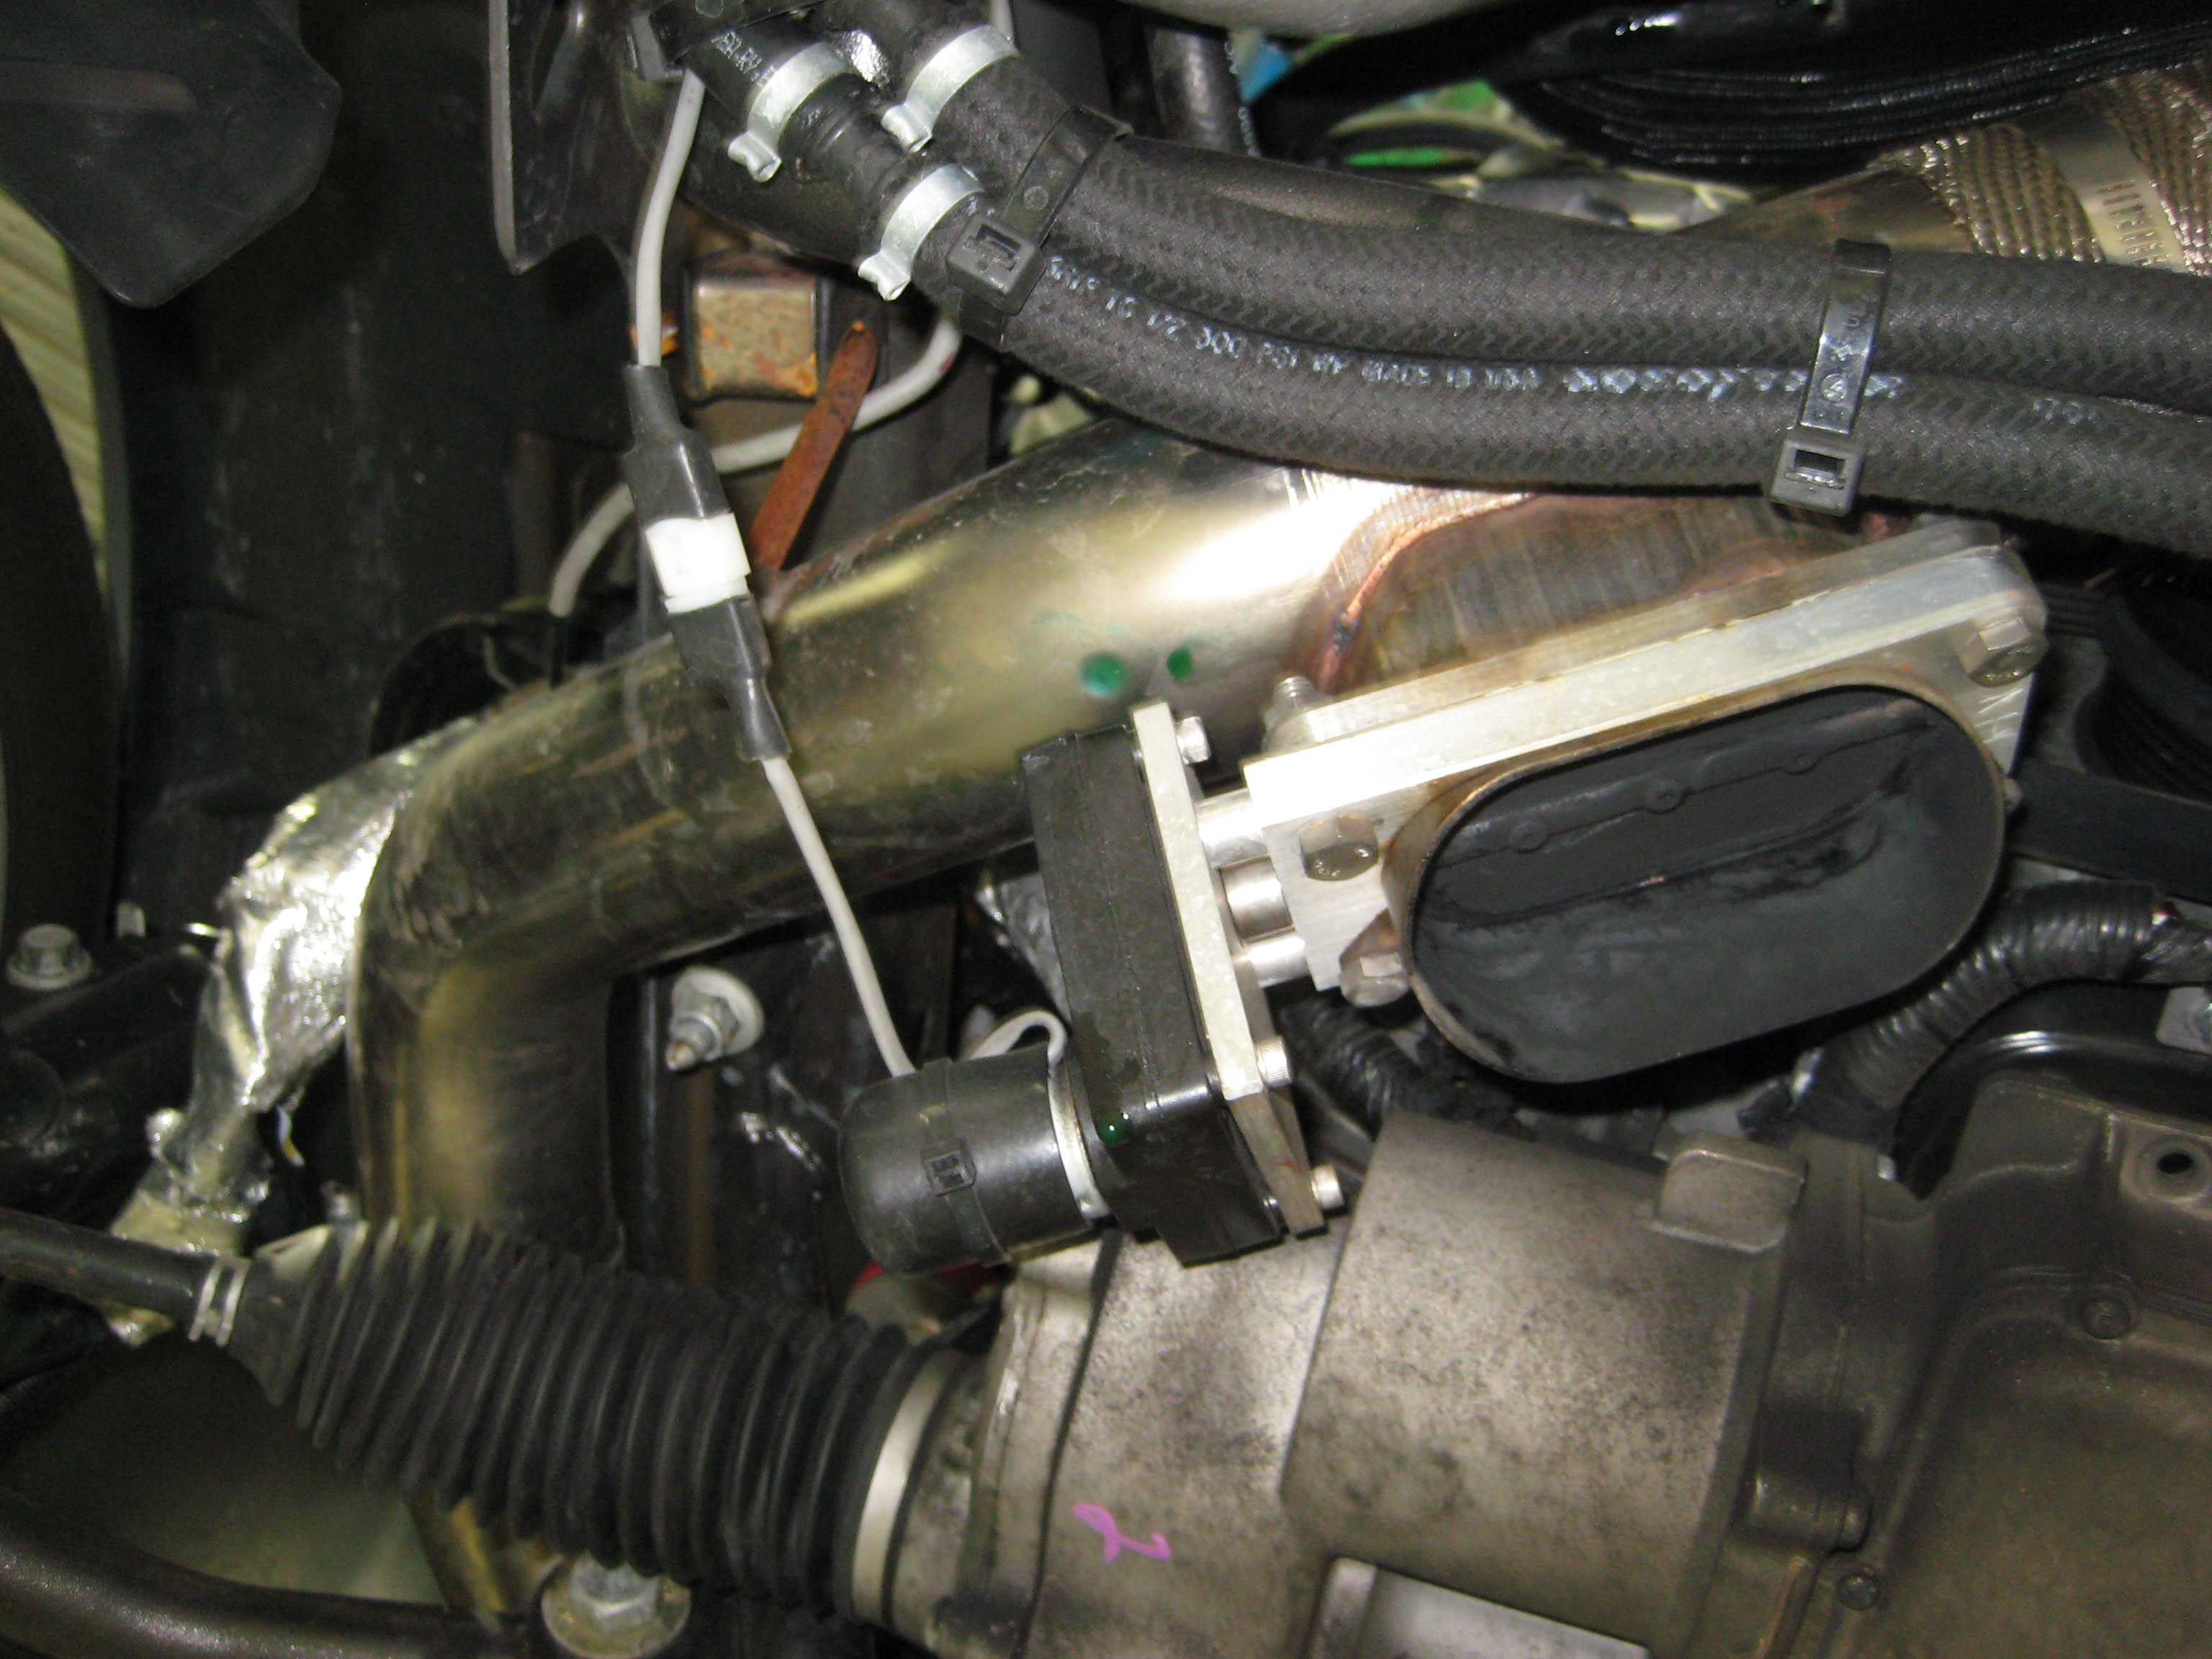
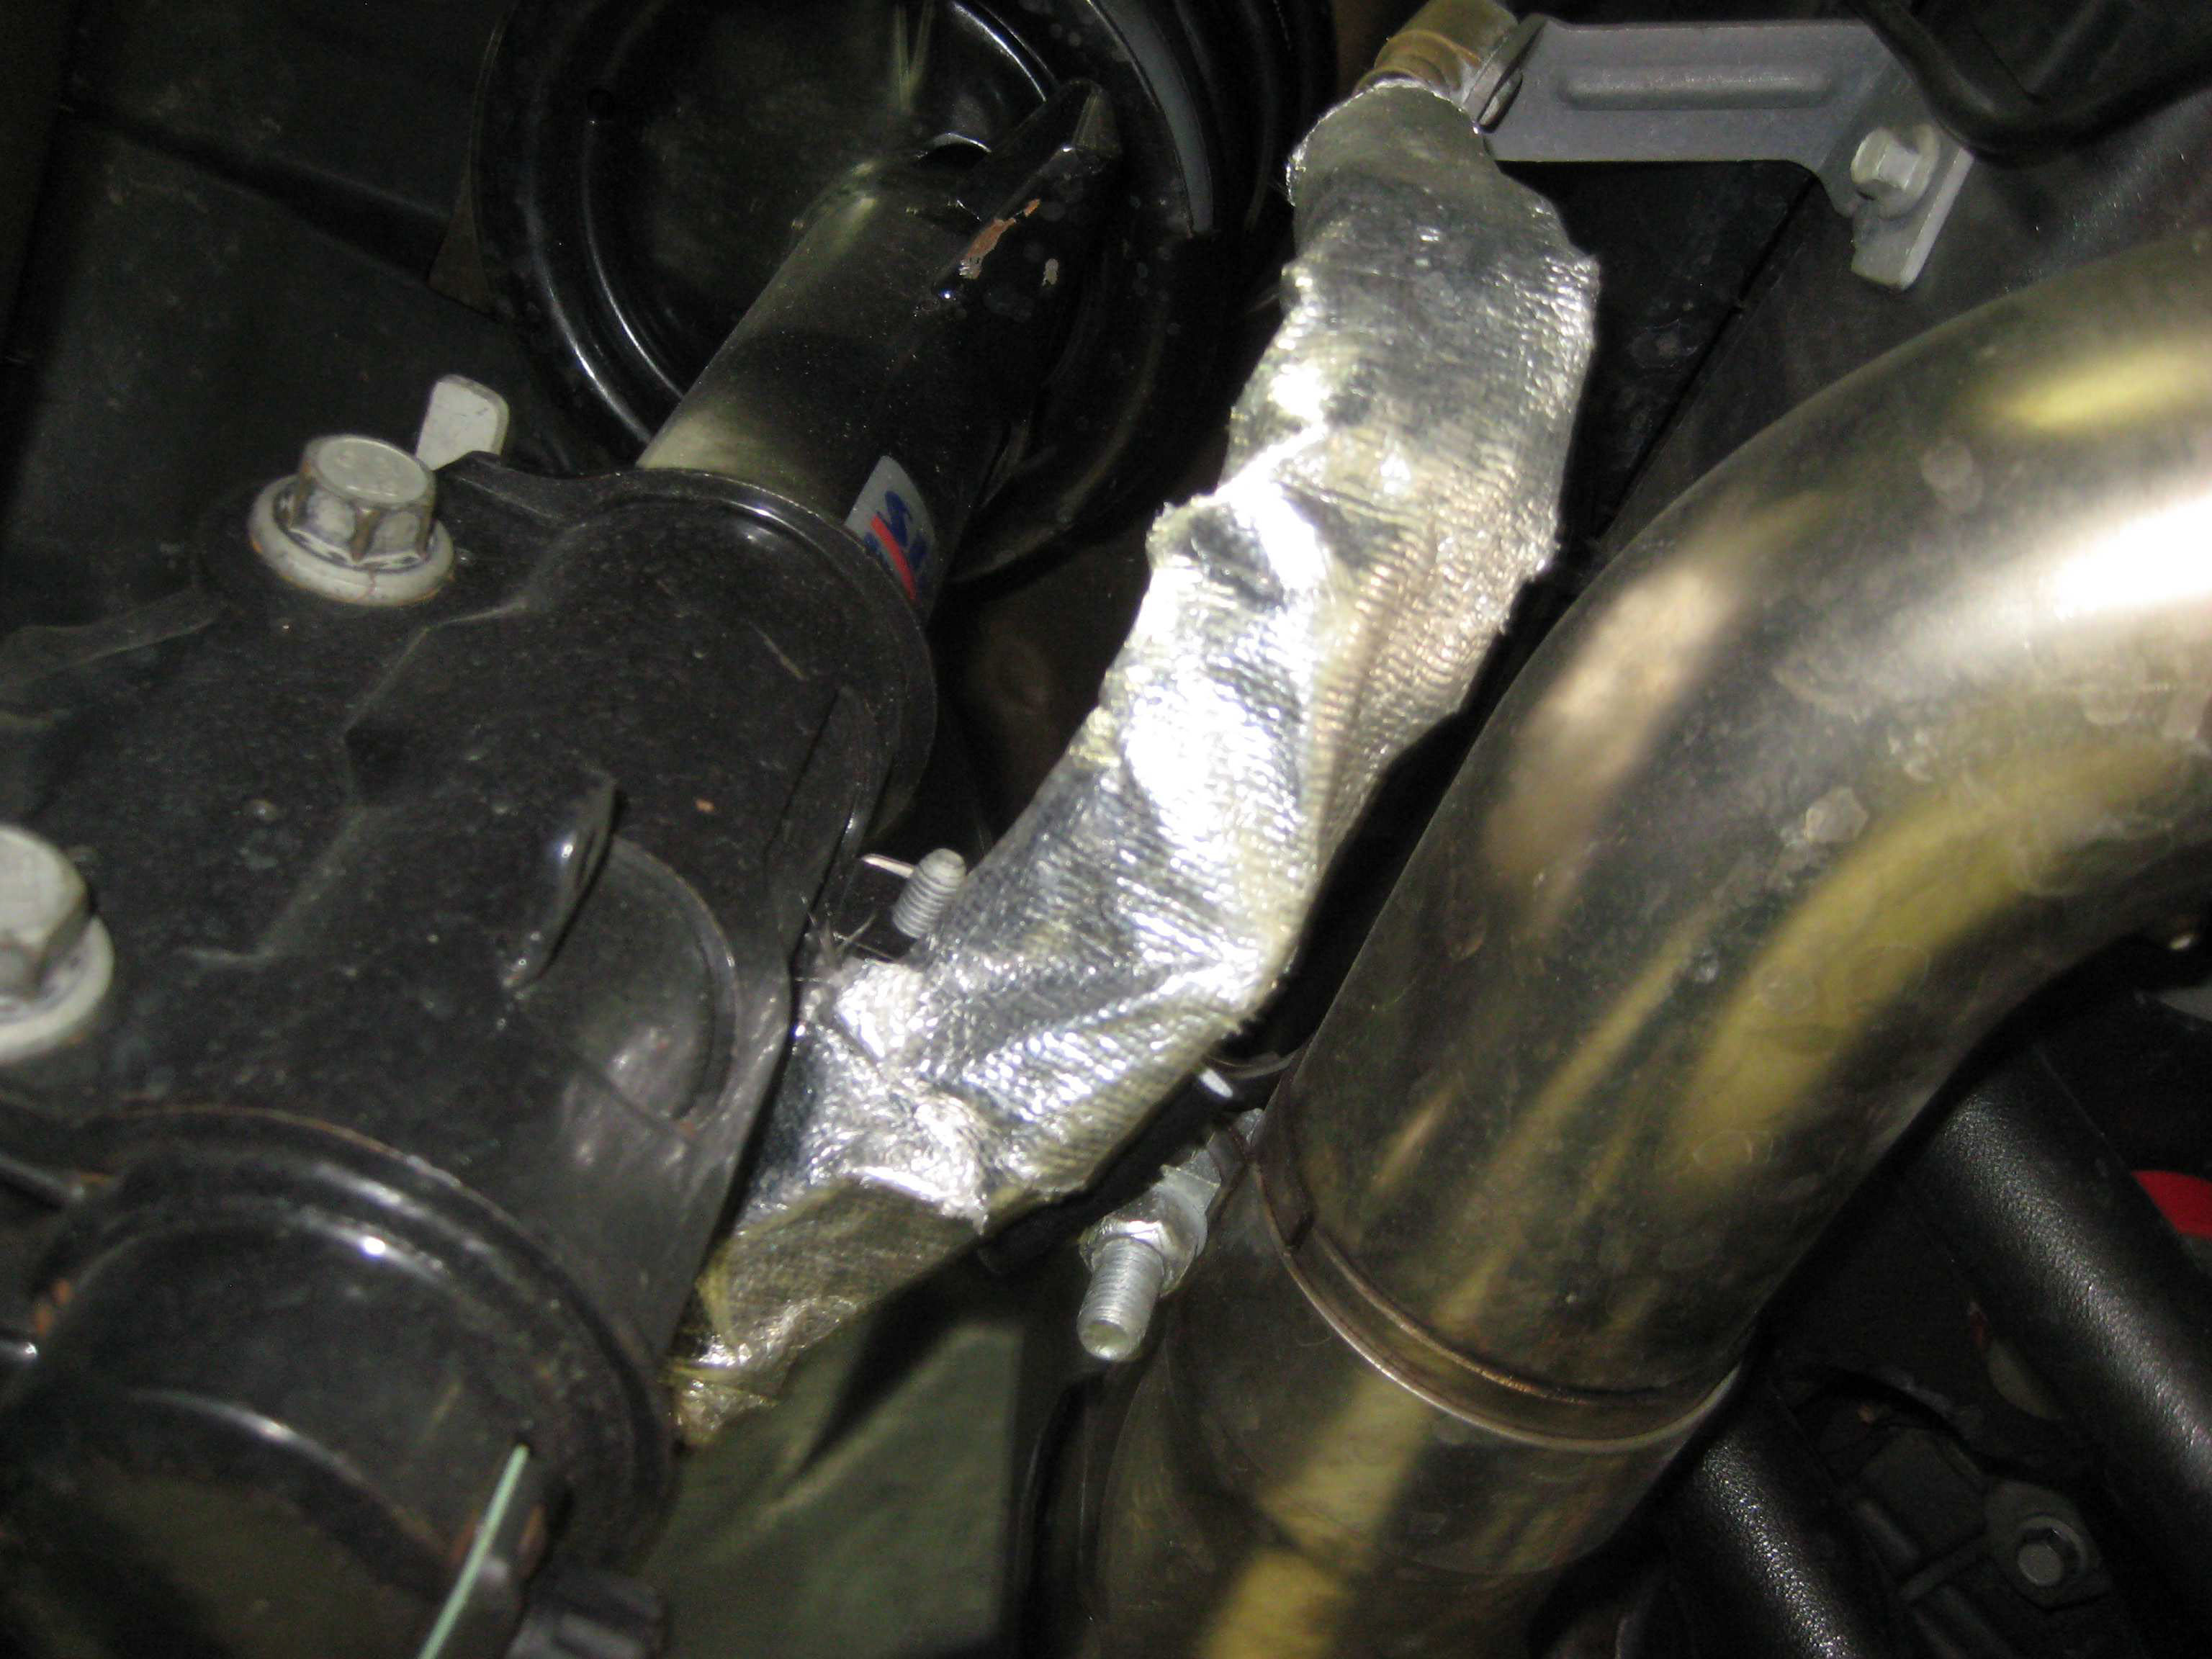
Next were going to install the up pipe that goes round the driver side of the engine up to the turbocharger. Typically we recommend installing the heat wrap onto the up pipe (which is the pipe that directly leads into the turbocharger's turbine housing. Below is a picture of how the heat wrap should be done. It's normally best to leave the clamps a little loose to allow for minor fitment adjustment. In some instances you may need to shift the engine slightly to the drive side to help make more clearance for this pipe (as the engine may move during replacment of the oil pan.

Swap out the water neck on the driver side of the engine for the supplied neck that has been modified.
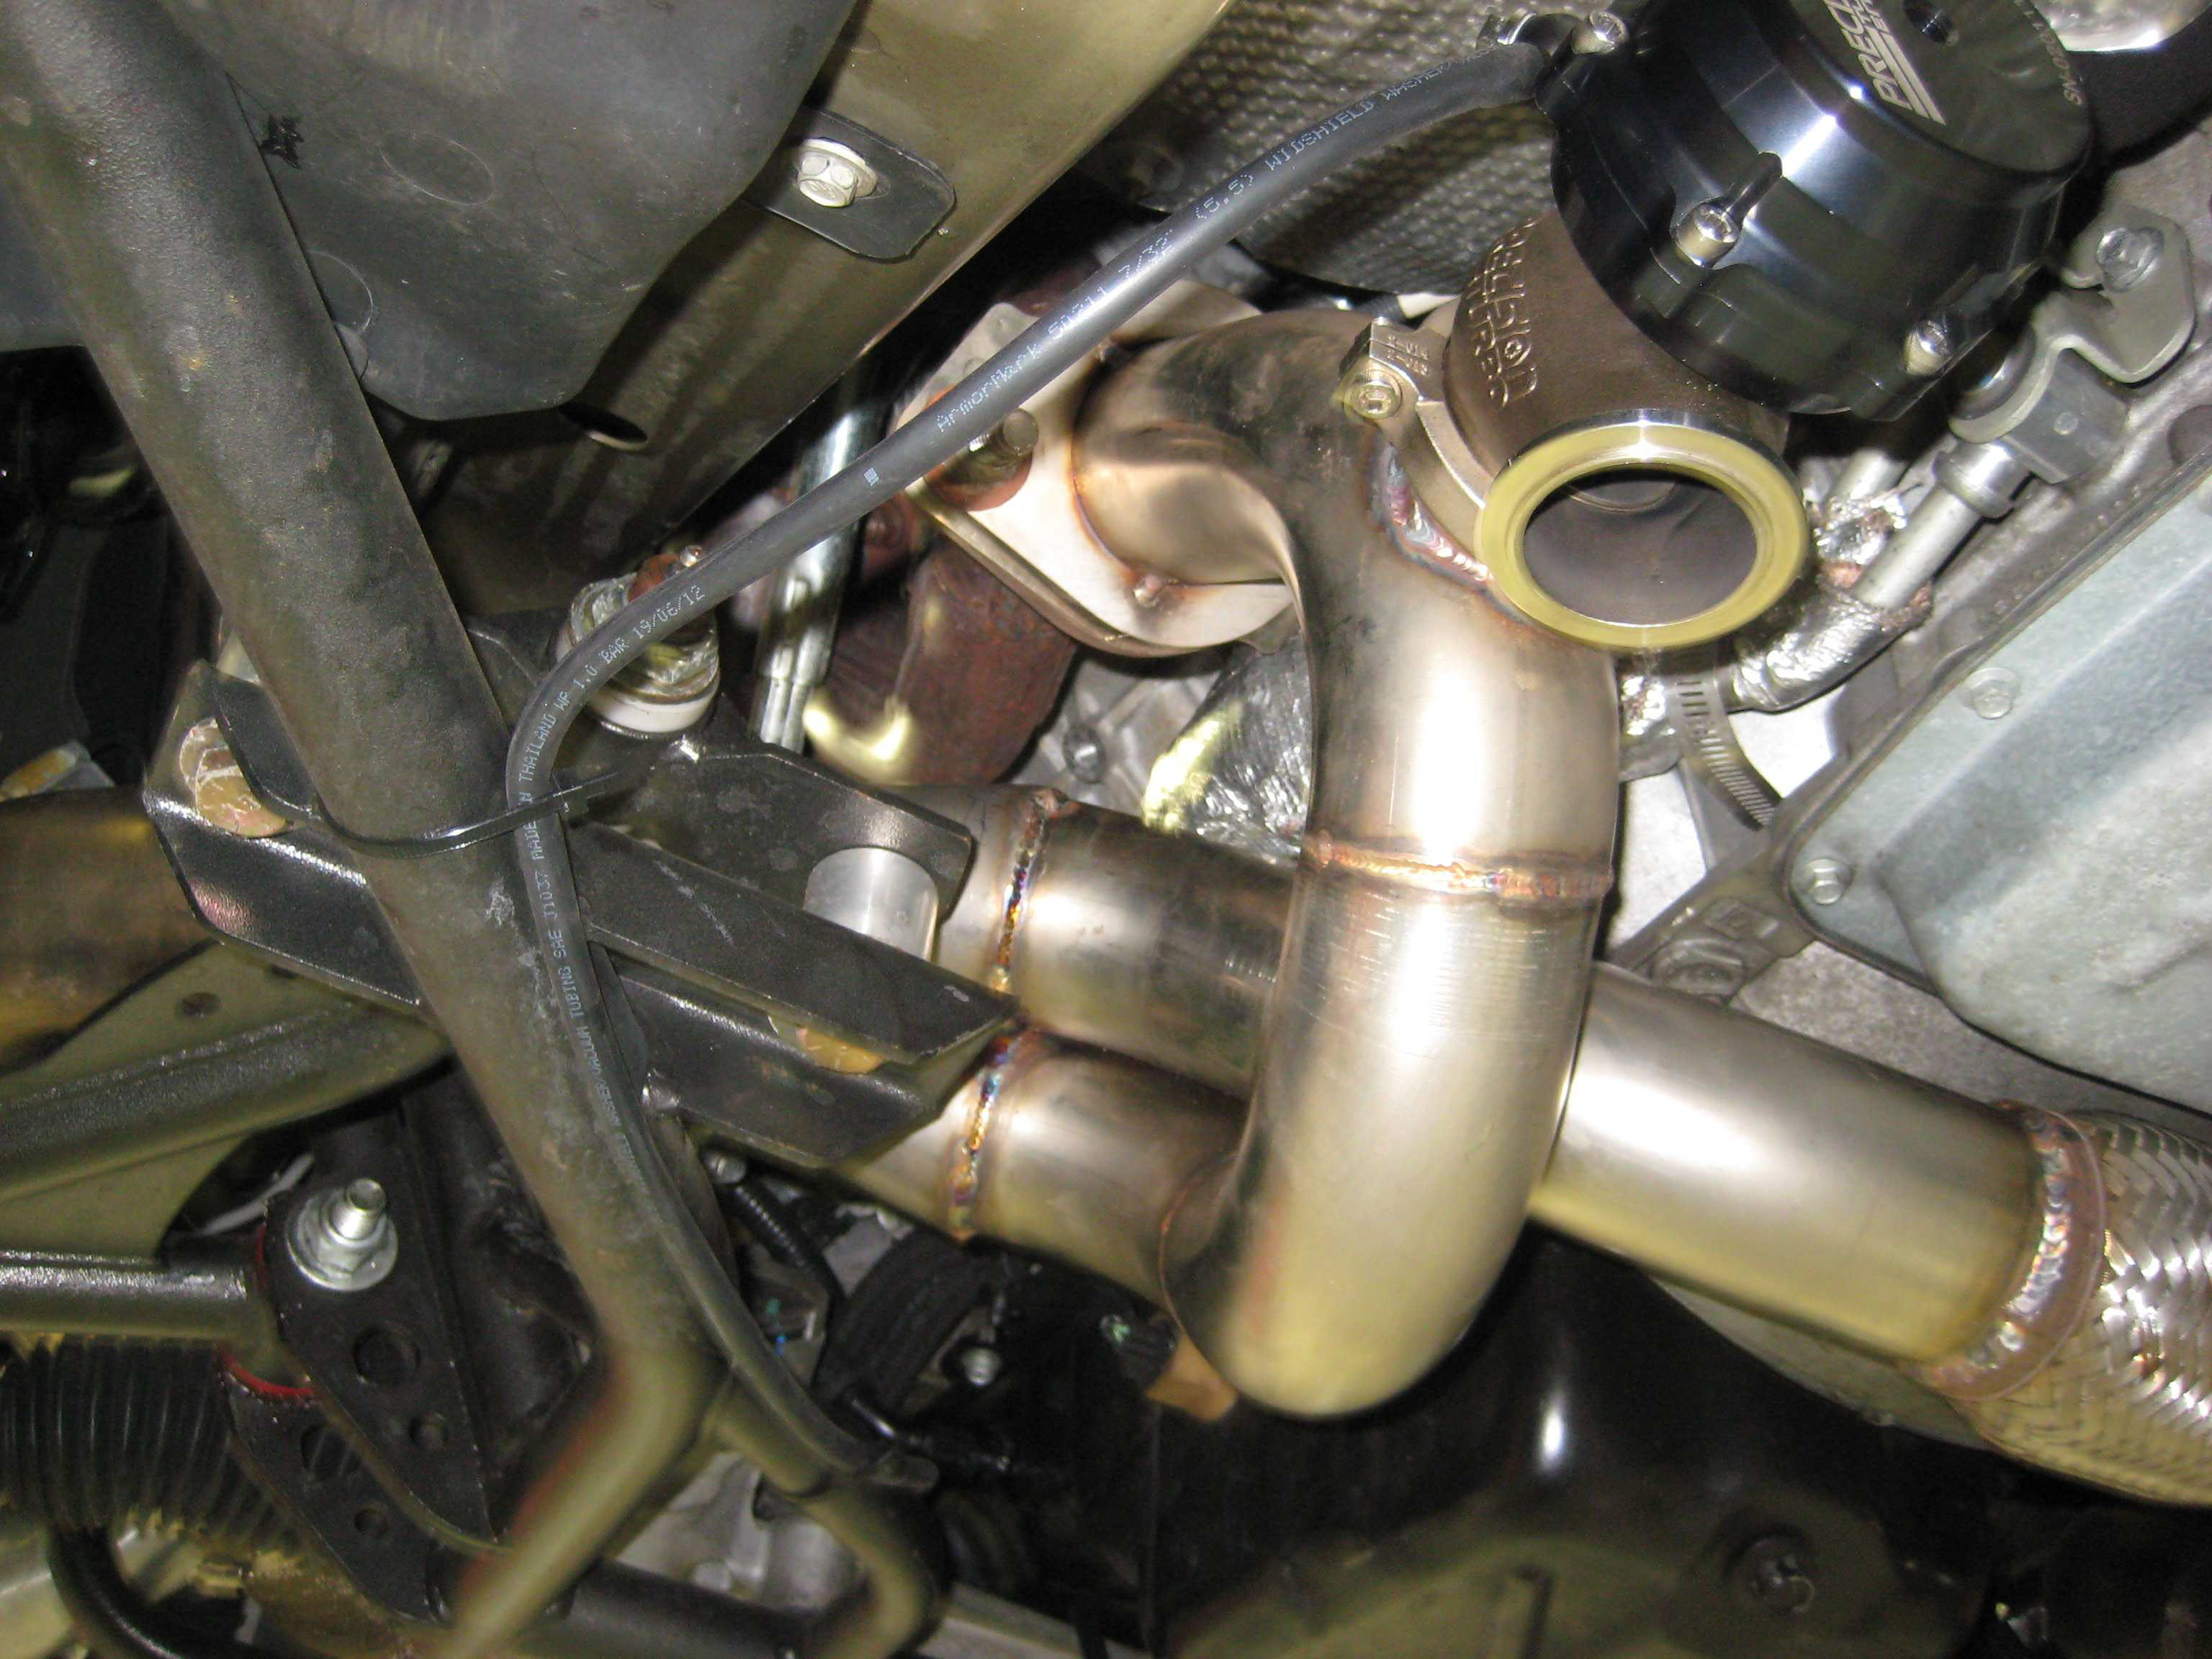
Next your going to need to mount and “Clock” the turbocharger. Seen below is the position were the turbocharger should be mounted and how the turbine, center section and compressor need to be set. Once the turbocharger is the in the correct position you may tighten the up pipe. Be sure the center section is going straight up and down with the single hole upwards. The bolts on the turbocharger should break loose fairly easy. When re tightening these you should just use a simple hand wrench and make them fairly tight (something in the range of 89 inch/lbs.).
In some cases the turbo may be up against the ABS block. If this is the case the pipes will need to be adjusted to make more clearance. The holes for the ABS block are also slotted so if need be you can loosen the abs block up and slide it over some to make more clearance. This is not always the case but it's an option incase you run into this issue.

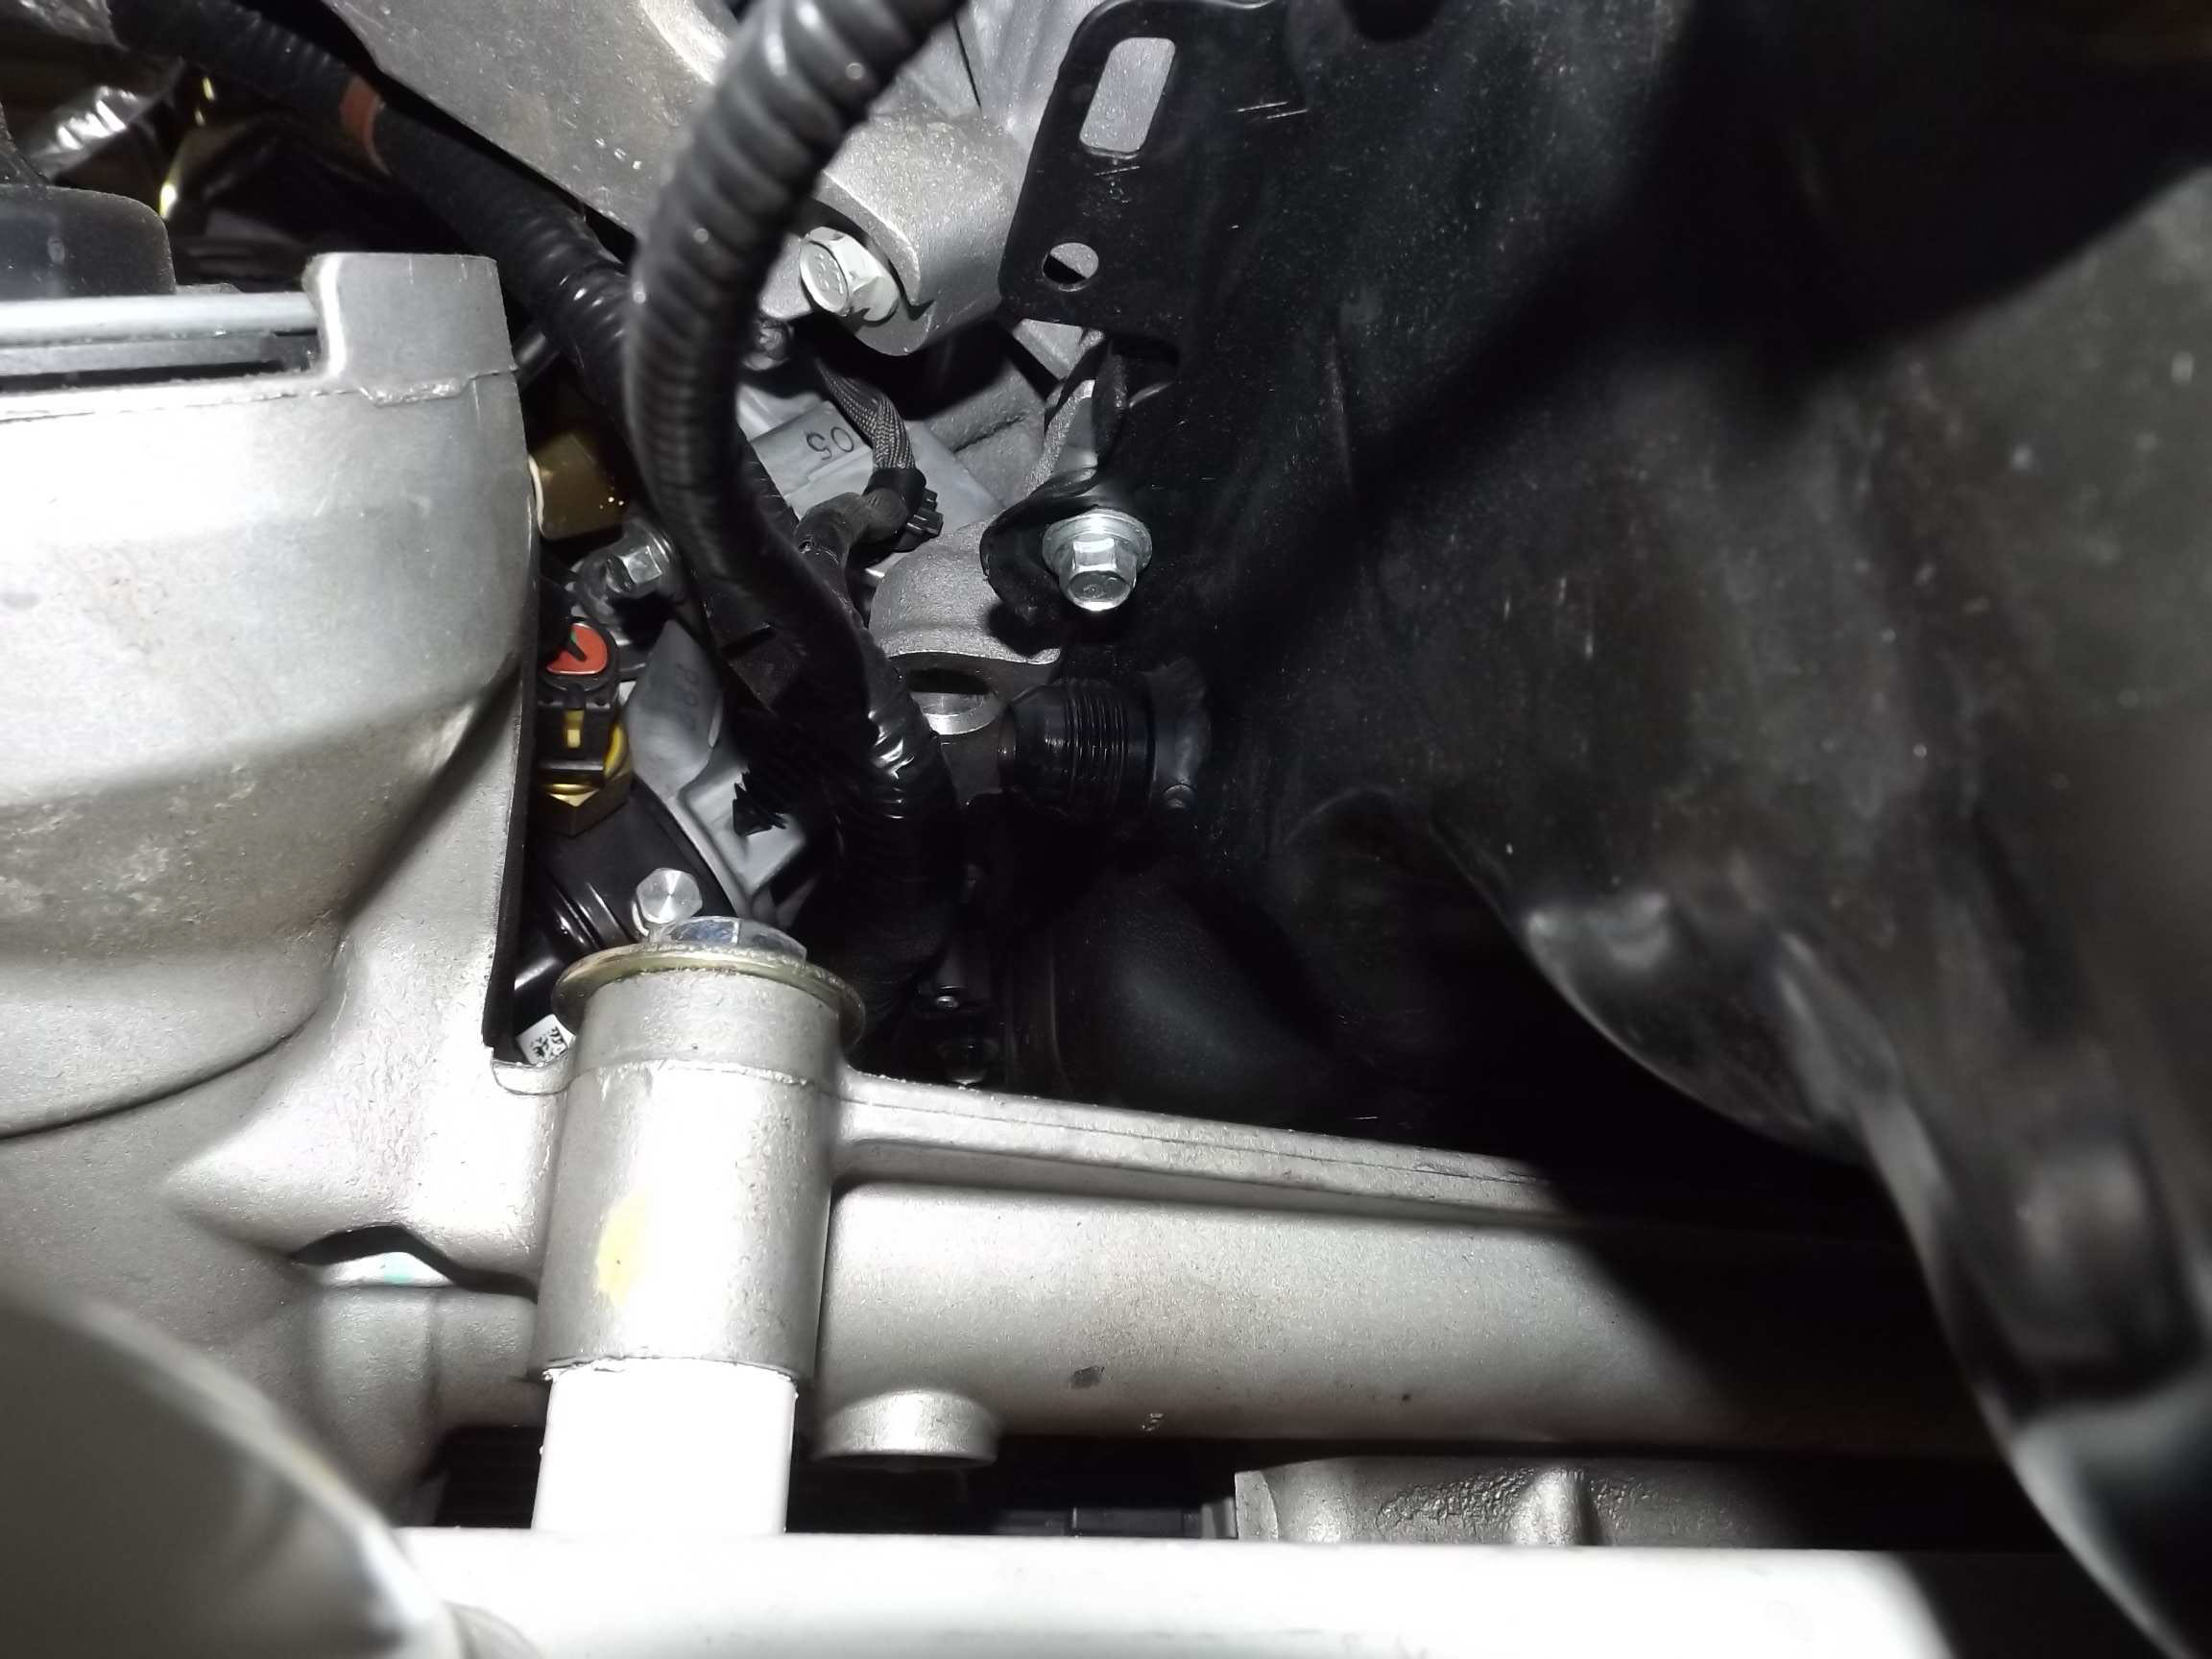
22. Using the supplied fittings and push lock hose your going to need to build and mount the oil drain line. The best way to do this is to run it behind the alternator and into the pan. The oil drain line is a -10 AN line. This needs to be mounted into the side of the oil pan.
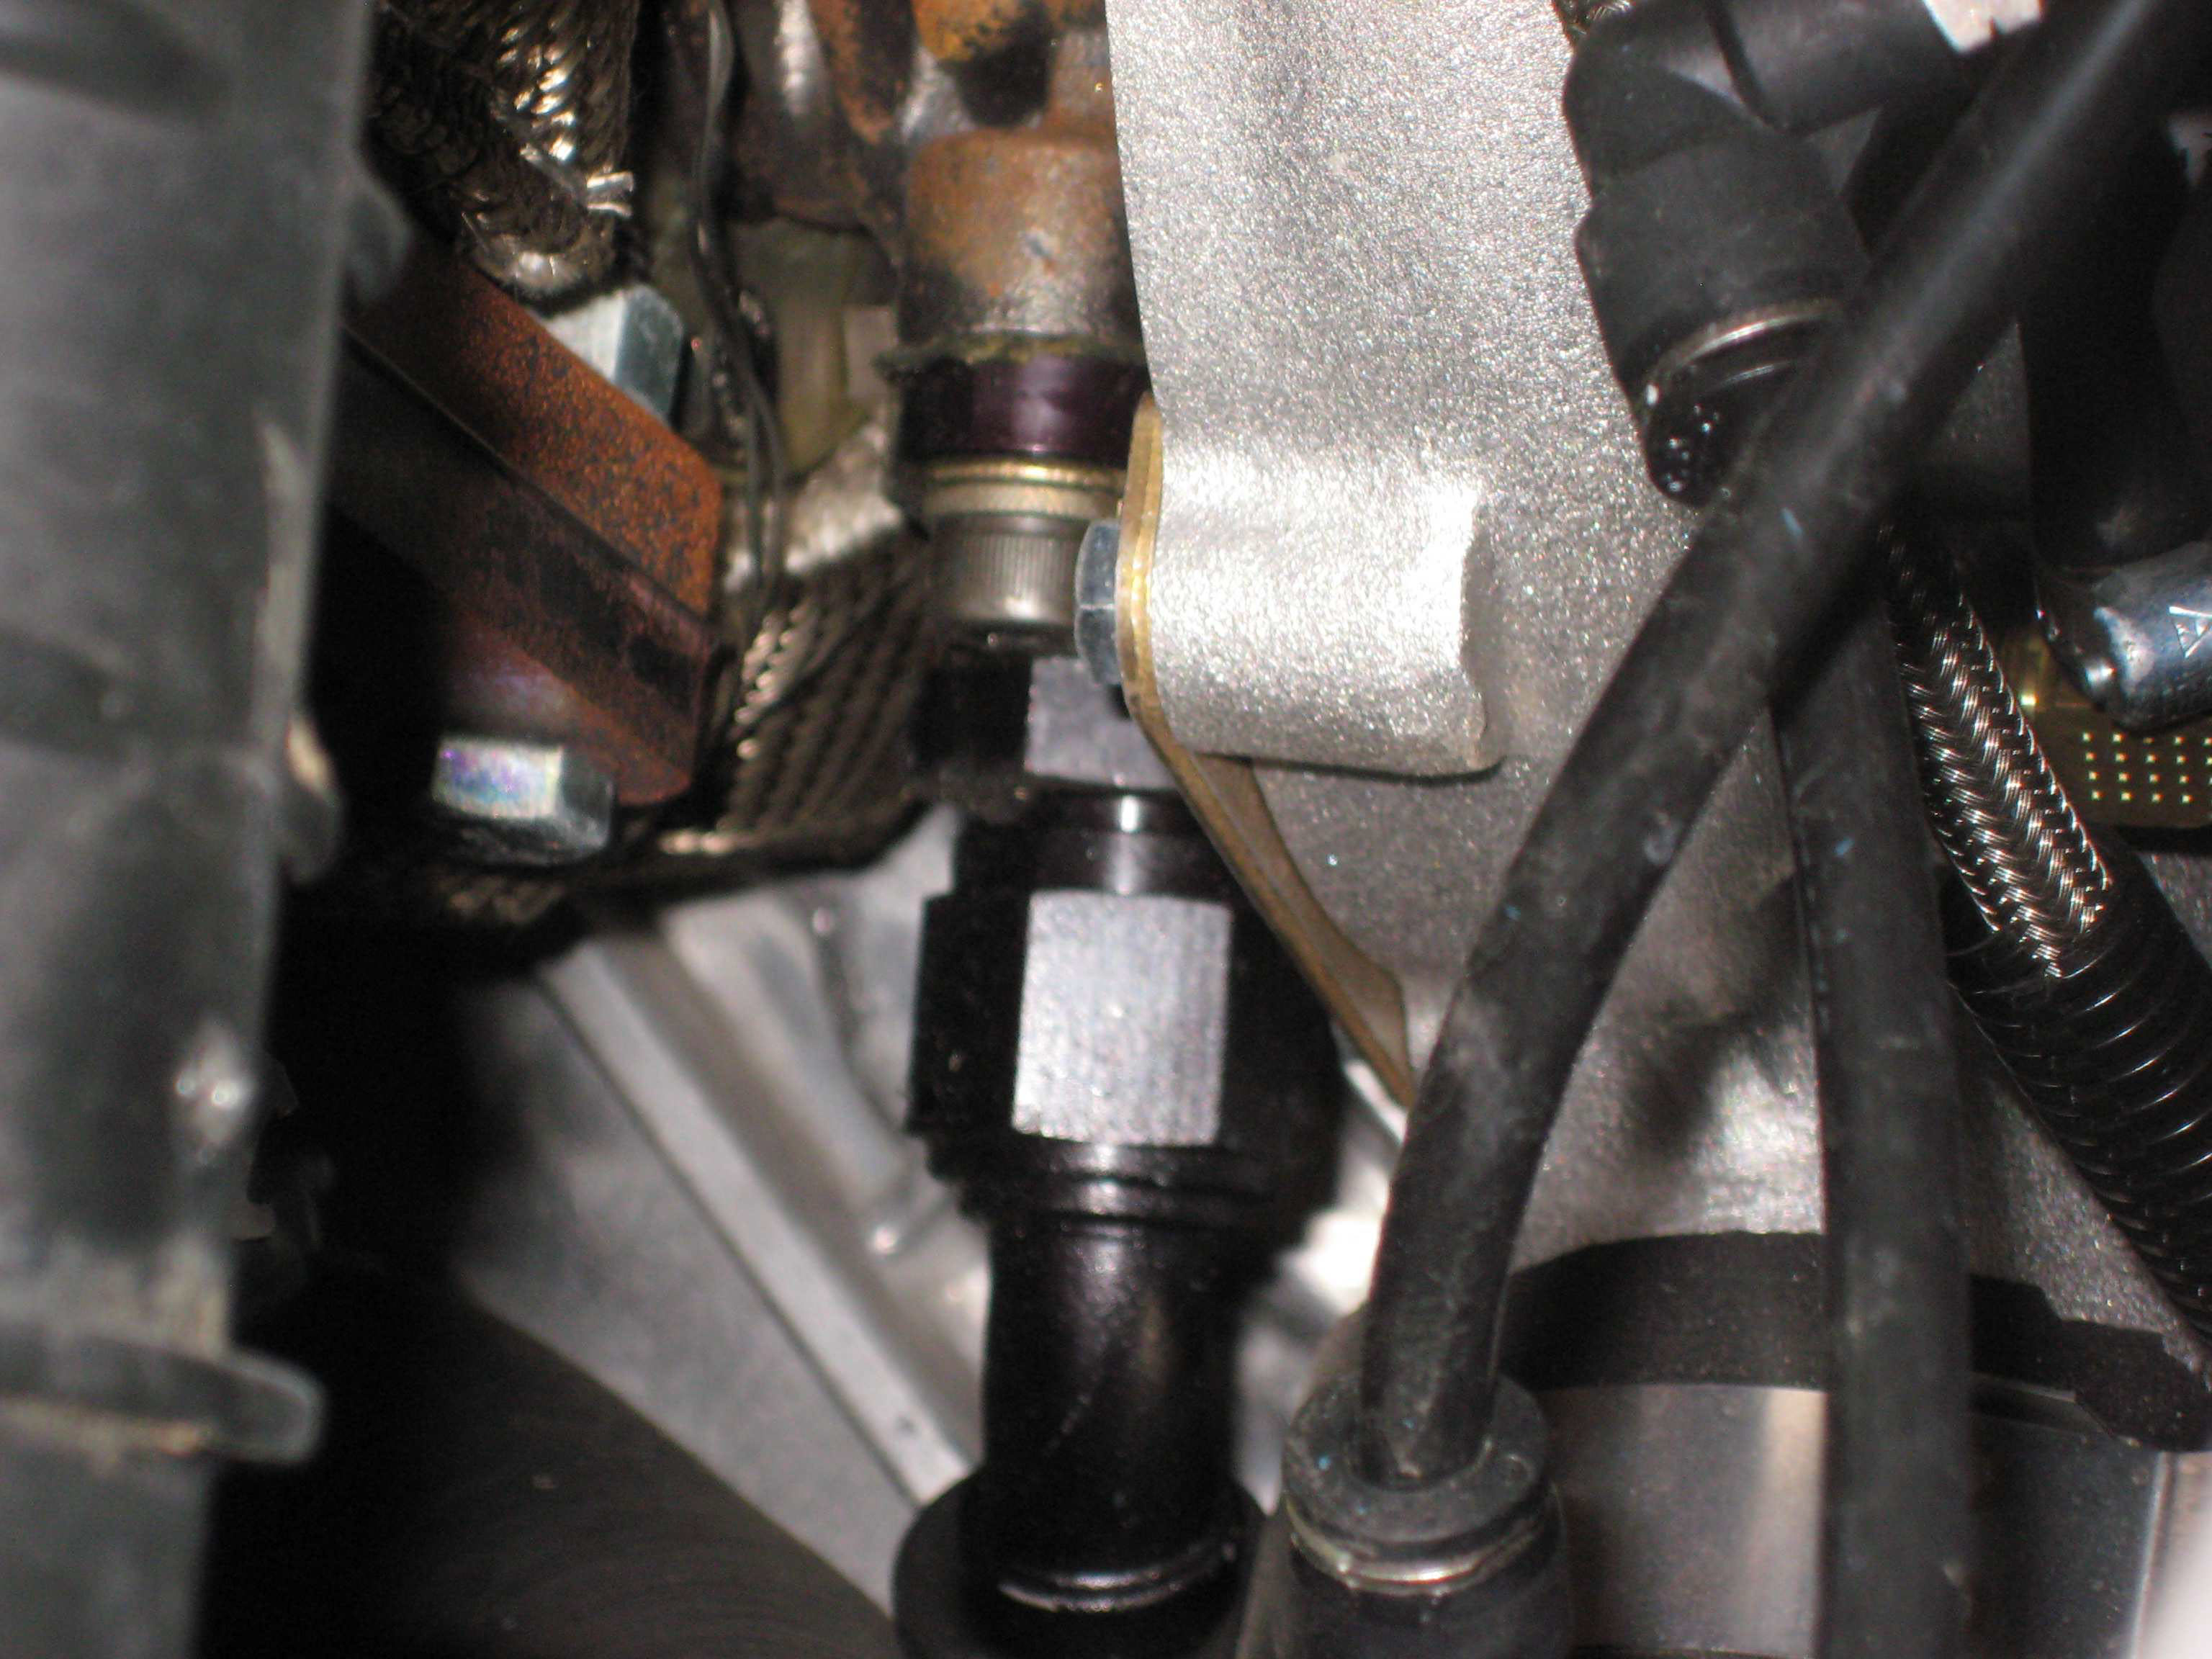
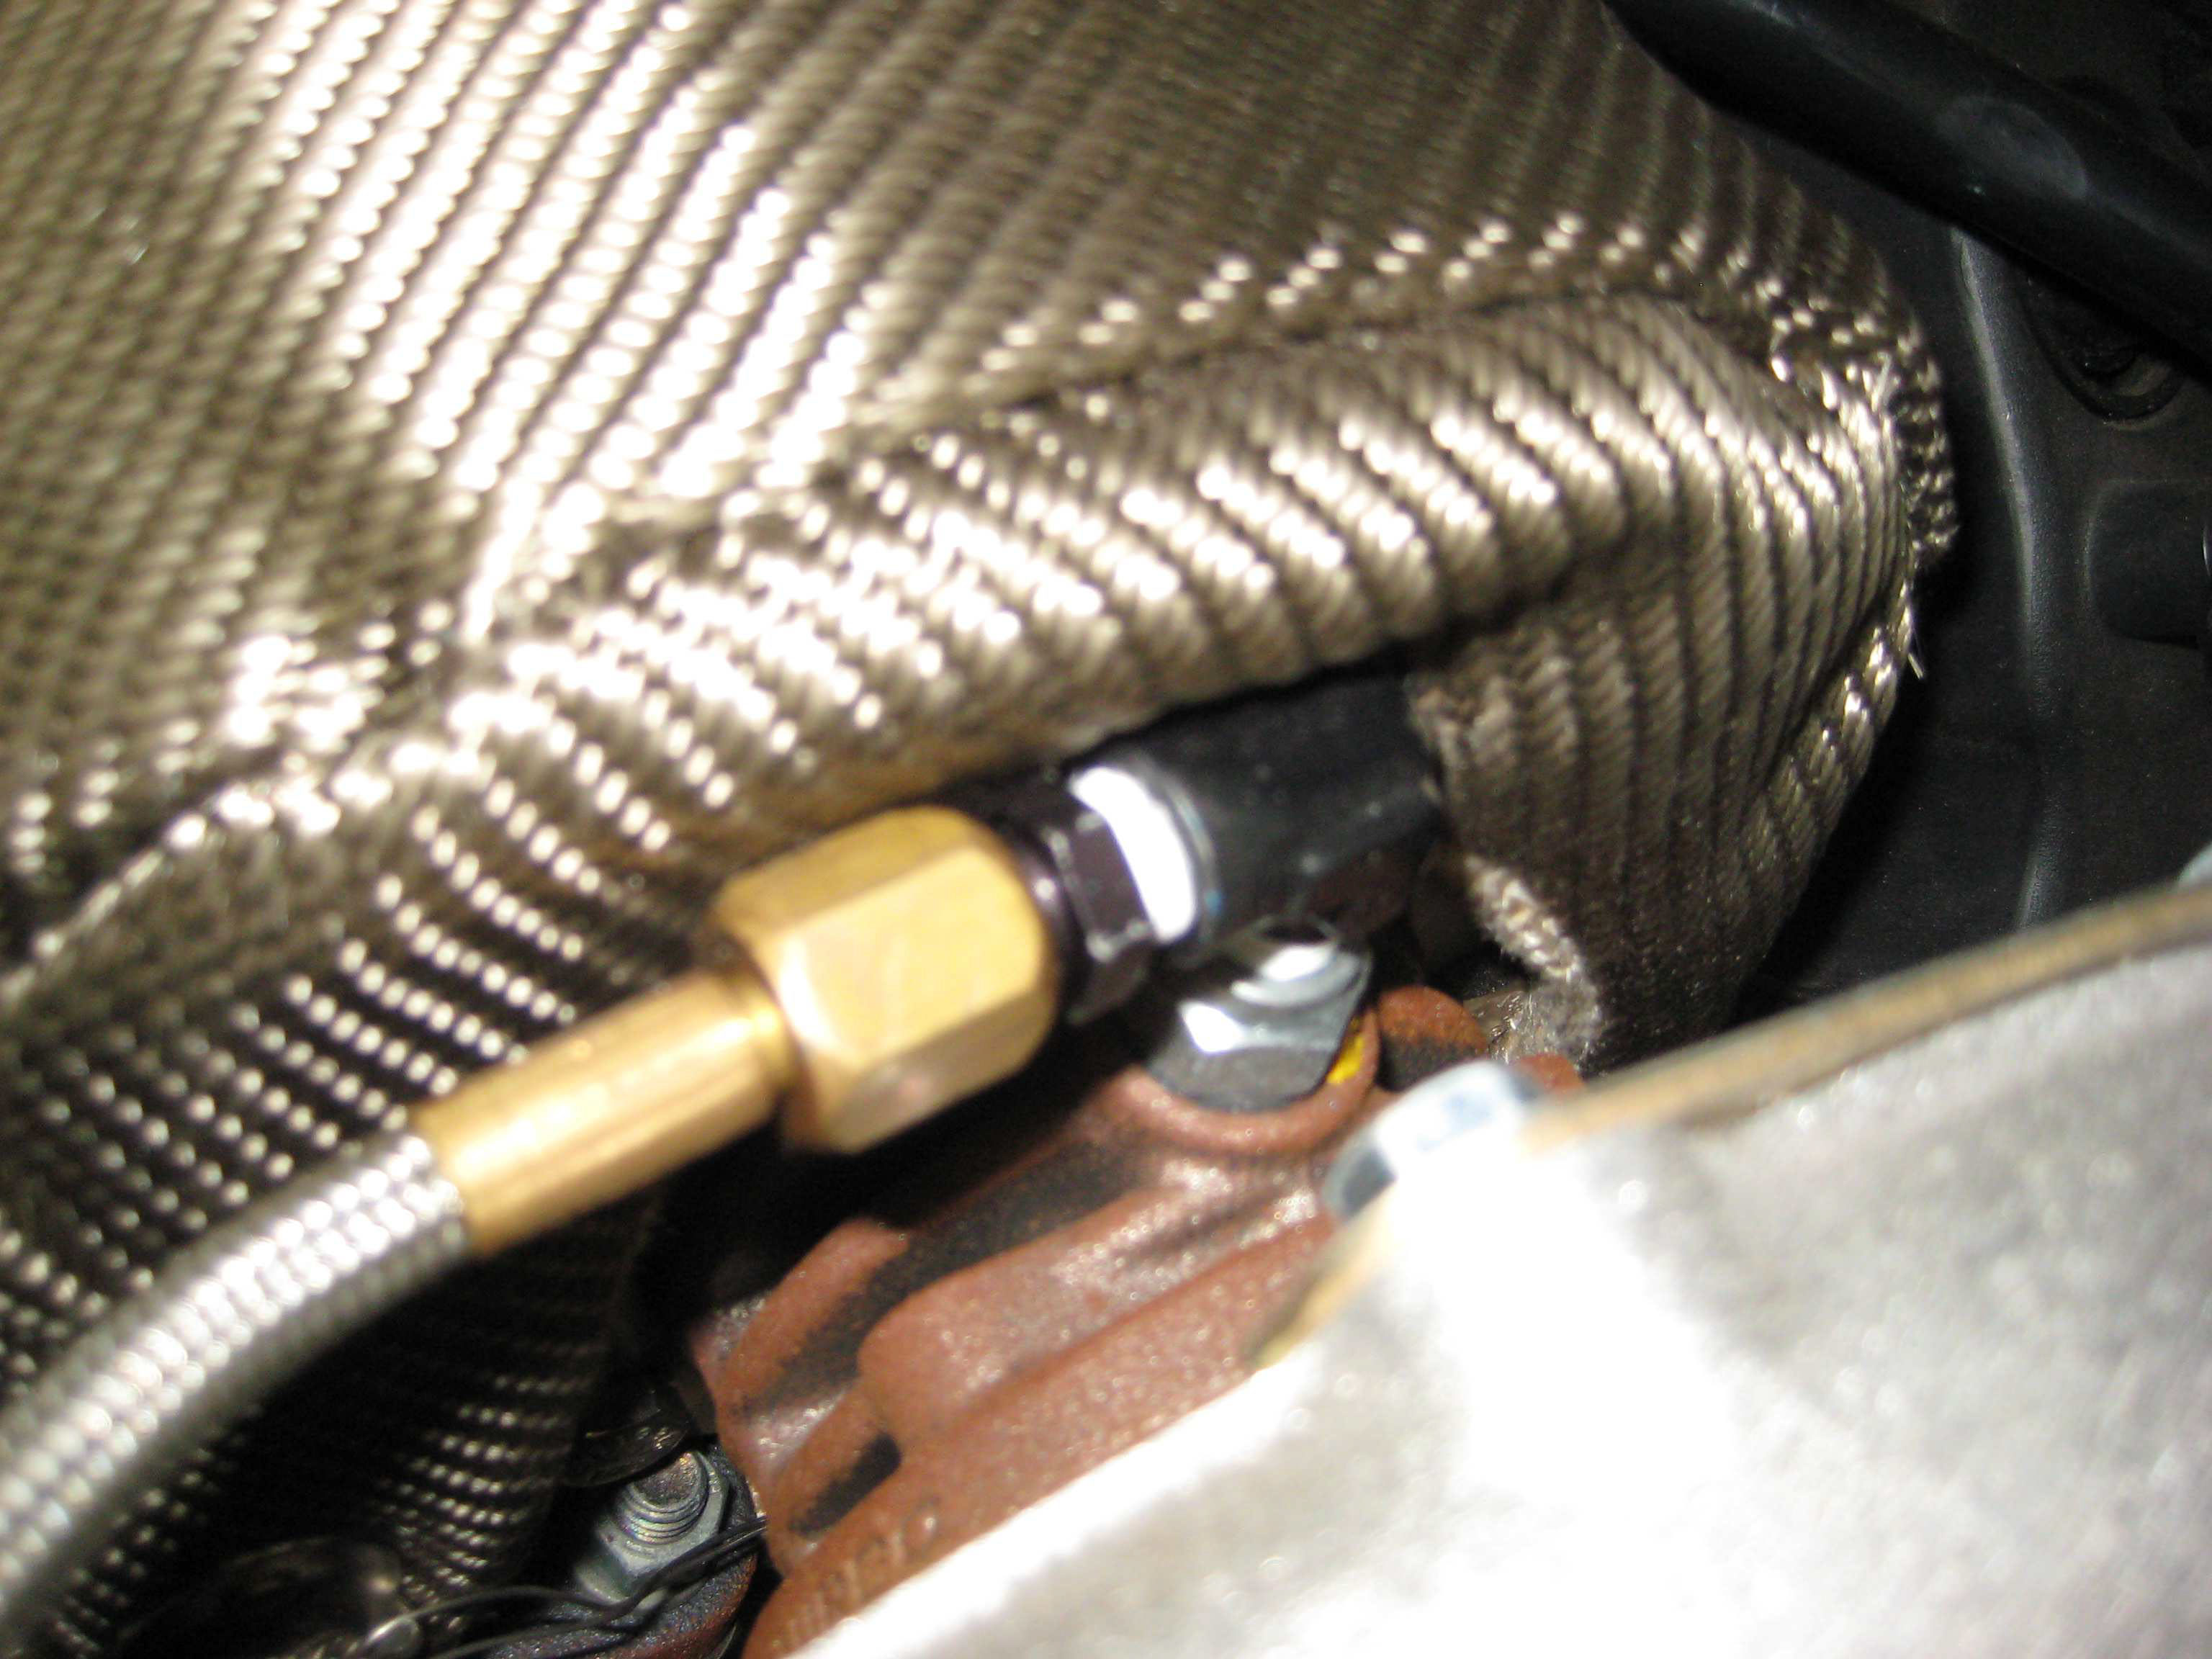
23. Next your going to want to run the oil feed line. There's a supplied brass T fitting that your going to use on the oil filter housing. Remove the oil pressure sensor and install the T fitting, then install the oil pressure sensor into the T fitting and the new -4 AN oil feed line. This feed line goes to the top side of the turbocharger. The braided steel line in the pictures is different then the push-lock hose supplied in the kit.
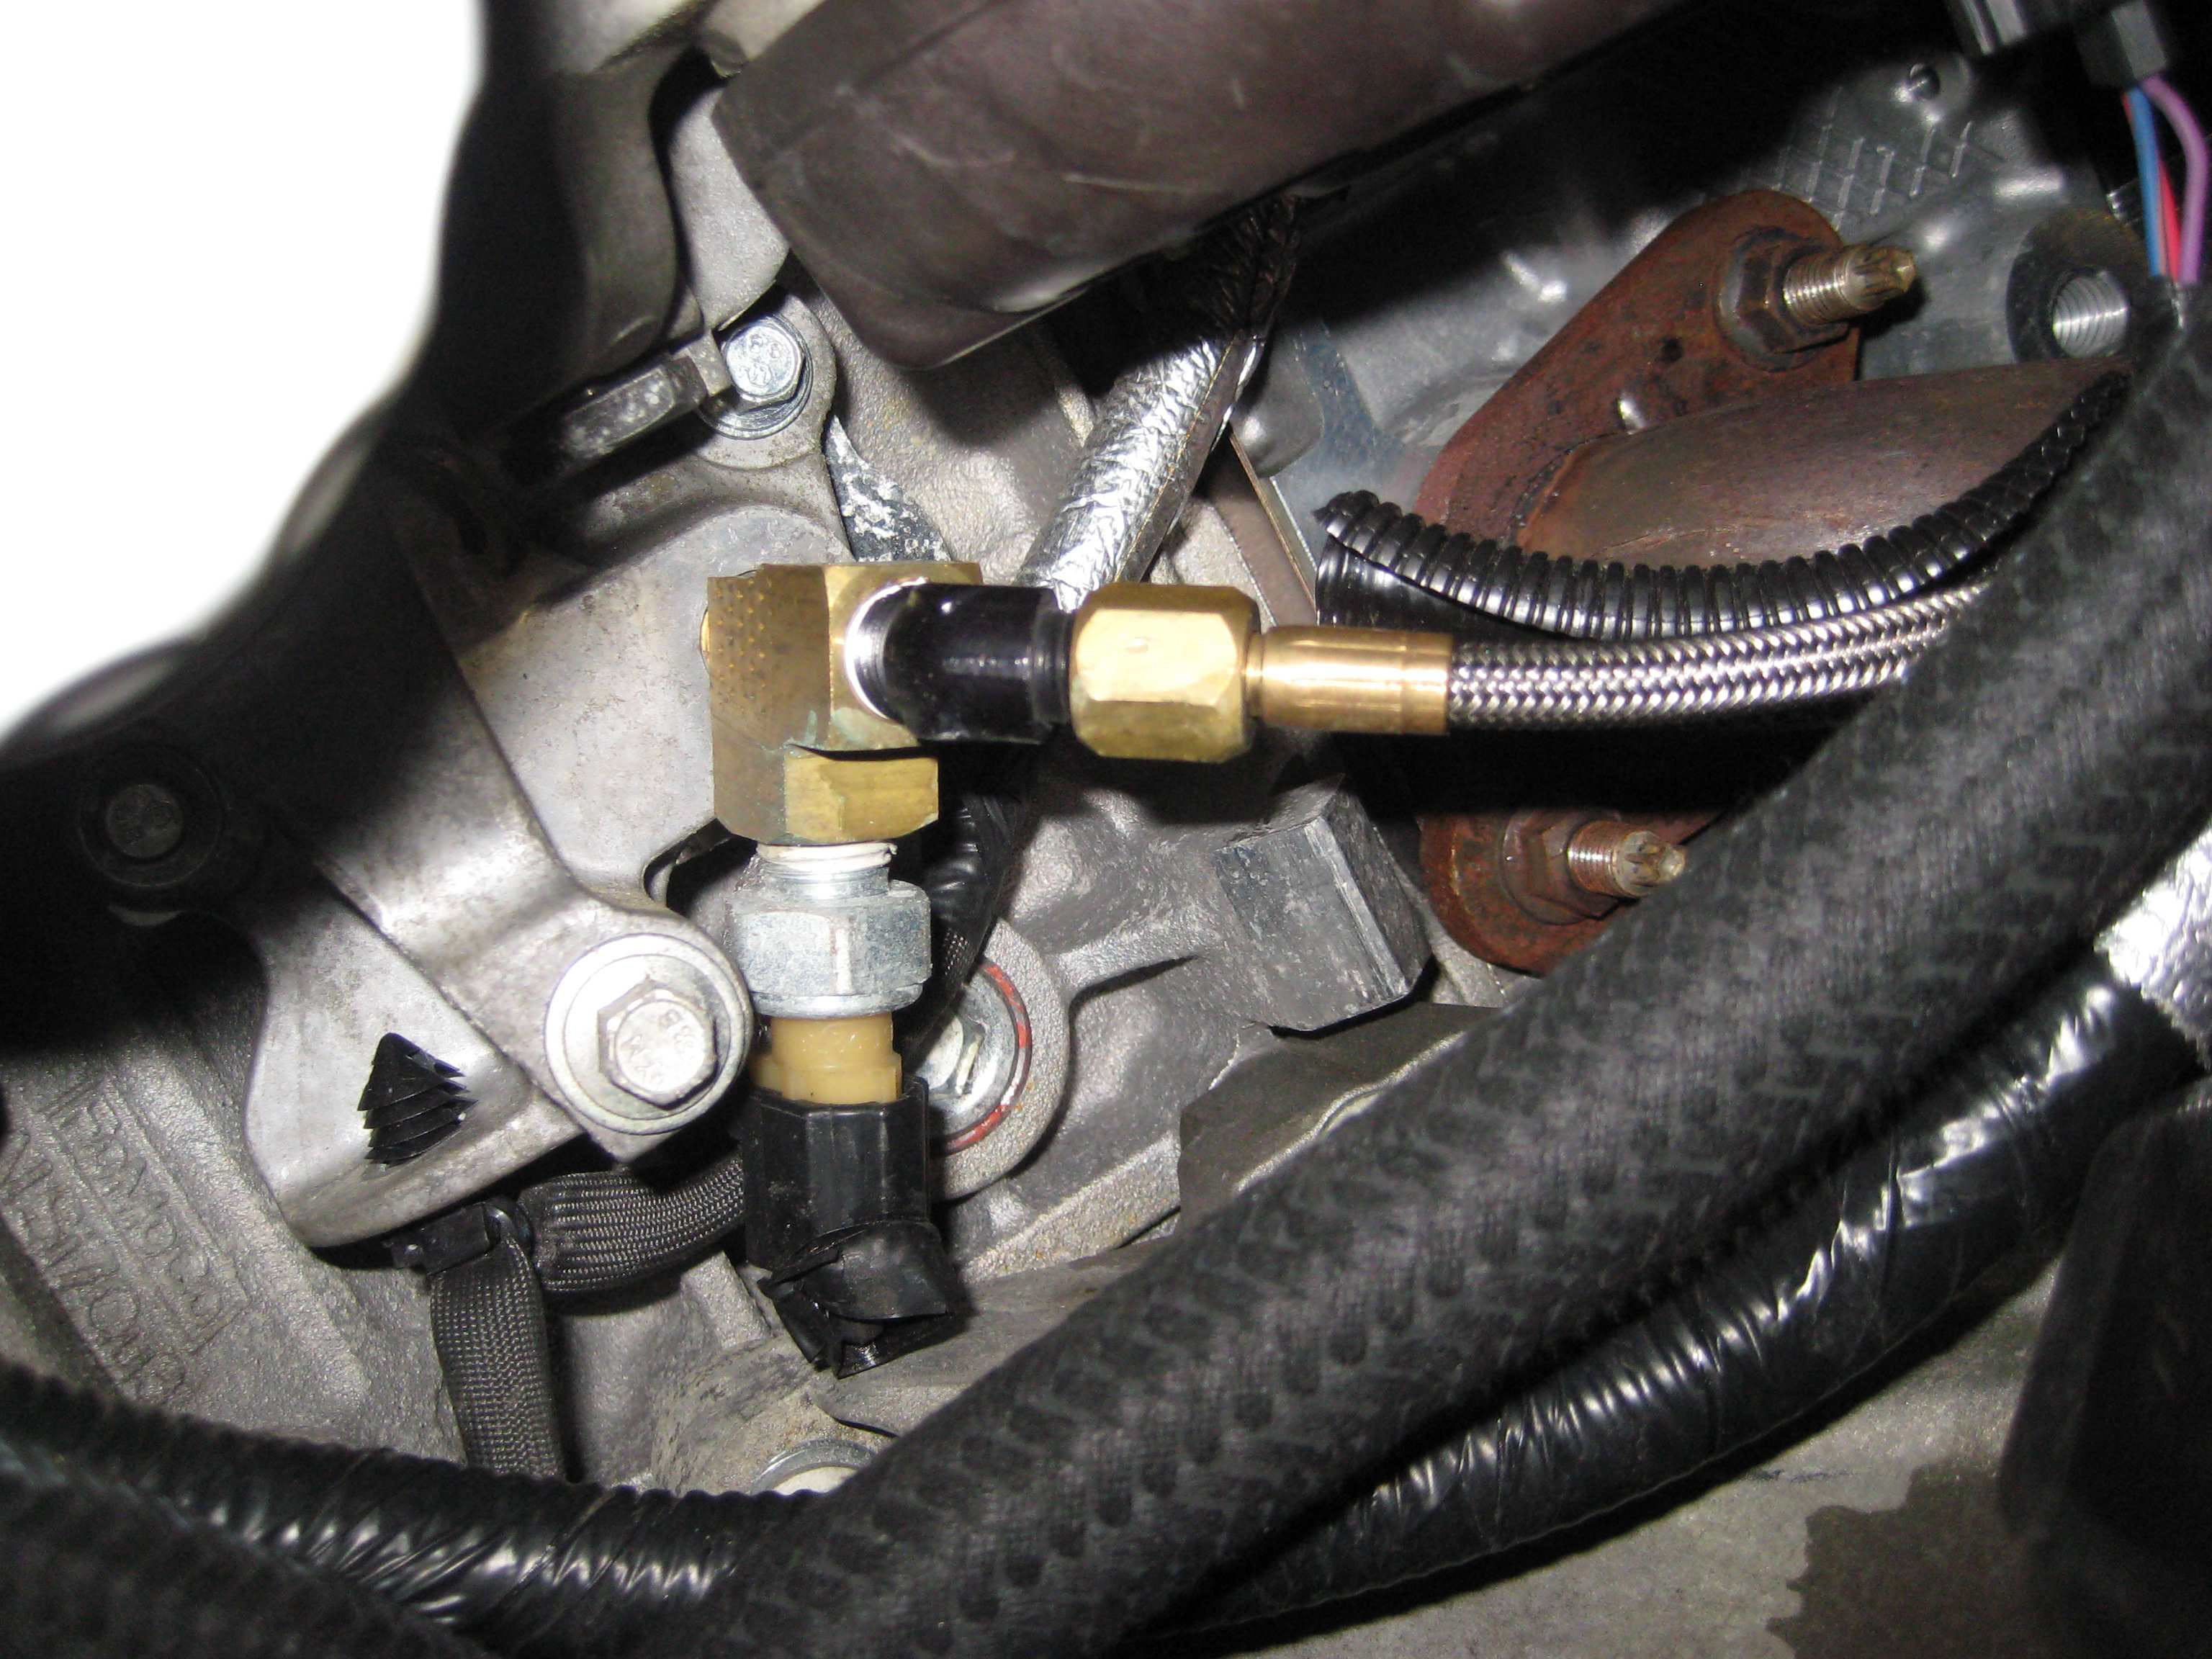
24. Install the oil feed line onto the turbocharger, using the supplied line, 90 degree fitting and adapter.
You may now install the turbocharger with the supplied gaskets.
If you bought new spark plugs this is a good time for you to replace them.
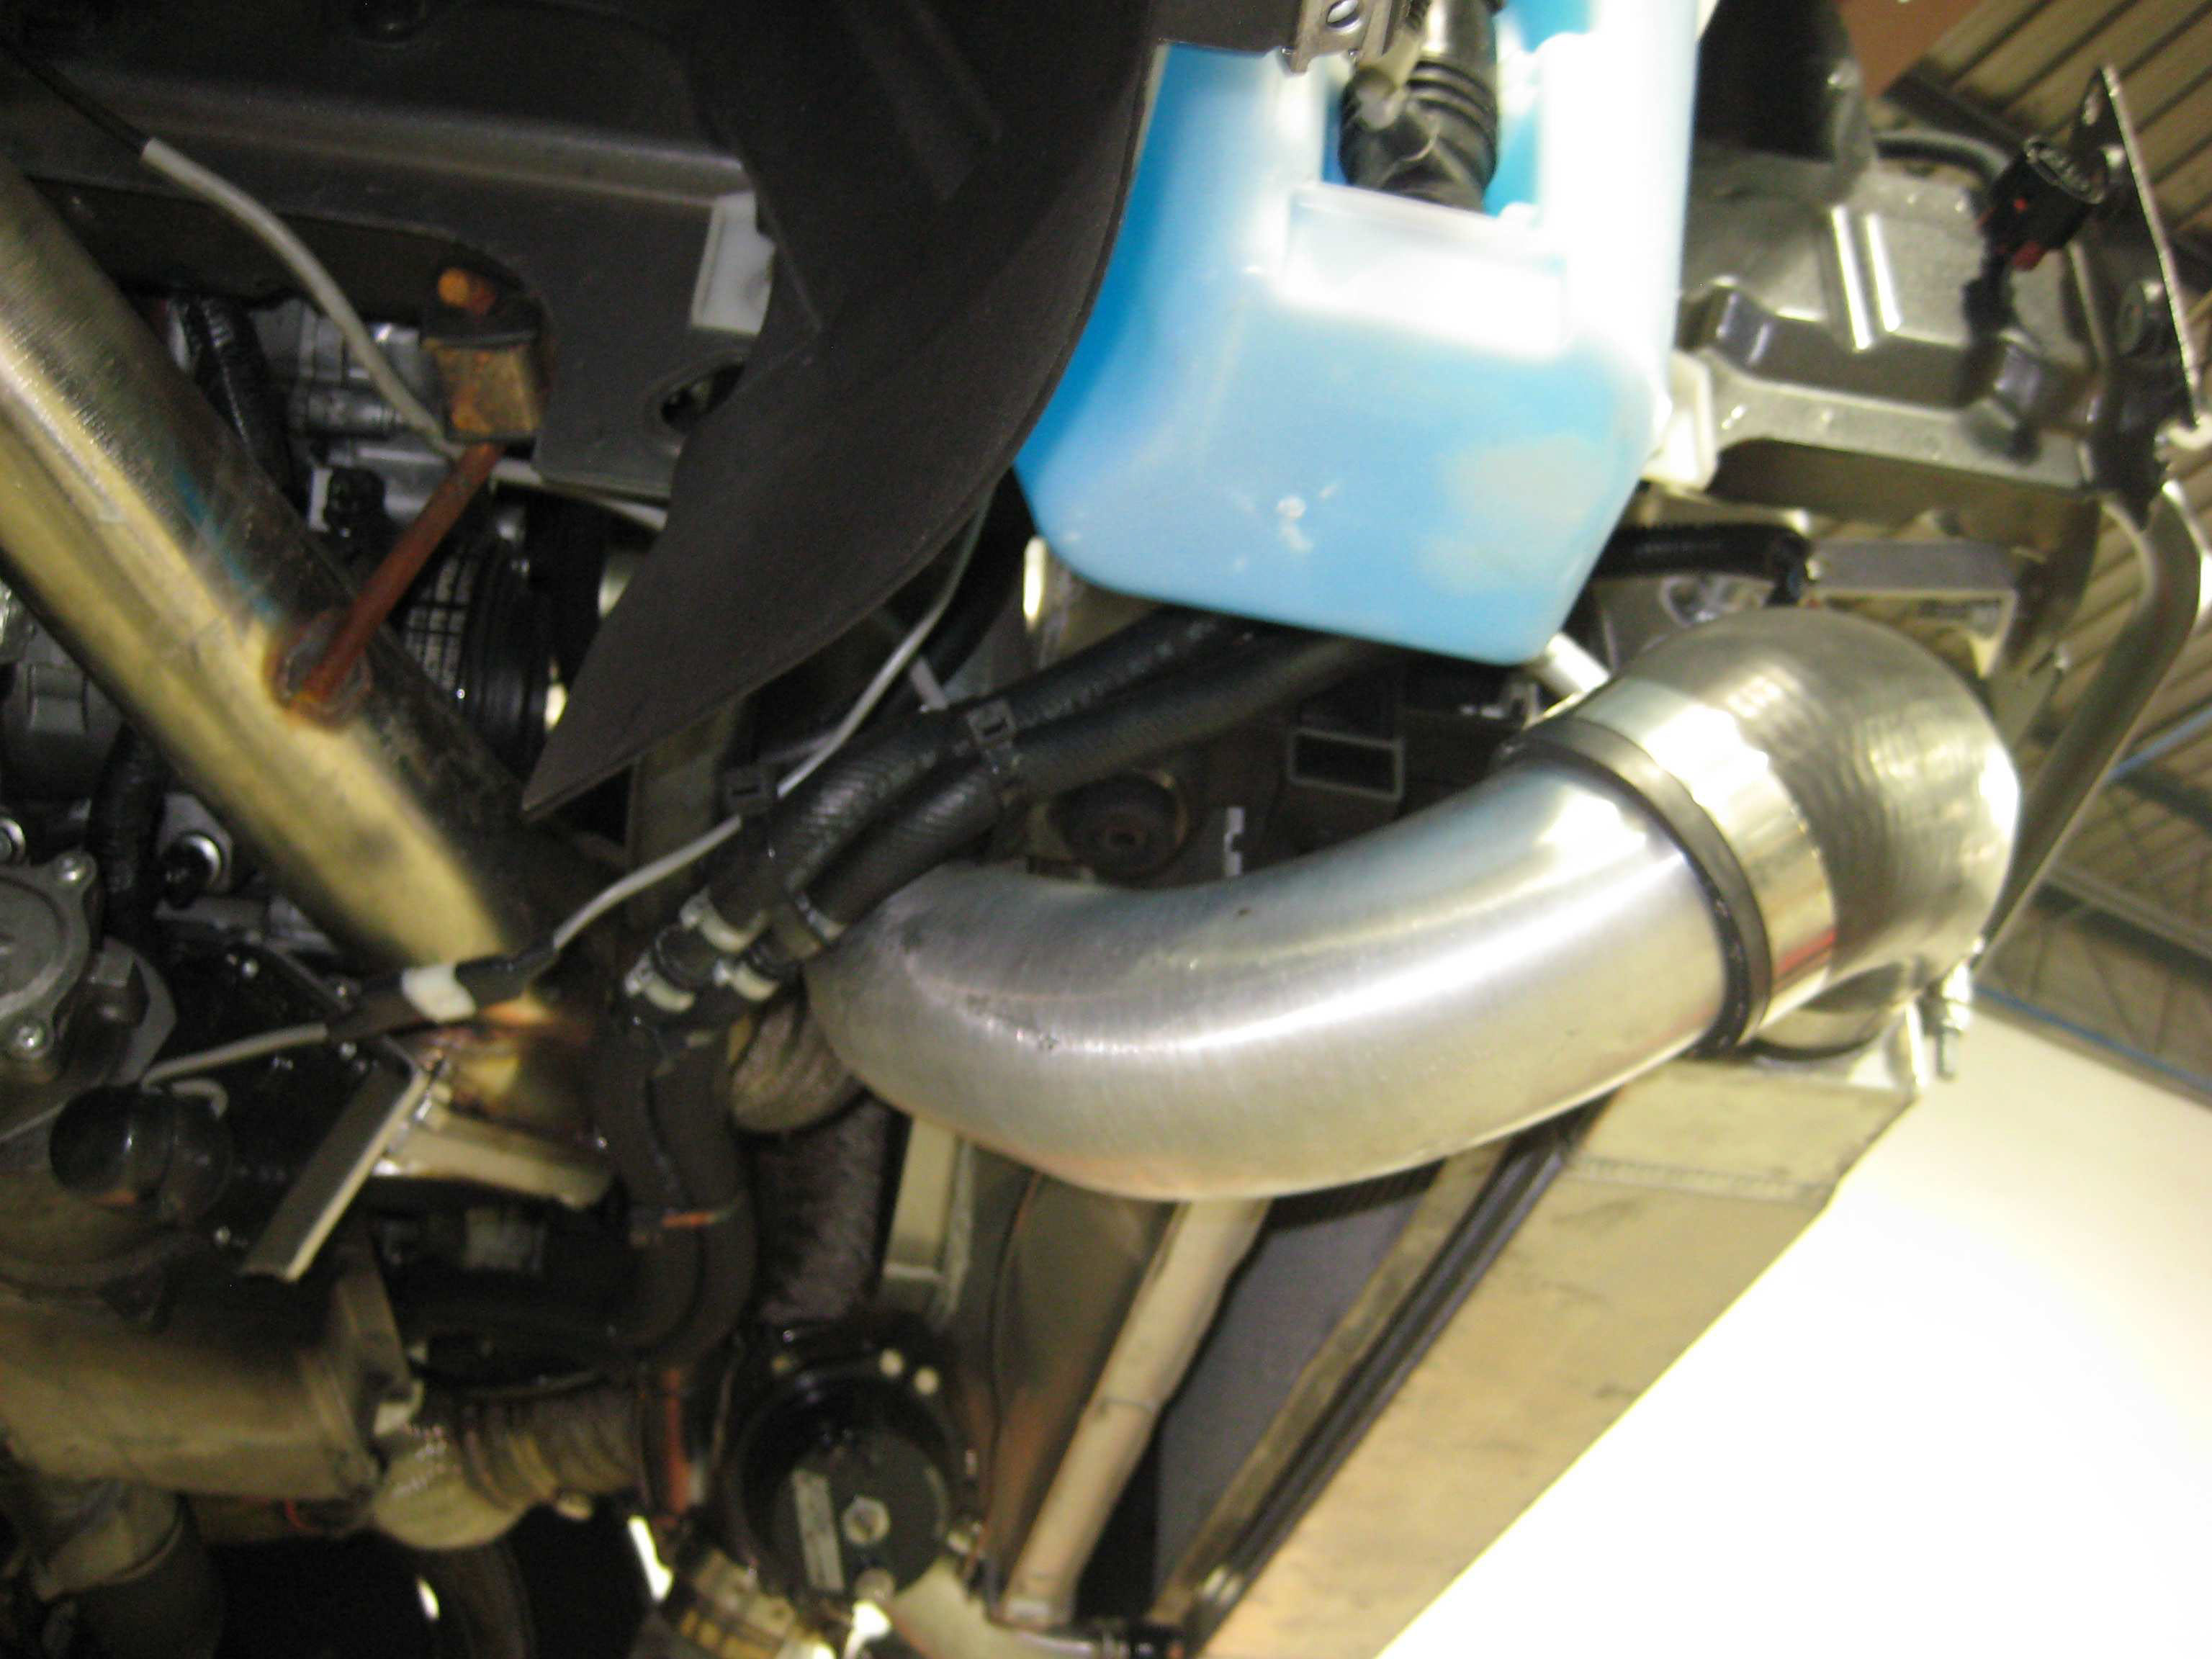
Install the new coolant reservoir supplied in the kit. Start by mounting a 2” piece of 3/8 hose off
the top of the tank. Then connect a T fitting to the 2” piece of line. Cut the coolant line that exits by the passenger side of the engine by the intake manifold and run it over to the T fitting using 3/8 hose. Then cut the hose that comes off of the overflow on the radiator and run it over to the T fitting as well.
On the drive side of the engine, remove the 3/4” rubber hose from the heater hose. Your looking for a T style metal pipe over by the top of the engine. Remove the plastic clip off of the metal pipe and install a 3/4” hose onto the end and feed it over to the lower port on the coolant tank.
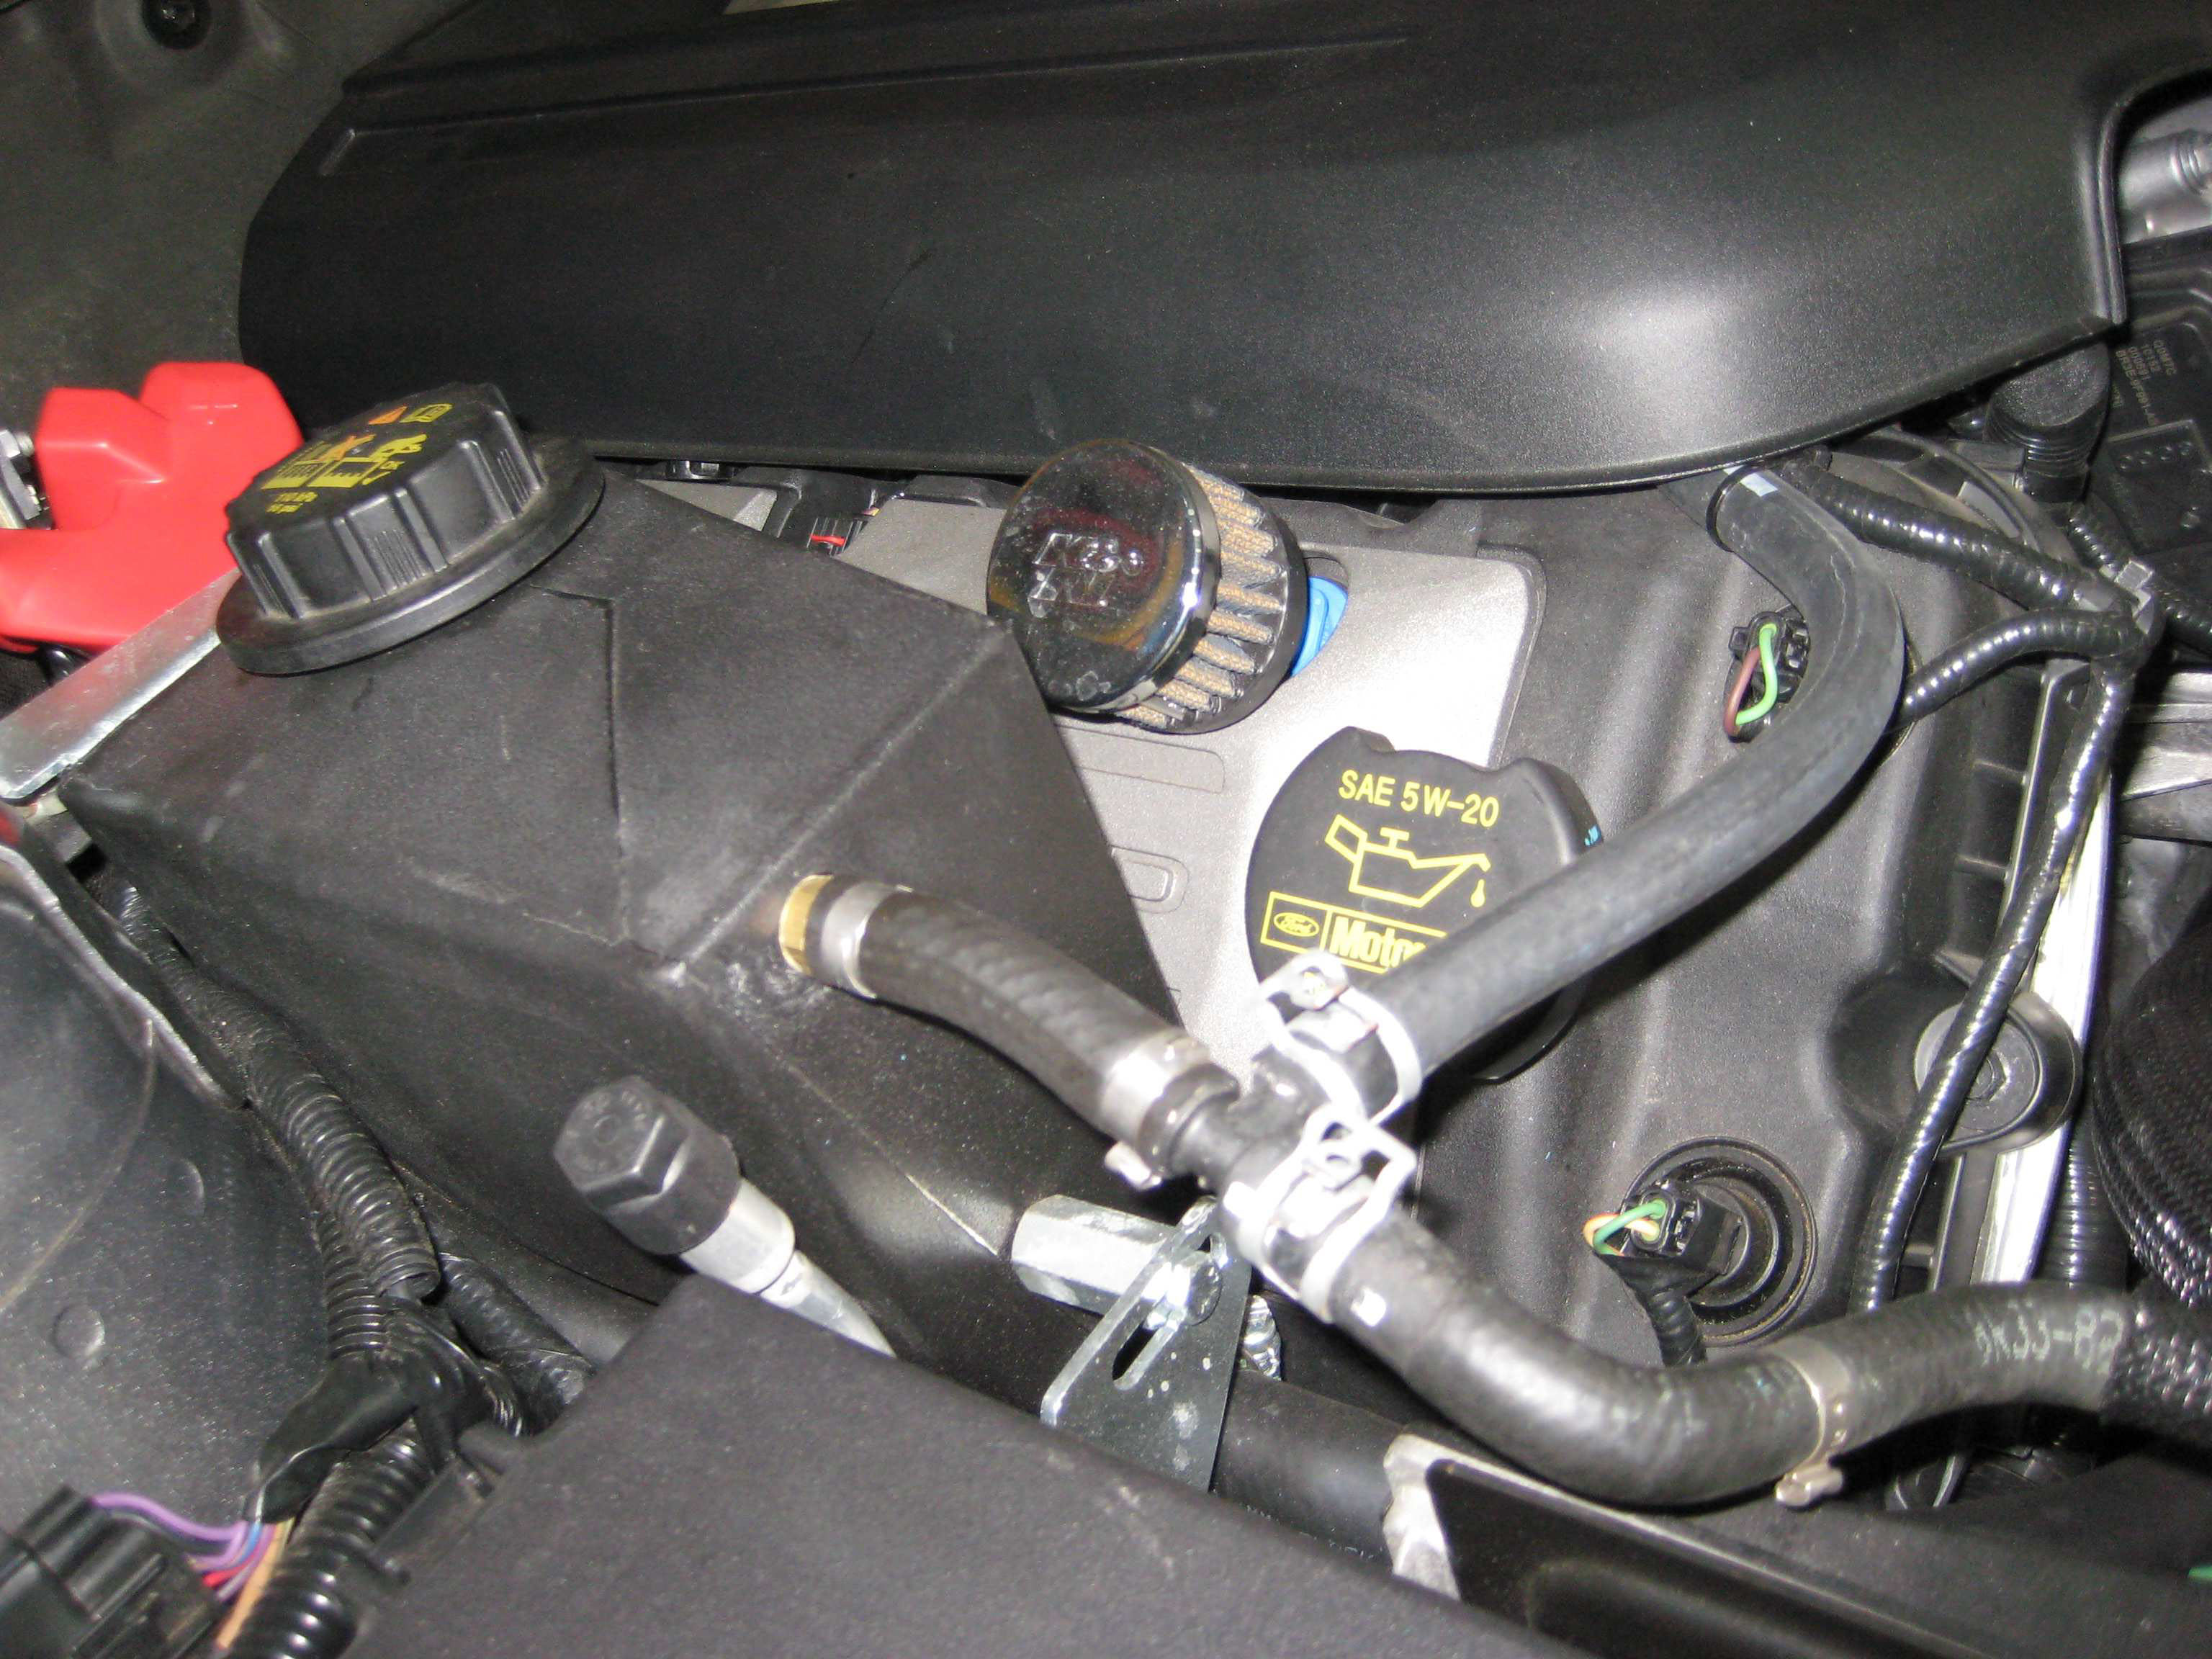
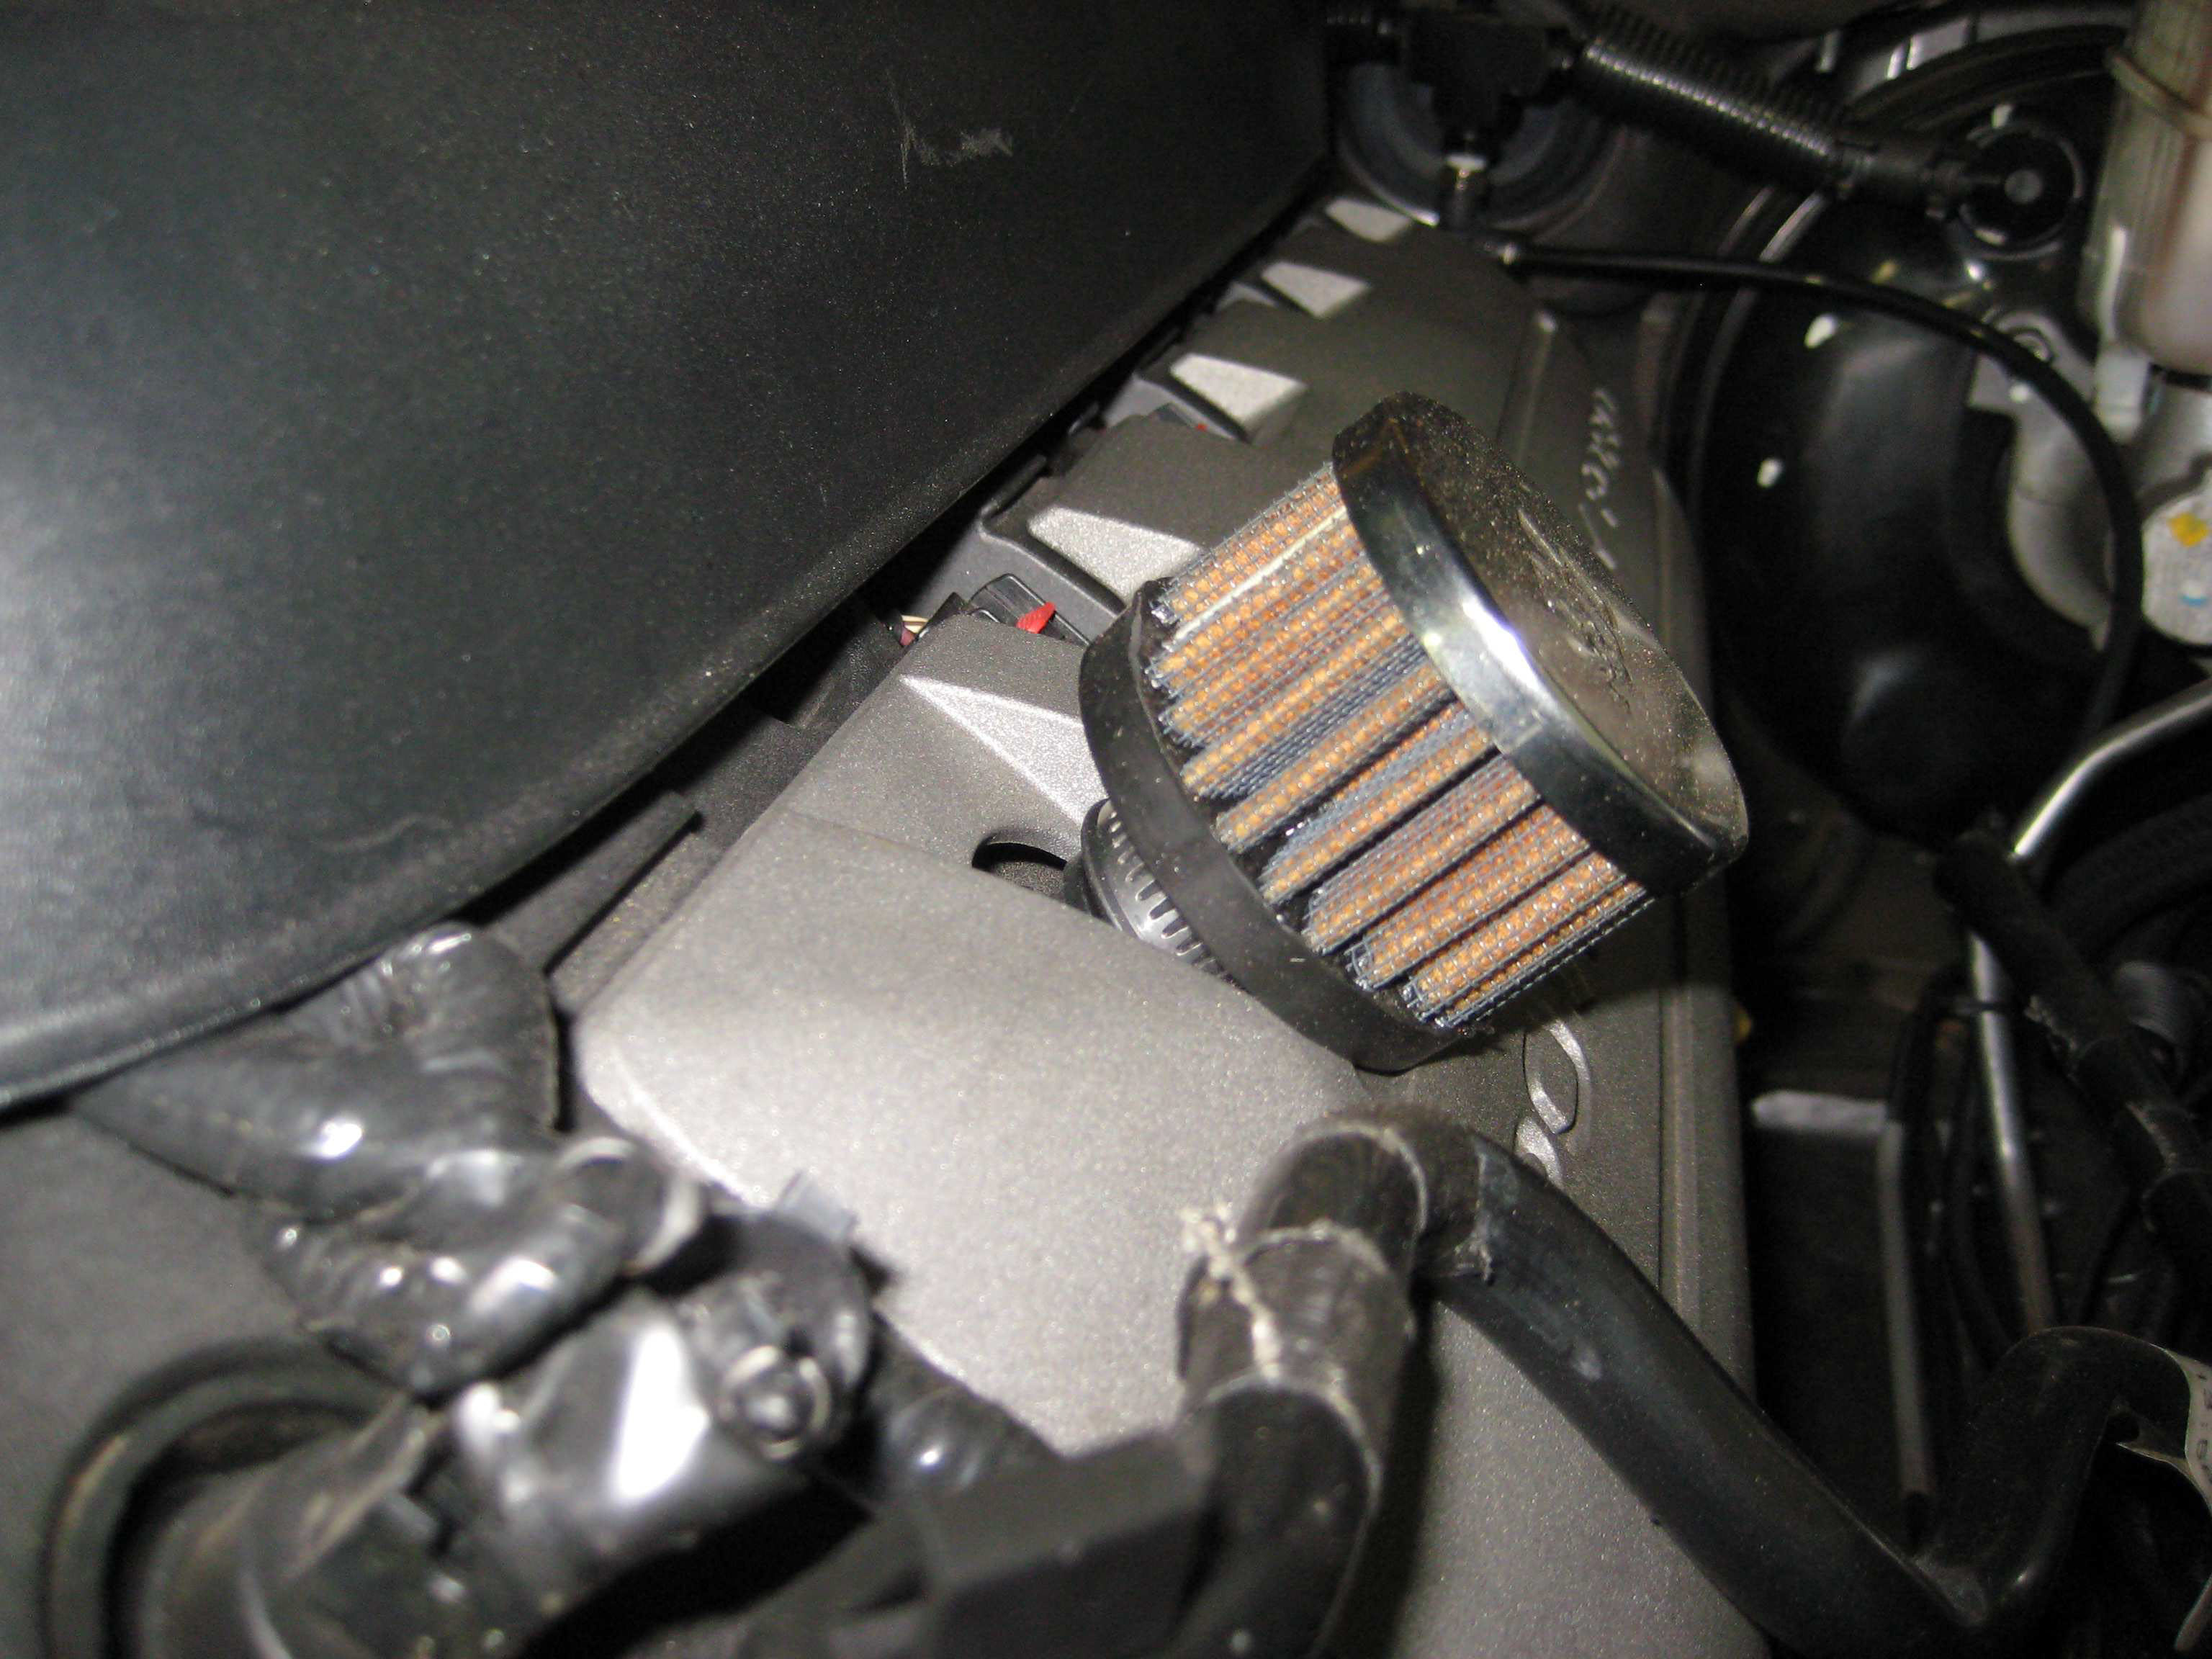
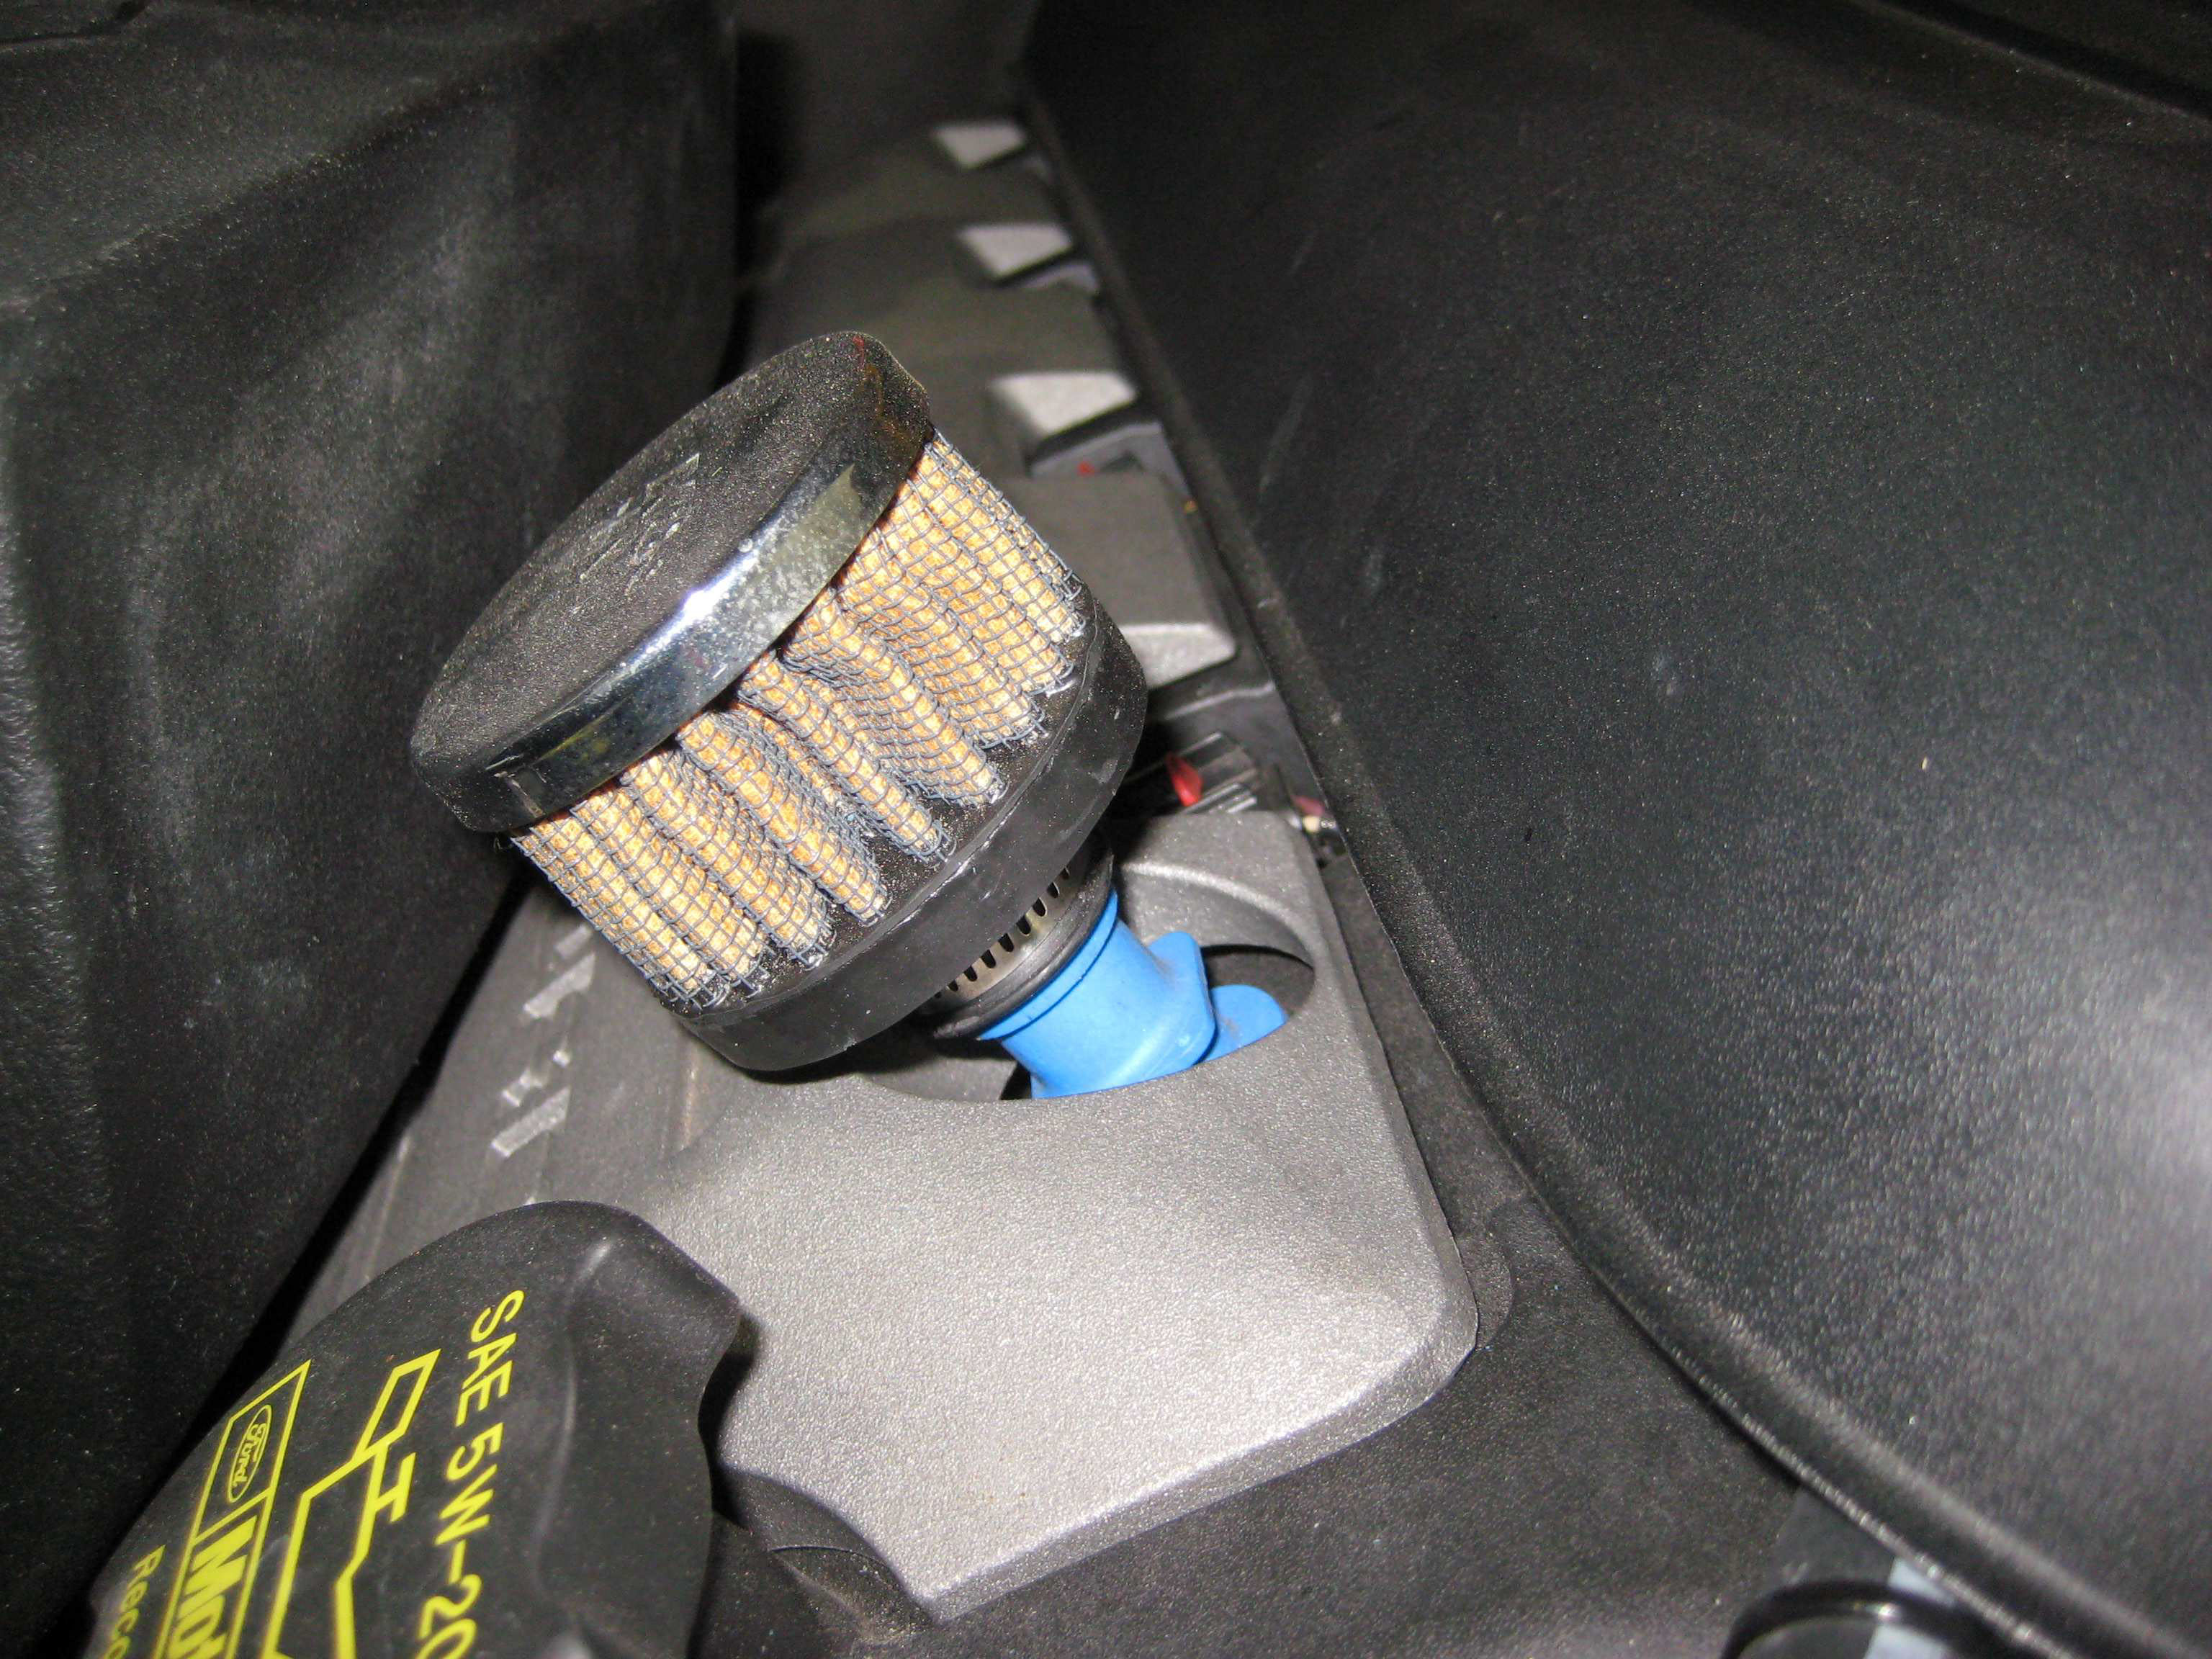
Install both valve cover breathers onto the engine. Use the supplied 5/8th caps on the intake manifold.
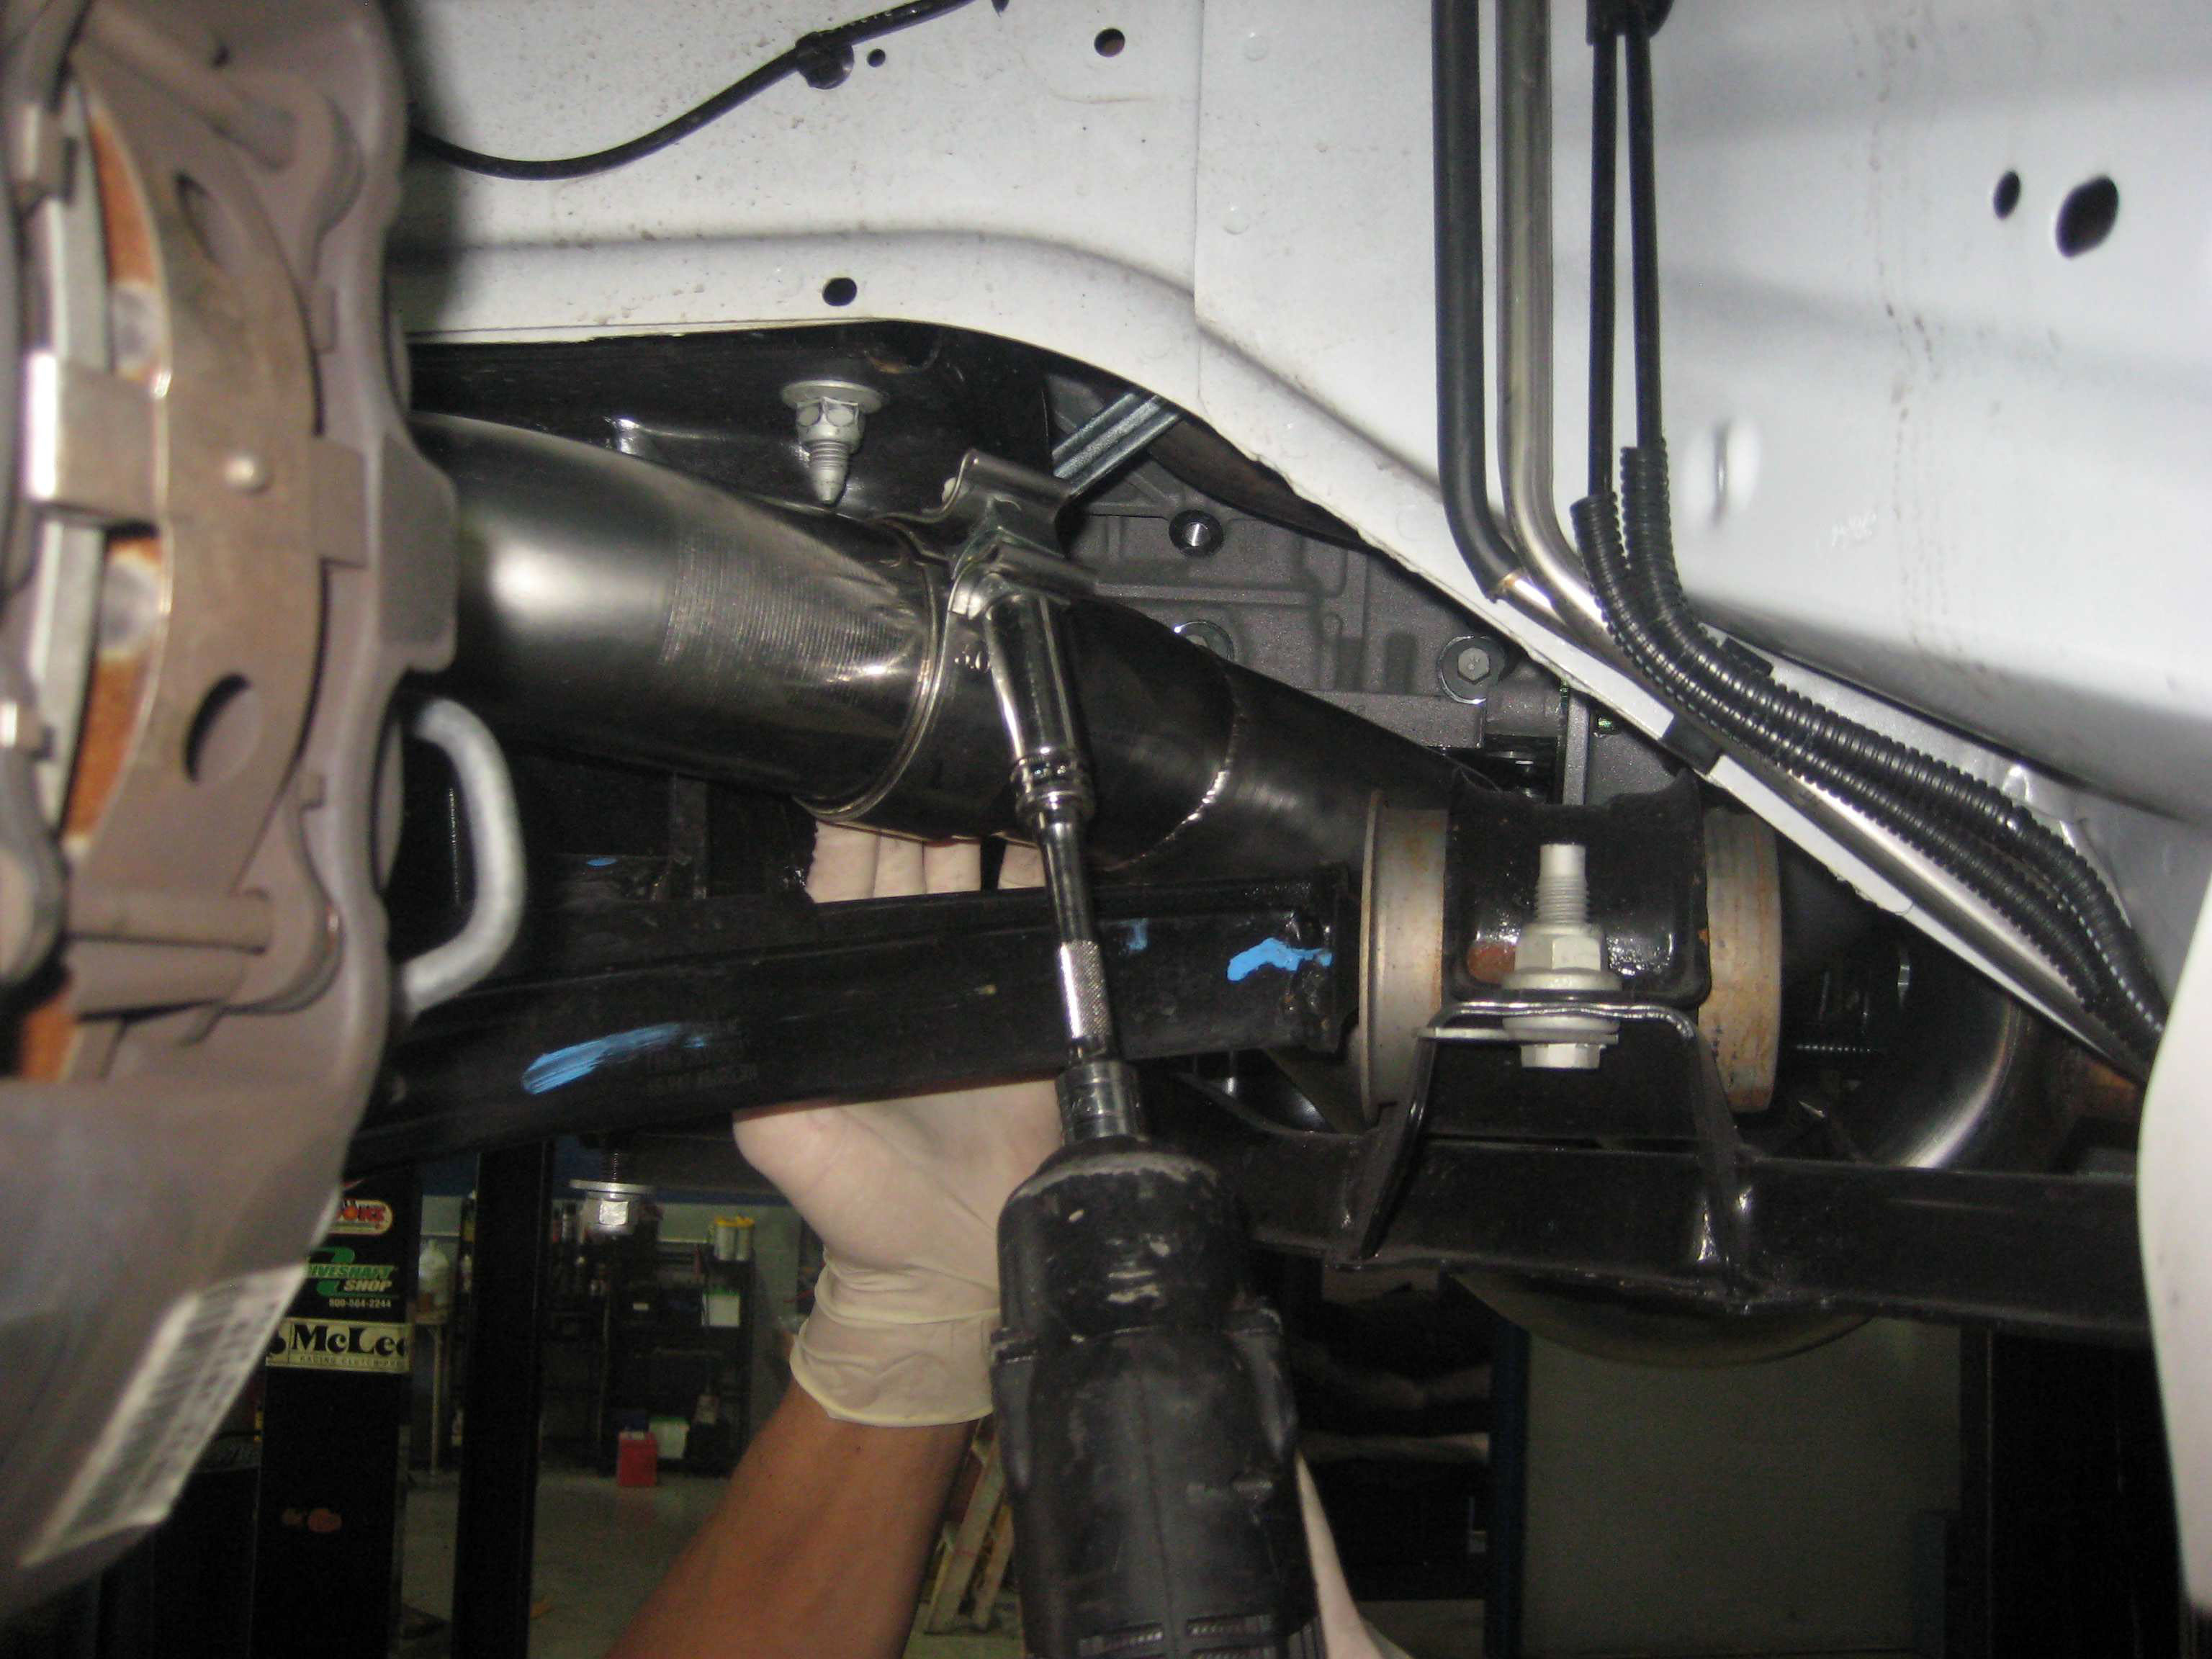
30. Wrap the downpipe in the supplied heat wrap starting at the turbocharger and working your way down. Then install the downpipe with the supplied 3 5/8” V band clamp. Some kit's have the optional cutout as seen in the pictures below.
31. You can now also install the turbo blanket.

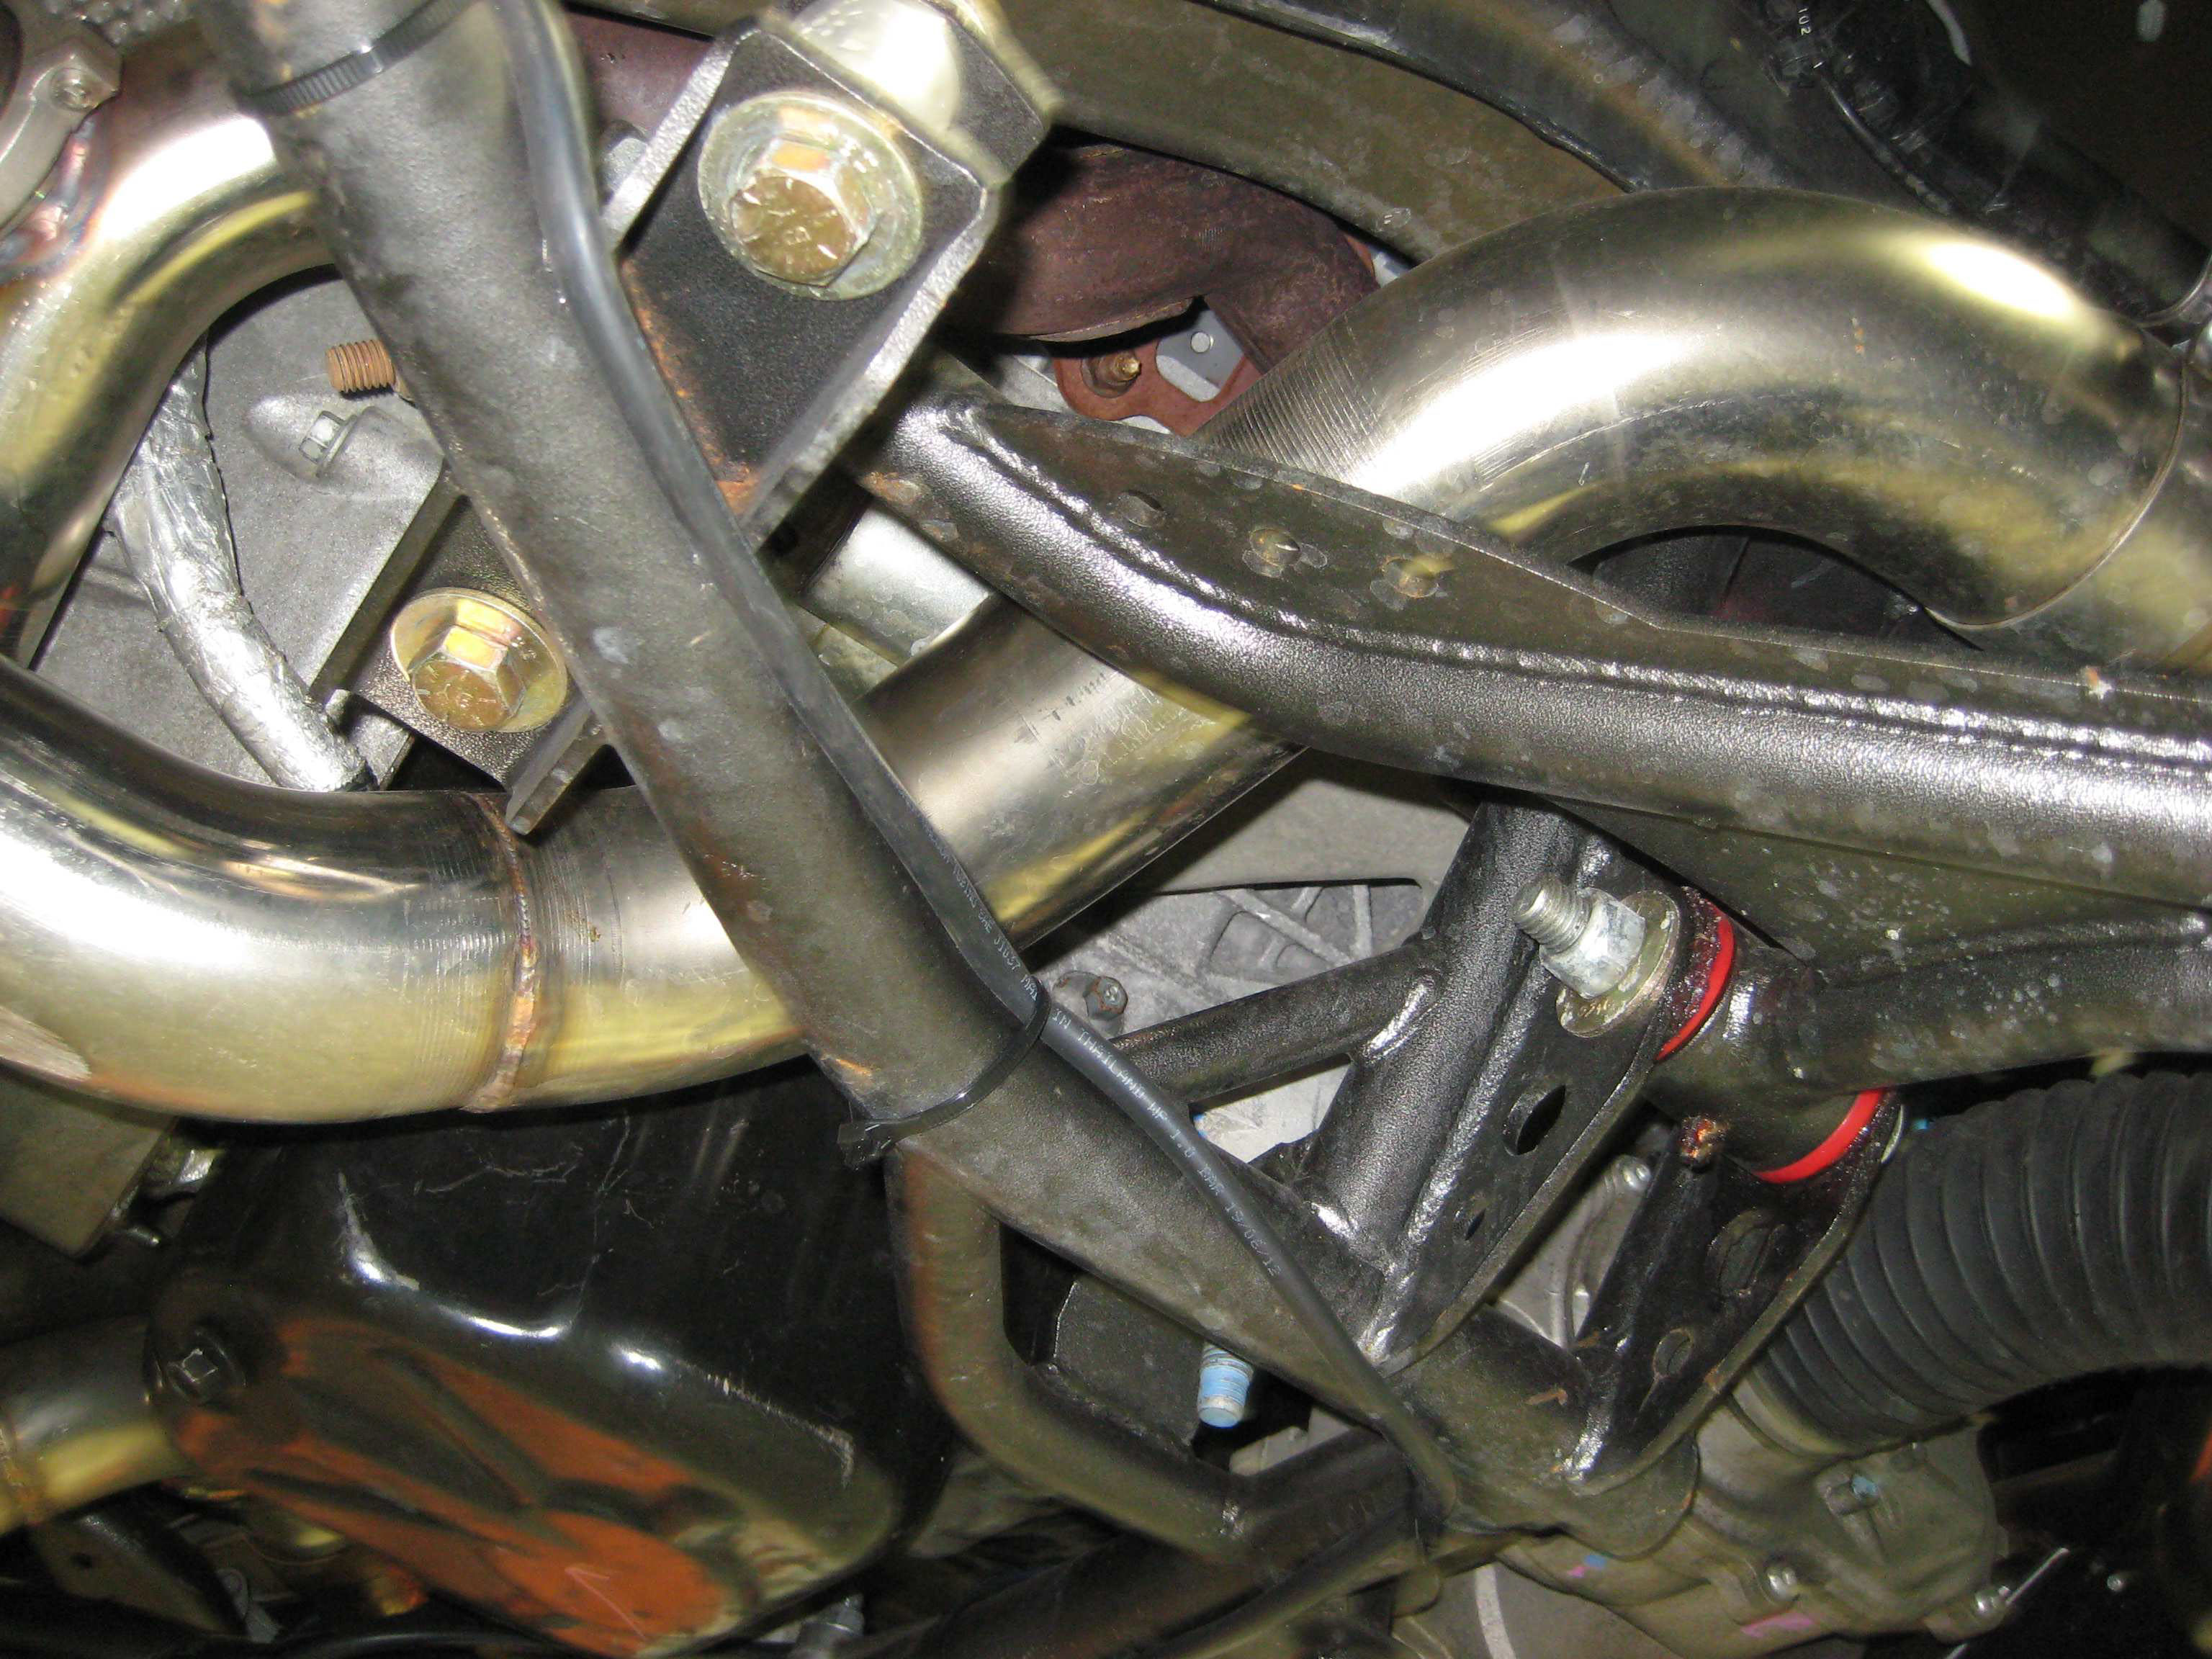
32. As seen above you will need to use the supplied heat wrap to cover the break lines. This will need to be done on both the passenger and driver sides of the car.
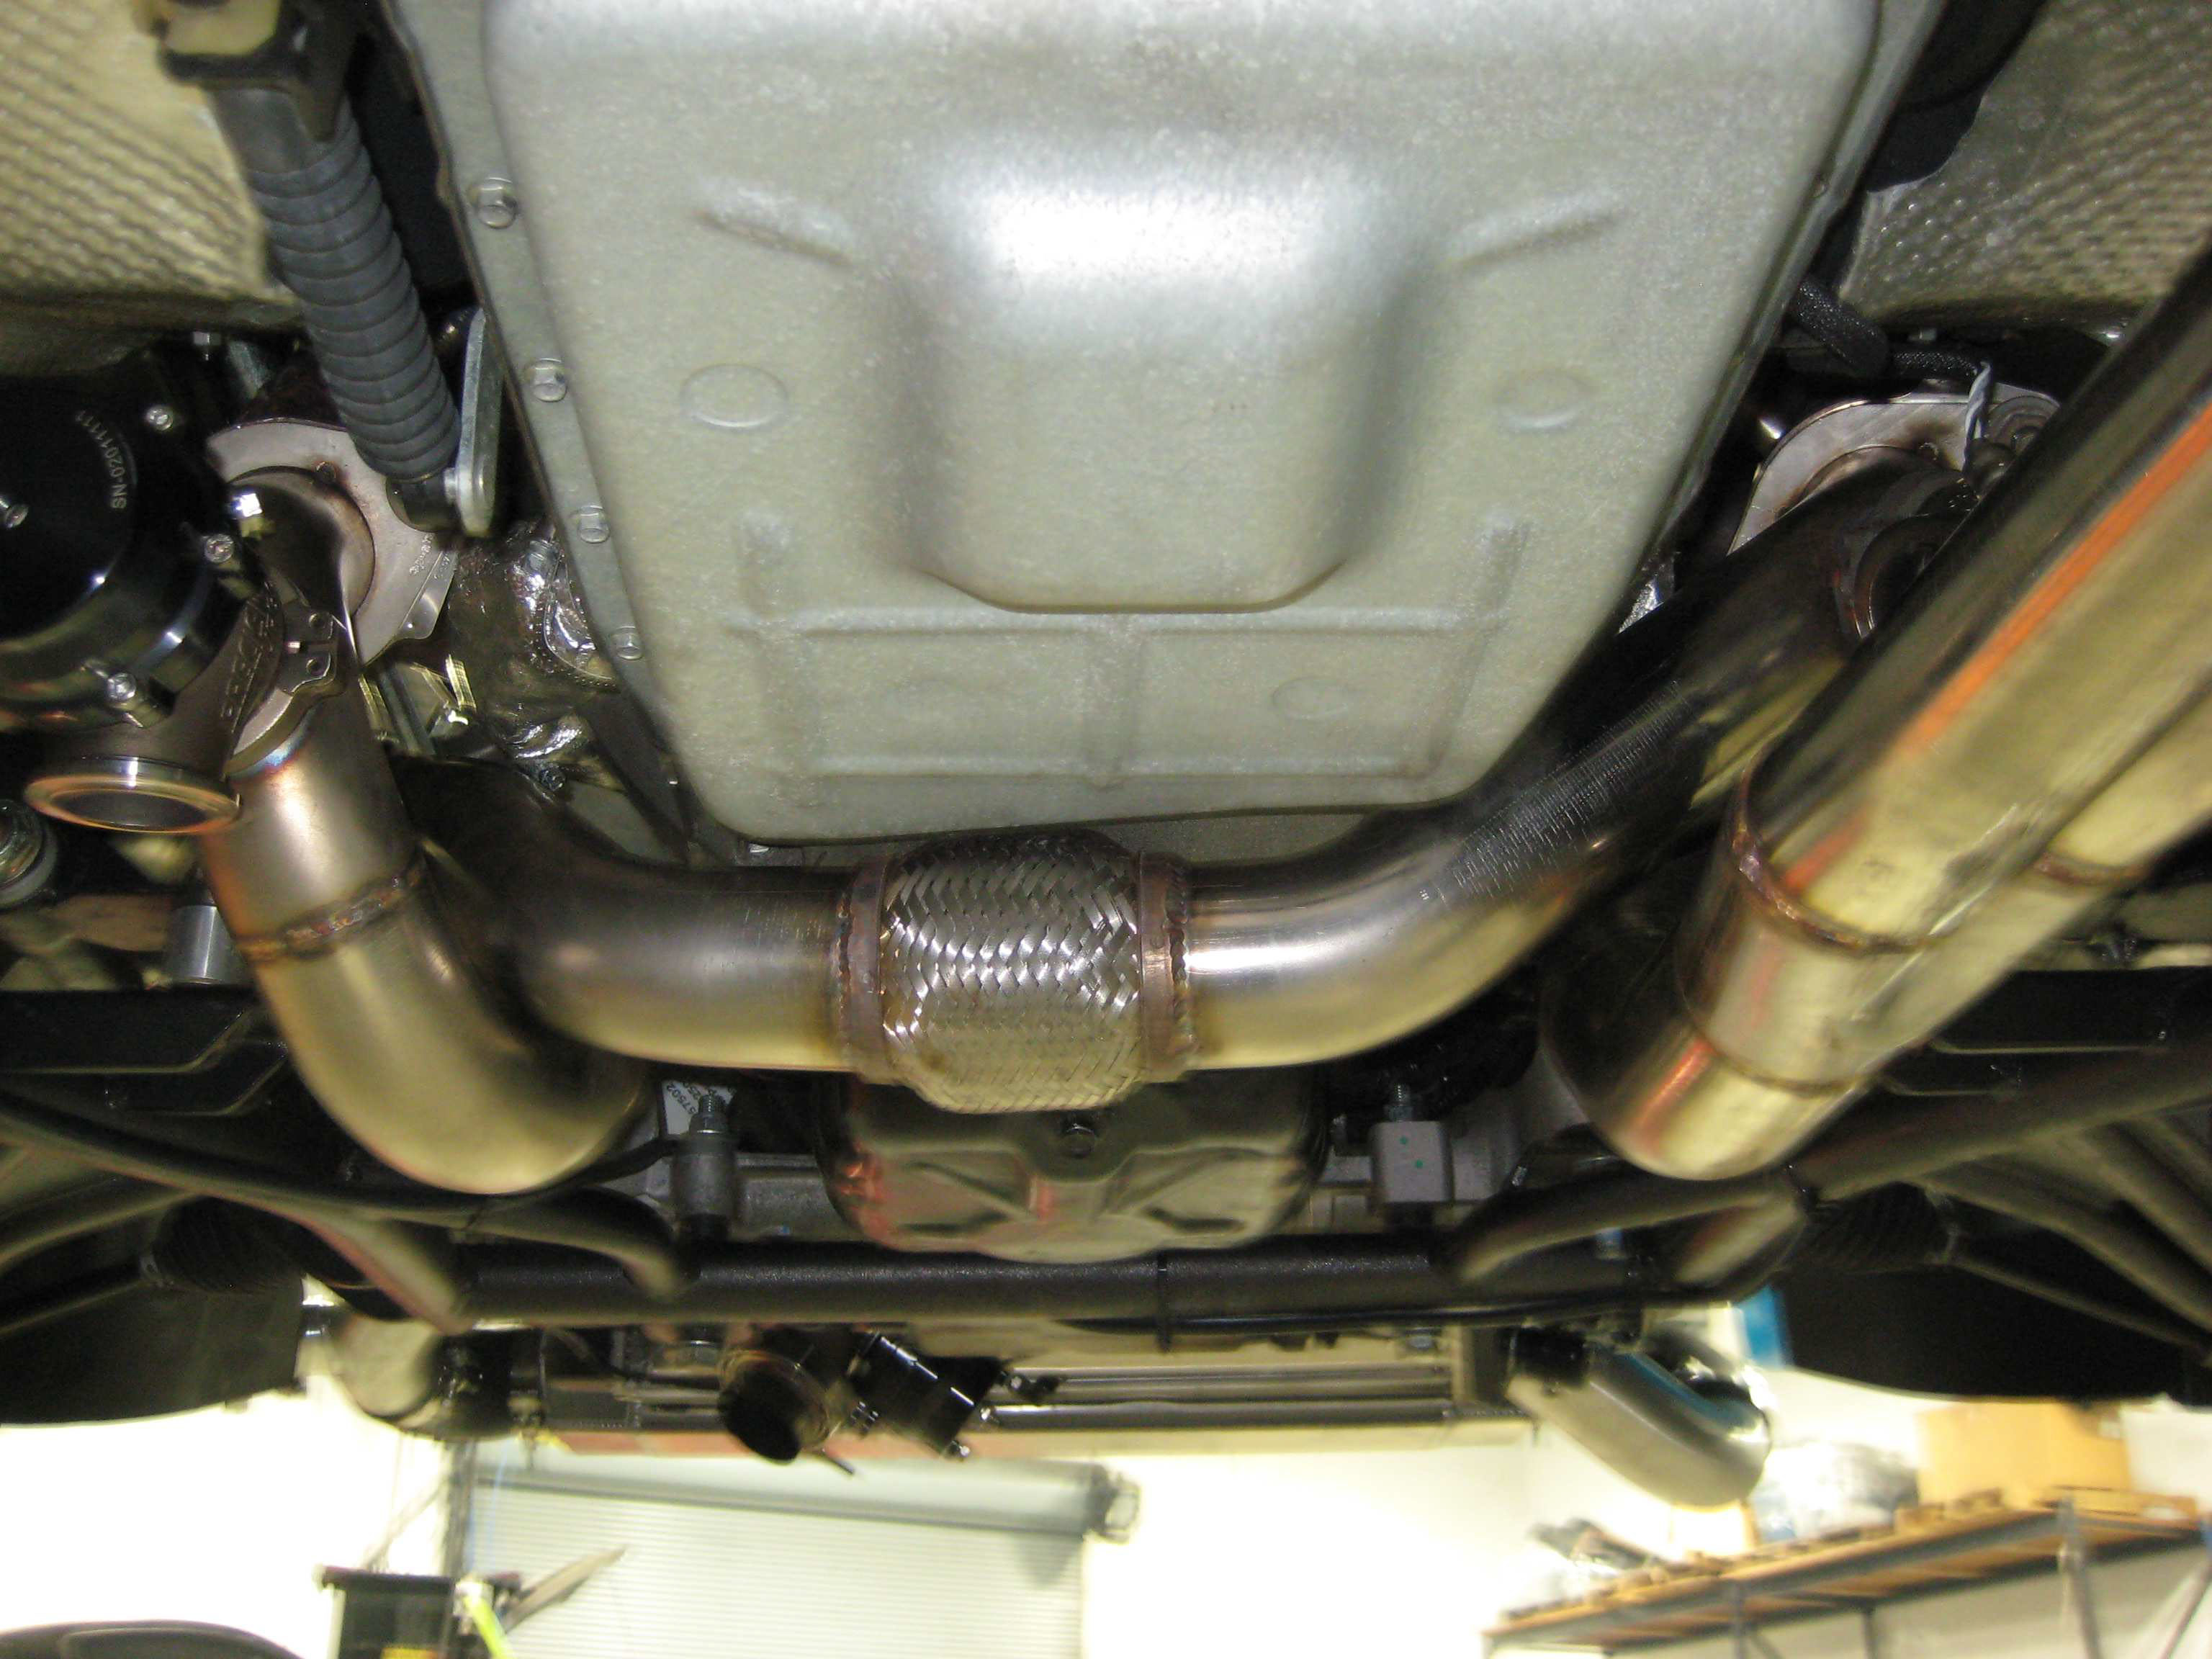
33. Connect the down pipe to the Y pipe that connects to the factory over axle pipes 34. Reinstall new fan and mount the resistor into the fan.
35. Install the intercooler with supplied brackets as seen below
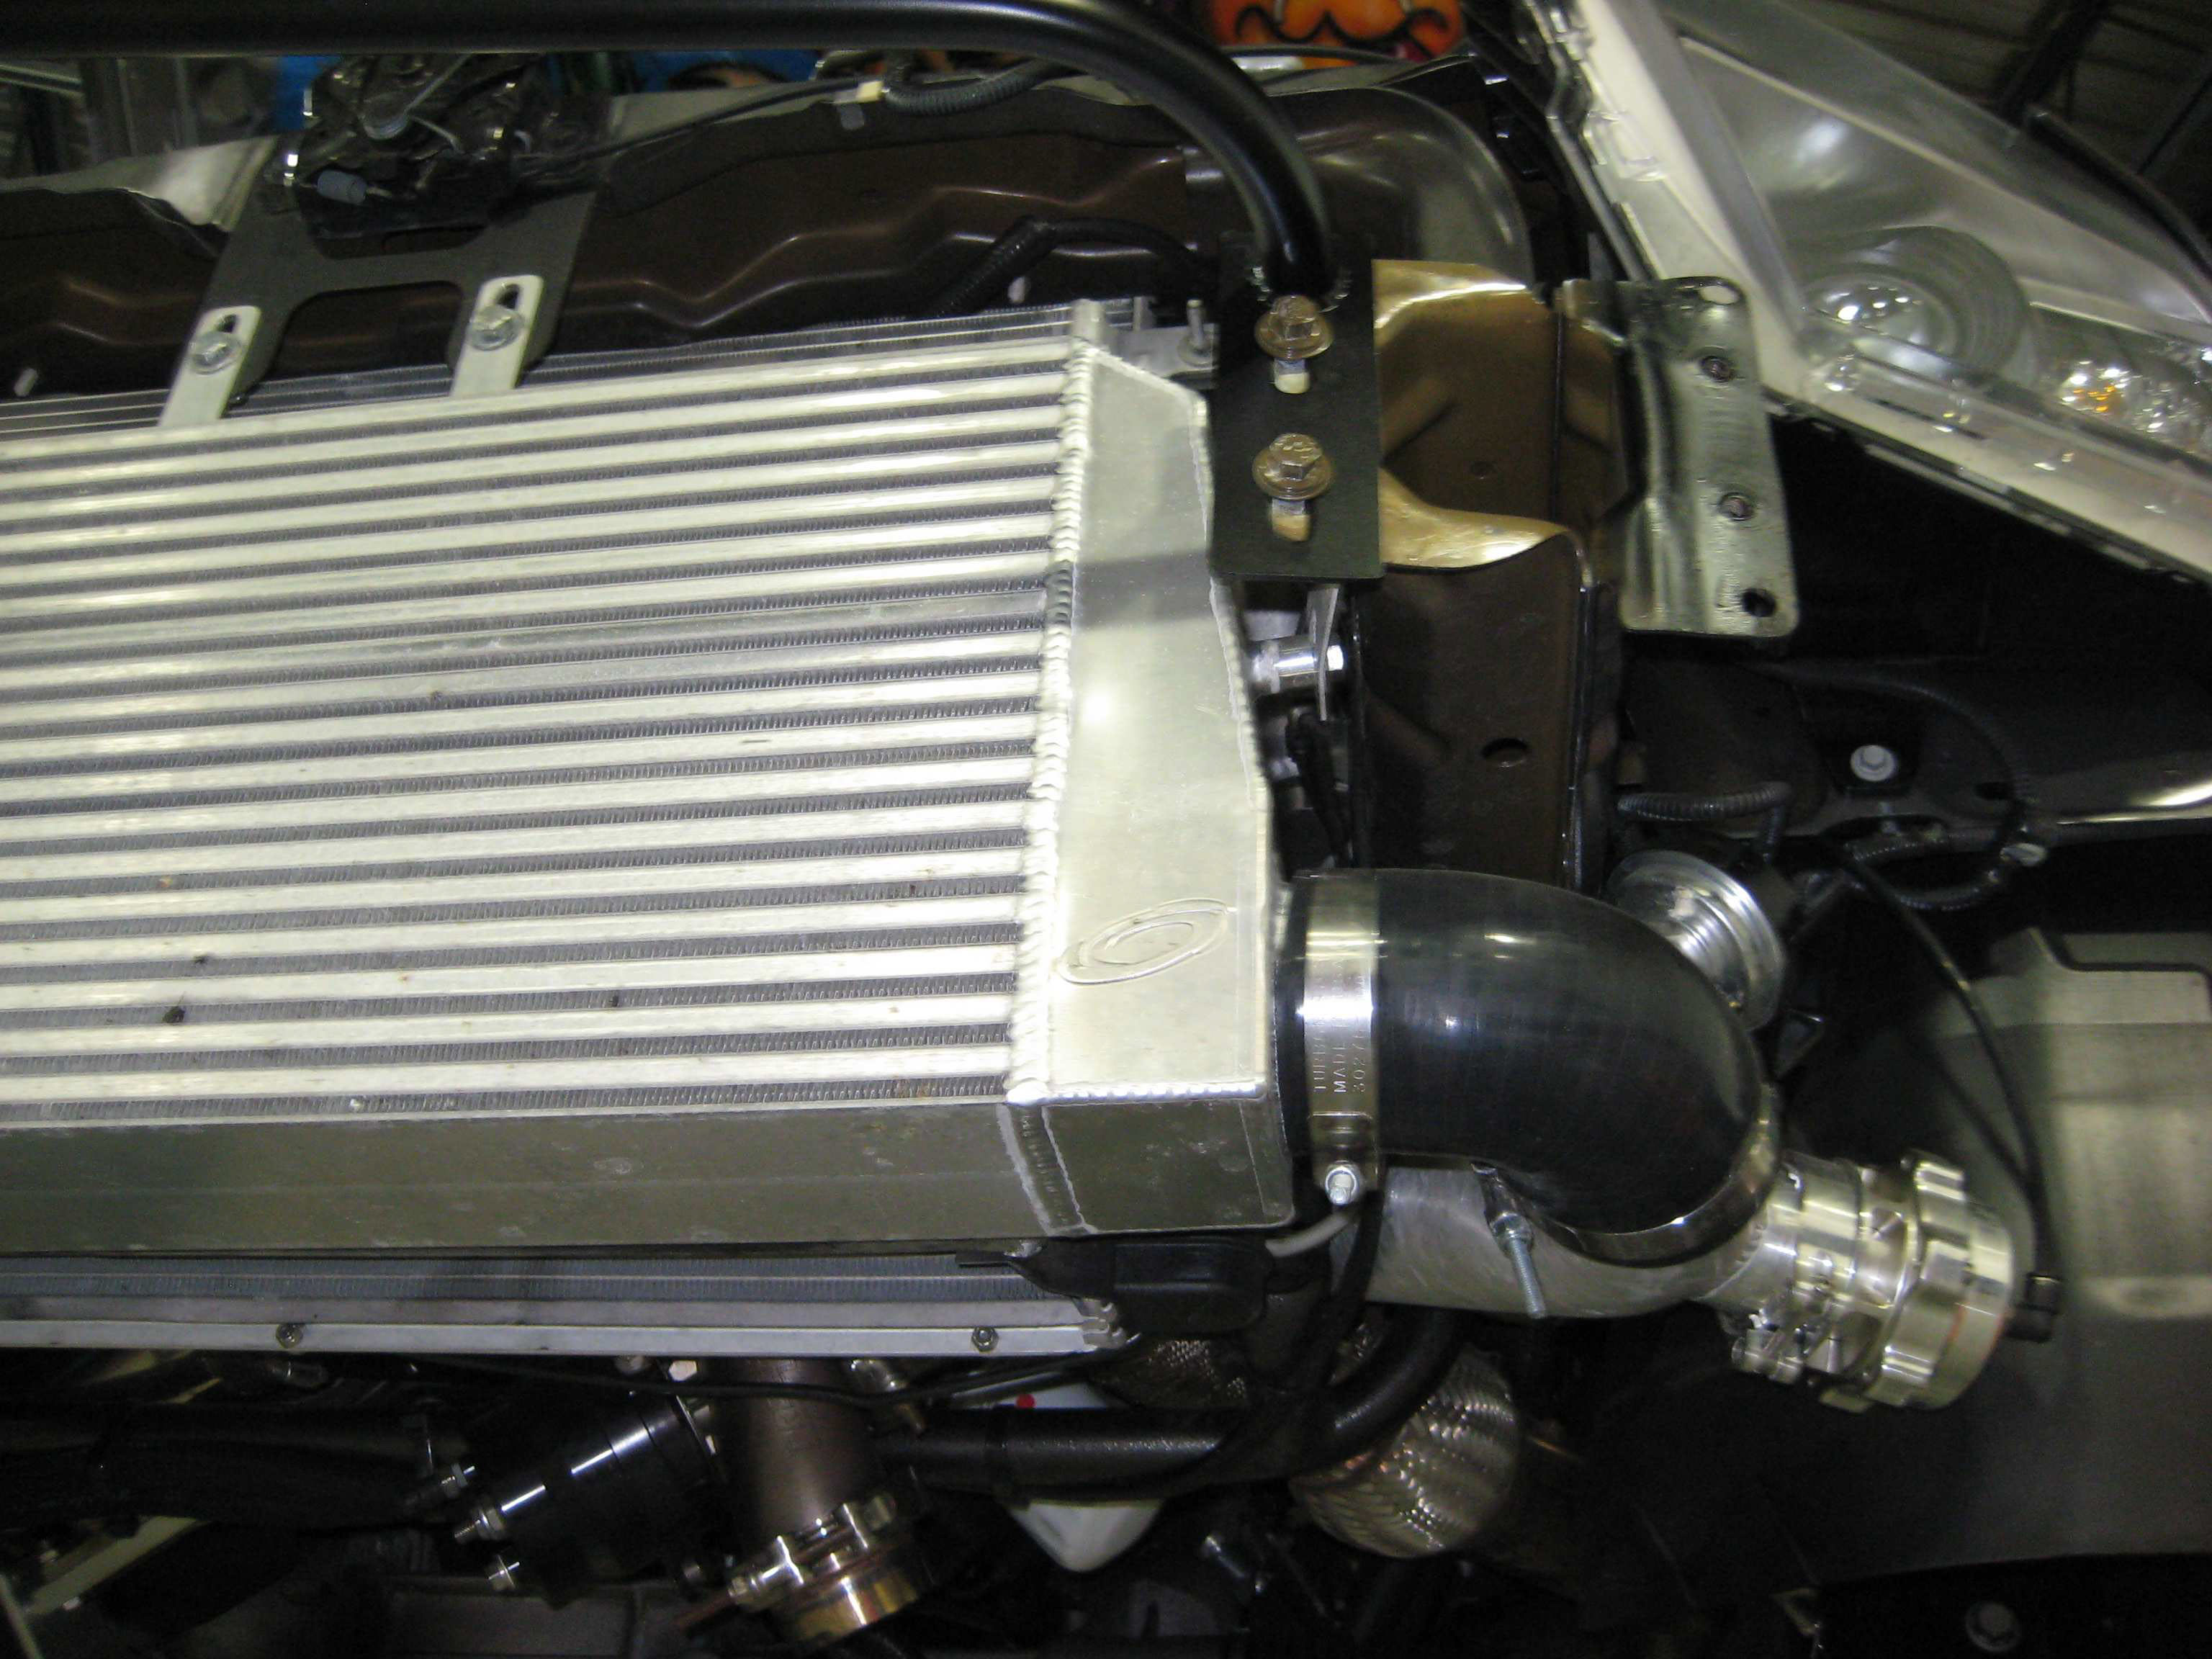
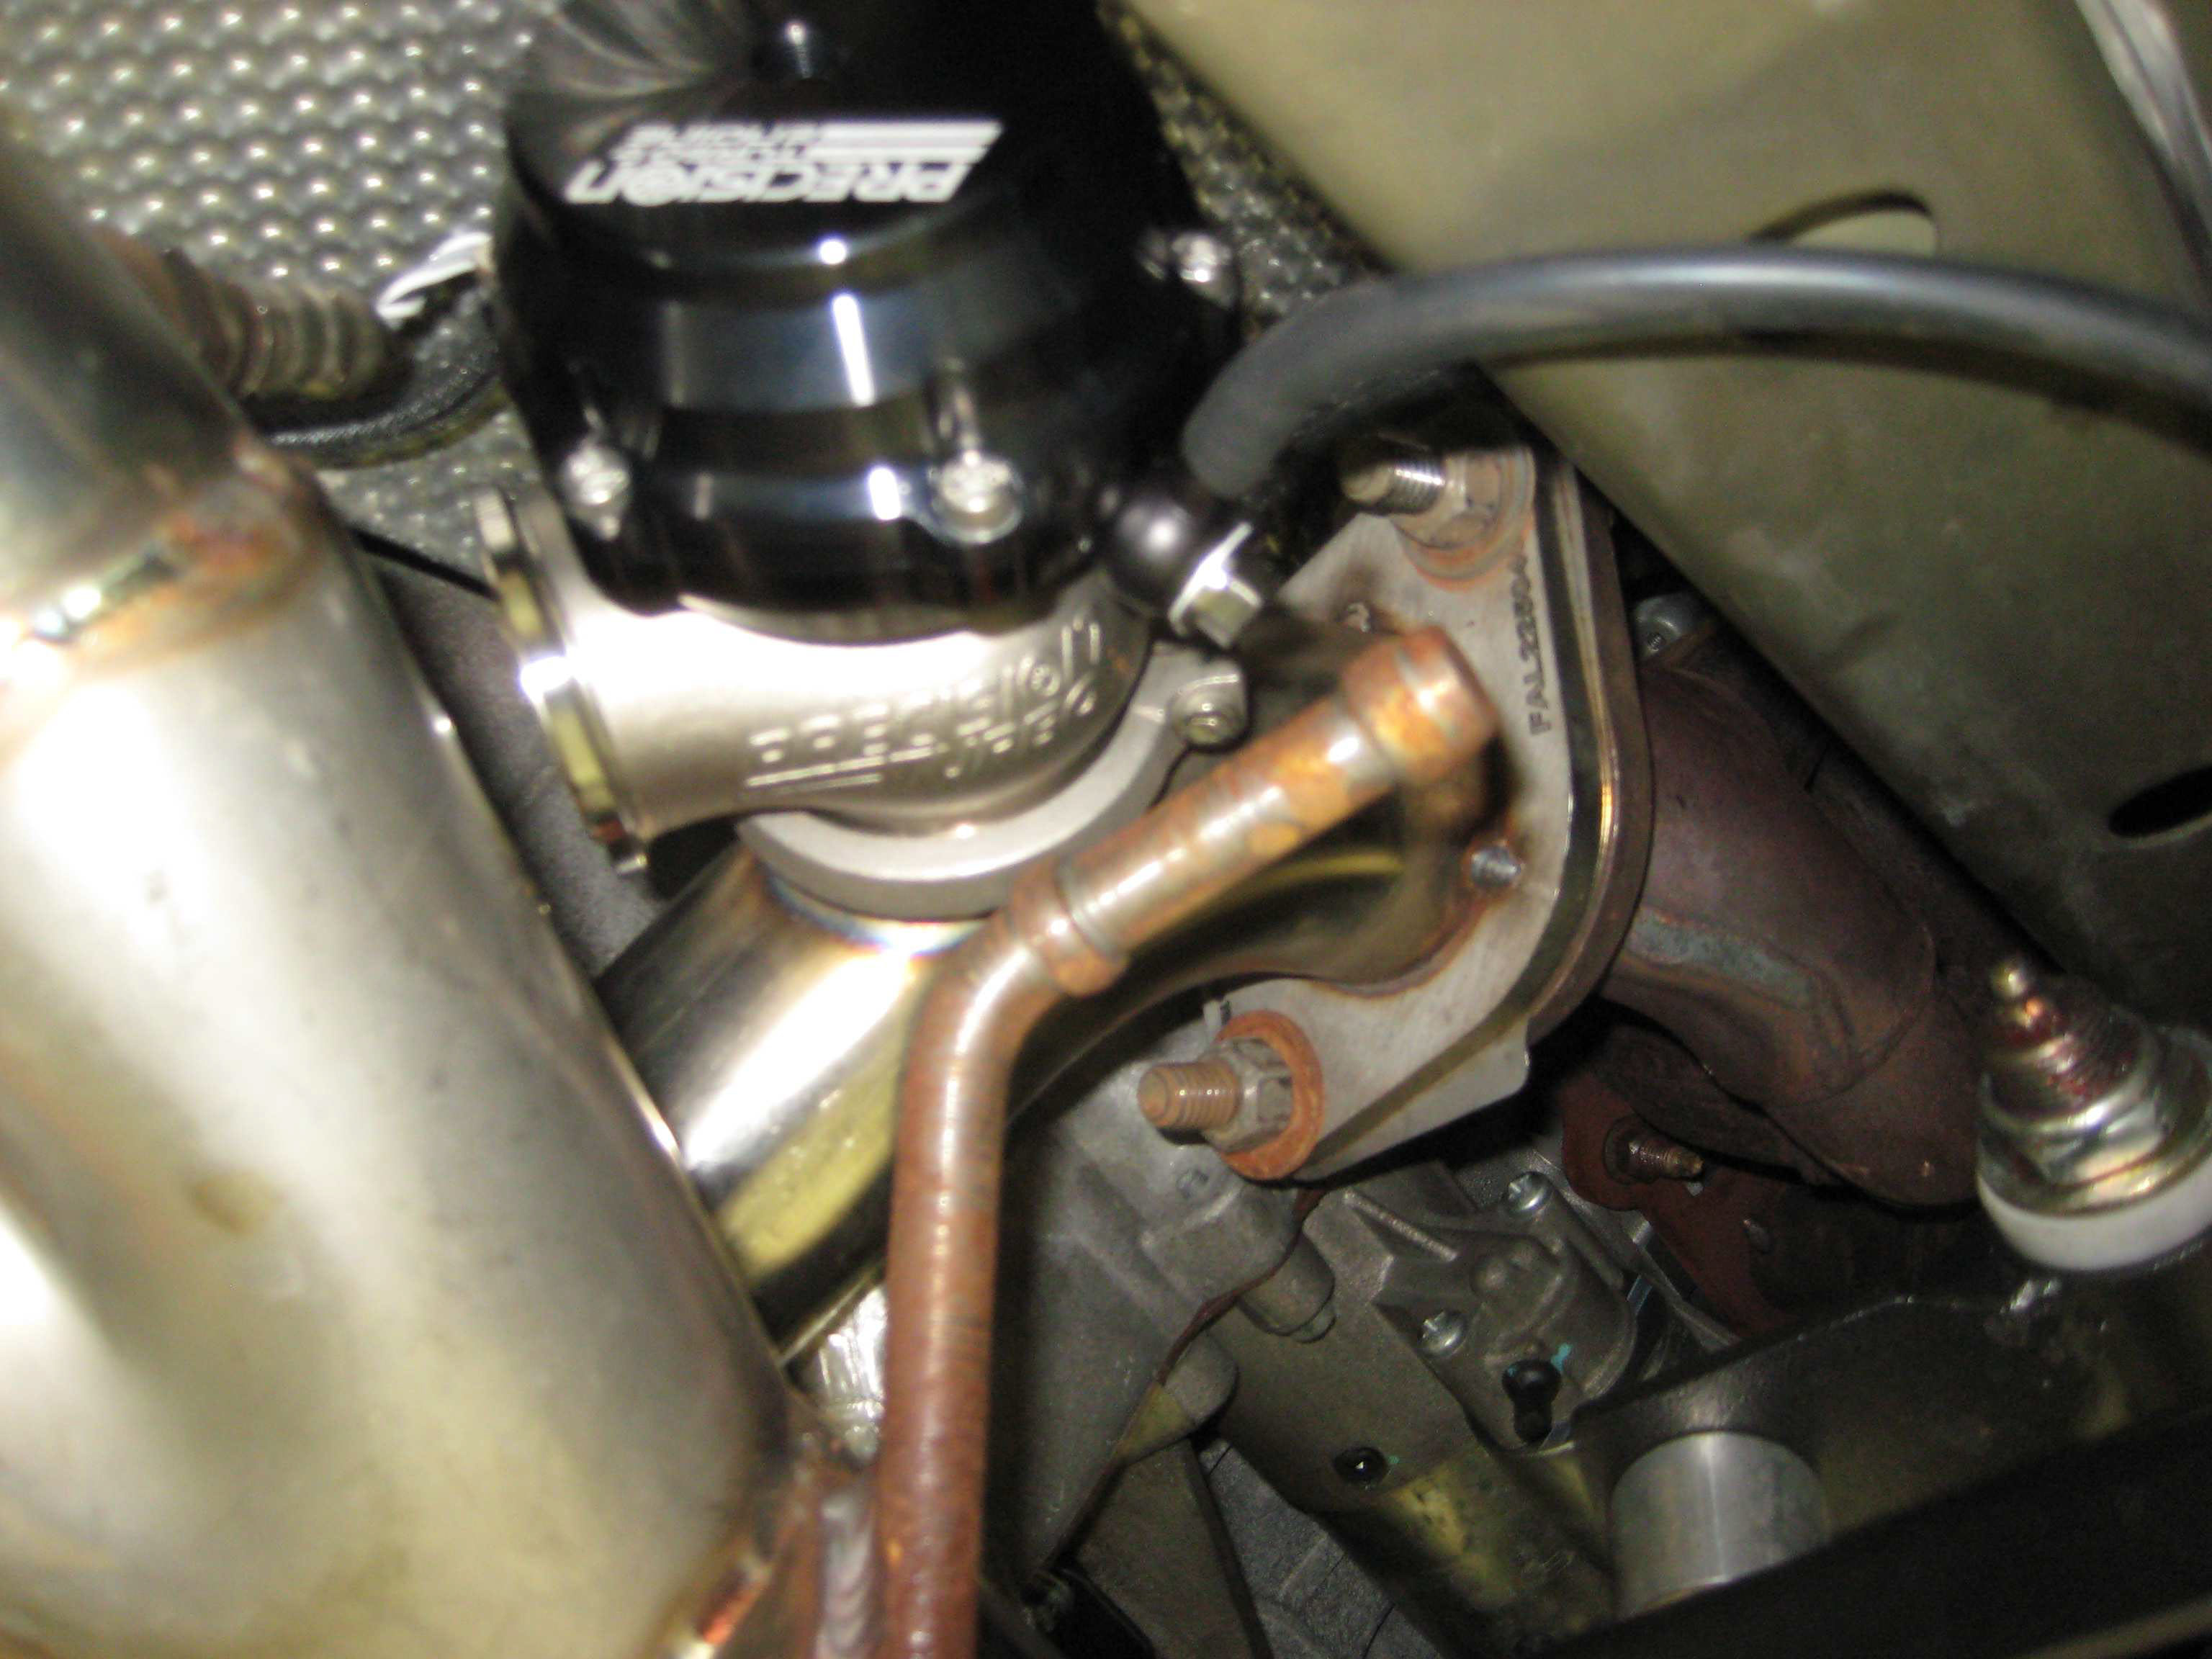
Install the blow off valve to the aluminum pipe with the bung welded into it.
Mount coupler and clamps onto turbocharger, then install the pipe with the blow off valve
attached. Then connect it to the intercooler.
Mount Mass Airflow sensor into intercooler and extend harness to reach the maf sensor.
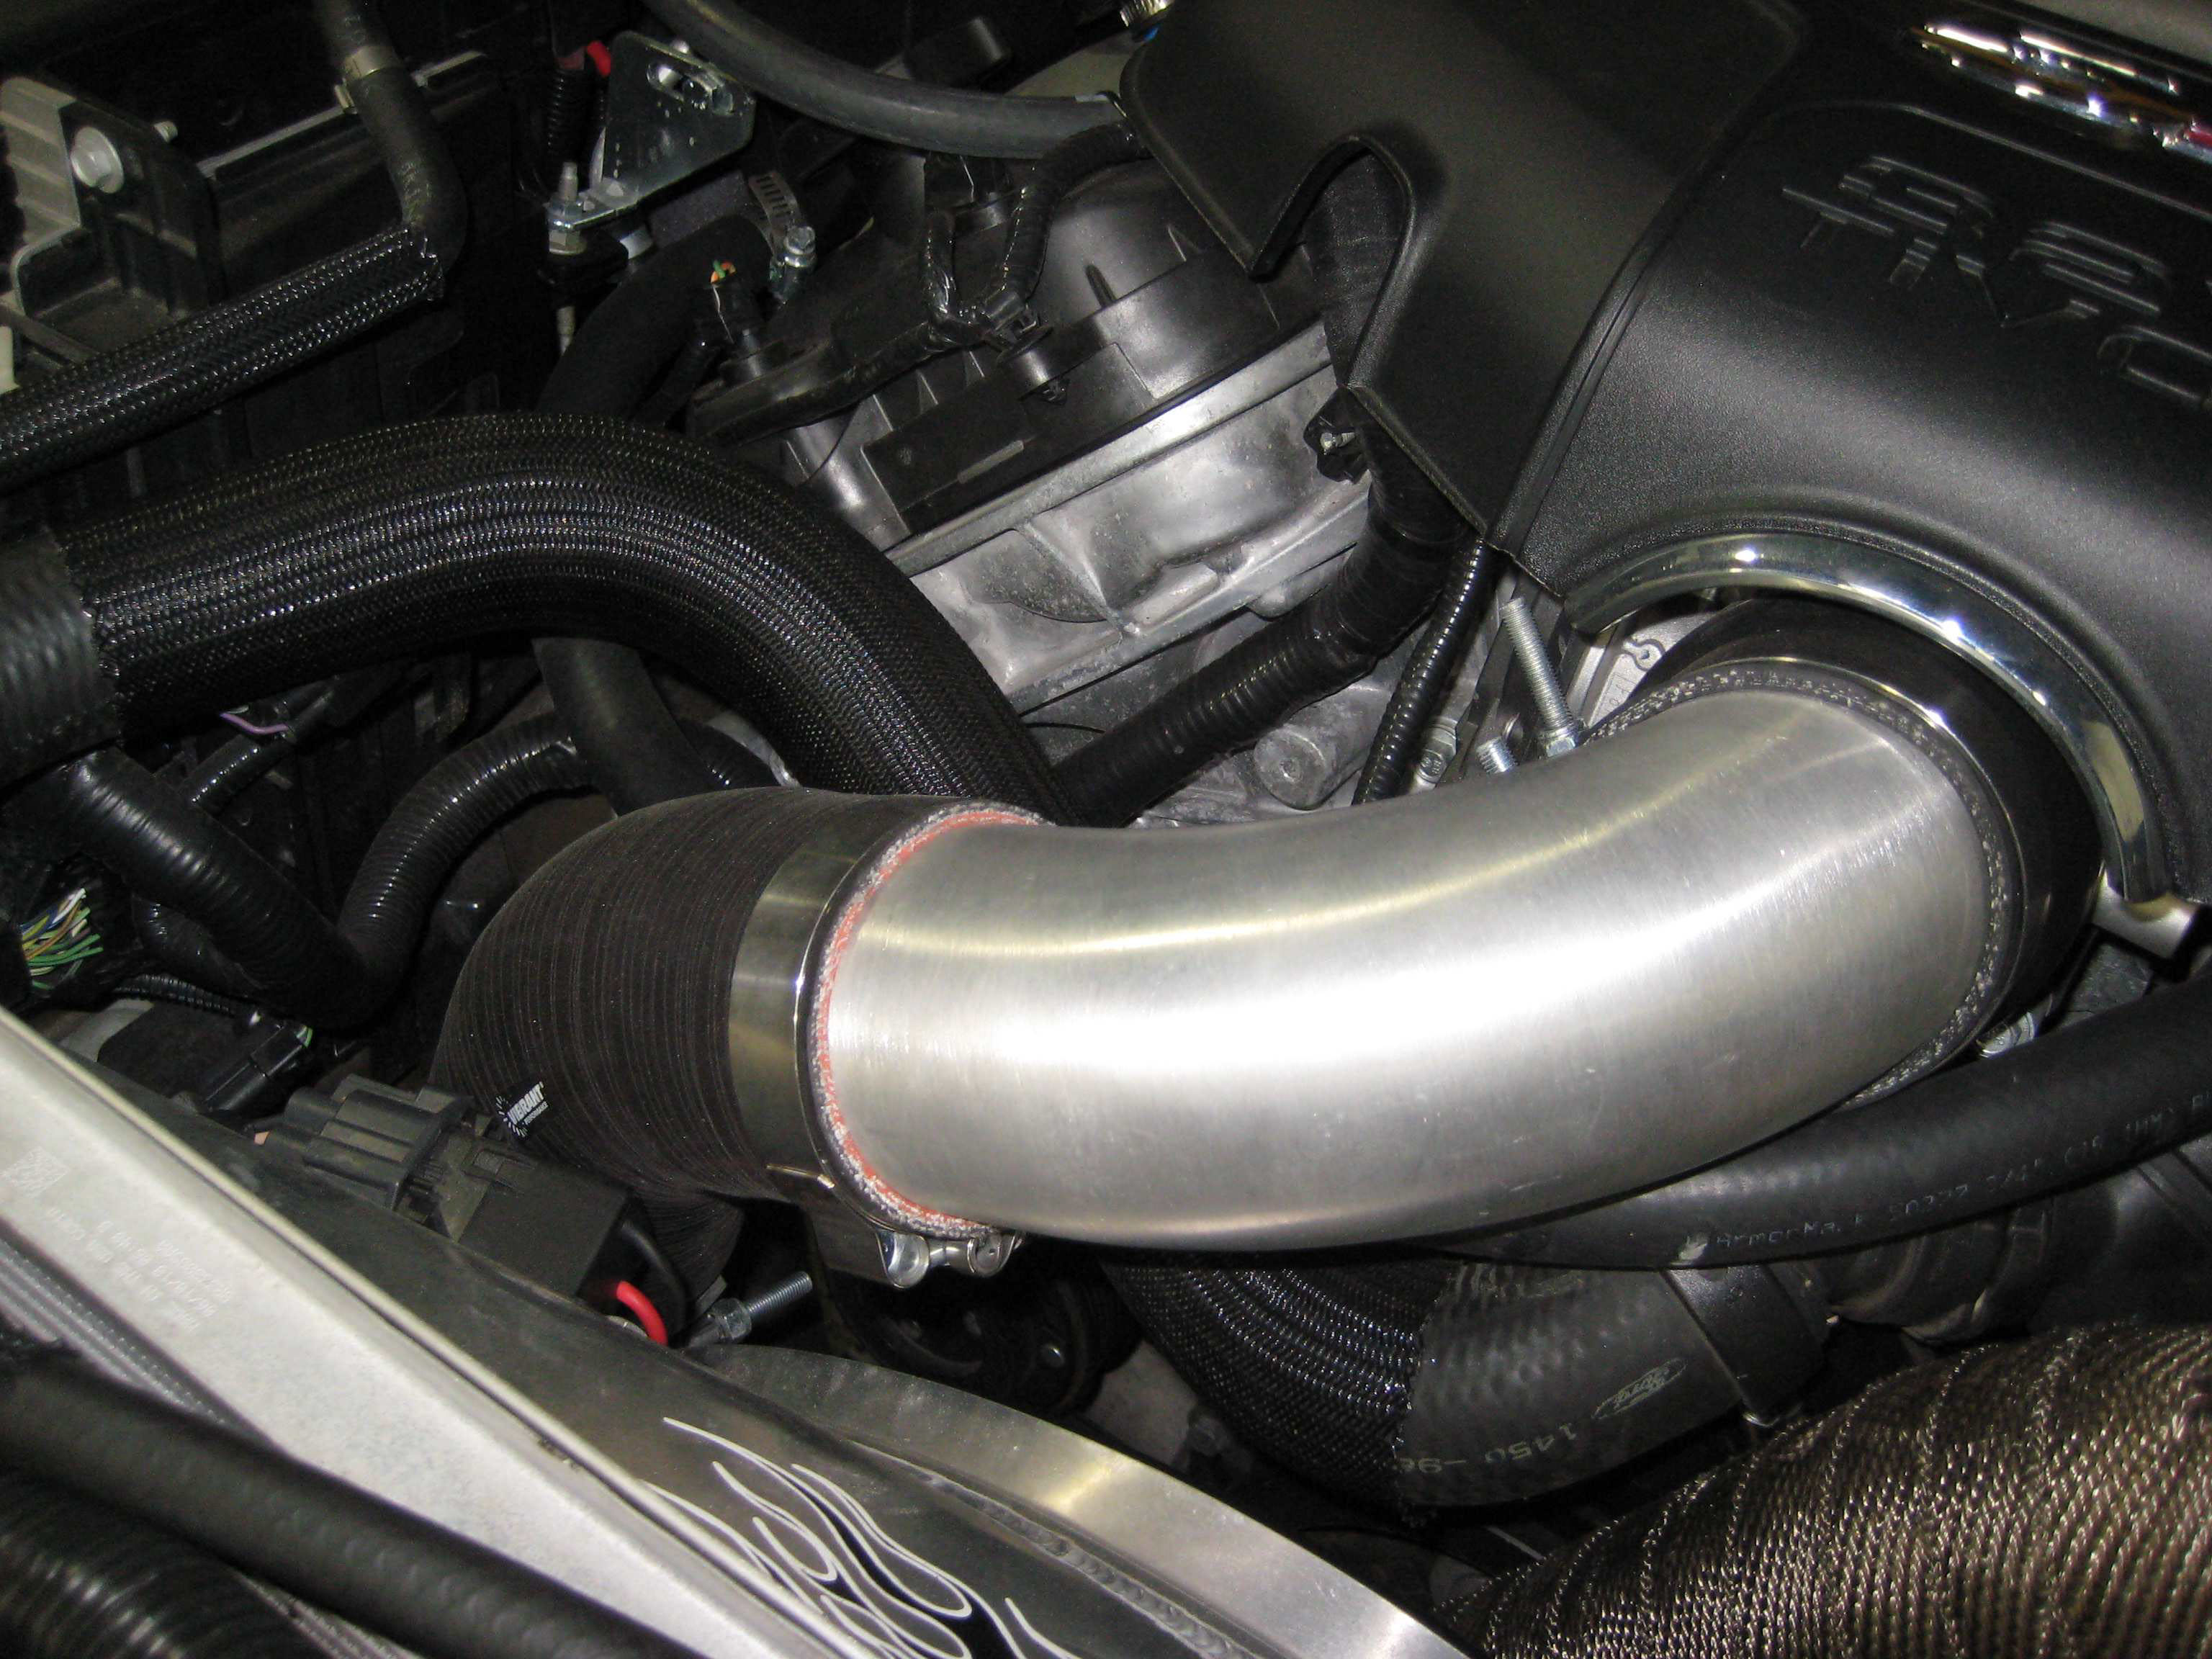
Connect the 90 degree coupler to the passenger side of the intercooler and then install the pipe
that feeds to the throttle body.

40. Supplied is a 45 degree silicon coupler, connect that to the pipe feeding up to the throttle body and then use the 90 degree aluminum pipe to connect to the throttle body as seen below.
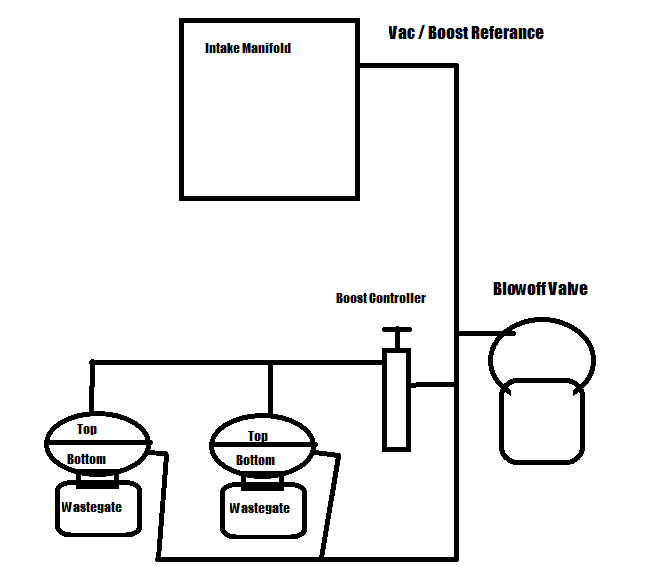
41. Following the diagram below set up the vacuum and boost references for the wastegates and blow off valves. Install a T into the brake boost line to get a vac/ boost reference.
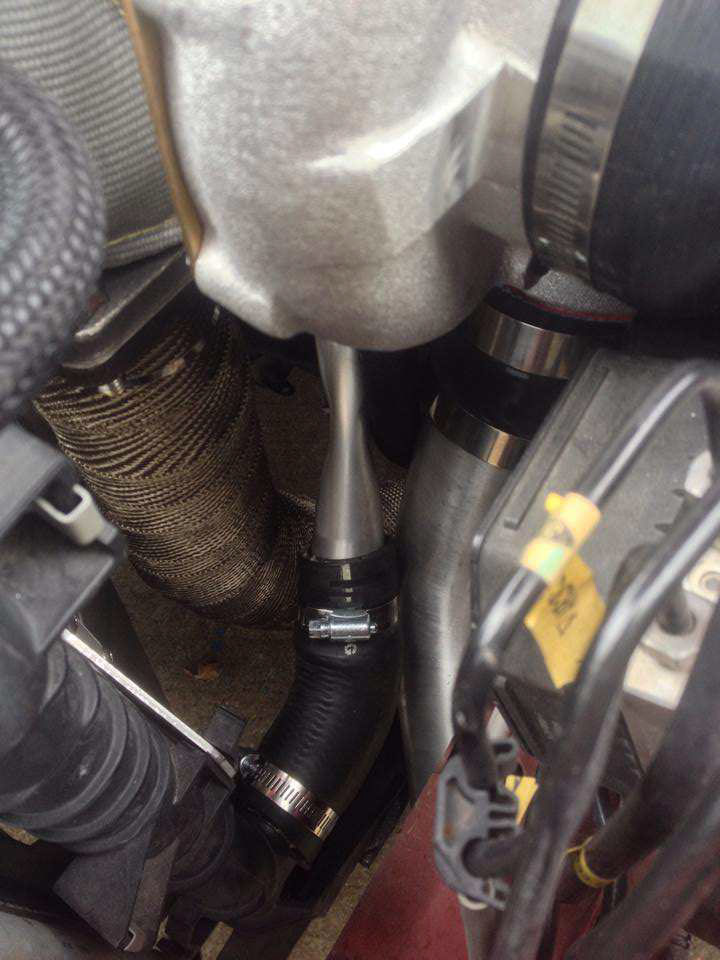
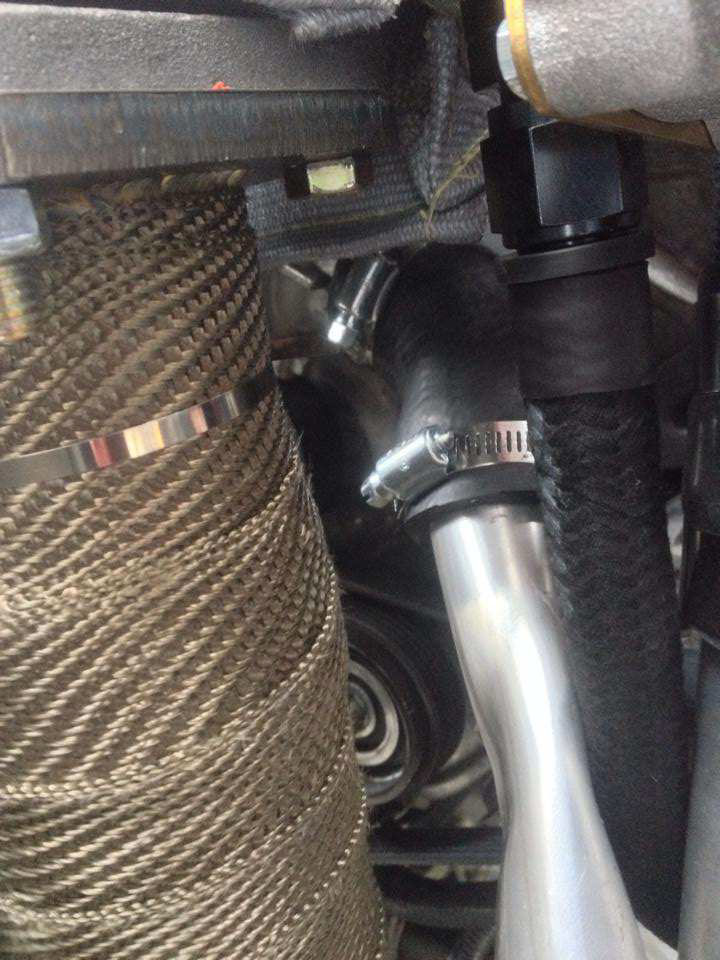
42. Install the aluminum tube into the lower radiator hose. The tube goes in the section that passes by the up pipe. As seen in the pictures what you need to do is use the 90* ends off of the factory coolant hose and insert the tube into the center.
Fill Coolant tank.
Reinstall front bumper. Some trimming may be necessary in the fog light and lower grill area.
You may need to remove as much as 1-2 inches of material to make the intercooler fit properly. This can be done using a dremel tool. Typically I recommend taking a lot of time with this, test fit, cut re-test fit, cut a little more. This is imperative to making a good fit and a clean looking install.
