 FREE 1 to 3-Day Delivery on Orders $149+ Details
Kaenen Mustang 95 Style Cobra R Hood ('94-'98) - Installation Instructions
Installation Time
2 hours
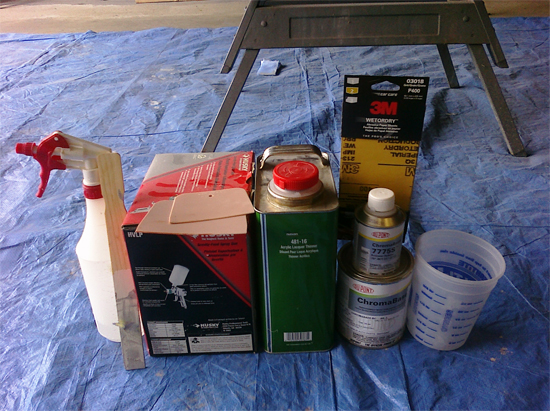
Tools Required
- Sandpaper (400-grit)
- Paint stand or table
- Compressor
- Paint gun
- Primer/sealer
- Base color paint
- Clear coat paint
- Activators for base, clear coat, and primer
- Lacquer thinner (all purpose paint cleaner)
- Mixing cups
- Tack cloth
- Stirring sticks (paint shop provides free)
- Filter funnels (paint shop provides free)
- Rubbing alcohol
- NIOSH filter mask rated for volatile fumes
- 6 mm socket/wrench

Shop Parts in this Guide
Installation
WARNING:
When painting, always read the can. These directions should be followed AT ALL TIMES. No matter what you read here or anywhere, follow the directions on the can of paint.
1. Before you begin painting, you will want to test fit the hood on the car. If it does not fit properly, you can still send it back. Once you’ve sanded, painted, or altered it in any way, you have to keep that hood. Start by removing the four bolts on the rear corners of the underside of the hood. They take a 6mm wrench or socket. Now, lift your old hood off of the car and place it on a flat surface. Place your new hood onto your car, laying it flat. Have someone help you lift the front end of the hood, while you bolt the new hood onto the hinges. Carefully, lay down the front end after all 4 bolts are in place.
2. Check that the right and left edges match up properly. If not, you need to loosen the hinge bolts, and shift the hood to get the edges to line up properly. Also, make sure your hood latch and emergency latches are holding properly.
3. Now you can start prepping for paint. Start off by wet-sanding the entire hood with 400-grit sandpaper. Wet sanding is just sanding with water on the hood surface (make sure you buy wet/dry sandpaper). I use a bowl of water and dip my sandpaper in the bowl frequently. You can spray water or pour it on. The idea is to reduce dust, and allow the sandpaper to work without getting gummed up. Your goal with the initial sanding is to remove the “shine.” DO NOT sand all the way through the white gel-coat. It’s not the end of the world if you do, but if you sand into the fiberglass strands, you will then have to patch that area before moving on. Start with small sections, wiping them dry after sanding, to see if the shine is gone. If it’s gone, move on to your next section of the hood. Repeat until you’ve sanded the shine off the entire hood. Spray and wipe the hood down with 50/50 rubbing alcohol/water mix. Lastly, wipe with a tack rag before applying the primer. This will remove dust, and also leave a light “tack” on the hood, which will allow the paint to adhere better.
4. Next is your primer. If you used 400-grit sandpaper, you won’t have deep scratches to fill, so you can spray a sealer/primer (rather than a high-build primer). This eliminates a lot of sanding you would have to do with a high-build primer. Start by spraying the edges first. If you spray them at the end, it will mist onto the hood, creating little dots of dusty paint that you will then need to sand off. Now, start on one edge and spray long lines up and down the hood, always keeping your paint gun moving. Paint using the “50% overlap method.” This means you want 50% of your paint to overlap your last line. This ensures good coverage and good “wet edge.” You want to keep your wet edge moving from one side, all the way to the other. Stop as little as possible, so the wet edge doesn’t dry. This is where a paint gun is much more efficient. It allows you to put down more paint, more quickly. The same principle applies to the base color coat and the clear coat. Clean out the paint gun with lacquer thinner when finished.
5. Let the Primer dry for 30 Mins. Now, get your 400-grit sandpaper again. Sand the entire hood. Try not to sand through the primer that you just put down. You are just trying to knock down any high spots or dirt particles that floated in as you painted. Spray and wipe with 50/50 alcohol/water mix.

6. The next step will be to paint a guide coat. This will allow you to find any high/low spots on the hood. Lightly mist the hood with a color that is visible on top of your primer. My primer was dark grey, so I used a white guide coat. Using a sanding block with 400-600 grit sandpaper, lightly sand away the guide coat. If there are any high spots, the guide coat will sand through quicker on them. Oppositely, if there are any low spots, the guide coat will be left behind there. If you find any high or low spots, you should fill them with body filler, block sand smooth, and repeat the guide coat. When finished, spray and wipe with 50/50 alcohol-water mix.
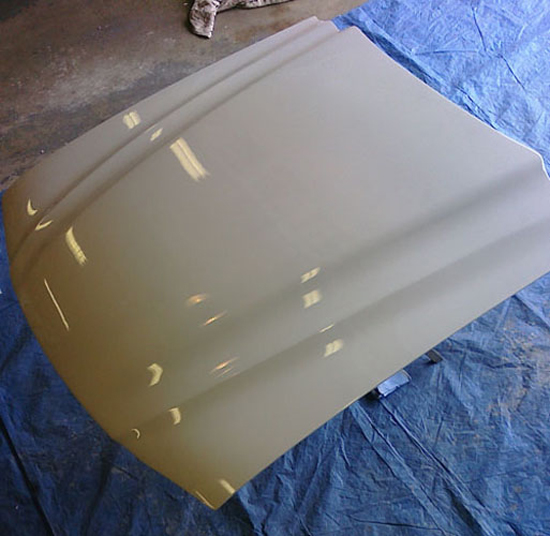
7. Wipe with the tack rag before shooting the color coat. Get your base color paint. Read the can. Mix in any activators that are necessary. Use the filter funnels when pouring your paint into the spray gun. Spray the color on, edges first, then moving from one side of the hood to the other. Be careful not to touch the paint during this step and keep as much dirt and dust away from it as you can. You should paint 3 coats of color to ensure proper coverage, alternating the direction you paint (if you went left to right the first coat, go top to bottom for second coat, then right to left again). This is especially important for metallic colors; otherwise you can see your paint lines. Read the can for directions on drying time between coats, but 5-10min is usually standard. Once three (3) coats are applied (or more if necessary), let the color dry for about 15 Mins. (Read the can too. It will tell you how long). DO NOT sand the color coat. If you have a problem and must sand it out, let it dry for30 min, sand the spot, and re-spray the color again. Clean out the paint gun with lacquer thinner when finished.
8. Wipe with the tack rag before shooting the clear. Mix the clear coat and activator if necessary. Use the filter funnels when pouring your paint into the spray gun. Spraying the clear coat is the most important time to keep your wet-edge. Spray the edges first, and then spray from one side all the way to the other, keeping your wet edge intact. Remember to use 50% overlap. You want the wet look when it sets up. Spray 2 to 3 coats of clear, allowing proper time to dry between coats. Read the can for dry time between coats, but 5-10 min is usually enough. Do not touch it, no matter what. Let it dry for at least an hour before trying to move it. You should let it dry for 24 Hrs before trying to install it. Clean out the paint gun with lacquer thinner.
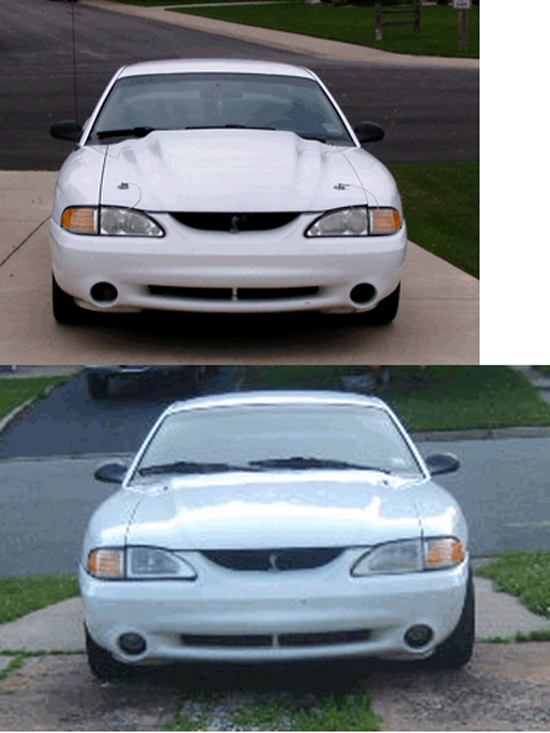
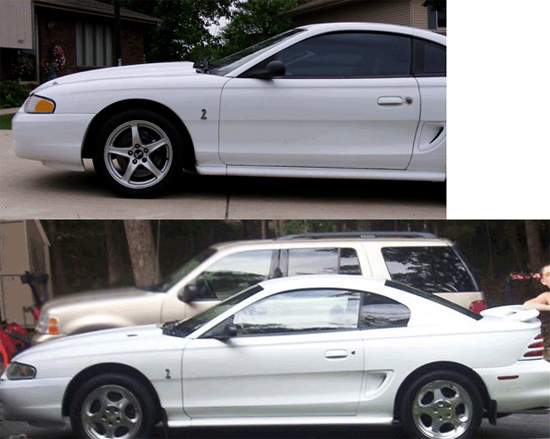
9. Now you can install the hood on the car. Having someone help you hold the hood makes this much easier, but the process is very simple. Have someone hold the old hood up. Remove the four bolts holding the hood to the hinges (See red arrows in picture below). Remove the old hood. Having someone hold the new hood in place, bolt it up the same way the old one came off. Now, check that your safety release latch properly mates up with the hole on the bottom of the hood. It should match up nicely. If not, you need to loosen the bolts on the latch assembly to tweak its placement.
10. Be VERY careful. Your paint is still very fresh and very soft. I have seen fingerprints imprint on fresh paint, and any place you hit it may scratch it off very easily. If you want, you can wait longer, about a week to let the paint set up better. But paint doesn’t totally set for a few months after it is laid down.
Installation instructions provided by AmericanMuscle customer Nick Kruse 7.16.09
Related Guides
-
Installation
-
Installation
-
Installation

