 FREE 1 to 3-Day Delivery on Orders $149+ Details
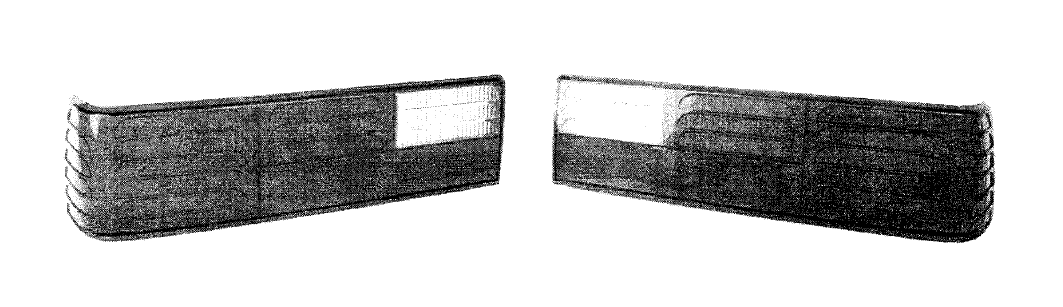
How to Install a Replacement Tail Light Lens in your 1987-1993 Mustang

Shop Parts in this Guide
Your tail light will need to be painted to match your car, so we have included a mask to cover the areas that should not be painted. The mask has been created from a digitized NOS sample and should cover all needed areas, but there may need to be some minor adjustments. Each section on the mask corresponds directly to the layout of your taillight.
• Make sure that the mask matches the taillight you ordered. There is a label on the mask denoting whether it is for the left ("L") or right ("R,r).
• Be sure the areas to be masked are free of dust, dirt and oils. If it needs to be cleaned, use a gentle solvent such as denatured alcohol or rubbing alcohol. Test the solvent in a small and inconspicuous area for damage to surface.
• You should thoroughly wash and dry your hands. Even hands that look clean may have natural oils and other contaminants that could affect the mask's bond.
• Make sure the taillight and your hands are completely dry before starting.
• Ensure that the surface is at room temperature, 60° to 90° E.
• Peel off each mask section and apply it to the corresponding area on the taillight. Each mask can be stretched slightly as needed, but be careful that it is not stretched too much, as it can lose its shape. You should be able to peel off and reapply if necessary to position it correctly.
• Use a small tool (like a toothpick) to run along the edges of the mask. This makes sure that the edges are snug and will keep the paint from getting under the mask.
• If necessary, use an x-acto knife to cut off any excess masking.
• Once you are finished painting, allow plenty of drying time before removing the mask.
