 FREE 1 to 3-Day Delivery on Orders $149+ Details
How To Install a MAC Catback Exhaust on Your 1986-1993 Mustang LX or 1994-1994 GT
Installation Time
4 hours
Tools Required
- Sawzall or Hacksaw, or Exhaust Cutoff Tool
- 7/16 Deep Socket and/or Open End Wrench
- 11/16 Socket and/or Open End Wrench
- 5/32" Allen Key
What comes in the MAC Catback Exhaust Kit:
• Two mufflers
• Two flow tubes
• Two elbow tubes
• Two exhaust tips
• Two clamps
• Four exhaust hanger brackets (Two different sizes depending on your needs)
• 8 bolts
• 8 nuts
• Two exhaust flanges
Special Notes:
Before removing your existing exhaust, be sure to check the condition of the bolts securing your current catback to your mid-pipe. This catback does not come with the hardware to secure the mid-pipe to the catback and if your existing bolts are unusable or break upon disassembly, purchase any high grade stainless 7/16” thread or Metric M10 in either 2.5” or 3” length (Will need four bolts and 8 nuts and washers to match). Also note, this kit does not come with the rubber hangers, you will either need to reuse your existing ones or purchase new ones (four total: 2 for mufflers and 2 for tailpipes).
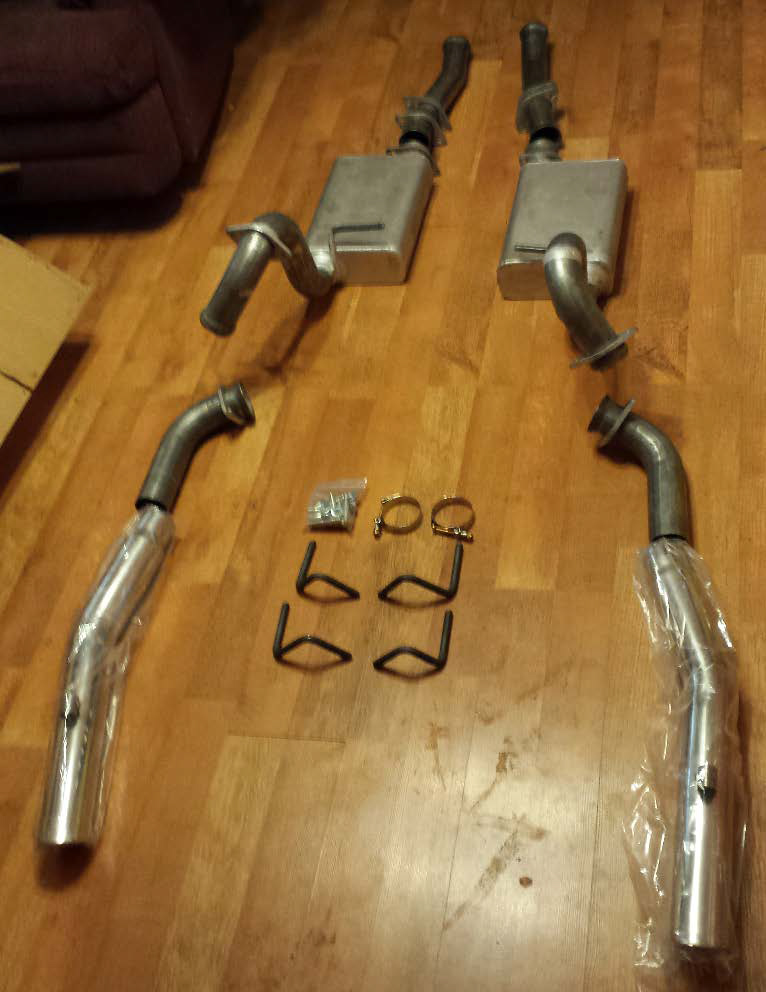
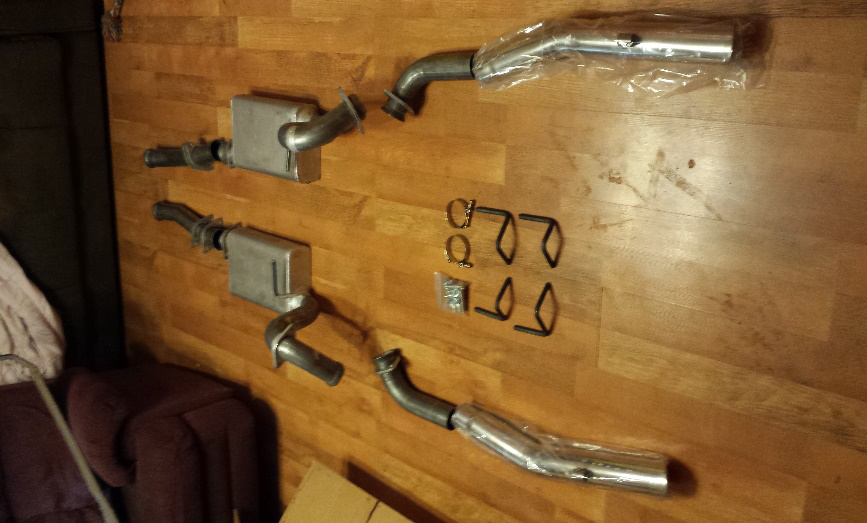
Unboxing your MAC Catback Exhaust System (Photo 1).
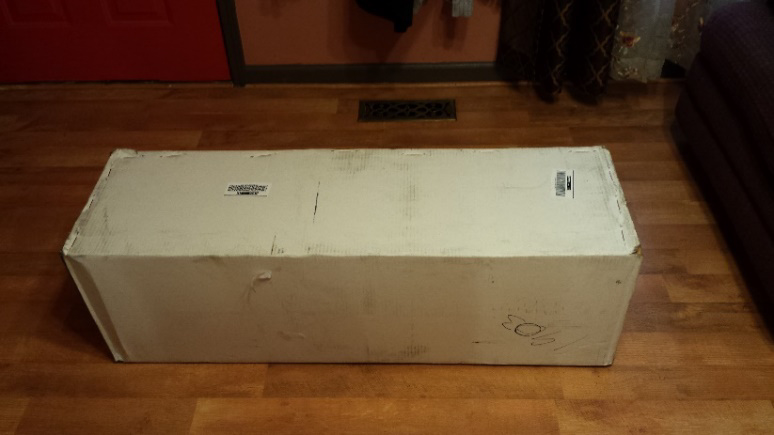
1. Catback is shipped together in one box weighing 57lbs.
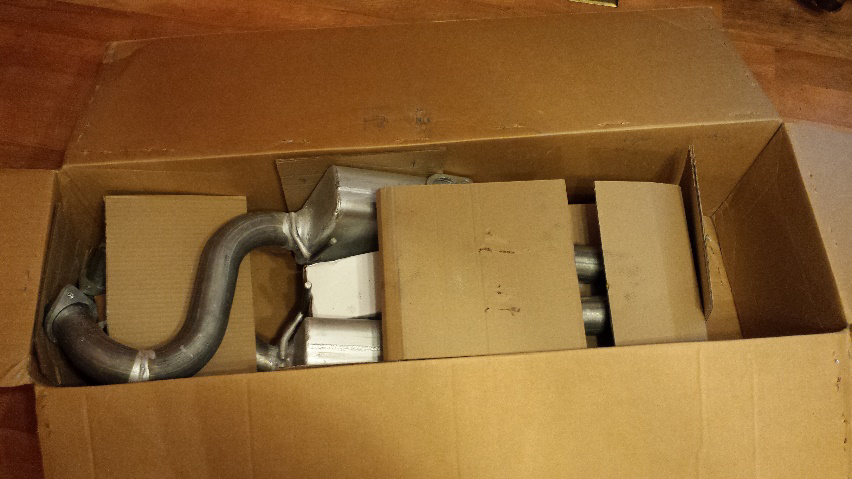
2. Inside of box.
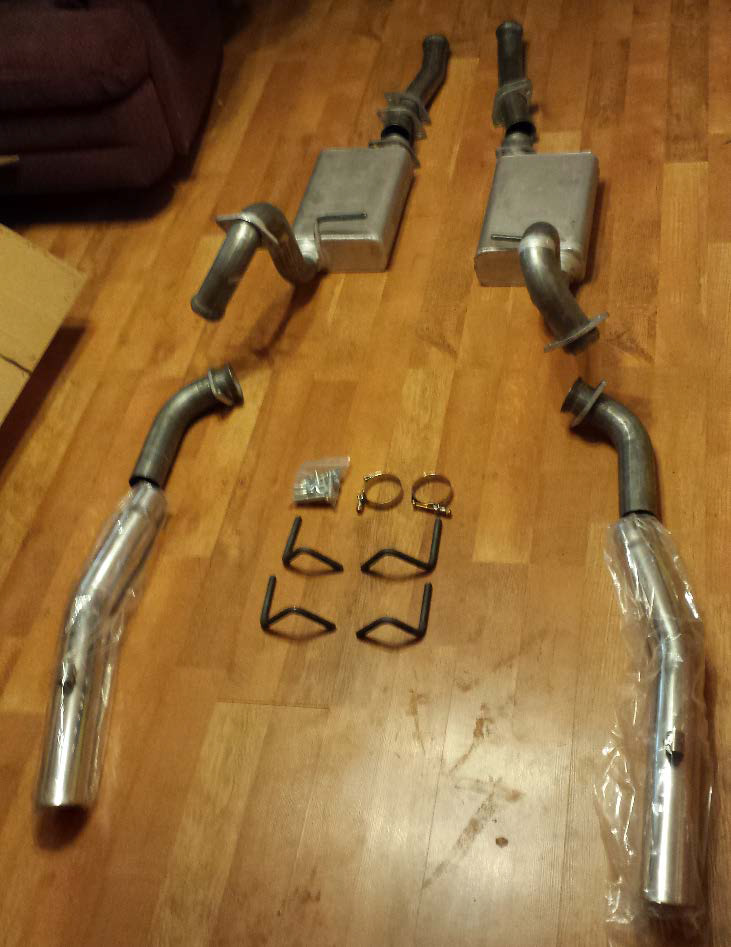
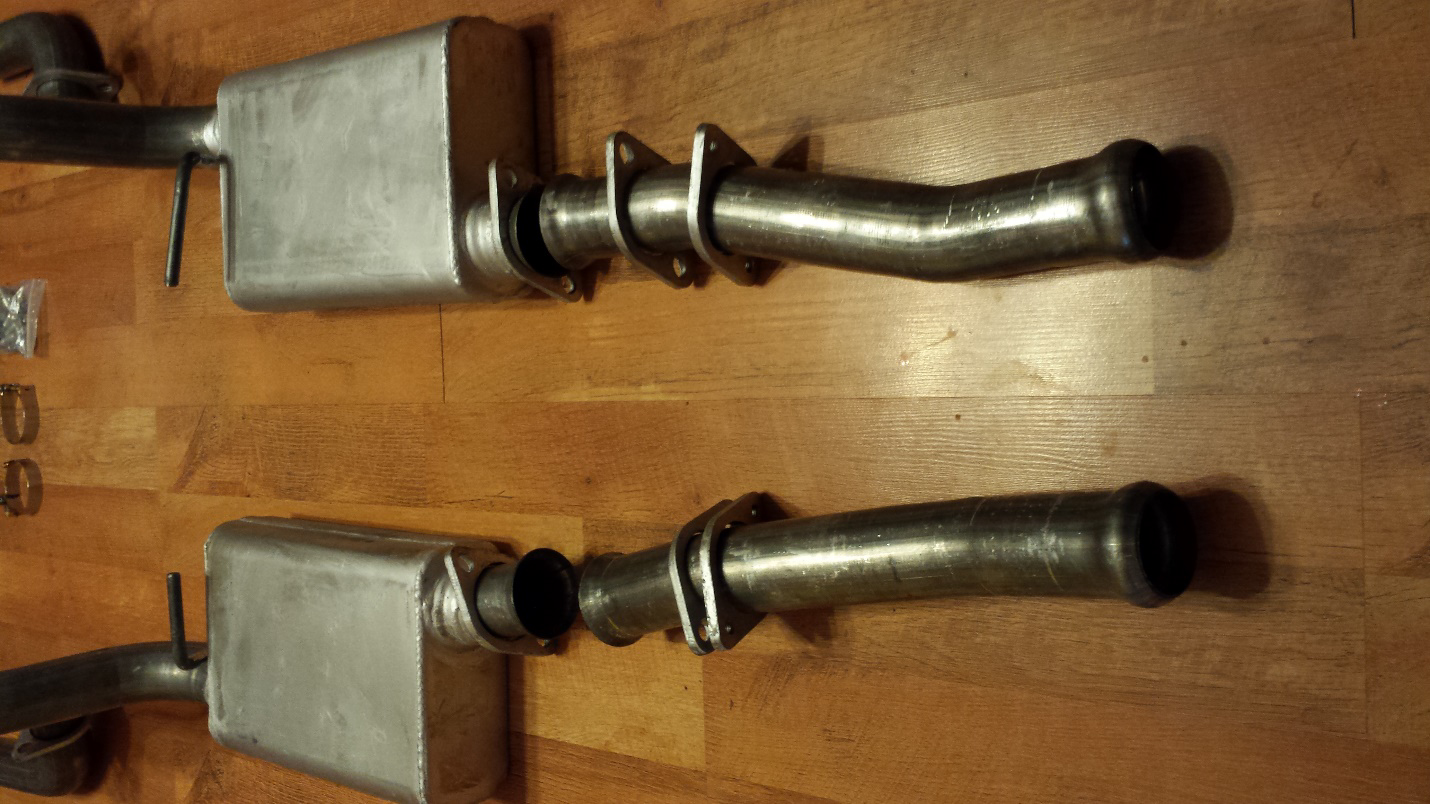
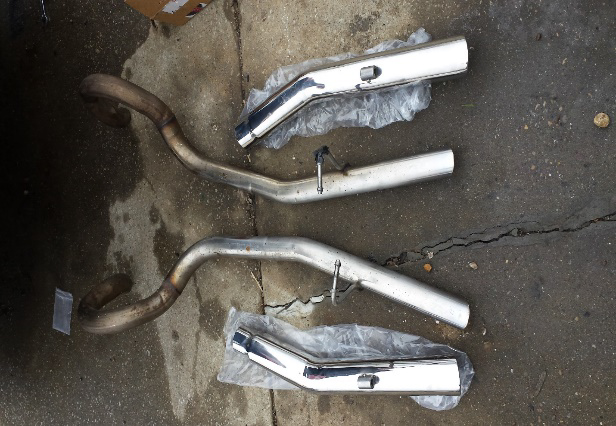
3. Layout of Catback and all included parts.
How to Install your MAC Catback Exhaust Kit:
1. Apply emergency brake and chock front wheels.
2. Jack up vehicle and place jack-stands underneath for safety. Allow rear axle to hang to give added room to access exhaust.
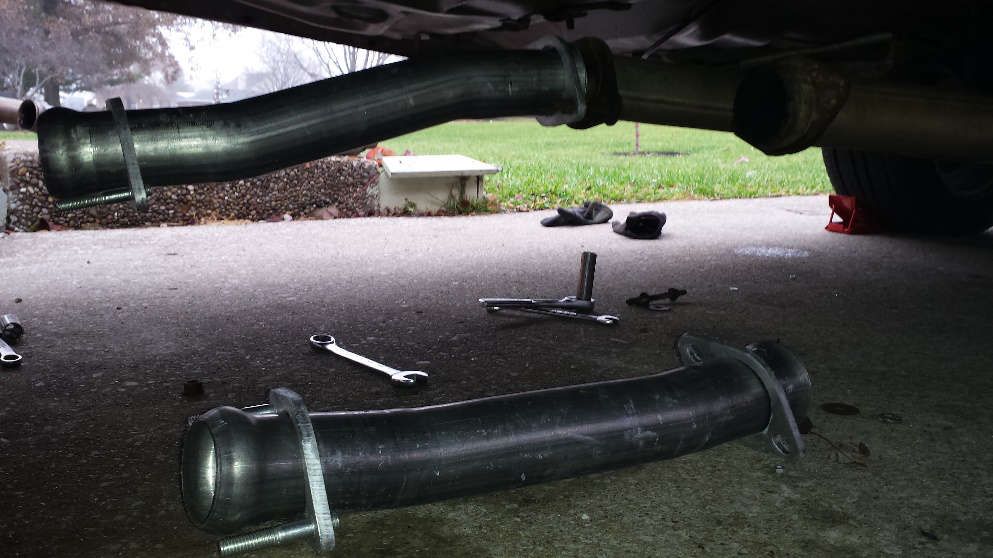
3. Begin removing existing exhaust, you may need to cut off the tail pipes from your existing catback to be able to remove it.
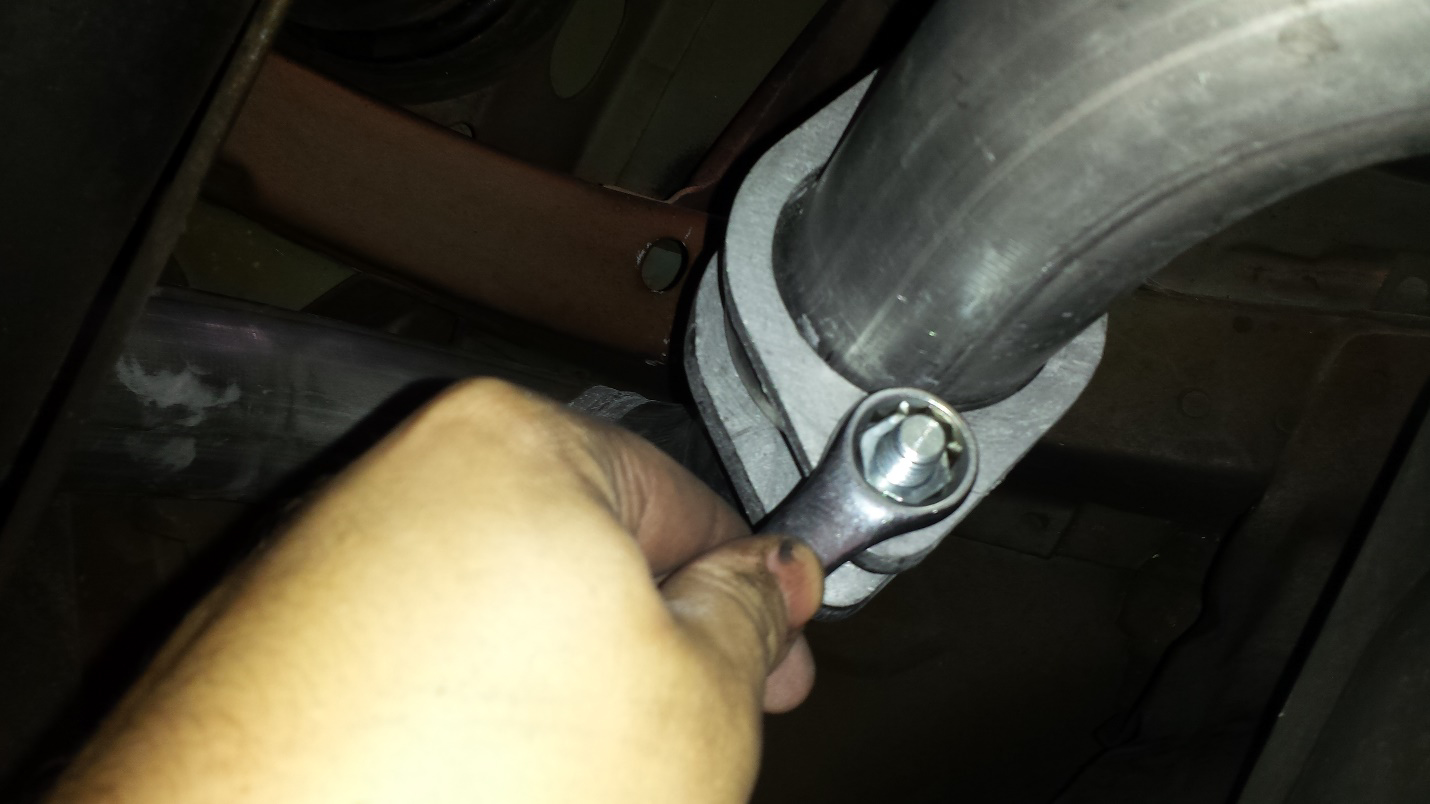
4. Four bolts secure the mid-pipe to the catback, assess whether or not you will be reusing the bolts or not.
4. Midpipe-catback, four bolts secure it together. If bolts are stuck you may need to cut them off and get new hardware.
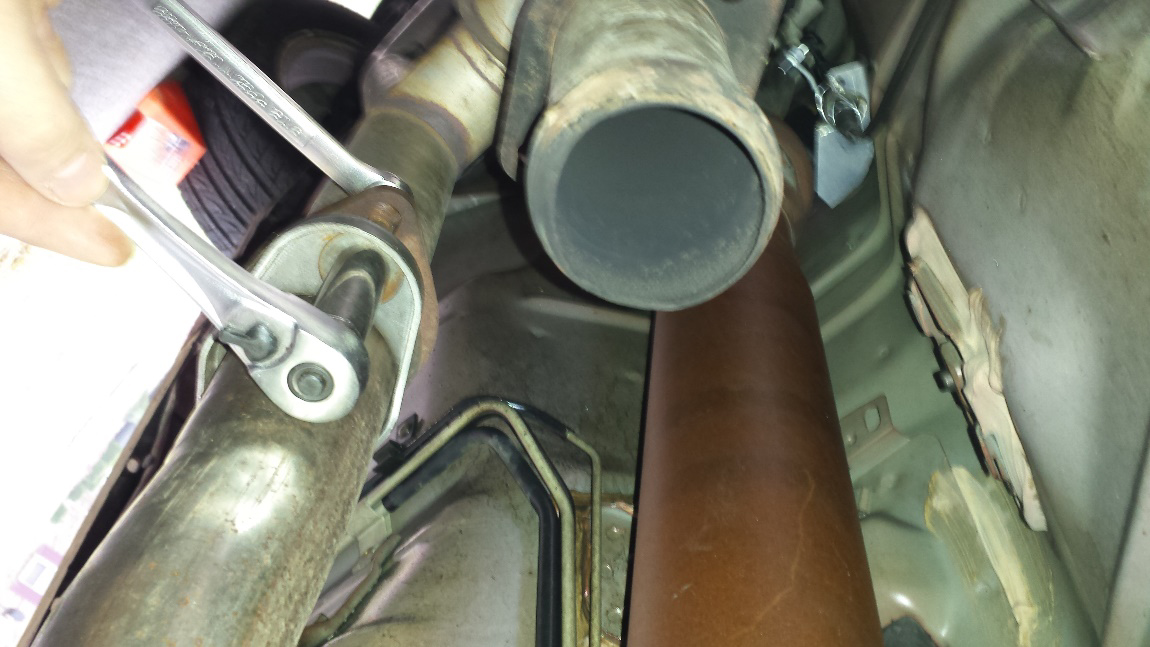
4. My bolts securing mid-pipe to catback had 9/16” nuts, your sizes may vary.
5. Take mufflers down from their rubber exhaust hangers, as well as tailpipes. Assess condition of rubber exhaust hangers to determine if you will reuse them or not. It is easier to install new exhaust if you leave the rubber hangers on the car since the hanger of the catback are smooth and slide into place easier than the other way around. WD40 works great if the hangers are difficult to get off, spray liberally on the rubber and it should help in removal.
5. If your rubber hangers are damaged, replace. These were in good shape and were reused.
6. With exhaust now removed, begin prepping the new catback by installing the supplied studs into the exhaust flanges.
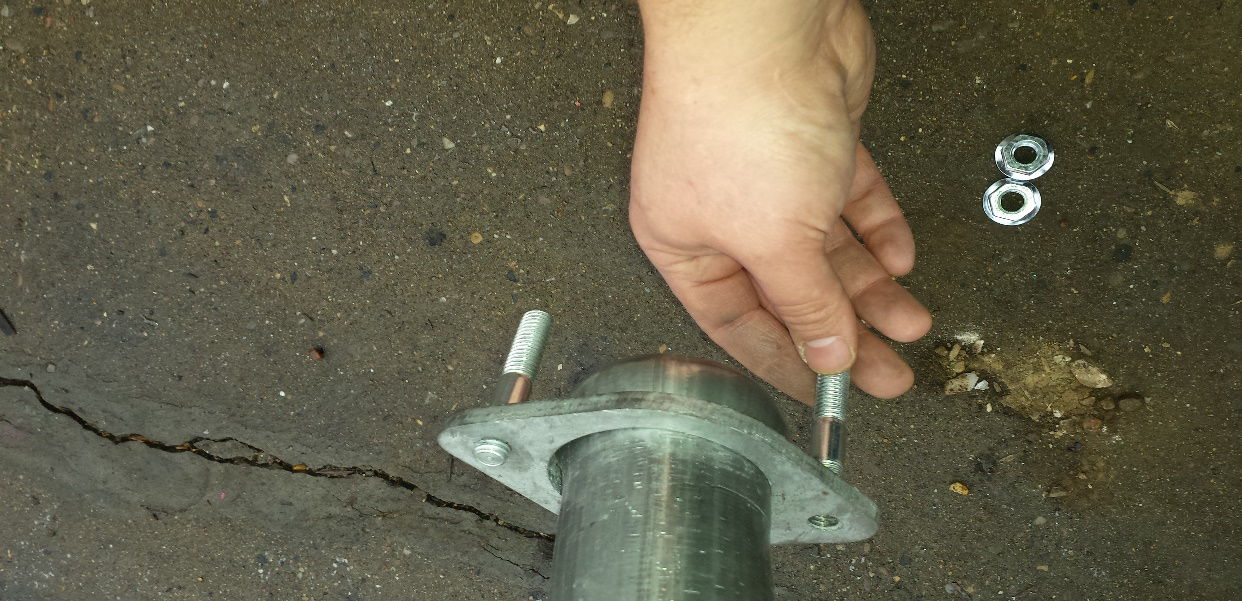
6. Four exhaust flanges will have threaded holes, screw the supplied studs into them by hand.
7. Begin installing the two flow tubes loosely, do not tighten them down, and just tighten the nuts by hand for now.
7. The two flow tubes are identical.
7. Mount flow tubes to mid-pipe using old bolts, or purchase ones if needed.
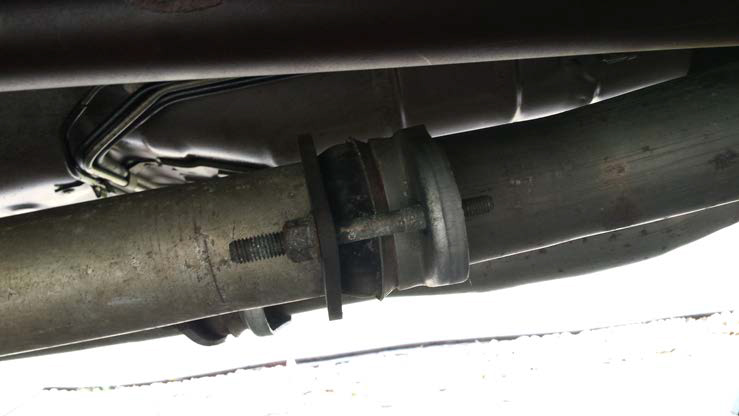
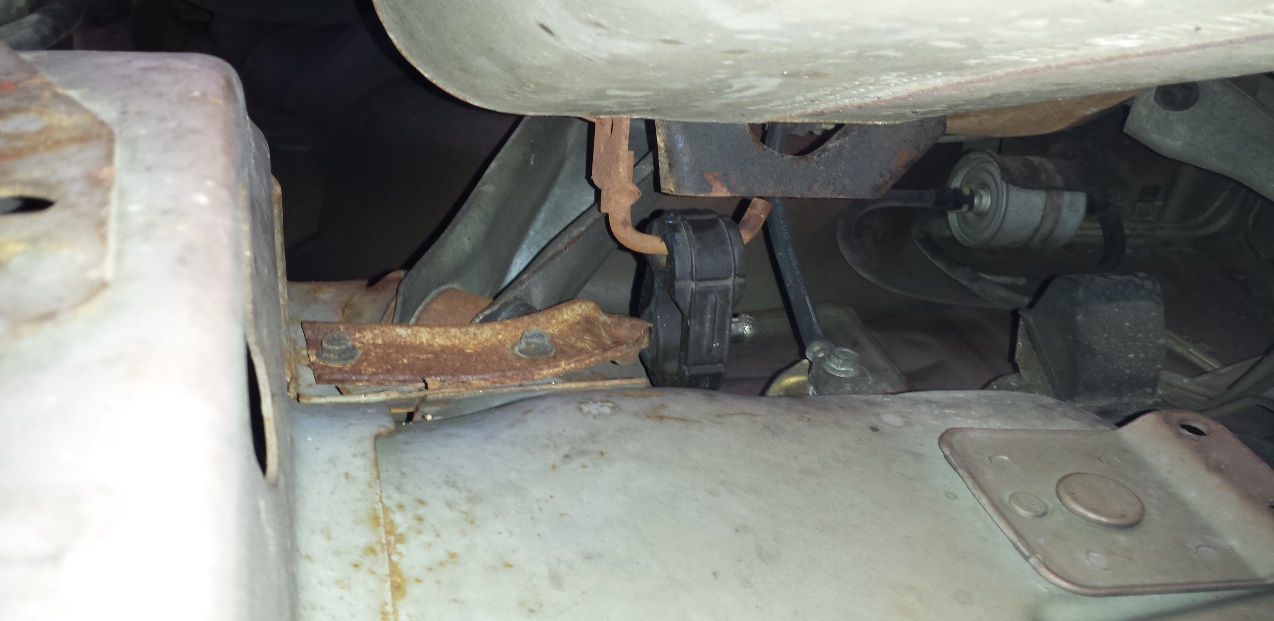
8. Begin installing the muffler sections, an assistant is handy to have for this step to hold up the muffler while you secure it to the rubber hangers under the car. Make note of which side is right and left.
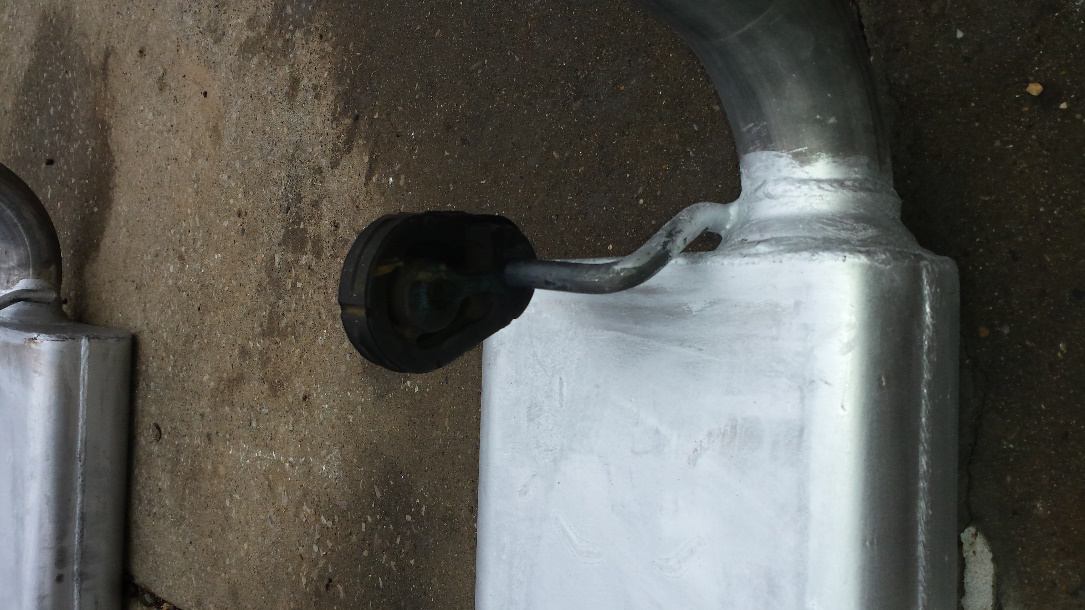
8. Photo demonstrating how muffler is held up by rubber hanger underneath the car.
9. With the mufflers supported on their rubber hangers, you can now bolt them to the flow tubes using the supplied four 11/16” nuts, tighten by hand to allow adjustments to be made.

9. Mufflers bolted to flow tubes by hand.
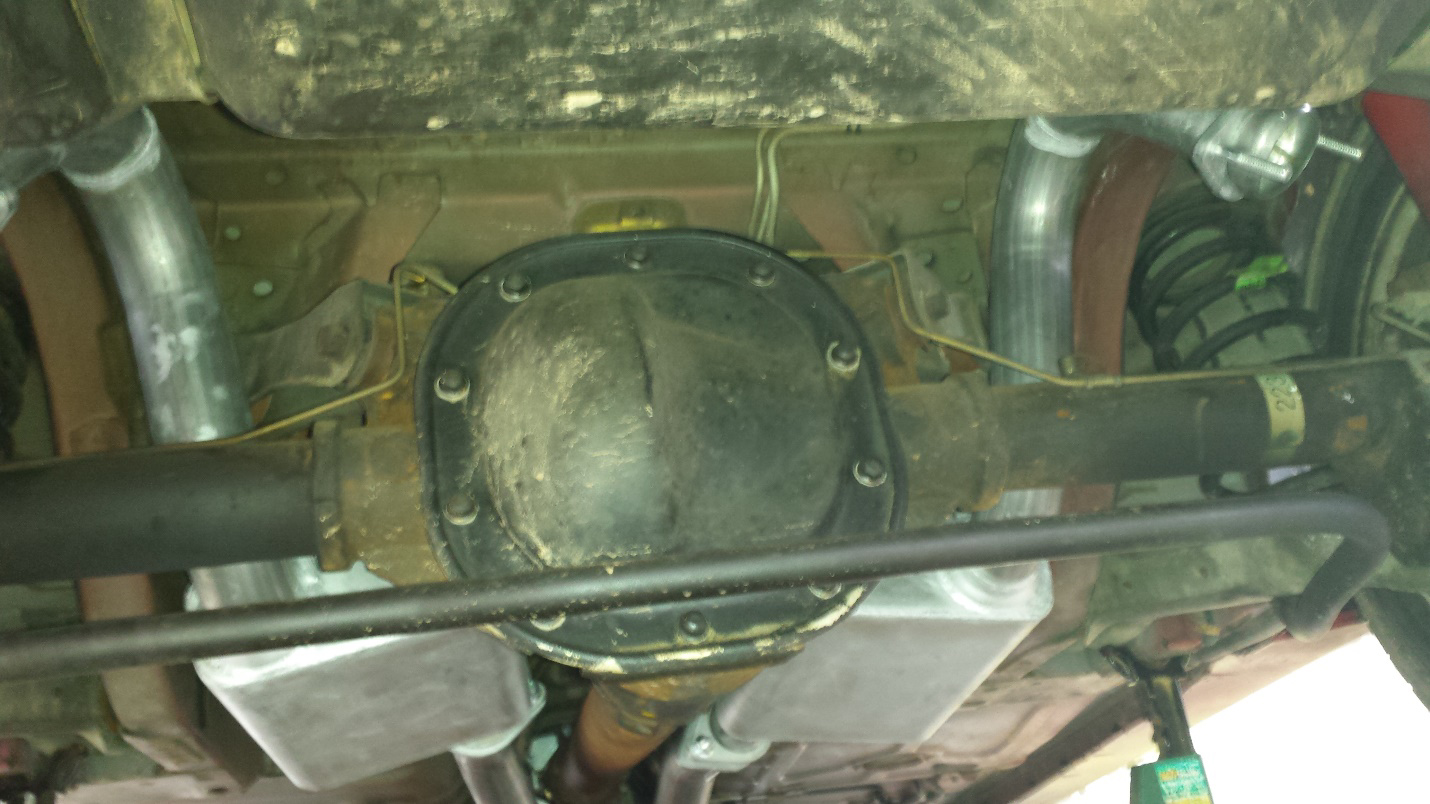
9. Underside view of mufflers properly mounted to rubber hangers and flow tubes.
10. Prep the two elbow tubes by sliding the exhaust flange over each. They are identical. Mount them to the rear of the muffler section with supplied 11/16” nuts and tighten by hand.
10. Two elbow tubes are identical.
10. Installation of elbow tubing to muffler section. Try to first install by hand, I had to snug mine up a bit so they would not sag while trying to align the exhaust tips in step 11.
11. Prep your tailpipes by removing the protective bags and identify which is left and right. Do a mockup of what it will look like and it should be obvious which is which. There are four hangers in the kit, they slide into the top of the tip where the 5/32” allen key fastener is. You can install the hanger from the front or back, however fits best for your application. You get two different sizes, try each and see how the fit is and go with what works best for you.
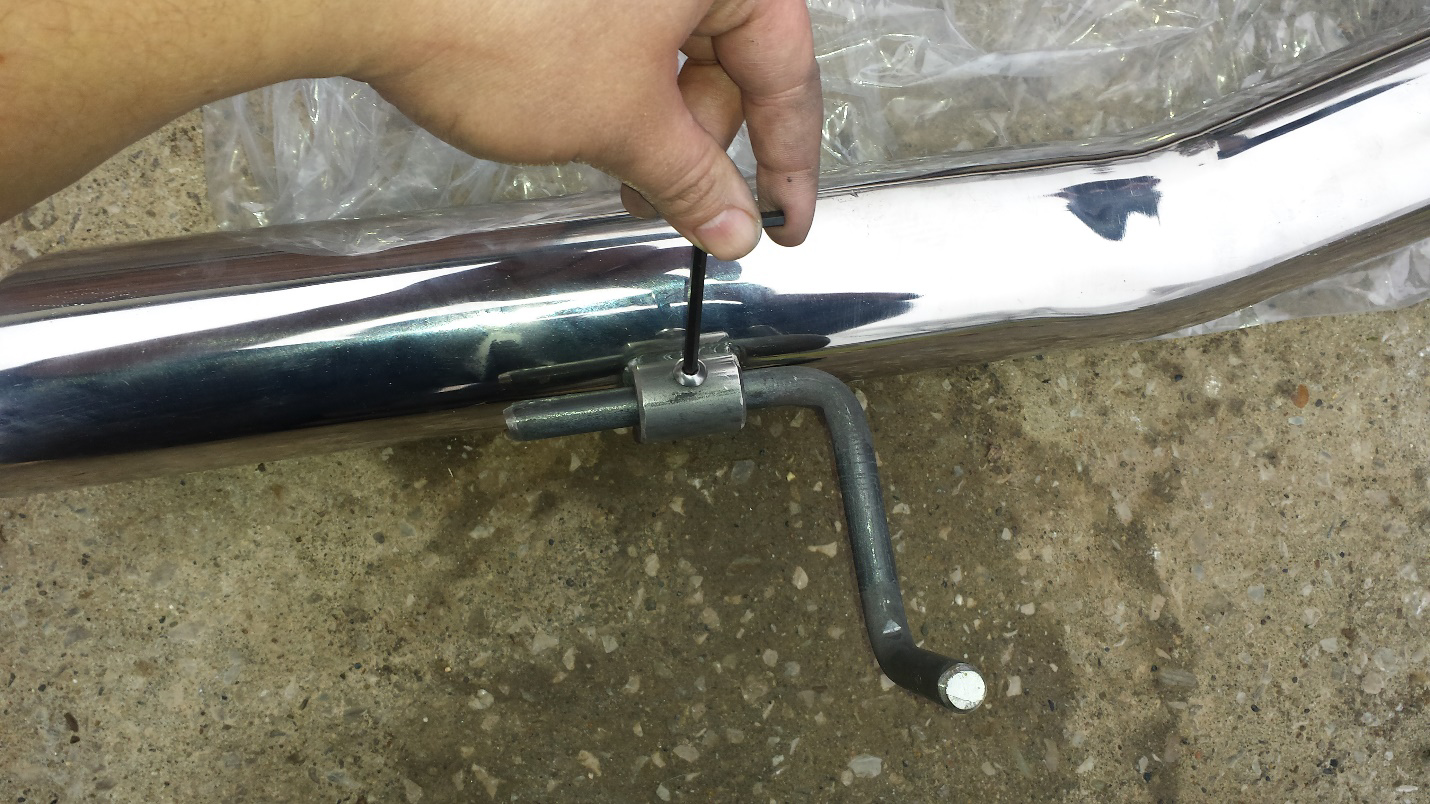
11. Prepping hanger on exhaust tips, did mock up and then adjusted hanger how I wanted it.
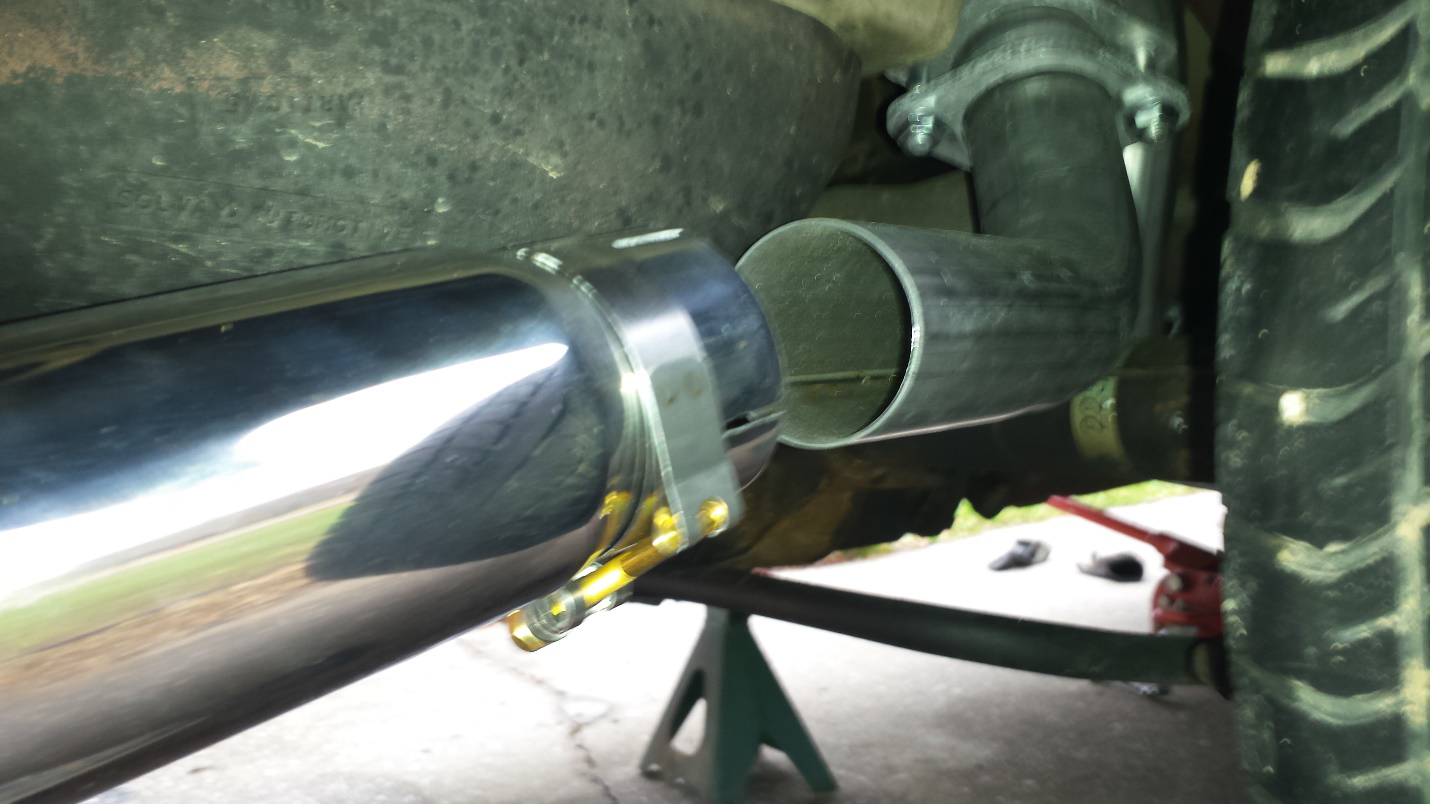
11. Exhaust tip slides onto the elbow tubing installed in step 10 and secured with clamps.
11. With exhaust tip on hanger and loosely clamped you can adjust it as needed so both sides match. Exhaust clamps use a 7/16” nut, tighten down securely.
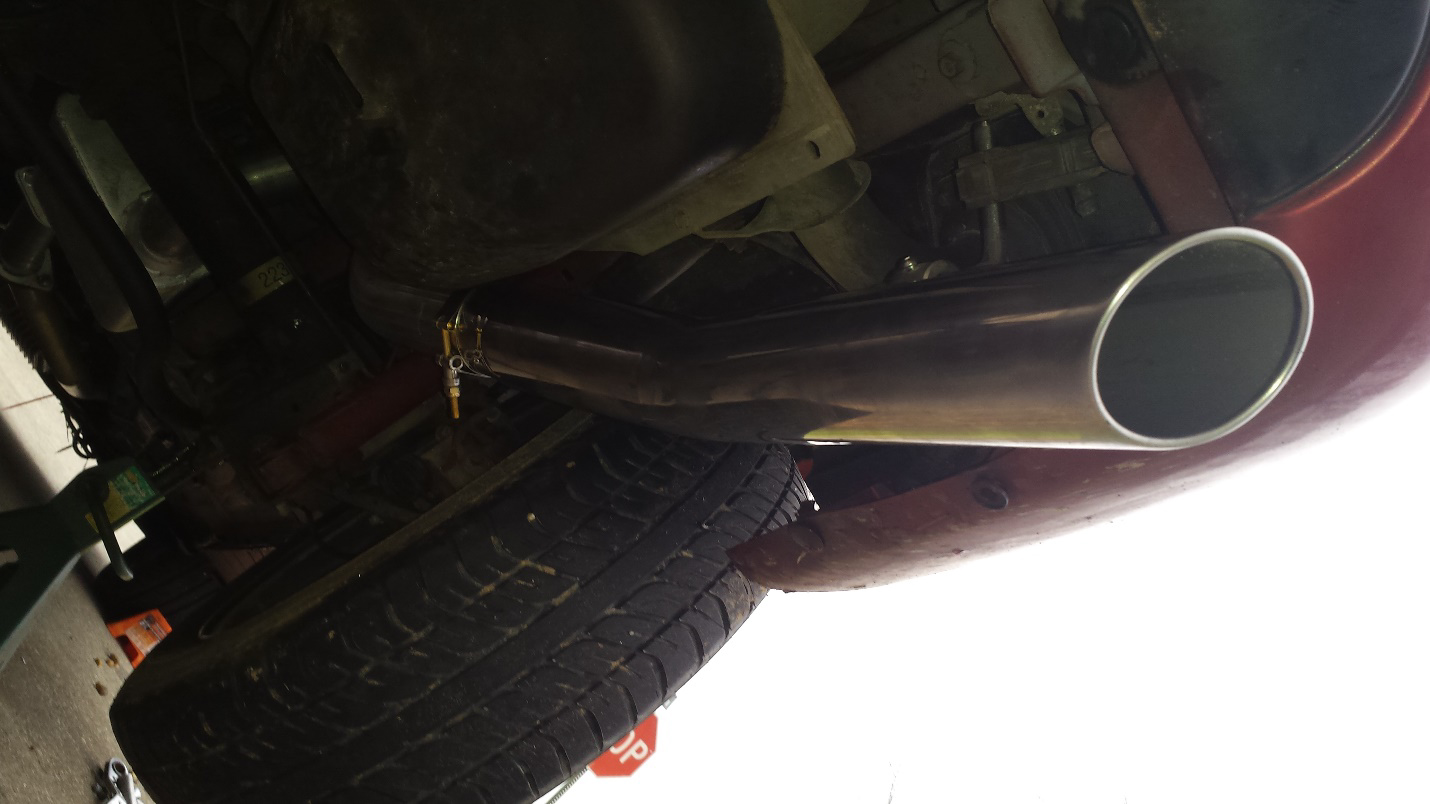
11. Underside shot of exhaust tip clamped in place and on rubber hanger. You can rotate the clamp however is convenient. You get four hangers, two sizes, choose which one works best for your particular car.
12. With entire catback in place, go back over all bolts, nuts and clamps and tighten down. Wiggle the exhaust by hand as you work and check for any clunking or banging against body and suspension parts. Adjust as needed.
13. Lower car to the ground, start car and allow to warm up completely. Listen for any exhaust leaks. Double check that exhaust tips are even and do a test drive to check for any vibrations or clunking of exhaust hitting body or suspension. If any noise is present, allow exhaust to cool and adjust as necessary until noises are fixed. Retighten all nuts and bolts after several warm up and cool downs as well as every year or during normal maintenance intervals. It is normal to have a part of the exhaust hitting against something the first time and with a little patience can be easily fixed.
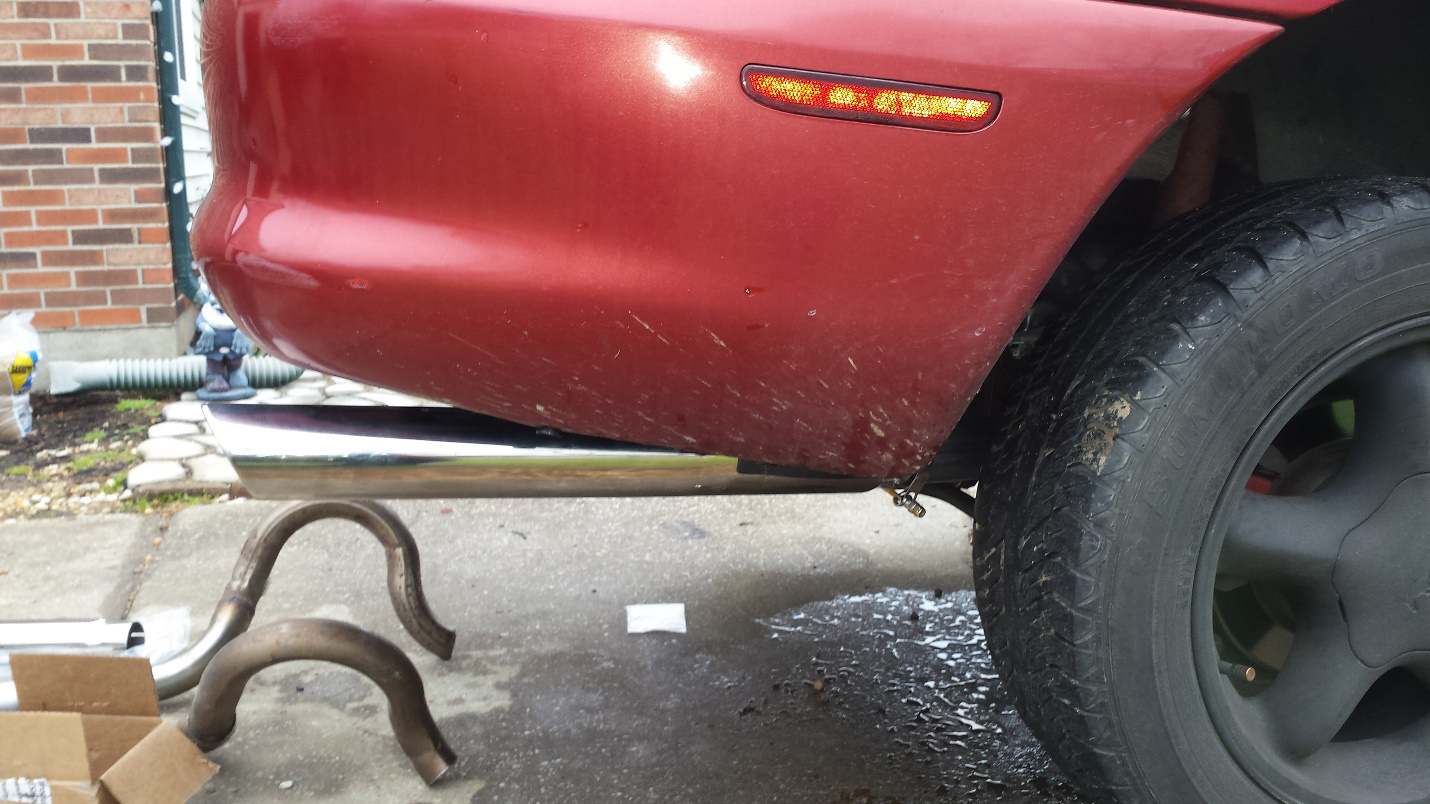
Side by side comparison of factory 2.25” tips with MAC’s 3” tips.
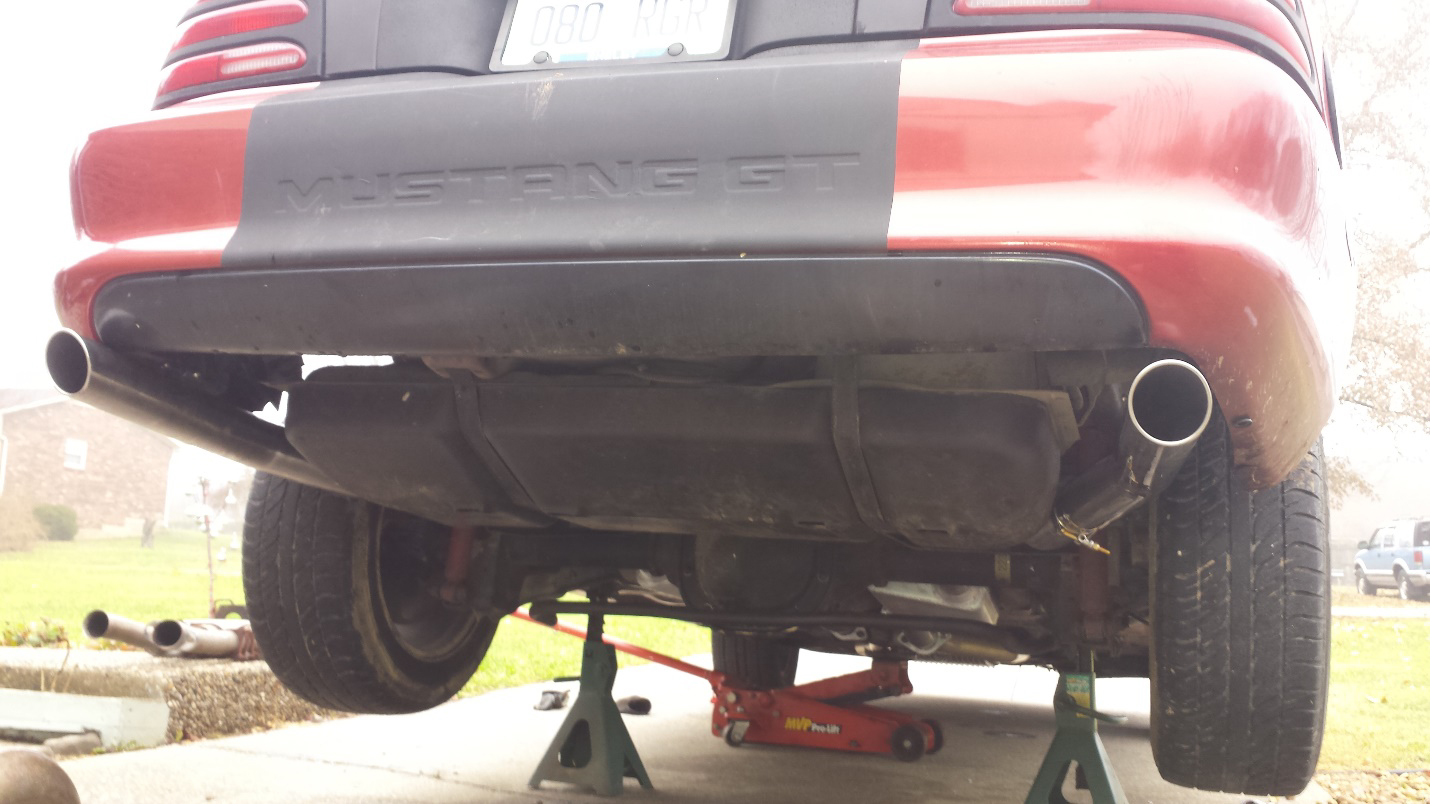
Completed shot of MAC Catback with 3” exhaust tips on a 1995 GT.
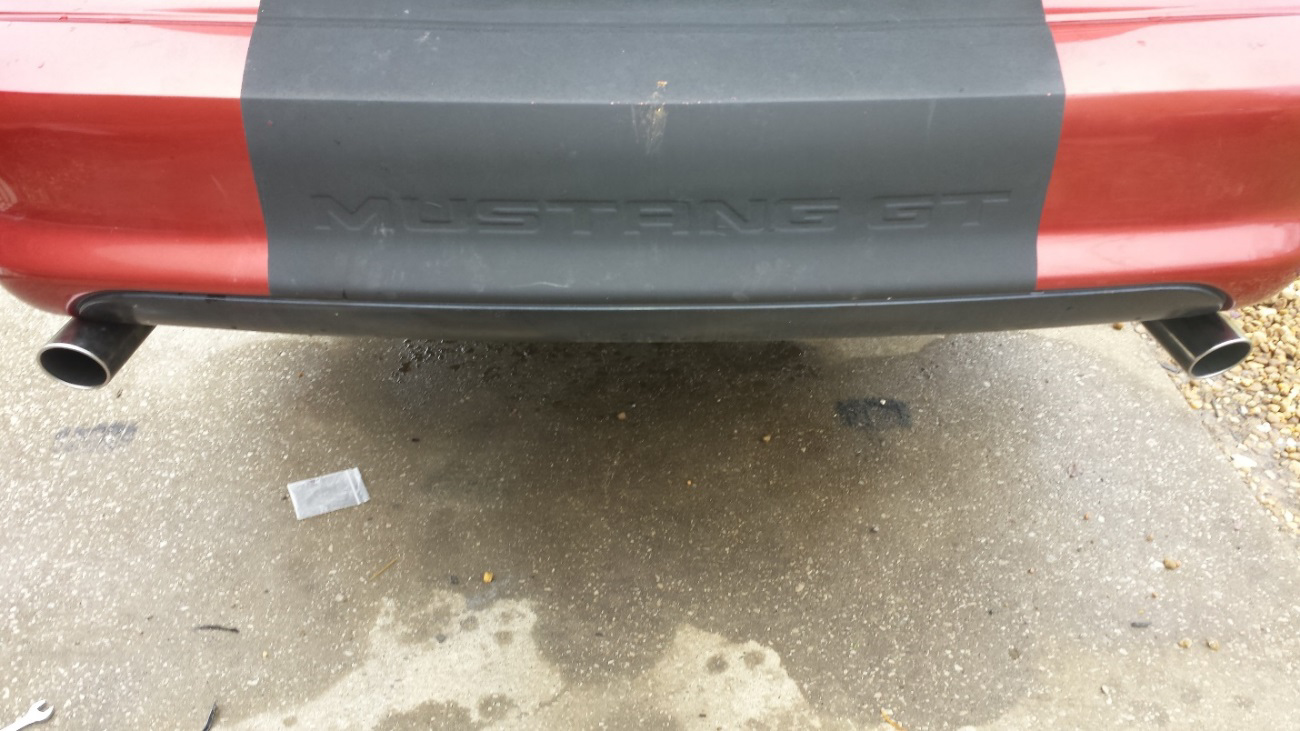
MAC 3” tips were long enough to have about 1.5” protruding from rear bumper on a 1995 GT.

Stock exhaust.

MAC Catback.
Hear my installed sound clip on Youtube.com!
Cold start up: http://youtu.be/P_iipNRnC_o
Installation Instructions written by AmericanMuscle Customer Edward McSwain 12/03/2014
