Guaranteed 12/24 Delivery Still Available see item page for details! available on most items - Details
How to Install Mishimoto Cut and Clamp Resonator Delete H Pipe (15-18 GT) on your Ford Mustang
Installation Time
2 hours
Tools Required
- Socket Wrench
- 15mm Deep Socket
- 17mm Deep Socket
- 5/8 Deep Socket
- File
- Floor Jack
- (2) Jack Stands
- Wheel
- Car Ramps
- Flat Head Screwdriver
- Reciprocating Saw
- Metal Cutting Reciprocating Saw Blade
- Another Person (this isn't impossible for one person to do, but it helps to have another person)
Preparation
1. Back car onto the car ramps.
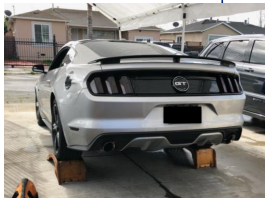
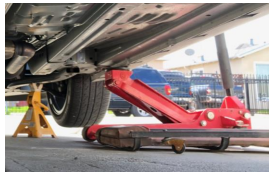
2. Jack the front end of the car and place jack stands in place.
Note: I found that you could get enough clearance if you only lift one side of the front end.
Removal of Resonator
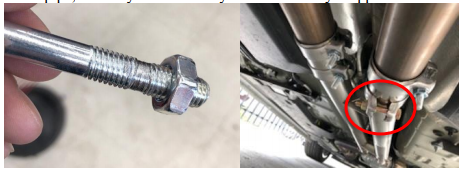
1. Get under the car on the Passenger side and from there you can pull back the tabs on the front clamps of the resonator. (If you don’t then the clamps won’t loosen)
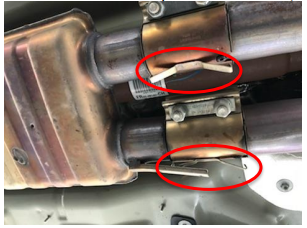
2. Loosen the 15mm bolts from the clamps.
3. Leave the clamps on the car.
4. Have second person pull the exhaust pipes back so that the middle exhaust hangers can come out the bushings.
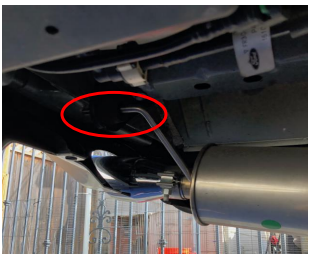
5. Have the second person push the exhaust pipe forward so that the exhaust hangers can come out the bushings.
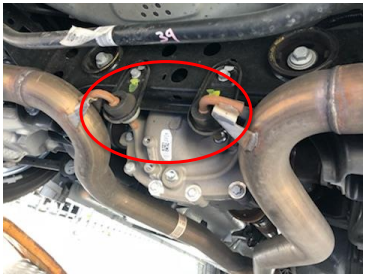
6. Push the Resonator towads the back of the car.
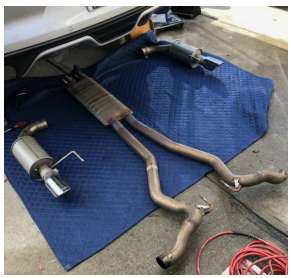
Note: I had the Roush Axle back exhaust installed on the car and the hangers are longer so it was easier for me to remove the Axle backs before removing the resonators.
Cutting the Resonator Off
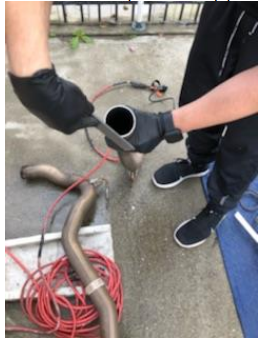
1. Lay the Resonator on the ground and place the H-pipe on top to mark where you’re going to cut the resonator off.
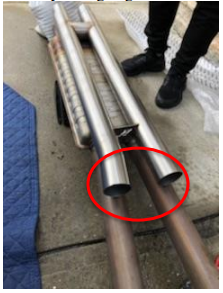
2. Mark the Cut line with a Sharpie.
3. Cut the resonator off with the Reciprocating Saw
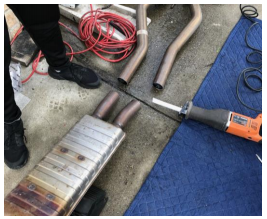
4. File the sharp ends of the pipes that you will be reusing.
Installation of H-Pipe
1. Reinstall the Exhaust along with the exhaust pipes onto the bushing under the car.
2. Install the muffler bushing firsts then the exhaust pipe bushings.
3. Once underneath the car have second person hand you the H-pipe with the provided clamps on the H-pipe.
4. Put the H-pipe in the clamps on the front of the car (If you were able to leave the clamps on the car, if not put the clamps).
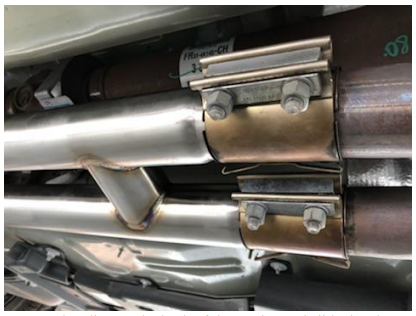
5. Then line up the back of the H-pipe and slide the clamps over the Exhaust pipe. Line up the clamps in the middle of the exhaust pipe and the H-pipe.
6. Lightly tighten all the bolts while making sure everything is lined up correctly.
7. Once everything is lined up then tighten all bolts.
Installation of the H-Pipe (Without Roush Axle Back On)
1. Mock up the H-pipe and the exhaust pipe you can cut.
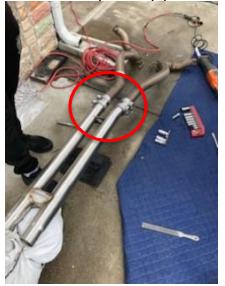
2. Tighten the 17mm bolts lightly so you can install on the car.
3. While you are in the front under the car have second person push the H-pipe towards you.
4. Have the other person put the hangers on the exhaust pipes thru the bushing in front of the rear wheels so you can put the H-pipe into the clamps.
5. Lightly tighten the (15mm bolts at the front of the H-pipe and the 17mm bolts at the back of the H-pipe so it doesn’t slip off.
6. At this point I reinstalled my axle backs, hangers in first and then slide the axle back over the exhaust pipe.
7. Tighten the 15mm clamp bolts to the Axle back exhaust.
8. Once everything is lined up then tighten all bolts. (This is a lot easier if you have stock exhaust, less moving parts)
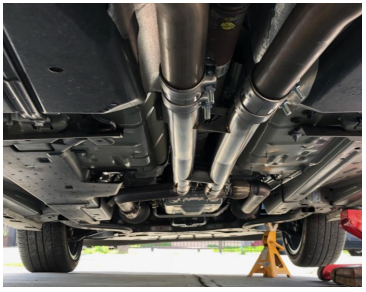
Note: Tighten clamp bolts carefully, I stripped one of the 17mm bolts in the back of the H-pipe, this may have been my bad since I only stripped one of the four.
Installation Instructions Written by AmericanMuscle Customer A. Cruz on 3/24/18.

