 FREE 1 to 3-Day Delivery on Orders $149+ Details
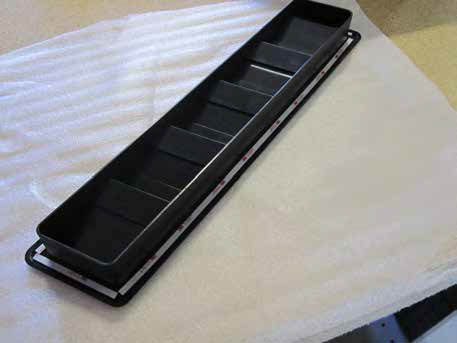
How To Install MMD Hood Vent Louvers - Matte Black - on your 2005-2012 GT, V6 Mustang
Installation Time
2 hours
Tools Required
- Angle Grinder
- Utility Knife
- Metal File
- 13mm Socket/Wrench
- Painters Tape

Shop Parts in this Guide
Be sure to use the Alcohol Prep Pads and 3M Adhesion Promoter Pads as instructed.
While not absolutely necessary, it is recommended to remove the hood from the vehicle before installing the Hood Vents to prevent unwanted debris in your engine bay and on your car.
STEP 1:
Remove the clips securing the insulation to the underside of the hood and place it to the side, it will be re-used once the vents are installed. Use a 13mm socket to remove the bolts securing the hood to the brackets and remove it from the vehicle. Place the hood on a secure and stable work surface before doing any cutting.
2
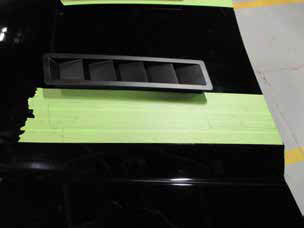
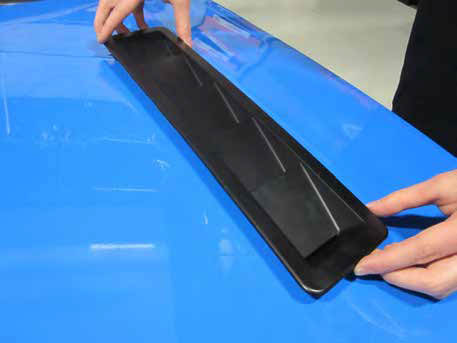
STEP 2A:
Place the vents on the hood as shown, using the bottom of the vent that’s contacting the hood as a measuring point. Start by measuring 1 5/8 inches, in multiple locations, from the style line/crease in the hood to the bottom of the vent. Mark that distance using a long piece of painters tape, then measure 8. inches from the rear most point of corner of the vent to the back edge of the hood.
STEP 2B:
Keep the tape measure parallel to the crease to ensure an accurate measurement. Double check your measurements and outline the rest of the scoop with tape, leaving about a 1/16 inch gap between the edge of the tape and the vent.
3

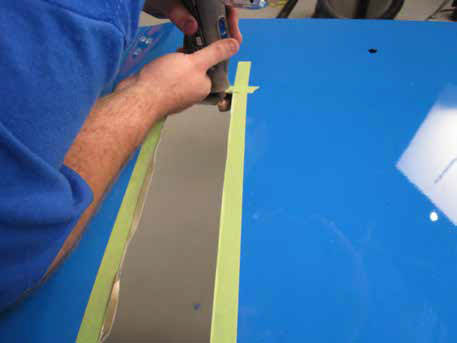
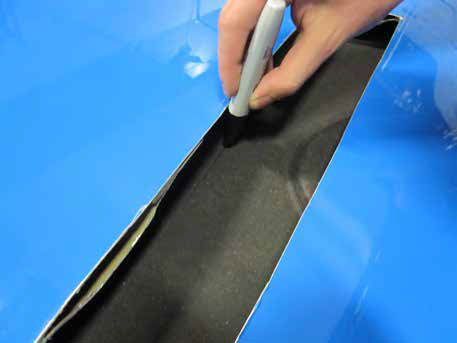
STEP 3:
Lay some towels, newspaper, etc over the part of the hood that will not be cut to protect the paint. Using an angle grinder carefully cut out the areas that you masked off in Step 2. To avoid excess metal shavings, having someone follow with a Shop Vac is helpful.
NOTE** Becareful not to cut your windshield nozzle hoses. Highly reccommend removing them.
4
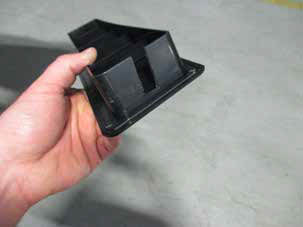
STEP 4:
Once the holes are cut, test fit the vents trim as needed, use a metal file or Dremel to debur edges. Touch up paint is reccomended on bare metal surfaces to prevent future rust.
5
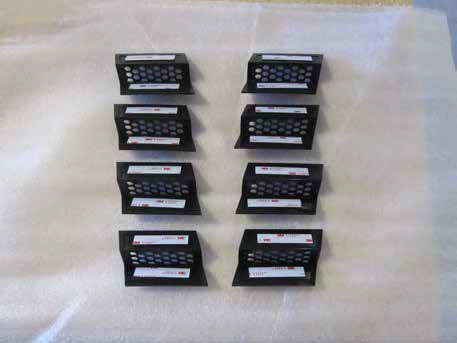
STEP 5:
Lay the supplied inserts out with the indents facing upwards. Rub one of the supplied alcohol pads on the indented surfaces and let dry. Place the tape strips into the indented surfaces as shown.
6
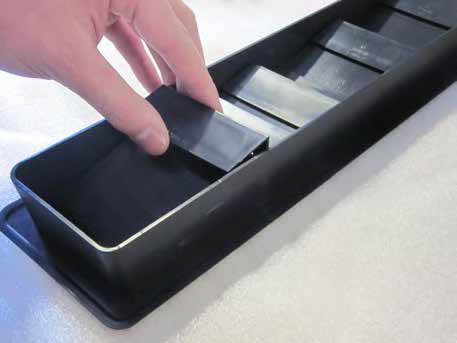
STEP 6:
Remove the backing from the adhesive and place the inserts into the vent bodies as shown. The inserts are side specific and can only go in the bodies one way.
7
STEP 7:
Lay the vents upside down and run the indented tape ledges with the supplied alcohol pads, followed by the supplied 3M Adhesion Promoter. Once dry, place the tape strips into the indented surfaces as shown. Be sure to put the tape as close to the outer edge of the indented surface as possible.
8
STEP 8:
Test fit the hood liner and mark the opening and trim.
8a
STEP 8a:
Trim hood vent to allow space for the washer nozzle hose.
9
STEP 9:
Thoroughly clean the edges of the holes using the supplied alcohol prep pads. Once dried, rub the edges with the supplied 3M Adhesion Promoter.
10
STEP 10:
Remove the backing from the tape on the vents and lay them in the holes. Make any final adjustments necessary at this point before seating the tape. Once properly aligned & adjusted, press down firmly around all edges of the vents to fully seat the adhesive tape.
11

STEP 11:
Re-install the under hood insulation (using all clips), taking care to wrap it around the undersides of the vent bodies. This completes the installation of your Hood Vents from MMD.

