 FREE 1 to 3-Day Delivery on Orders $149+ Details
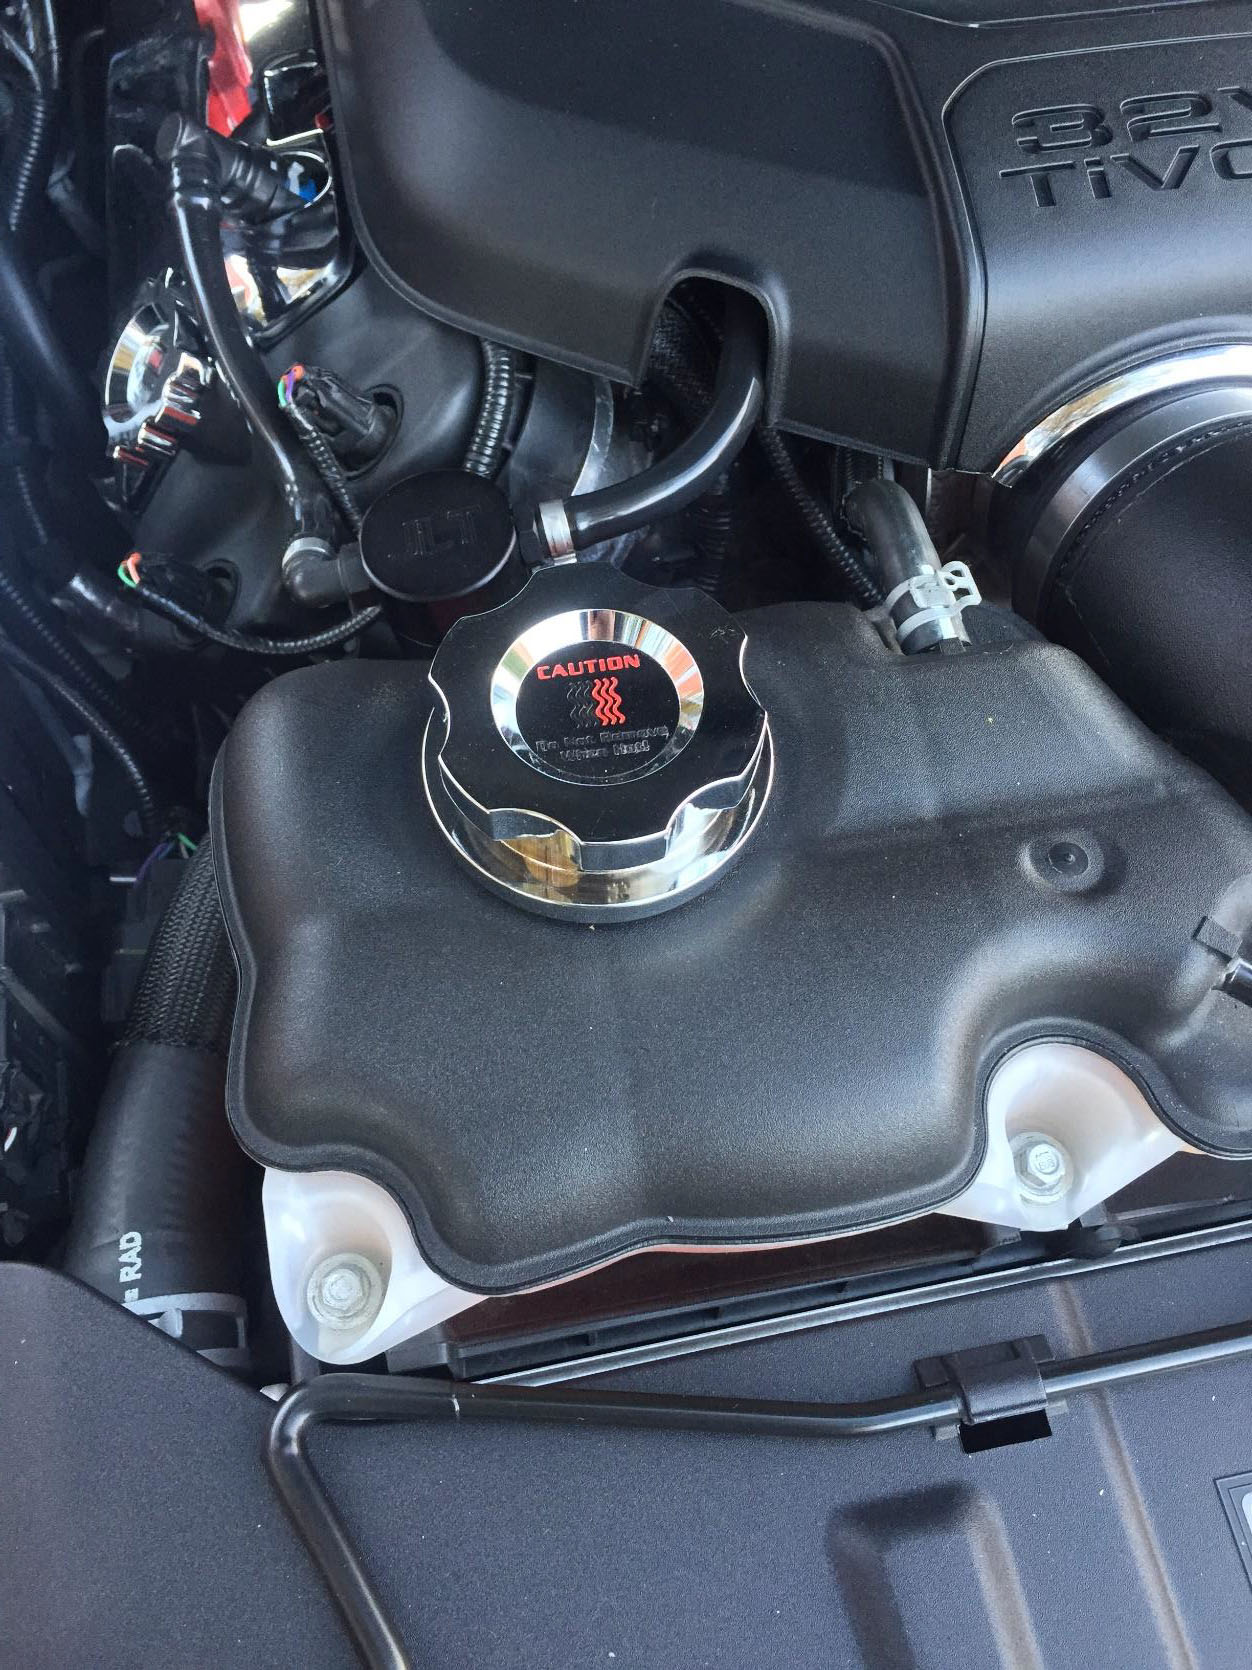
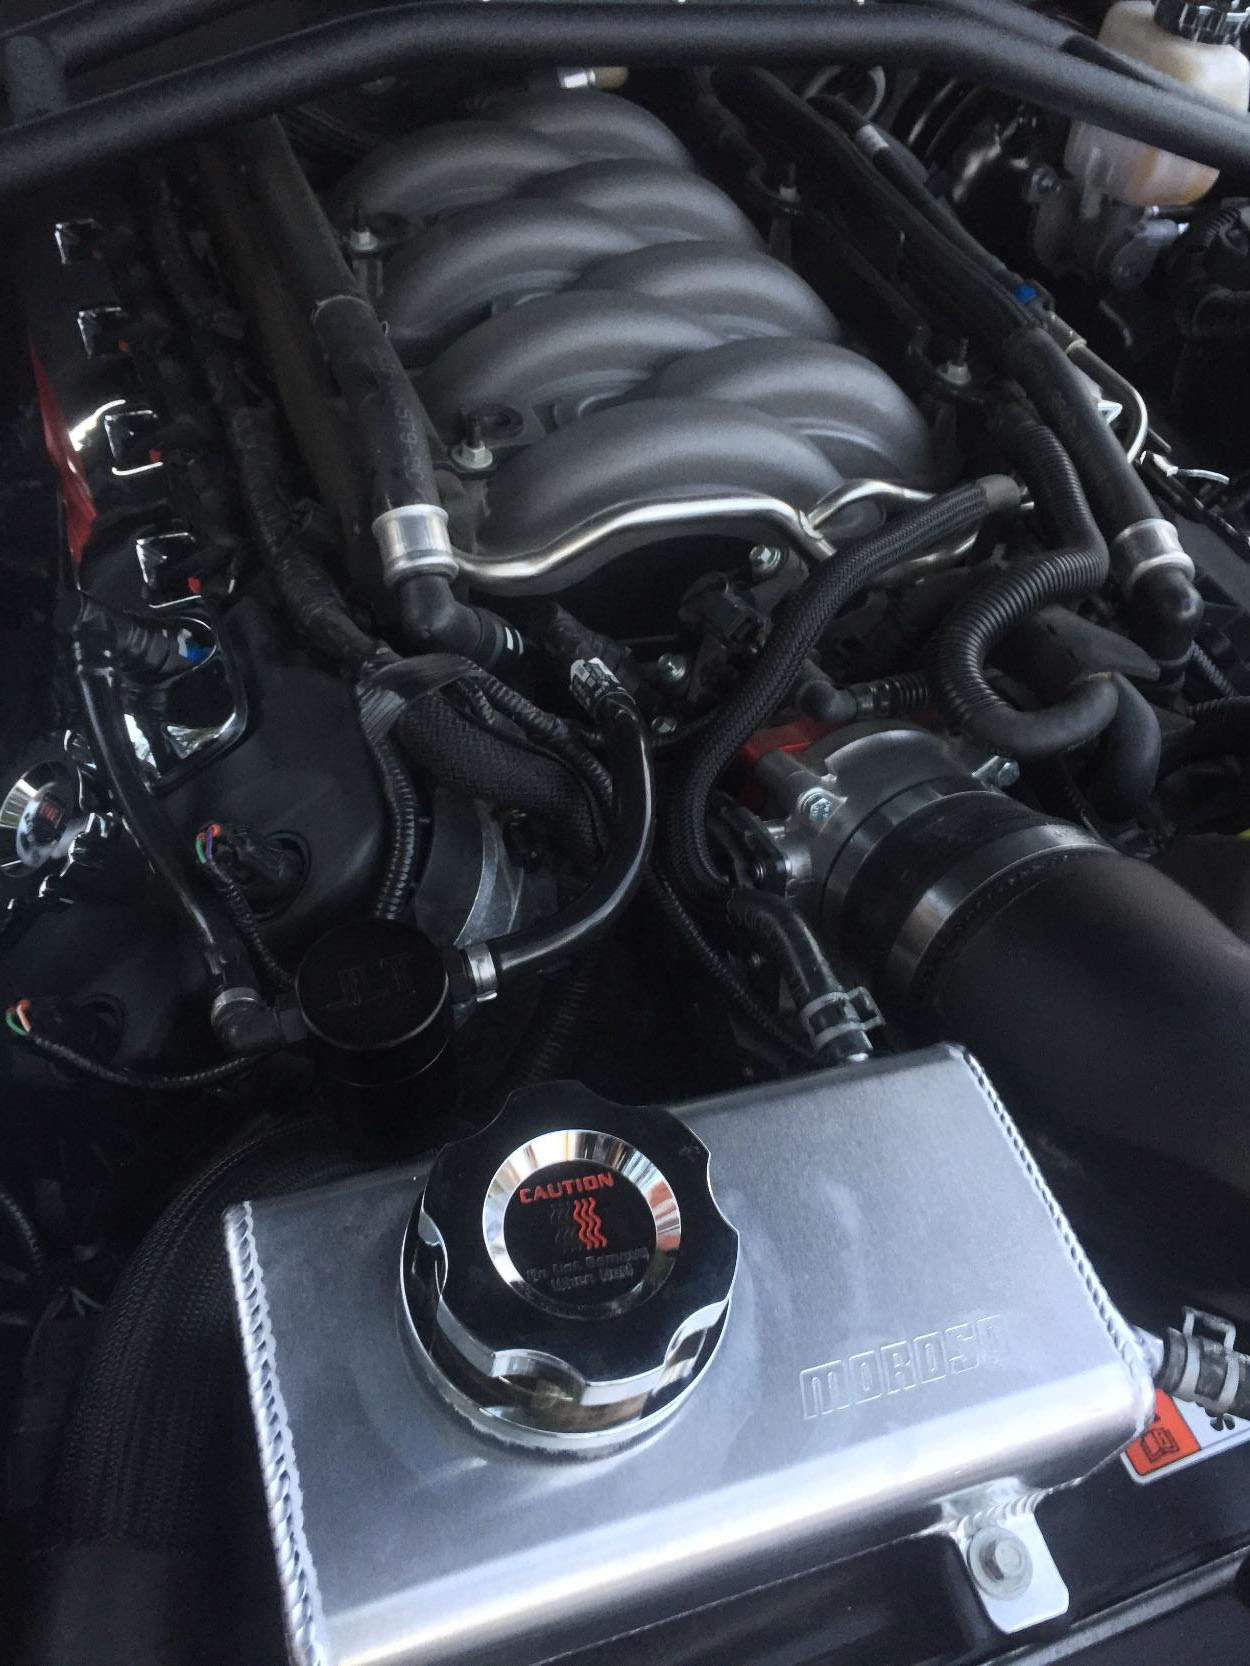
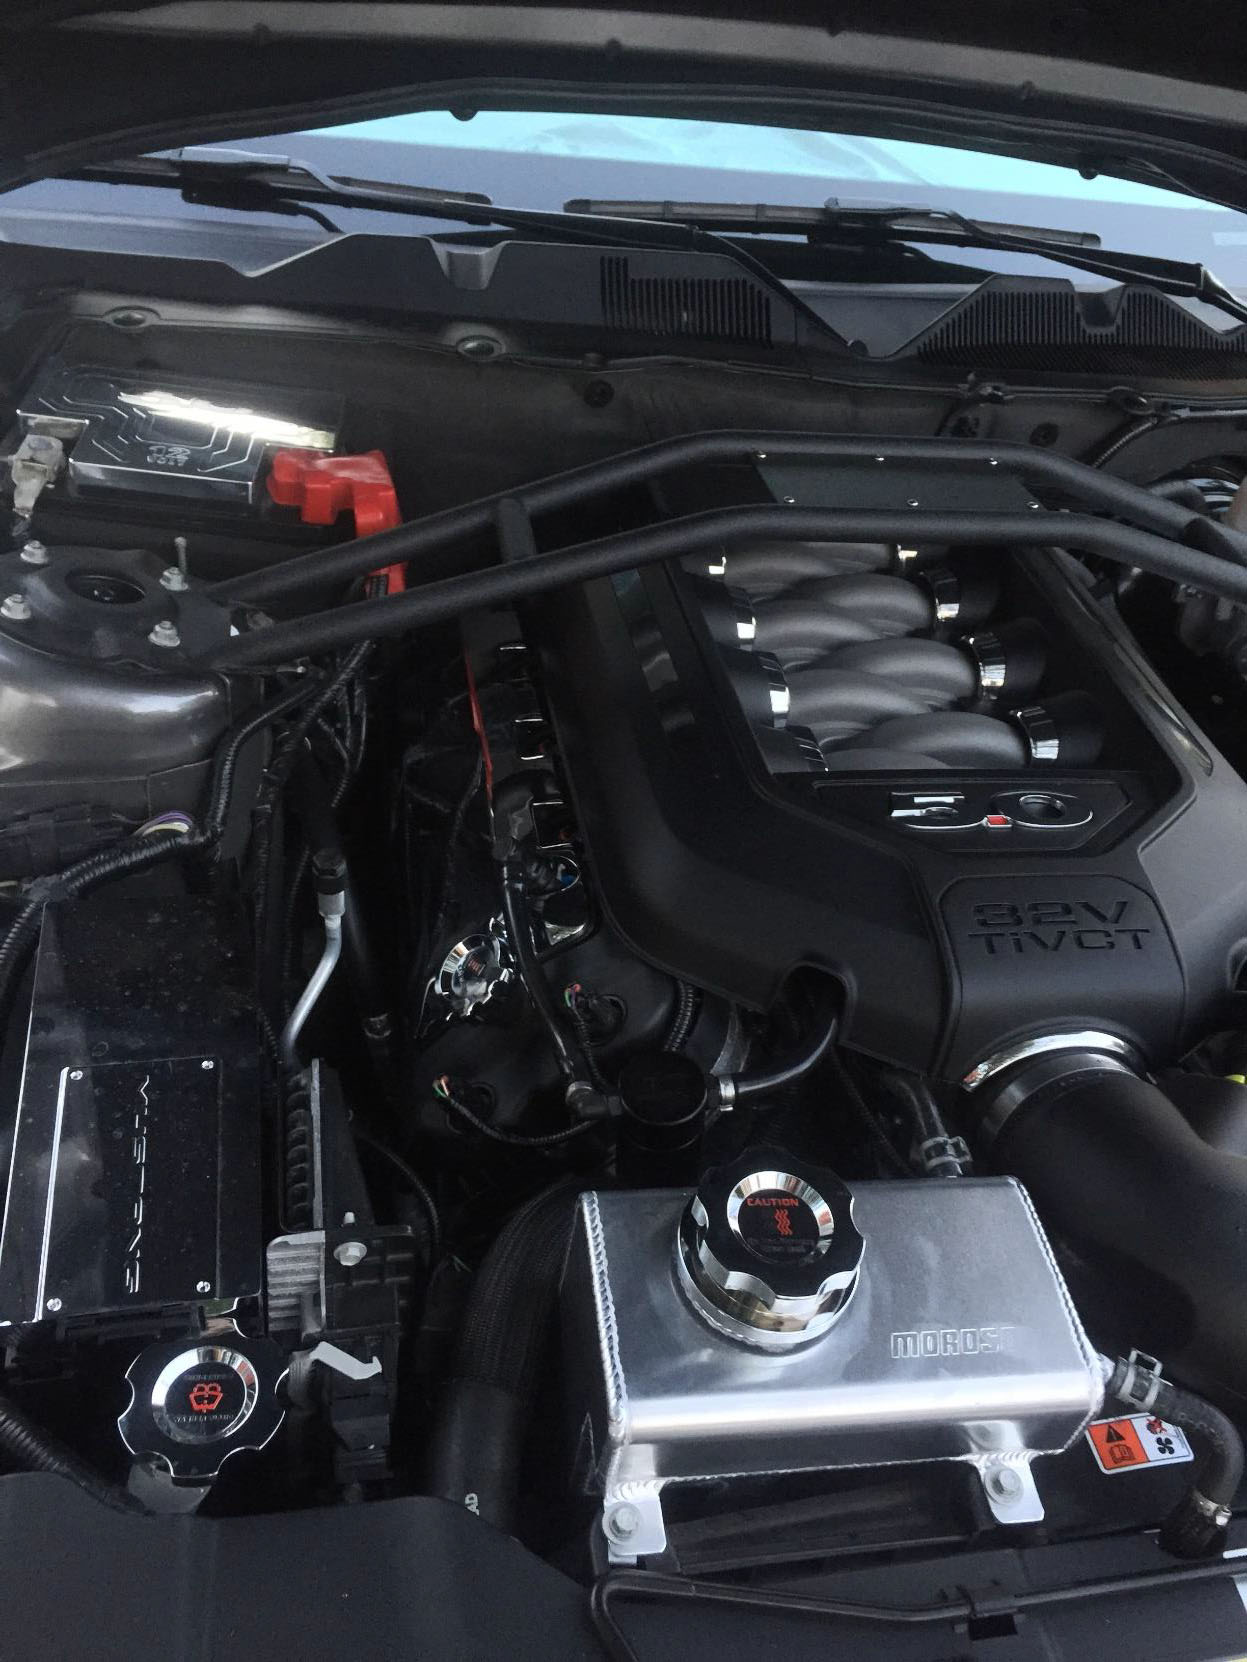
How to install a Moroso Aluminum Coolant Expansion Tank on your 2011-2014 (GT, V6) Mustang
Installation Time
1 hours
Tools Required
- Pliers
- 3/8 in drive Ratchet
- 10mm socket
- Funnel
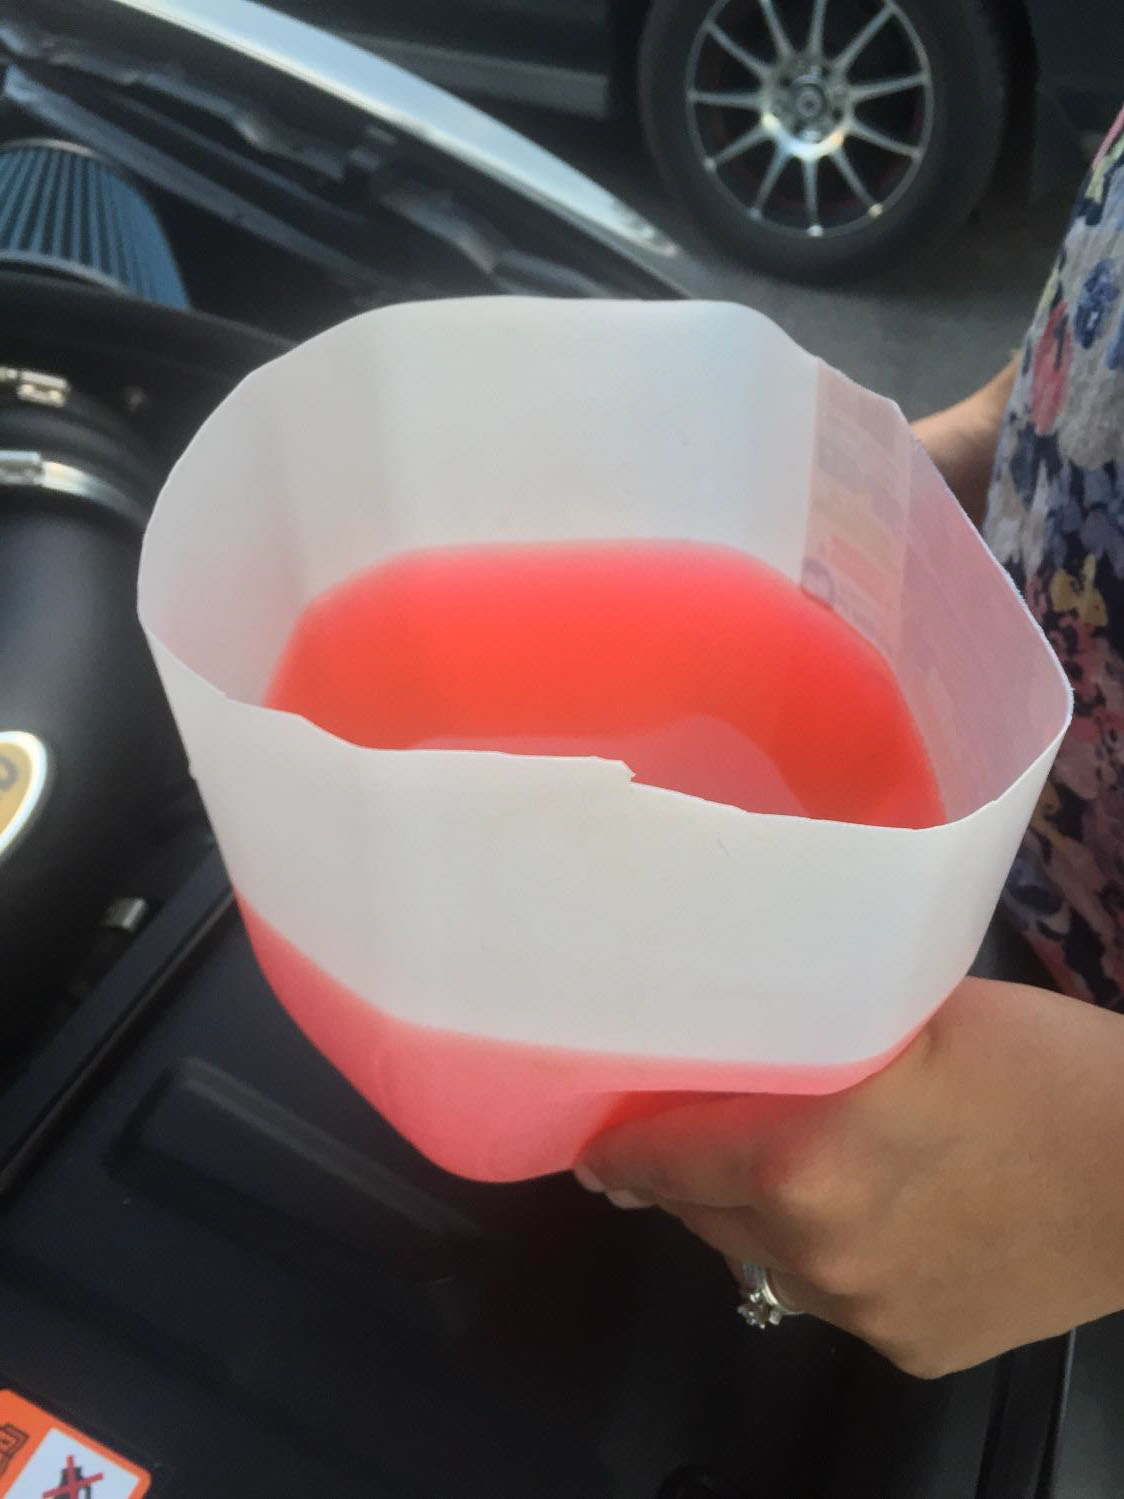
- Clean, empty milk jug cut in half
- A helping hand (optional)
Installation Instructions
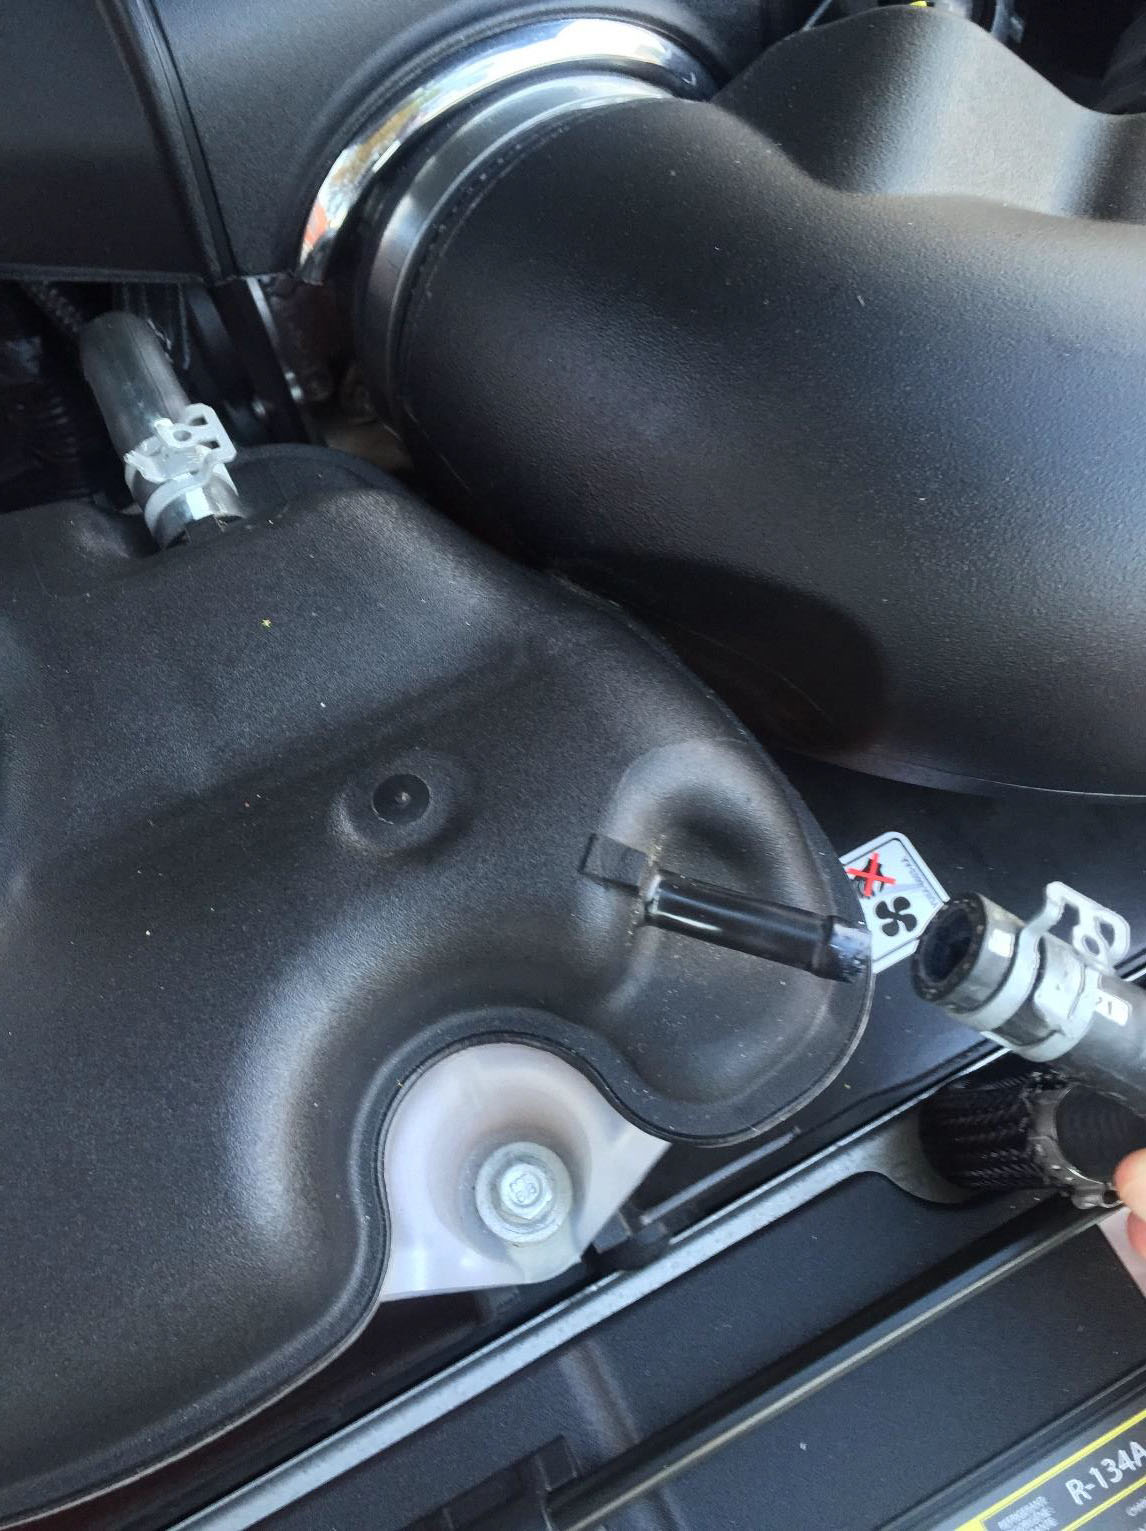
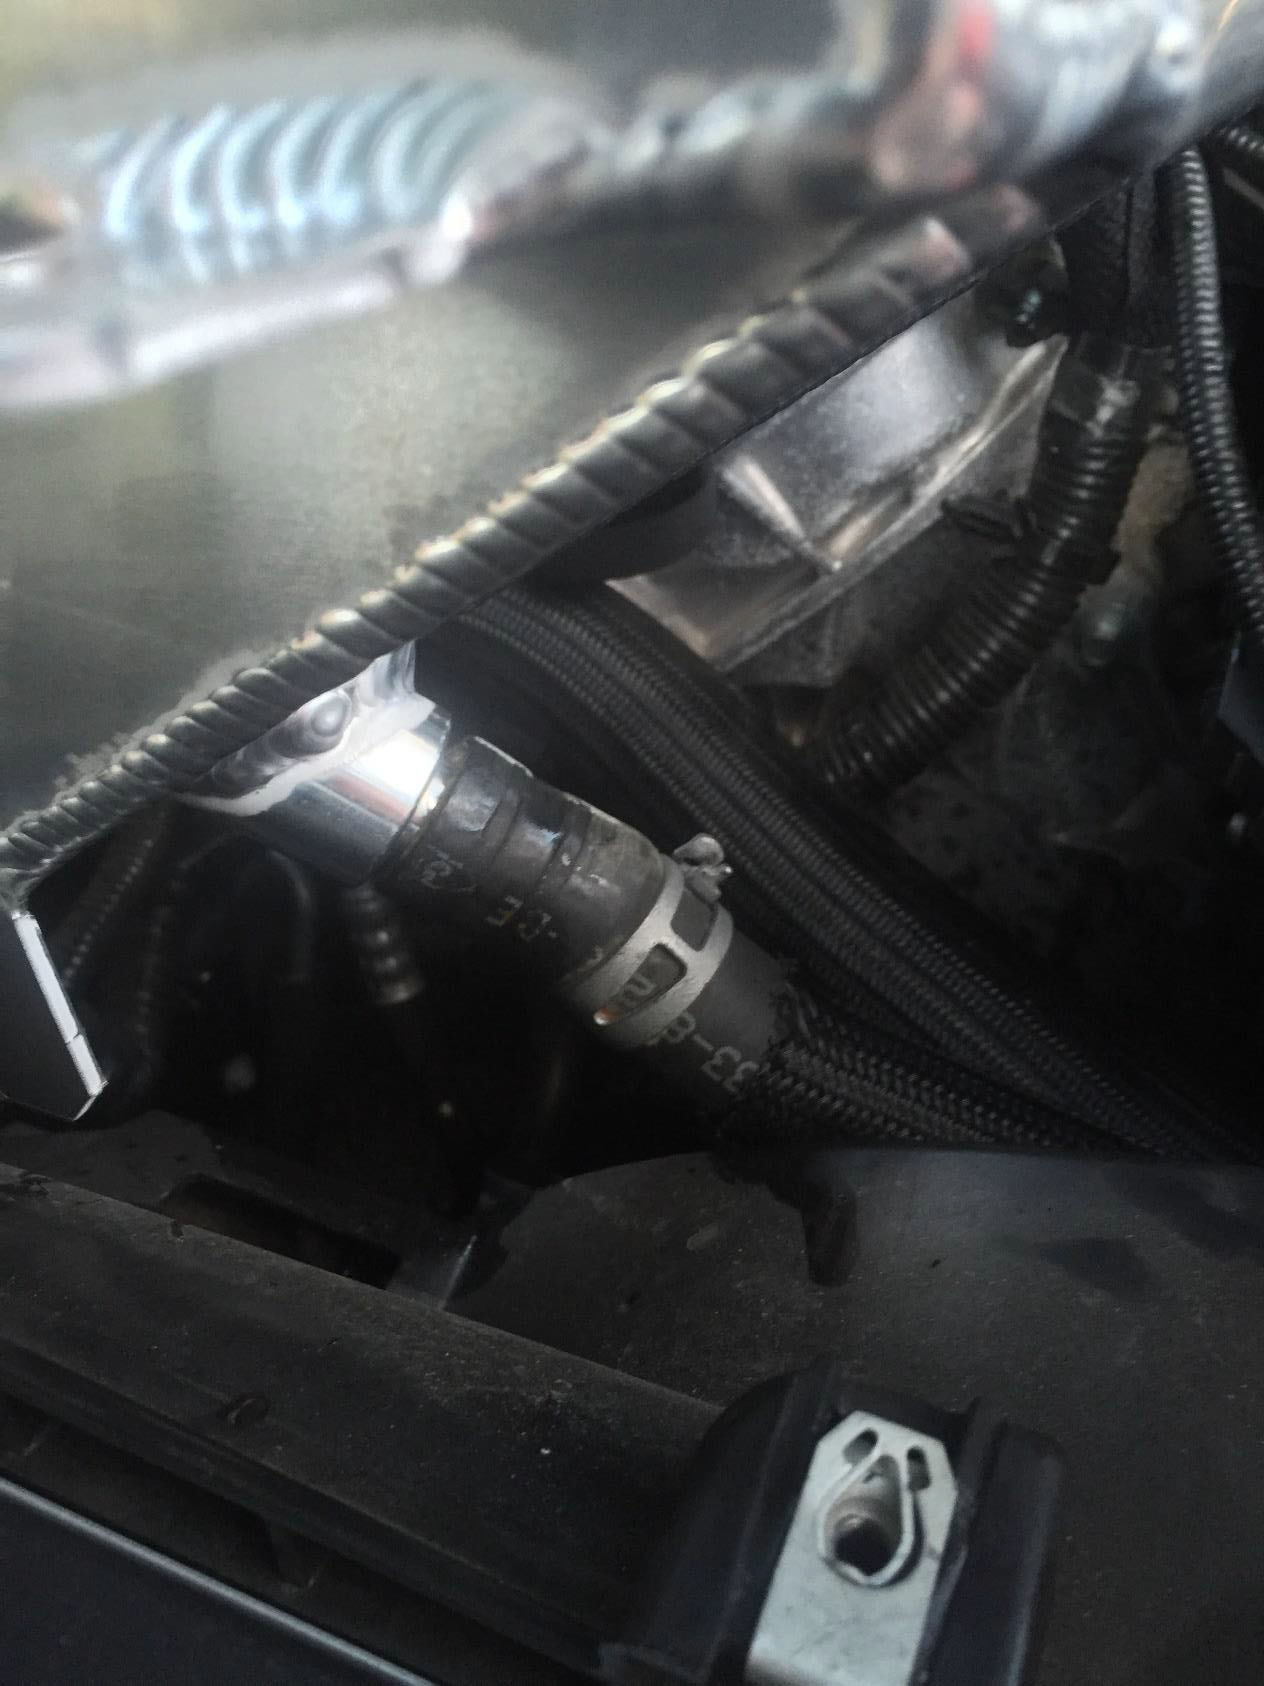
1. Remove the two coolant lines connected to the factory coolant tank using your pliers.
2. Loosen and remove the two bolts holding the factory coolant tank in place using the 3/8 drive ratchet and the 10mm socket.
3. Remove the engine cover.
4. Place coolant hose number two (from the earlier picture) inside the milk jug and raise the coolant tank up. The hose underneath the tank should still be connected. As you do this, the coolant will drain from the tank, through hose number 2, and will fill the milk jug. It may be helpful to have a second person help you with this step.
5. Once the tank is drained, disconnect the hose underneath the coolant tank and set the tank aside.
6. Connect hose at the Moroso coolant tank first using your pliers.
7. Replace the two bolts at the front of the tank and tighten down using the 3/8 drive ratchet and 10mm socket.
8. Reconnect hoses 1 and 2 using your pliers.
9. Using your funnel, carefully pour the coolant from the milk jug through the funnel and into the Moroso Coolant Tank.
10. Replace your cap on the Moroso coolant tank. 11.Enjoy the new look of your engine bay!
Installation Guide Written By AmericanMuscle Customer Jonathan Blount on 9.3.2015
