FREE 1 to 3-Day Delivery on Orders $149+ Details
How To Install A Moroso Power Steering Tank On Your 1996-2004 4.6L Mustang
Installation Time
1 hours
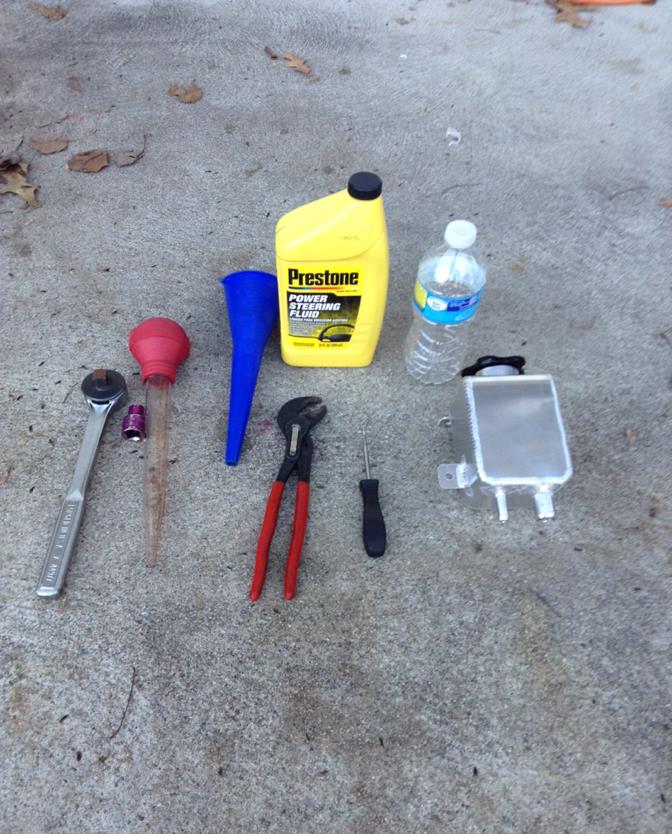
Tools Required
- Ratchet
- 10mm Socket
- Pliers
- Flat Head Screwdriver
- Turkey Baster
- Empty Bottle
- Funnel
- New Power Steering Fluid
- 2-3 Towels (optional)
Note:
This was done at the same time as I was replacing my Coolant tank. You DO NOT need to remove the coolant tank. All of the steps are the same. Removing the coolant tank just allows for more room.
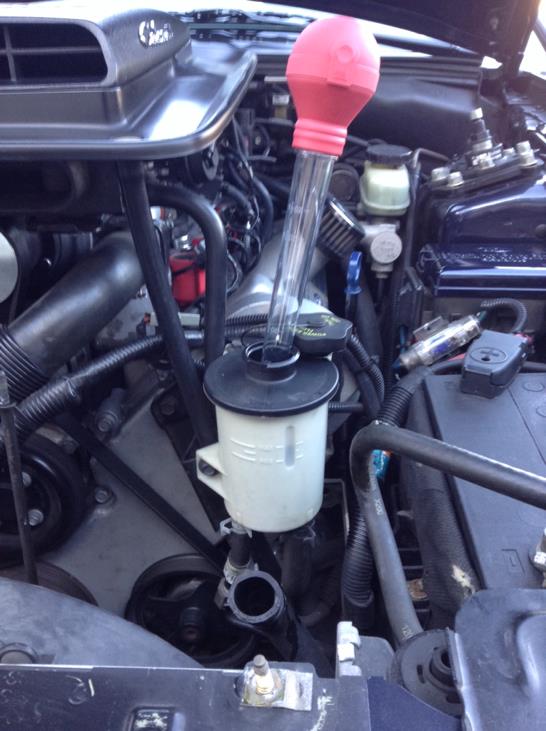
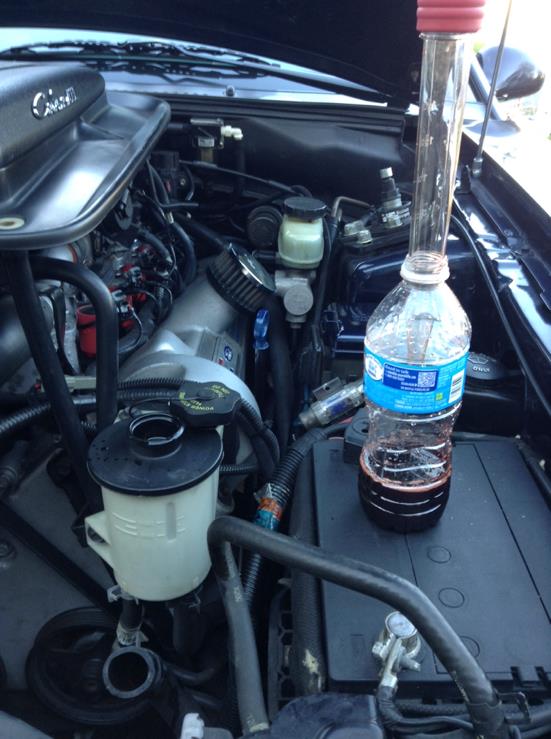
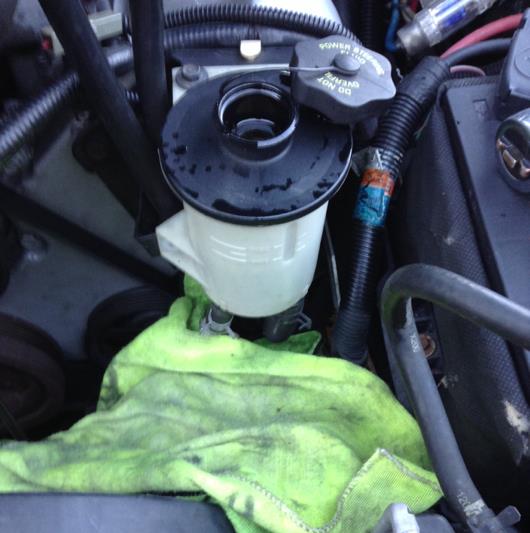
1. Open your power steering reservoir cap. Using your turkey baster suck as much fluid out of the reservoir as you can. Squirt the excess fluid into your empty bottle. Safely discard old fluid.
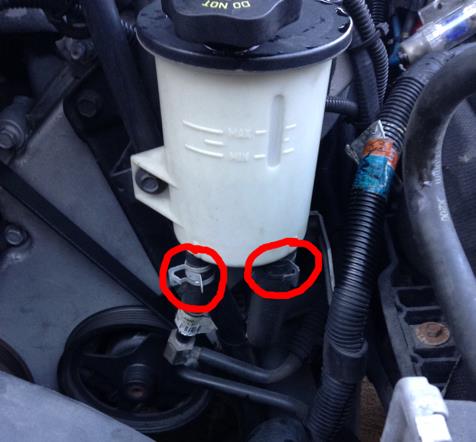
Once most of the fluid is out of the reservoir, take your pliers and, one at a time, pinch the clamps holding the two hoses onto the reservoir. Slide the clamps far enough down the hose so they are out of your way.
Next, locate the three 10mm bolts mounting the reservoir to the engine. 2 of the bolts are directly on top, while the third is on the left side of the tank.
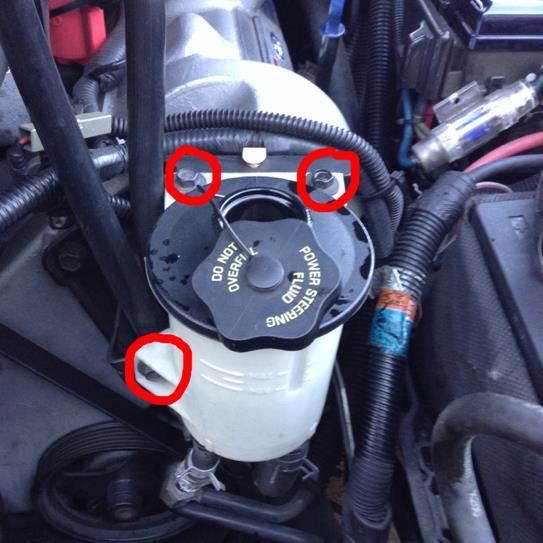
Using your 10mm socket and Ratchet, loosen and remove the bolts. Keep these bolts somewhere safe as they will be reused. Be careful not to let the tank turn sideways as remaining fluid may pour out.
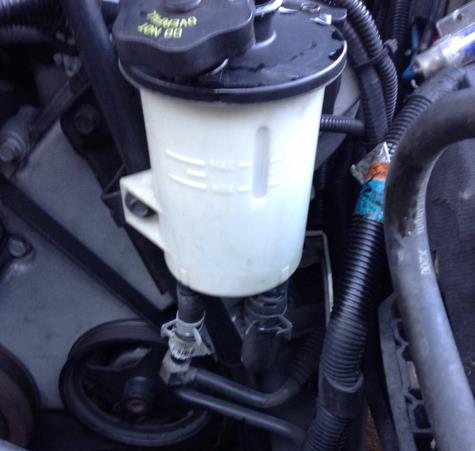
With the clamps slid out of place, and the bolts removed, it is now time to remove the two hoses that attach to the bottom of the reservoir. Give them a good pull and they should slide right off. Have your rags ready as a little bit of excess fluid will pour out of the reservoir and lines.
Note: If the hoses do not slide off easily, use your flat head screwdriver to slide under the lip of the rub hose. Push with the screwdriver while twisting the hose. This will break up any corrosion holding the hose onto the tank.
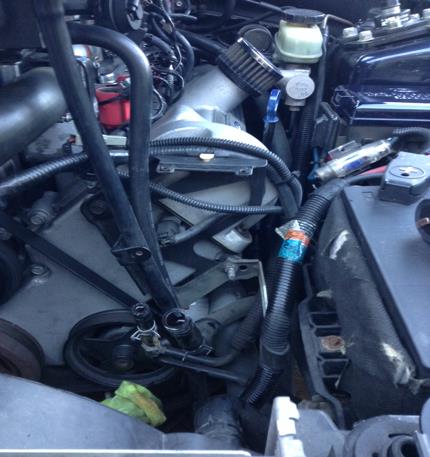
6. Remove the old reservoir from the engine bay. Wipe up any spilled fluid.
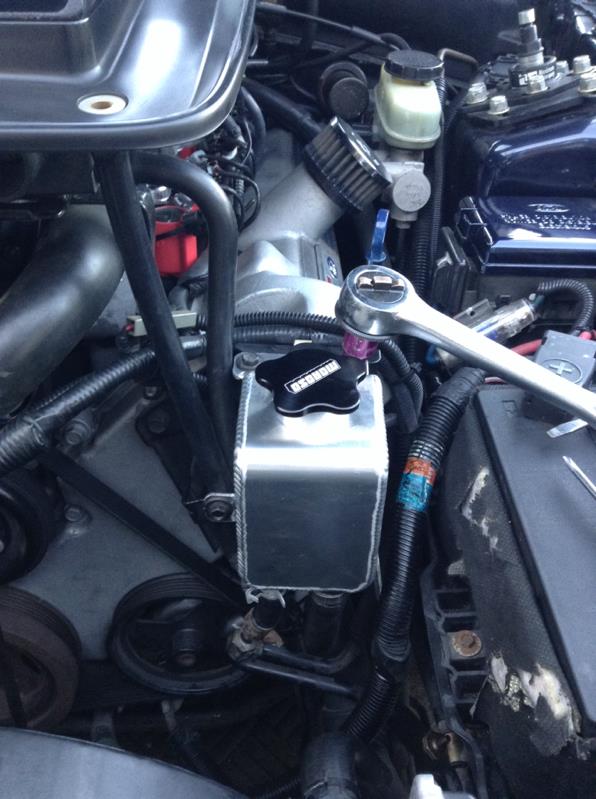
Take your new Moroso reservoir and secure it into place using the three 10mm bolts we removed earlier. The new tank will use the same hardware and same locations as the stock tank. No need to over-tighten the bolts, tighten until they are nice and snug.
Once in place, slide the hoses onto the bottom of the new tank. Do not worry, you can not accidentally switch up the hoses as they are completely different sizes.
Using your pliers, slide the two clamps back up to the top of the hose. Securing the hose to the new tank.
Check to make sure all bolts and hose connections are tight.
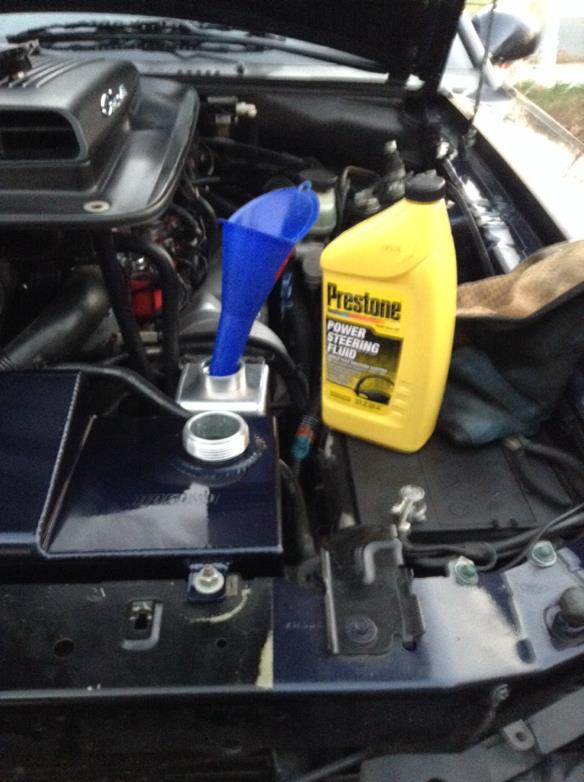
Untwist the cap to your new reservoir. Using a funnel, begin pouring new fluid into the reservoir. This reservoir does not have an indicator of when to stop filling like the stock tank. So filling it up around halfway should do the trick.
12. Start your engine, and begin turning the steering wheel all the way to the left followed by all the way to the right. Do this 10-15 times. While doing this, check for any signs of leaks.
13. Check your fluid level once more, it is likely the fluid level dropped slightly, this is normal. Fill the reservoir back up and twist the cap back into place.
14. Enjoy the new looks of your Moroso Power Steering Tank!
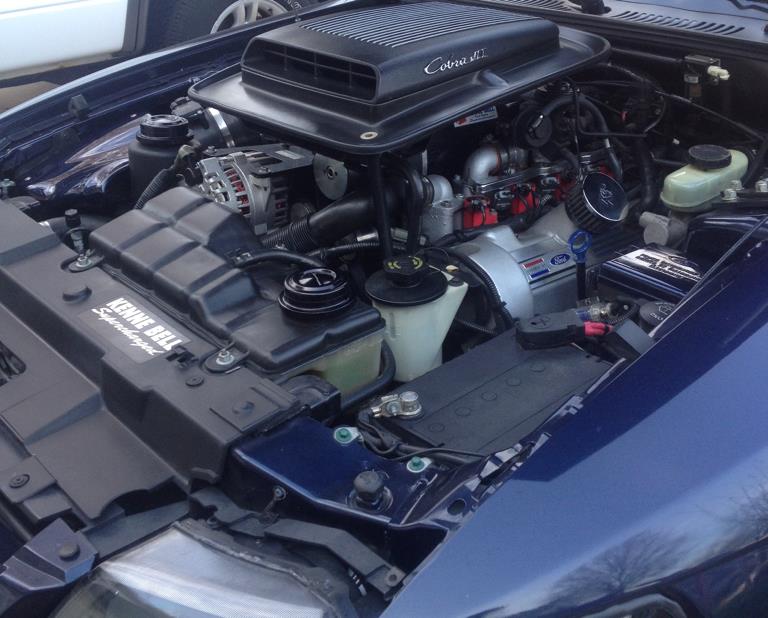
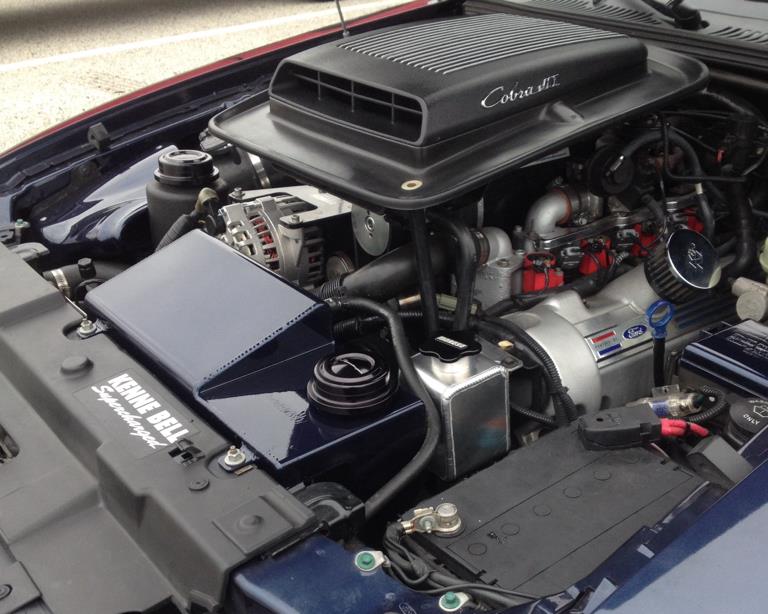
Before and after installation of both Moroso Power Steering and Moroso Coolant Tank: