 FREE 1 to 3-Day Delivery on Orders $149+ Details
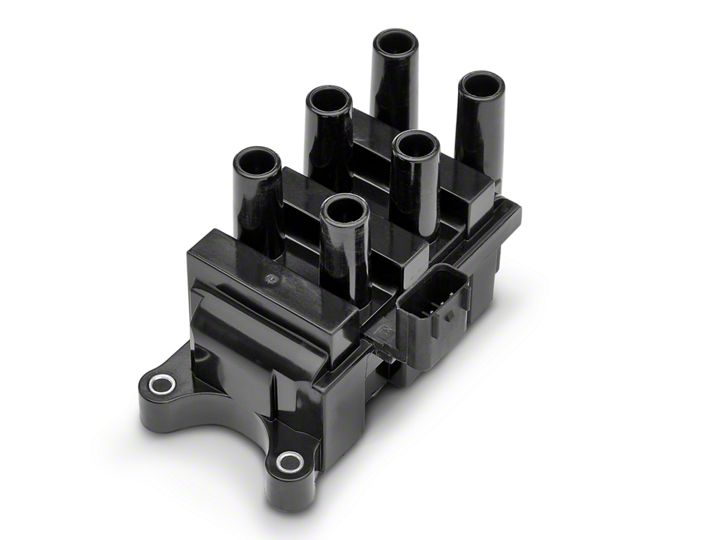
How to Install an MSD Performance Coil Pack in Your 2001-2004 Mustang V6
Installation Time
1 hours
Tools Required
- Dielectric Grease
- Cotton Swab Sticks
- Small Flathead Screwdriver
- Socket Wrench or Socket Driver
- 9/32" Socket
- 5/16" Wrench
- Rag
Shop Parts in this Guide
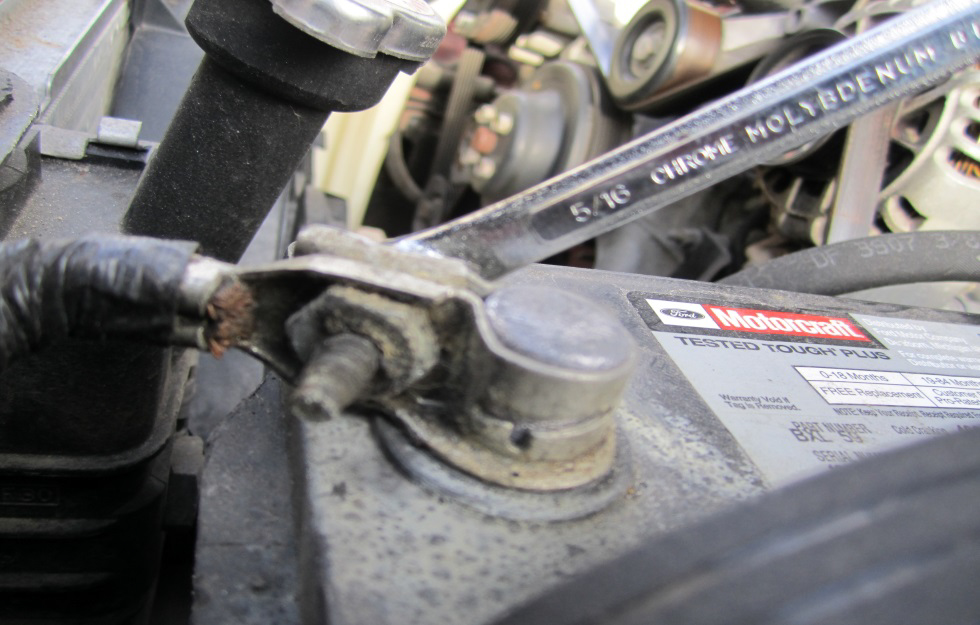
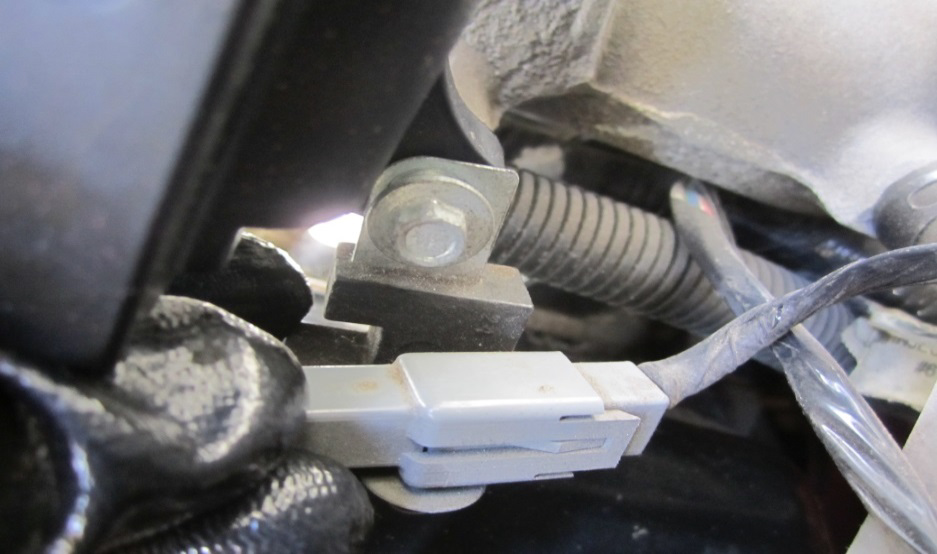
1. Begin by first disconnecting the negative terminal of the battery from the car using the 5/16 wrench (Picture 1). Place a rag between the terminal and the connecting wire so that it doesn’t get reconnected during the installation process (2).
1

2
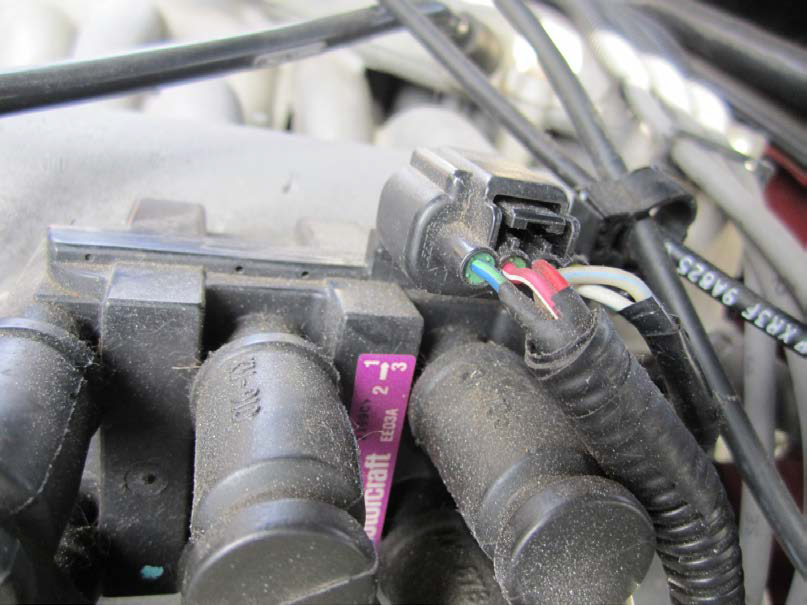
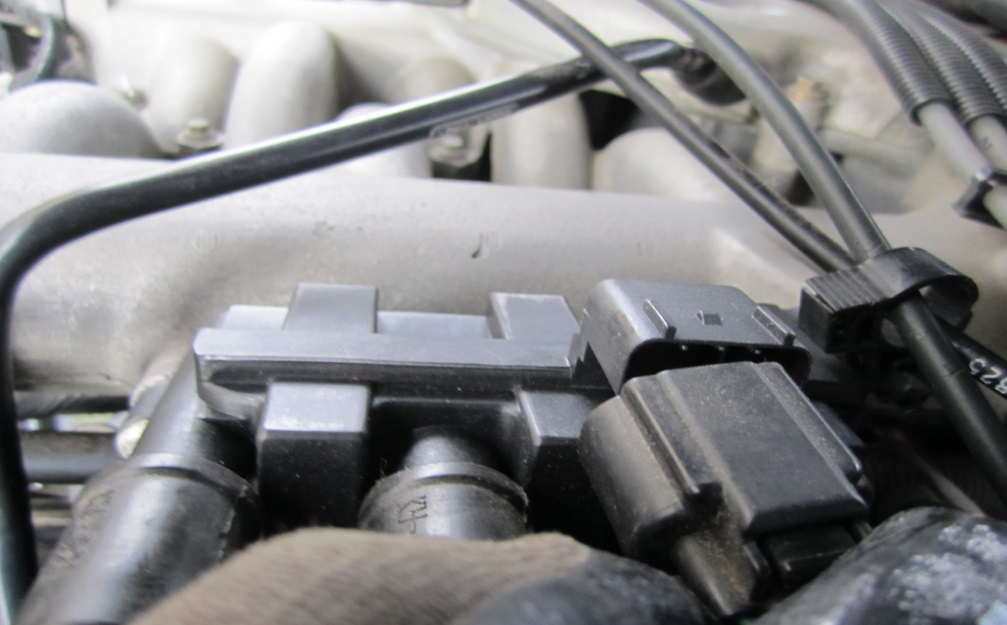
2. Disconnect the electrical connector at the top of the stock coil pack by pushing the tab down and pulling the connector out (3).
3
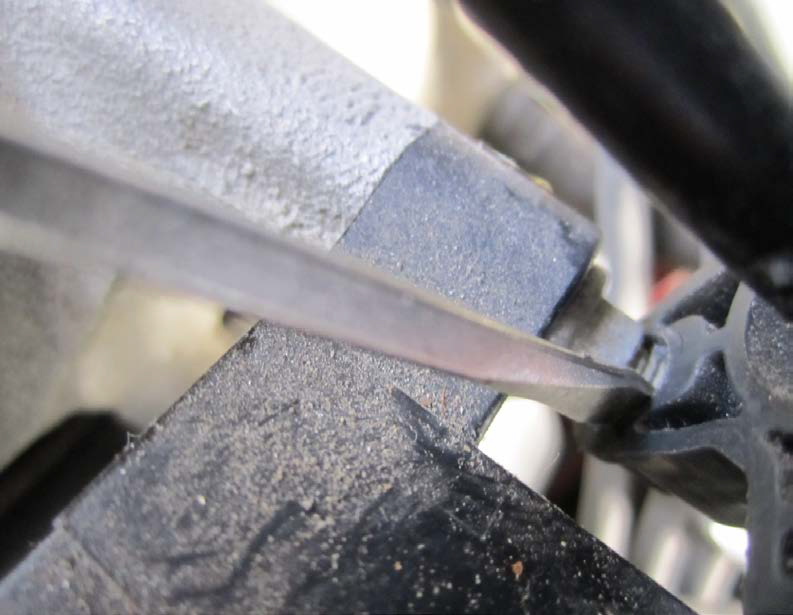
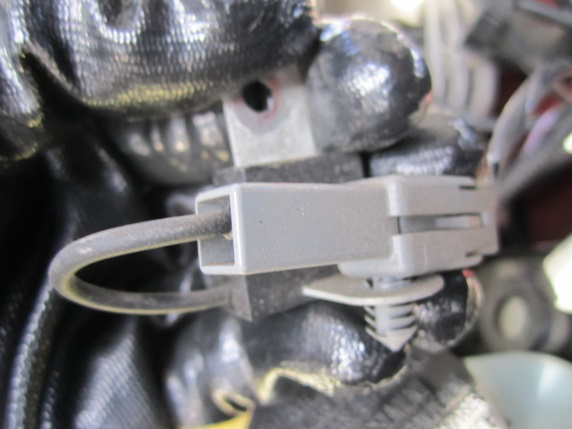
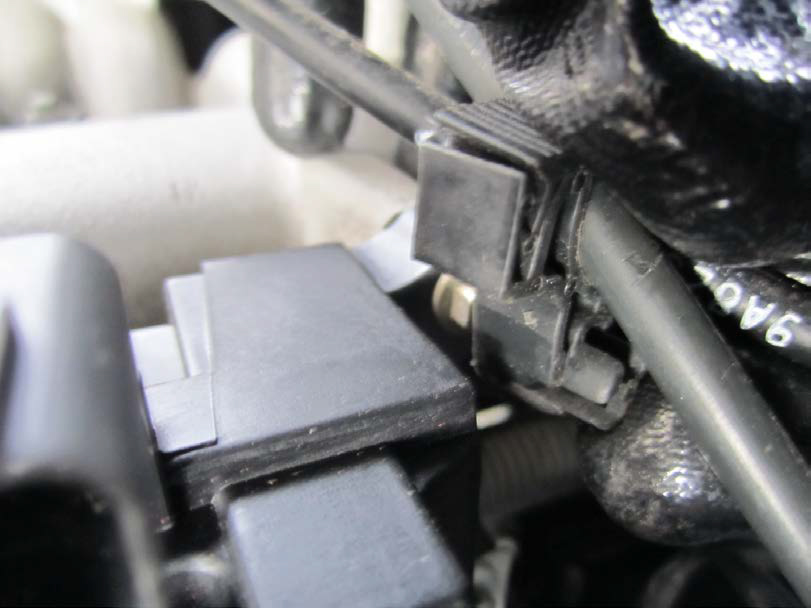
3. Remove the clip holding the throttle and cruise control cables by placing the head of the flathead screwdriver behind the clip and pushing it off (4).
4
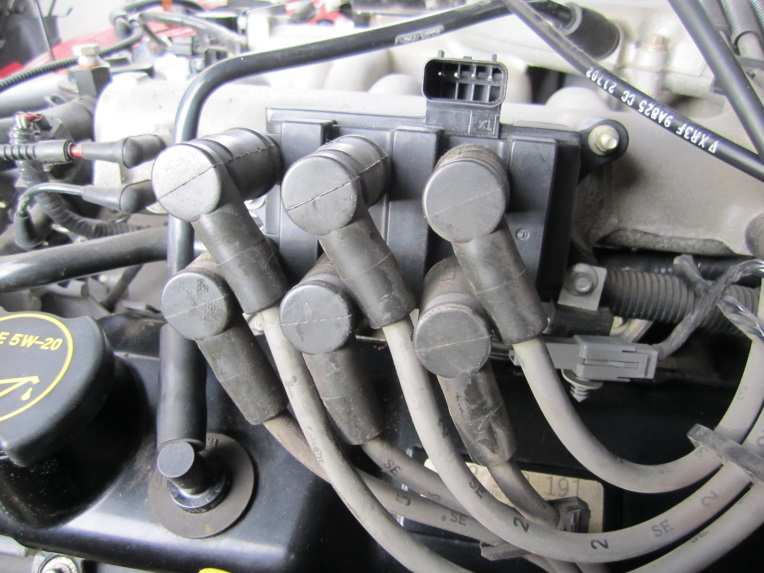
4. Using a 9/32 socket and a socket wrench or driver(or a 9/32 wrench), remove the three screws holding the stock coil pack in place (5). There is a bracket holding an electrical connector on the lower screw on the left side (6). Move it out of the way. Do not remove any of the spark plug wire connections at this time. Move the coil out of the way as shown (7).
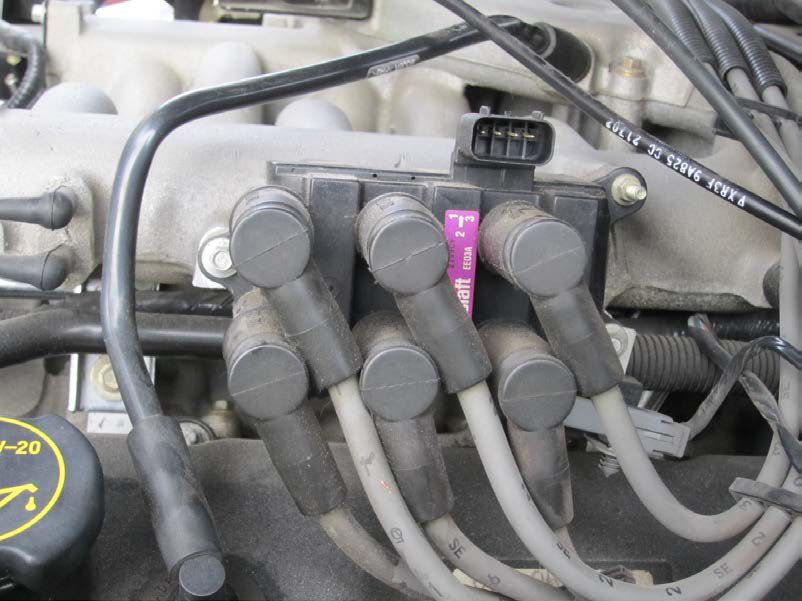
5
6
7
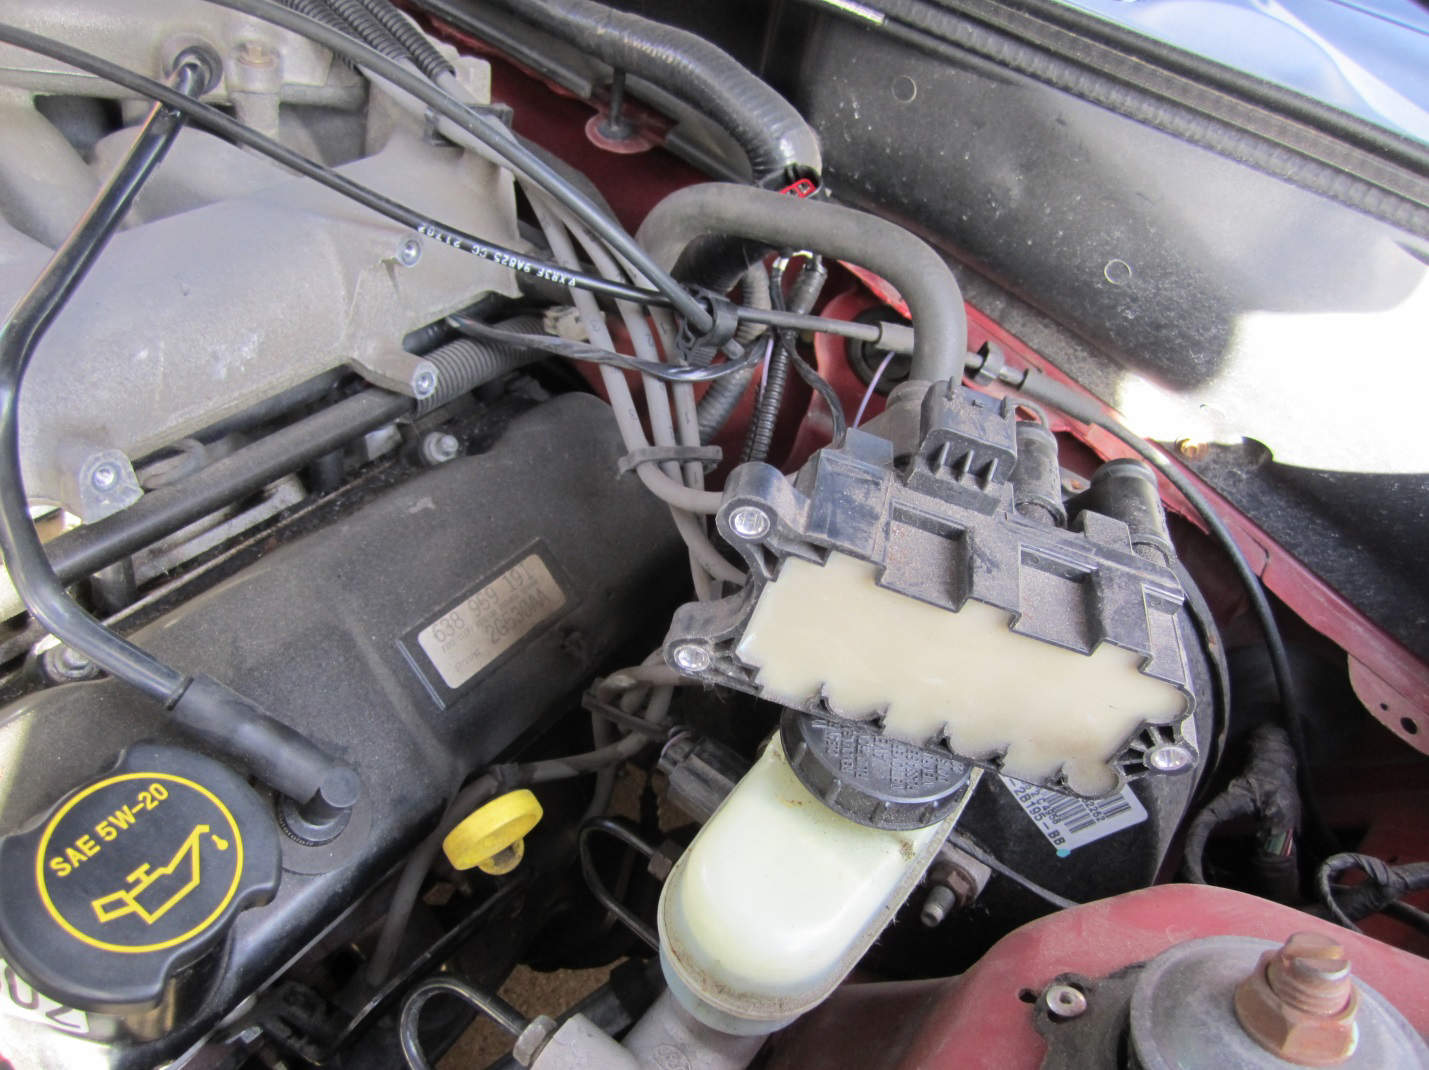
5. Use the three screws that were removed from the stock coil pack to install the new pack on the engine, placing the screws in the same hole that they came from. Remember to place the bracket with the electrical connection back on the lower right screw (8). These screws do not need to be extremely tight. Over tightening these screws could result in the stripping of the threads on the intake manifold, which can be a very expensive repair
8
6. Remove the spark plug wire that is found on the bottom right of the original coil pack (9). Then, place a small amount of dielectric grease* on a cotton swab stick, as shown (10). A small amount is all you need. Using the stick, coat the inside of the connector boot with the dielectric, taking special care to not get the grease on the electrical connector (11).
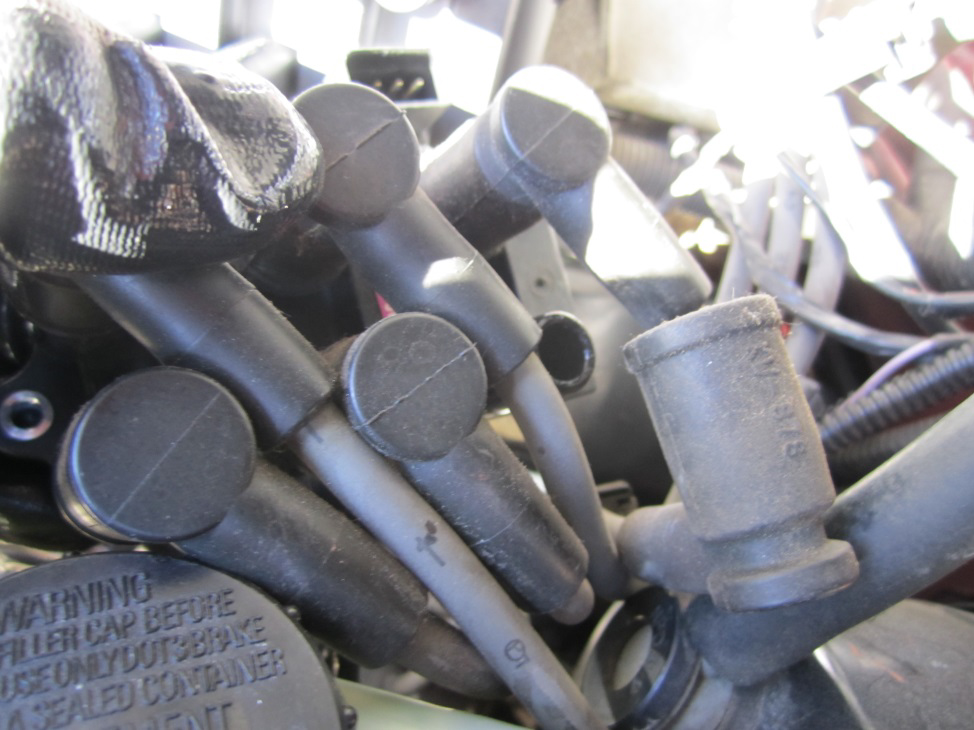
9
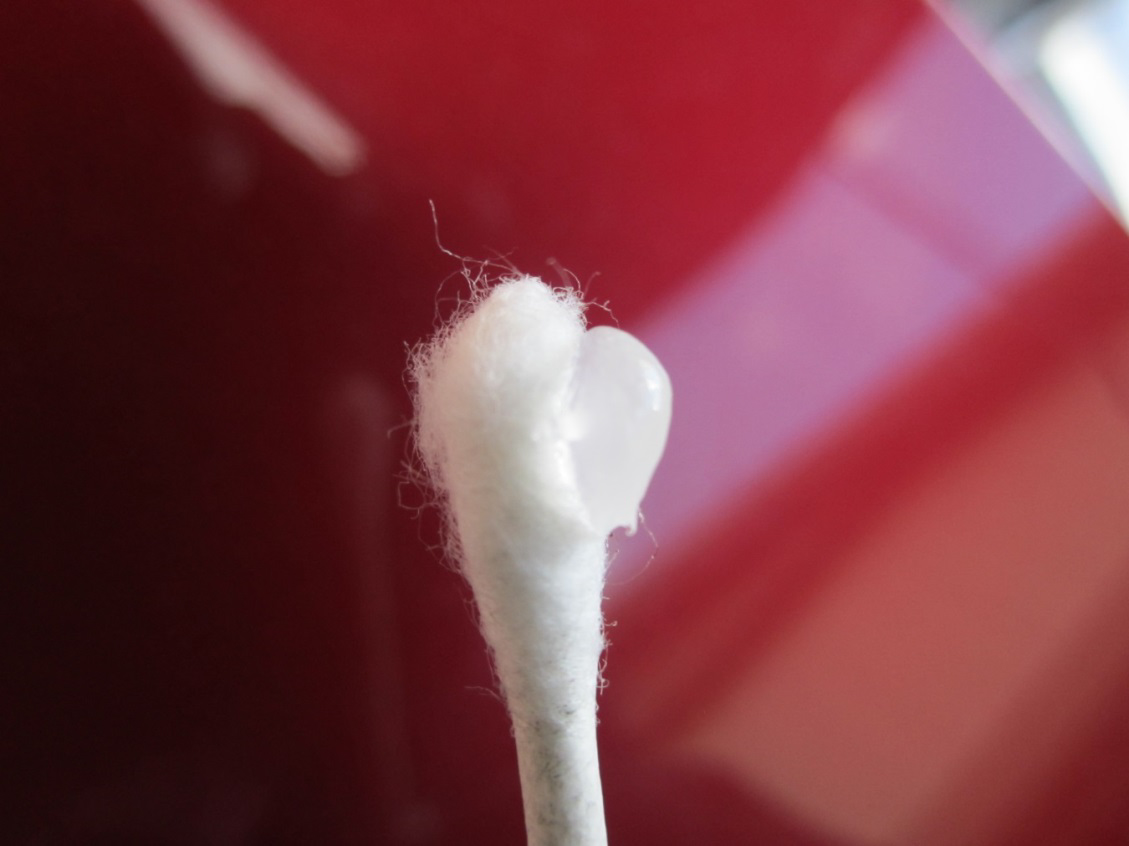
10
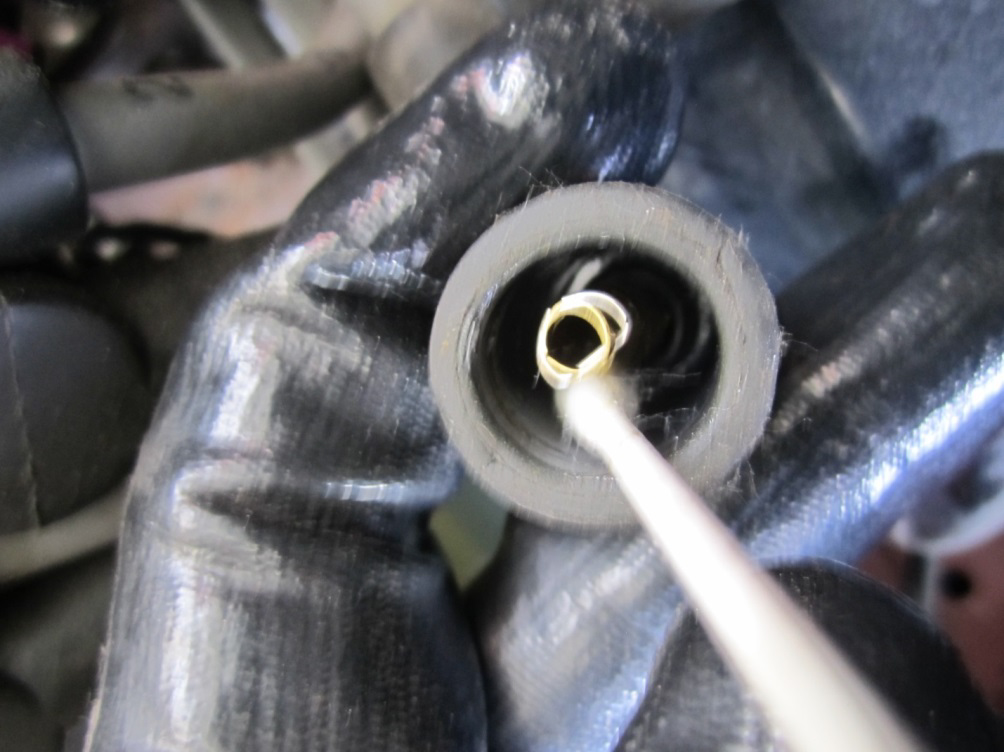
11
7. Then connect the plug wire onto the new coil on the same connection that it came off of on the original coil (12). There should be an audible click.
12
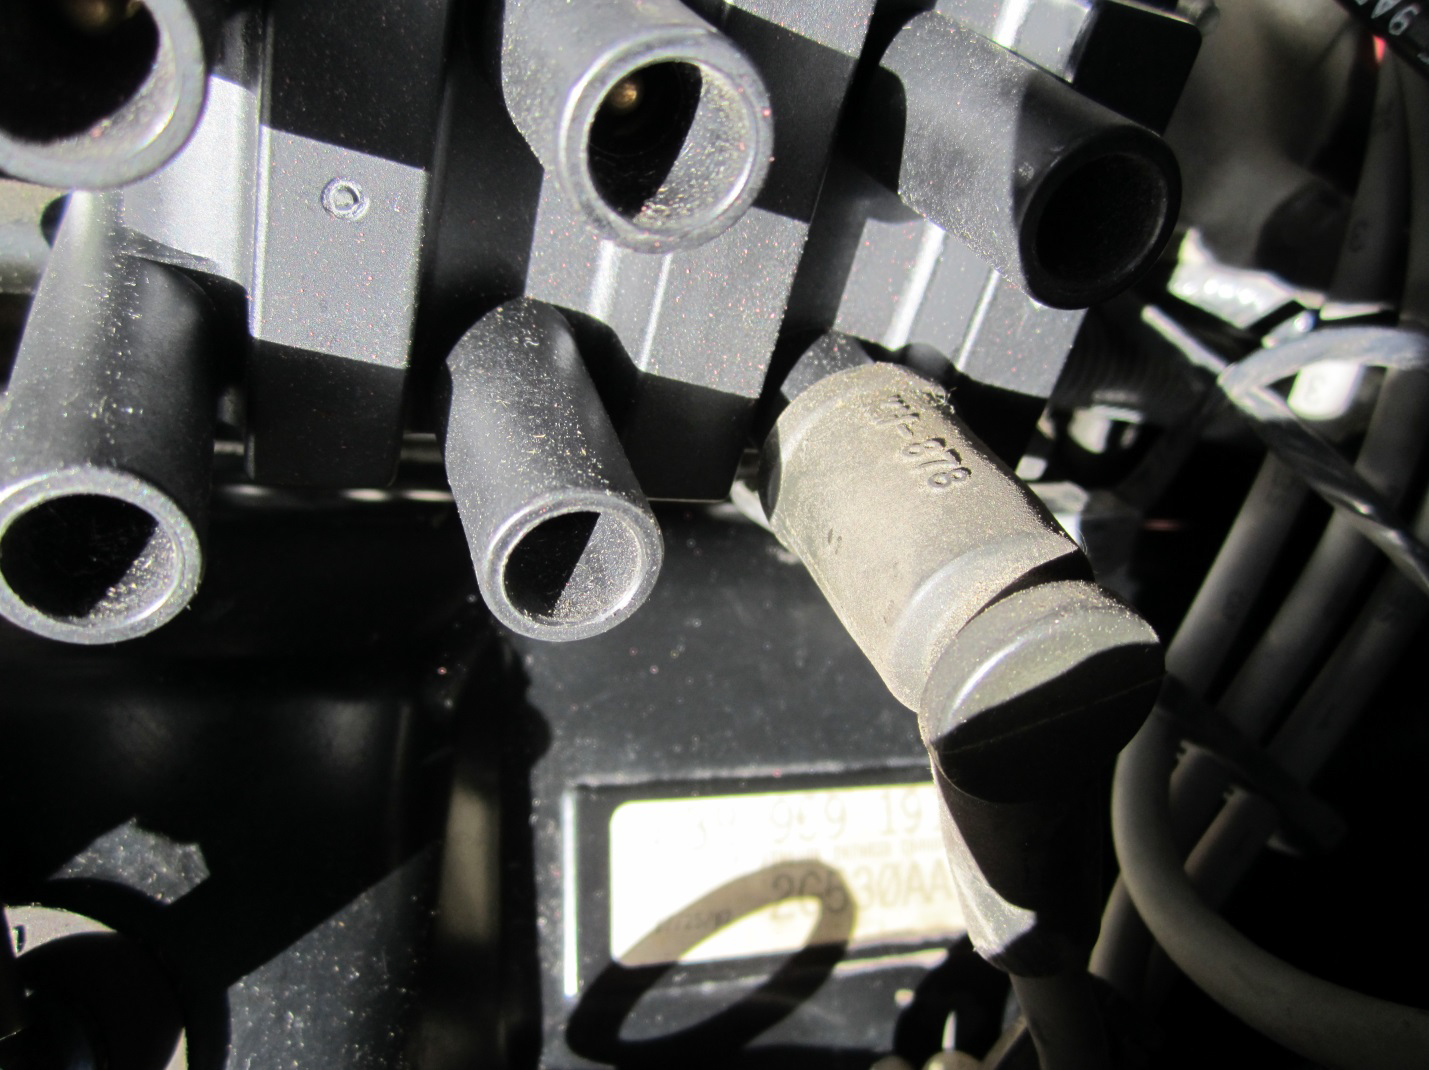
8. Repeat steps 5 and 6 in this order: Bottom middle plug, bottom left plug, top right plug, top middle plug, top left plug (13). Be sure to use a clean end of a swab stick for each boot. Place the original coil in a safe place in case the new coil does not function properly.
13
9. Reconnect the cruise control and throttle cable bracket to the upper right screw by pushing it on (14).
14
10. Connect the electrical connector, which was removed during step 2, to the new coil pack (15).
15
11. Place the CARB emissions sticker inside the engine bay on a clean surface where it won’t get damaged. I placed mine on the fan shroud (16).
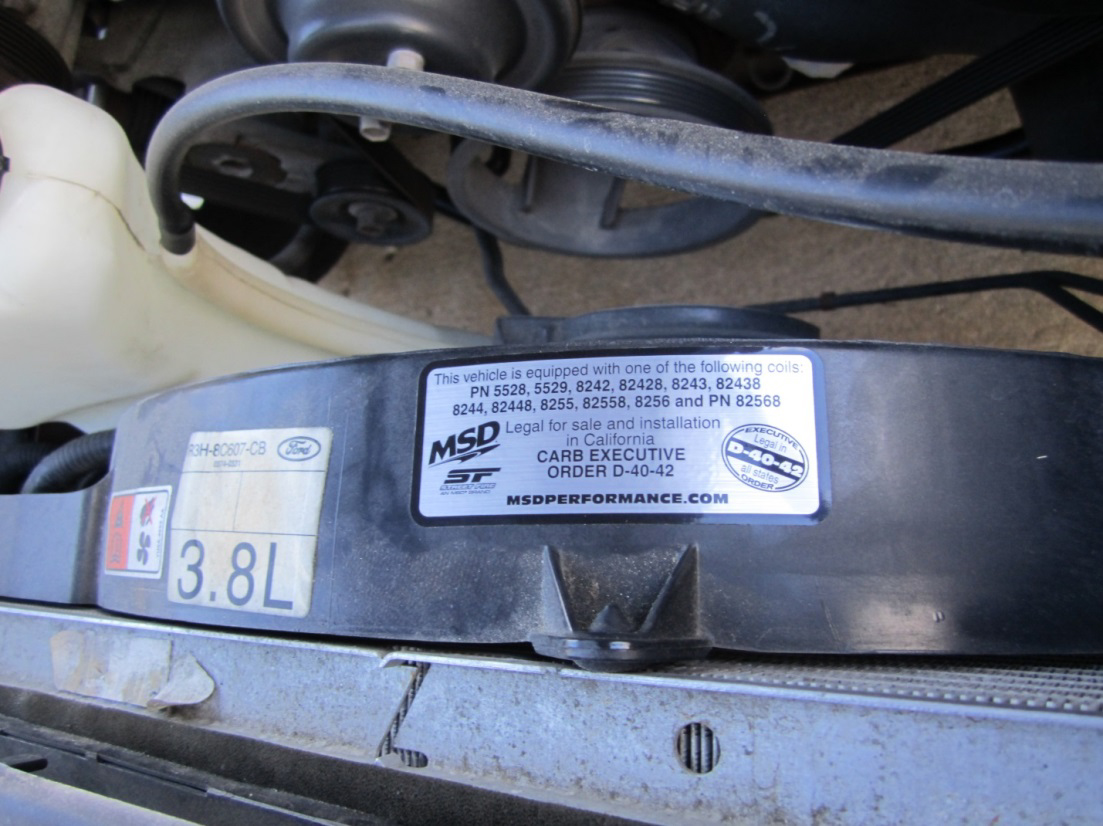
16
12. Reconnect the battery.
* Applying the dielectric does three important things: it prevents moisture from entering the boot (which can cause corrosion and eventually cause the system to not spark), it prevents the electricity from arcing through the boot to another metal surface, and it prevents the boot from being fused to the coil pack due to the heat in the engine bay, thus allowing for easy removal in case of the need to replace the plug wires in the future.
Installation Instructions Written By AmericanMuscle Customer David Mehl 10.9.2013

