
Mustang GT500 Style Rear Spoiler - Pre-painted ('05-'09) - Installation Instructions
Installation Time
2 hours
Tools Required
- Jack stands or hydraulic lift
- 13mm socket
- 15mm socket
- Pneumatic air saw
- Rubber mallet
- Face shield
- Pliers

Shop Parts in this Guide
Installation
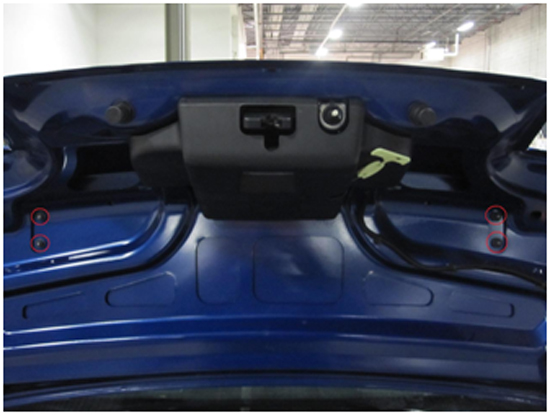
1. Open the trunk and remove the 4 10mm nuts holding the factory spoiler to the trunk lid.
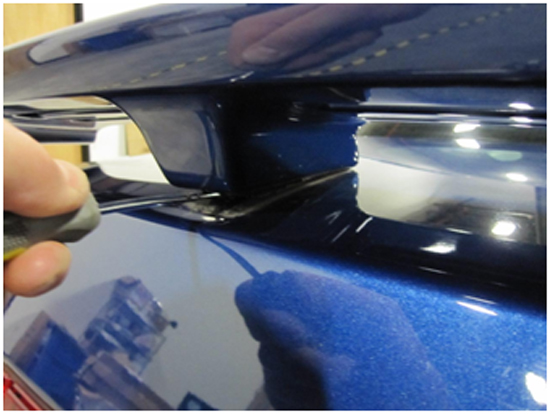
2. Using a plastic putty knife (or any similar tool that will not damage the paint), carefully pry the factory spoiler from the trunk lid.
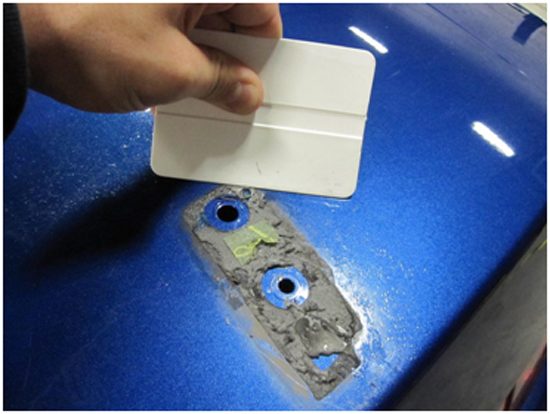
3. Spray a liberal amount of quality adhesive remover to the left over adhesive on the trunk lid. Use a plastic putty knife or squeegee as shown to remove the adhesive.
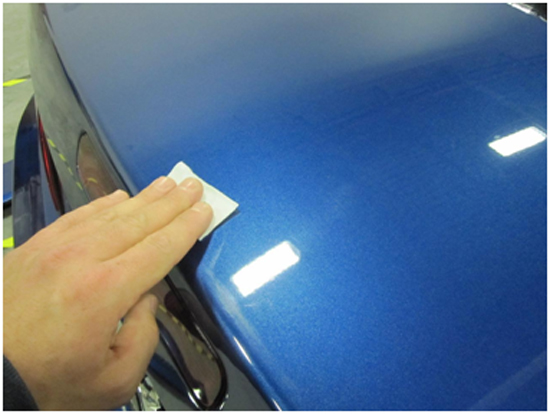
4. Once all of the adhesive is removed, thoroughly clean the area of the trunk lid where the new spoiler will attach. Prep the area with the provided alcohol pads as shown.
5. Optional: Hardware is included with your spoiler to install extra bolts on the outer edges of the spoiler. This will require drilling two holes in your trunk lid. This is not necessary for this install, but can be done if installer chooses to do so.
6. Once the trunk lid is thoroughly cleaned and prepped, remove the backing from the tape on the new spoiler.
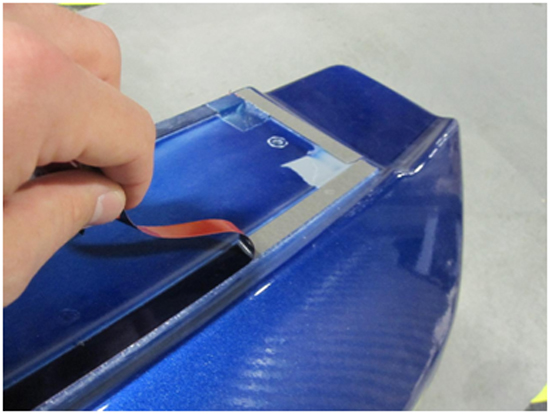
7. Place two of the provided foam tabs over the inner-most threaded inserts as shown.
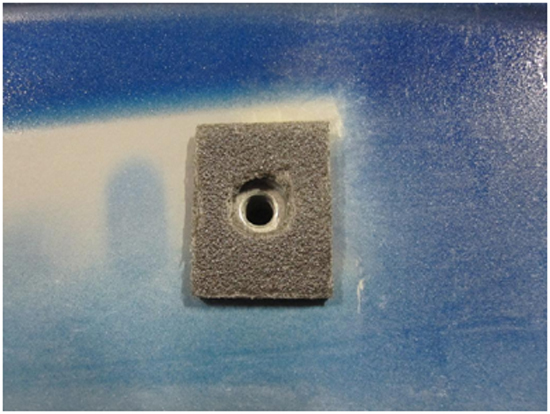
8. At this point you are ready to place the new spoiler on the trunk lid. Do not press down to fully seat the tape at this point. Make sure the threaded inserts line up with the two upper holes in the trunk lid as shown.
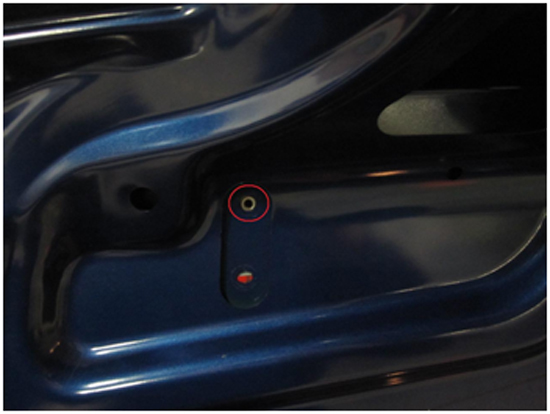
9. Using two of the provided Phillips head screws and washers, bolt the new spoiler in place.
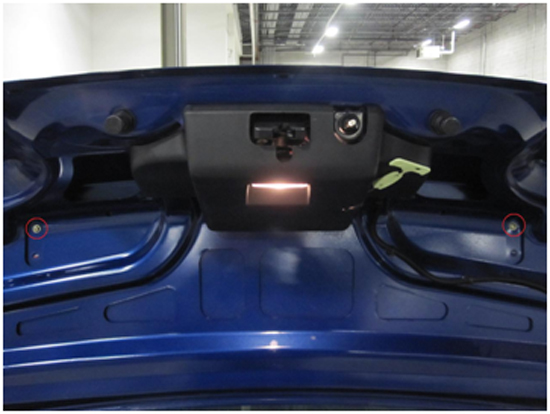
10. Once the spoiler is securely bolted to the trunk lid, close the trunk and press down firmly on all areas of the spoiler to fully seat the adhesive tape. This completes the installation of your new Painted GT500 Spoiler from American Muscle.
Installation instructions provided by Manufacturer
Related Guides
-
Installation
-
Installation
-
Installation
