 FREE 1 to 3-Day Delivery on Orders $149+ Details
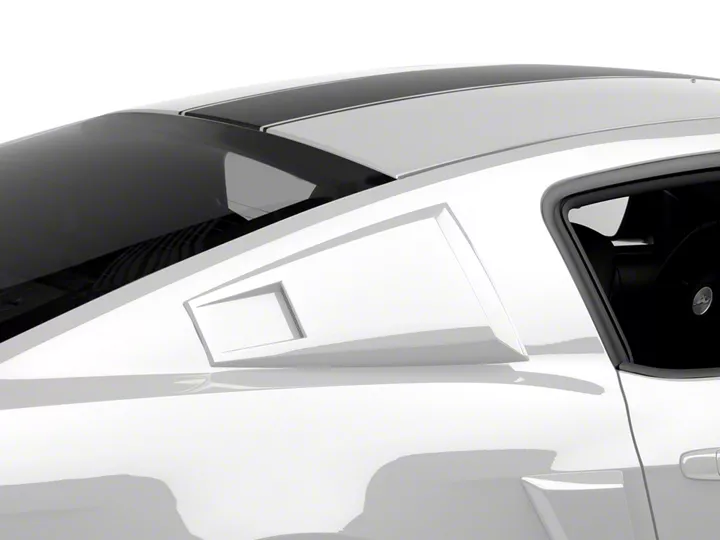
Mustang Eleanor Style Louvers - Pre-painted ('05-'11) - Installation Instructions
Shop Parts in this Guide
Installation
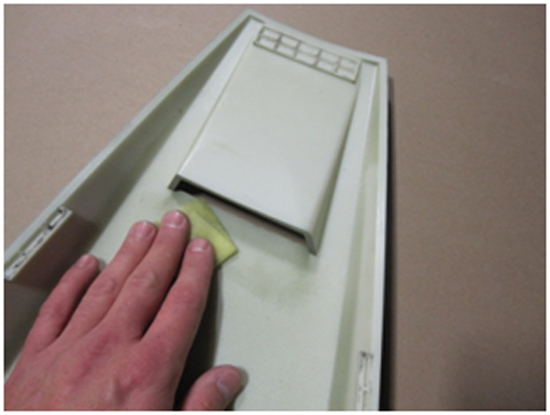
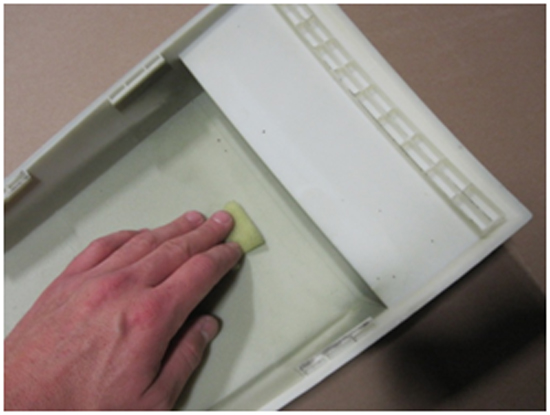
1. Using the supplied 3M Adhesion Promoter, thoroughly wipe down all tabs where double-sided tape will be applied.
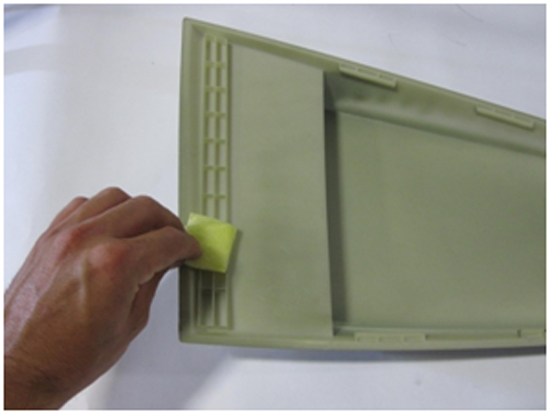
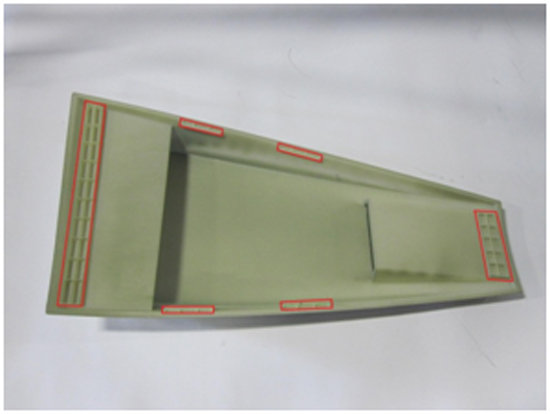
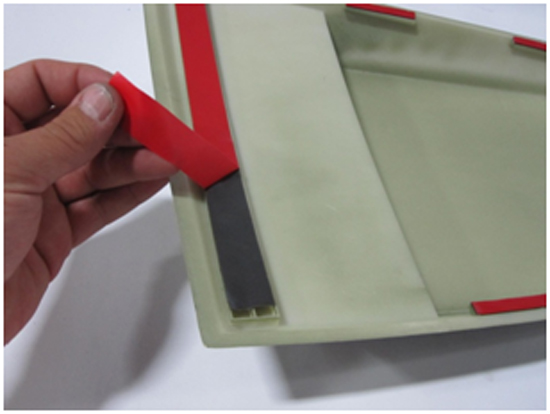
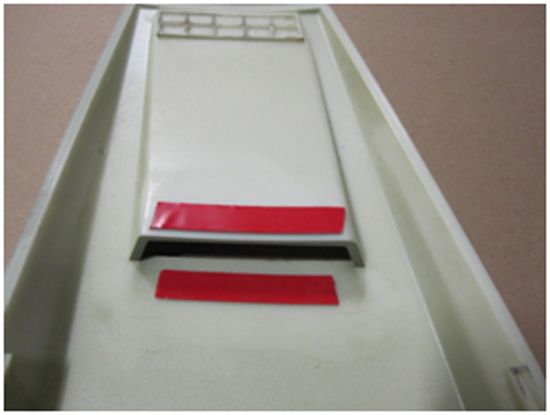
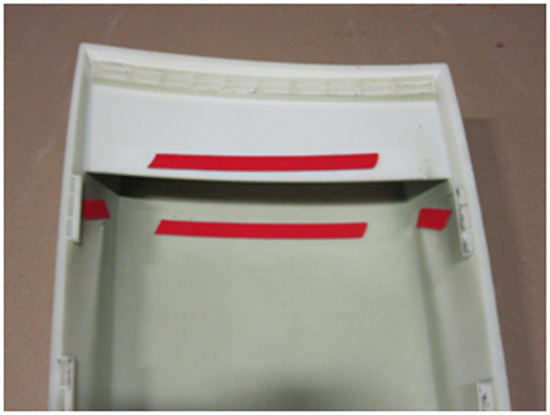
2. Place the pre-cut strips of tape on the areas shown in the below photo.

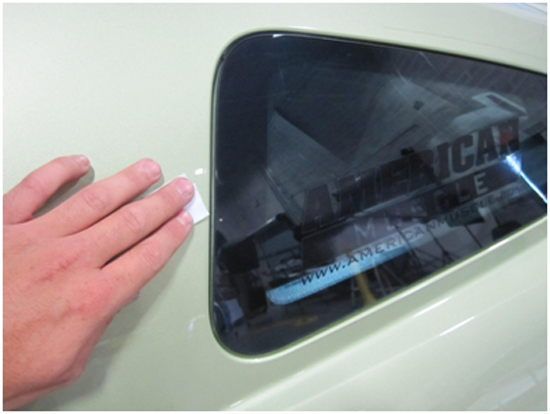
3. Using the supplied Alcohol Prep Pads, thoroughly clean the area around the rear quarter windows where the louvers will be placed.
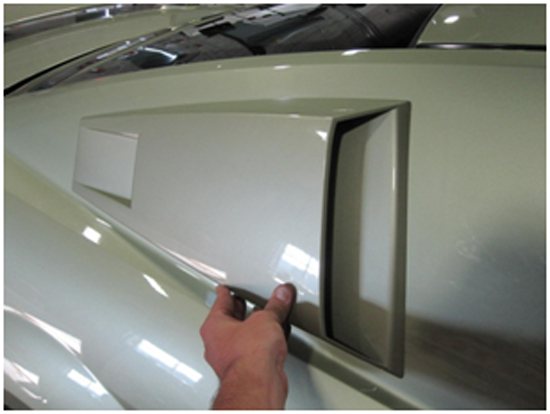
4. Peel the backing from the tape on the louvers and lightly place them on the vehicle in desired location. Make sure the louver covers the entire window and is parallel with the bodyline. Once they are in the desired location, press down firmly to fully seat the adhesive tape.
Installing the Optional Louver Grilles:
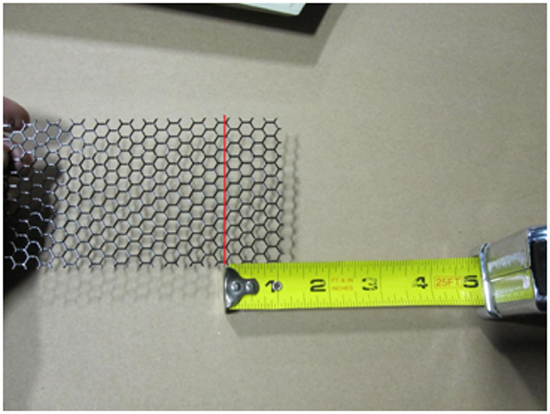
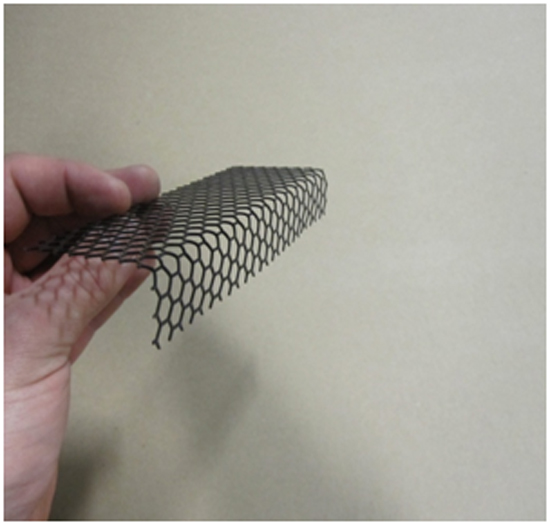
1. Take the smaller piece of mesh and cut 1” from the end of it as shown.
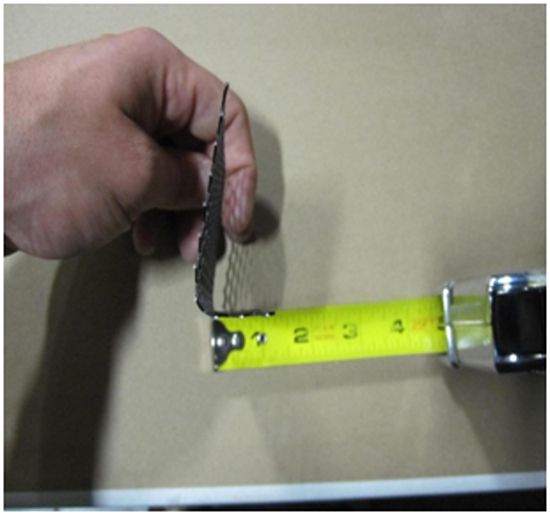
2. Make a 90 degree bend in the grille 1” from the edge as shown. Tip: Bending the grille on the edge of a table or workbench that is perfectly square ensures that you get a nice, straight edge.
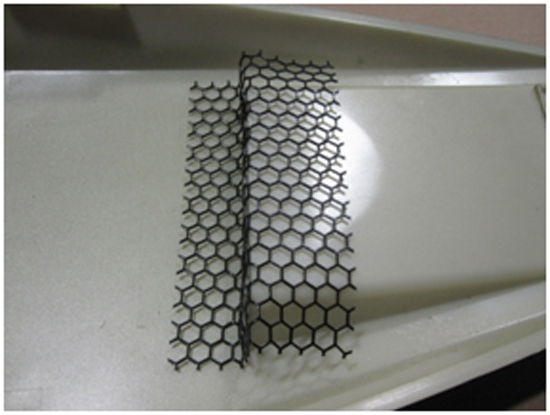
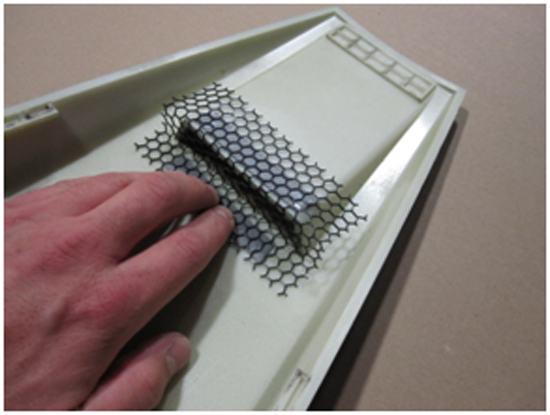
3. Place the grille on the louver as shown. Make another 90 degree bend in the grille where it meets the top section of the louver.
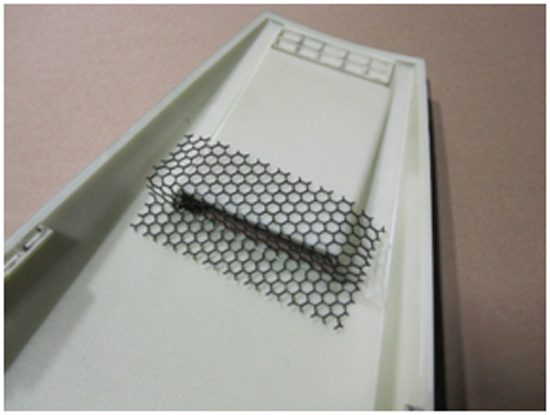
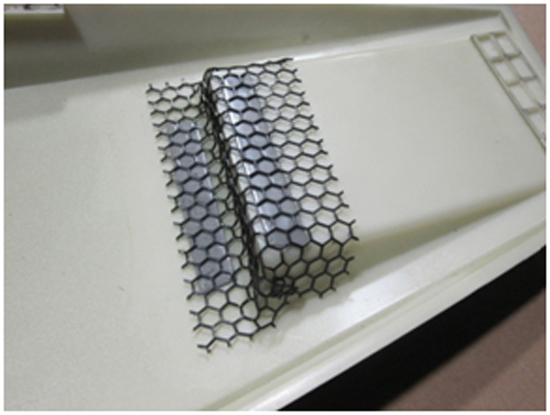
4. Remove the grille from the louver and thoroughly rub the supplied 3M Adhesion Promoter on both the surface of the louver where the grille will attach, and the grille itself. Let the Adhesion Promoter dry for a few seconds, then cut two 3”strips of tape from the 40” roll that is included and place them on the louver as shown below.
5. Remove the backing from the tape and place the grille on top of the tape as shown. Press down hard to fully seat the grille in the adhesive tape. Once the grille is in place, you may either cut the excess from the edges or simply fold them over as shown. These will not be seen when the louver is installed on the vehicle.
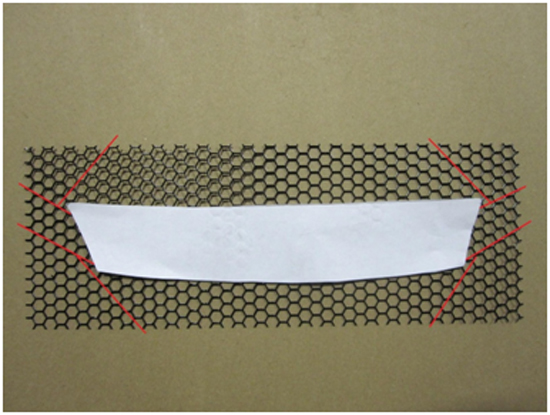
6. Lay the large grille on a flat surface with the supplied template sitting over top of it. Make cuts using tin snips as shown in the diagram below: These cuts leave a small amount of excess material in the corners that will be trimmed flush in the following step.
7. Test-fit the grille to the louver and make 90 degree bends as shown. At this point, if there is any excess material in the corners, you may trim it off so that the grille sits flush inside the louver.
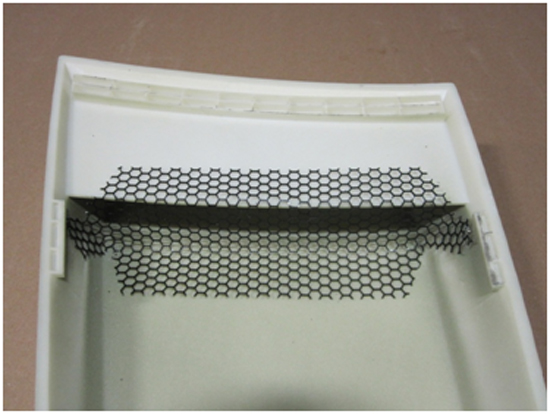
8. Once the grille is properly trimmed and fitted, remove it from the louver and thoroughly apply the supplied 3M Adhesion Promoter to both the surface of the louver where the grille will be applied as well as the grille itself. Cut two 6” strips and two 1” strips of tape from the supplied 40” role. After letting the Adhesion Promoter dry for a few seconds, place the tape strips as shown in the photo below.
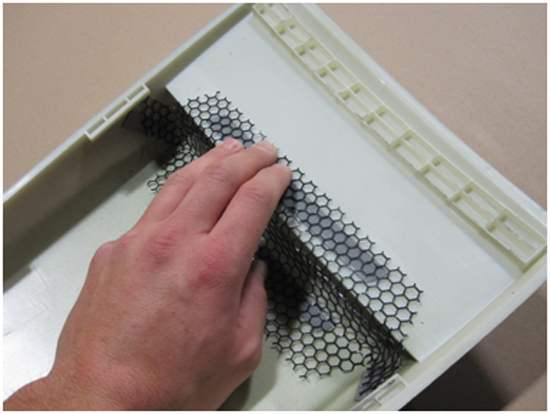
9. Remove the backing from the tape and place the grille on top of the tape as shown. Press down hard to fully seat the grille in the adhesive tape to complete the installation.
Installation instructions provided by Manufacturer
Related Guides
-
Installation
-
Installation
-
Installation

