 FREE 1 to 3-Day Delivery on Orders $149+ Details
How to Install a Power Stop Z26 Street Warrior Brake Rotor & Pad Kit on your 2011-2014 V6 Mustang
Installation Time
3 hours
Tools Required
- Floor Jack
- Jacks Stands
- Ratchet
- Torque wrench
- 12mm, 13mm and 15mm socket
- 13/16” Socket
- Flat head screwdriver
- Wheel Chocks or Bricks
- OEM/Disc Brake Caliper Tool Set (Available to rent at local auto parts store)
- Brake Lubricant (Included with kit)
- Rotors (4 -Included with kit)
- Brake Pads (4 Sets – Included with kit)
- Metal Spring clips (Included with kit)
- Wire Coat Hanger
- Penetrating Oil
- Wire Brush
- Rotor Runout Tool (Optional)
- Brake Cleaner

Shop Parts in this Guide
Please Note:
During the install pictured the calipers were painted during the process. This is a completely optional step and explains the difference in color of the caliper before and after install.
Installation Instructions:
1. Manual vehicles should engage emergency brake and put transmission in gear, automatic vehicles place car in park.
2. First slightly loosen the lug nuts on all four tires using ratchet with 13/16” socket (Do not remove – only loosen lug nuts)
3. Place wheel chocks behind both rear tires and using a floor jack raise the front of the car off the ground and place on jack stands at a comfortable height for you to remove wheels and access brake caliper assembly.
4. Once front of vehicle is elevated and secure, move the floor to the rear of the car and raise the rear of the car off the ground and place on jack stands.
5. Once vehicle is safely on all four jack stands, proceed in removing the lug nuts and wheels from your vehicle.
a. For safety place the wheels and tires underneath the car to protect from a fall if a jack stand fails. (By removing all four wheels you will have easily accessible references from side to side as you complete the installation.)
IMPORTANT: Always do one corner at a time, this will allow you to reference the other side if needed.
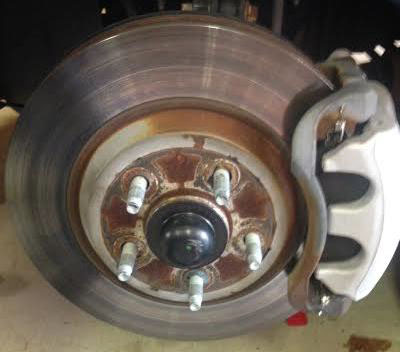
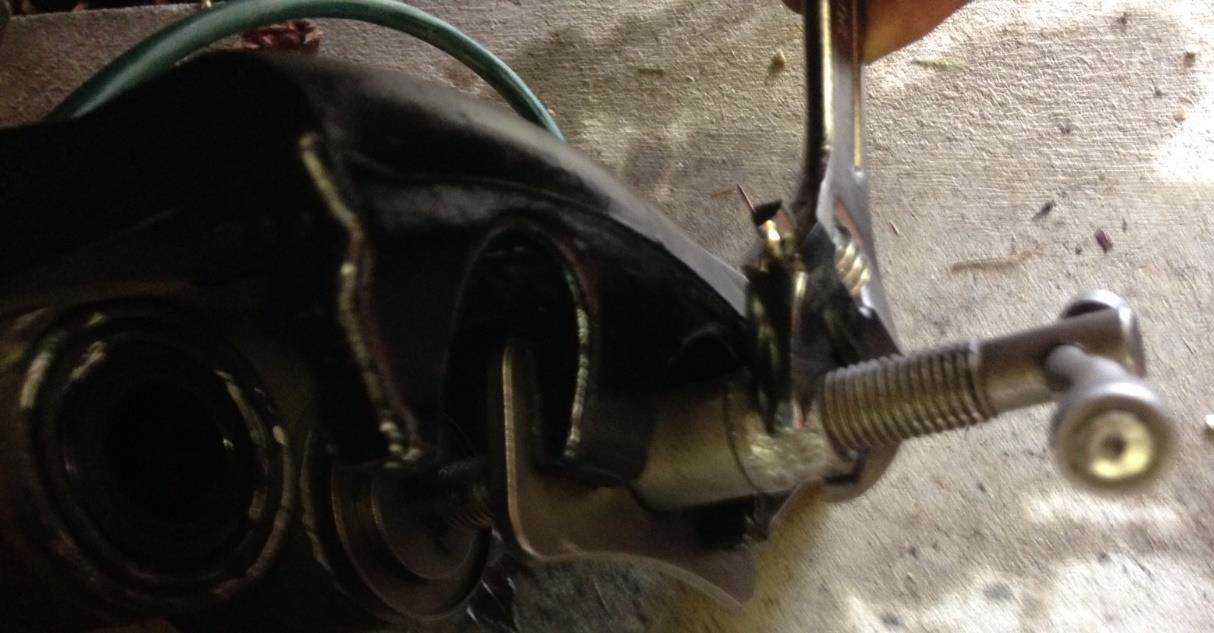
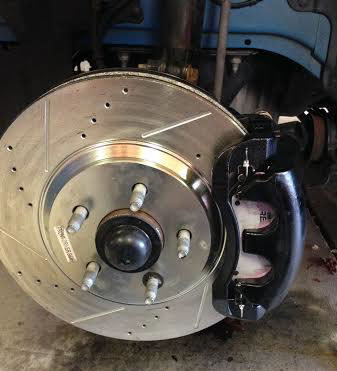
6. Familiarize yourself with the brake set-up.
a. Identify the rotor, brake caliper, where and how the fixed side is attached to the spindle knuckle, how the piston side of the caliper is attached to the fixed portion, and where contact points are made between the caliper and the pad.
7. First prepare a coat hanger to suspend the brake caliper from. Using a ratchet and 12mm socket (Front Calipers) or a 13mm Socket (Rear Calipers) remove both bolts that the two parts of the caliper together.
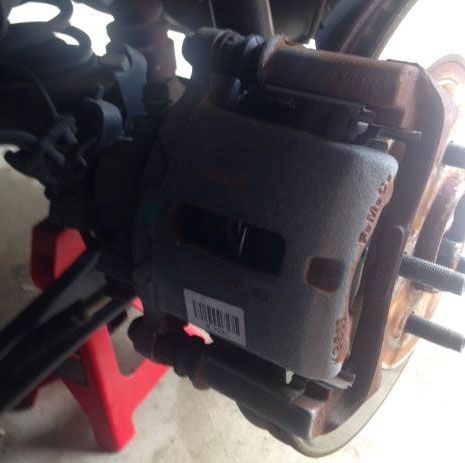
a. Once these are removed use a wire coat hanger to hang the caliper out of your way and keep stress off of the brake lines.
b. IMPORTANT: Do not let the caliper dangle from the brake lines – may cause damage.

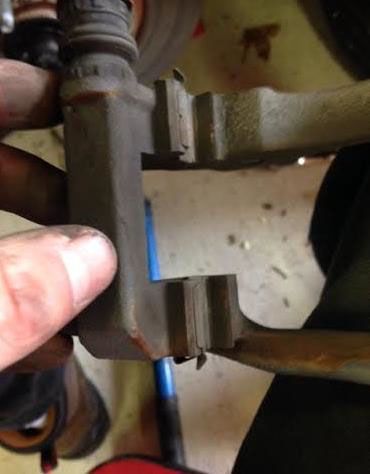
8. Remove the old pads by sliding them out and remove old spring clips.
9. Continue by removing the two bolts that hold the fixed portion of the caliper to the spindle knuckle using a ratchet and 15mm socket (same size on front and rear)
10. Proceed by using a wire brush to clean rust from the rails where the caliper and pad meet.
a. Inspect the caliper pistons, slide pins, and dust boots for abnormal wear or possible damage. Slide pins should move easily. Also, inspect the brake lines for potential leaks. Once you verify these components are in good working condition continue to next step.
11. Then locate the retainer on one of the five studs that holds the rotor in place. Remove the retainer carefully by using a flat head screwdriver to assist (you will need to reuse after installing the new rotor).
a. After this the rotor will be free to slide off. (Often times rotors will be seized onto the hub from rust – if this is the case use penetrating oil around the studs and around the hub, a few taps with a mallet may also be necessary to allow rotor to be removed.)
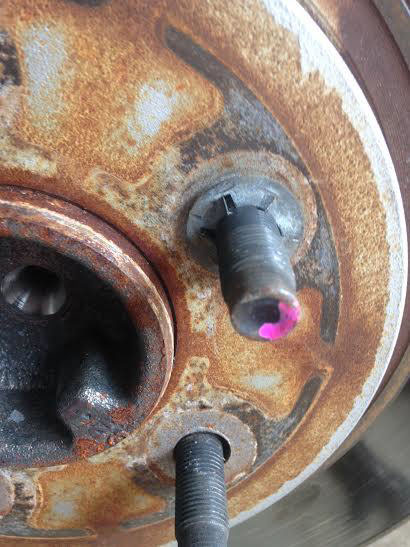
Note: If a mallet is used be careful not to damage the threads on the studs – it is a good idea to loosely put lug nuts back on studs to protect them
12. Once old rotor is removed return the pistons back inside of the caliper.
a. Use the disk brake caliper tool to return pistons until they are completely depressed. (Front pistons push in, while the rear pistons must be turned in – the brake caliper tool is the simplest way of completing this step)
Note: It is not necessary to crack the bleeder valve. Open the cap to your brake fluid reservoir prevent unsafe back pressure just be certain to keep an eye out for overflow. Warning – cracking the bleeder valve will require bleeding the brakes upon completion.
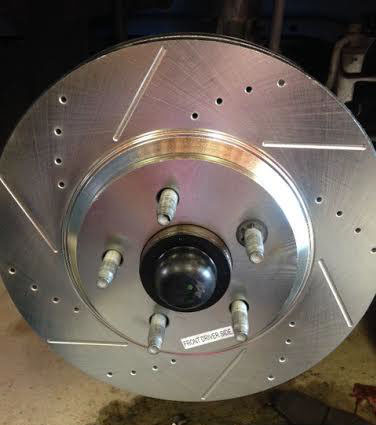
13. Now prep your new rotors for install. Using brake cleaner, spray the rotors down on both sides and wipe off with a clean cloth. This ensures rotors are clean of any contamination before installing.
14. Now install the new rotor and secure with the retaining ring.
15. Once new rotor is in place, install new metal spring clips on the fixed part of the caliper and reinstall this portion of the caliper by tightening the two bolts using a ratchet and 15mm socket.
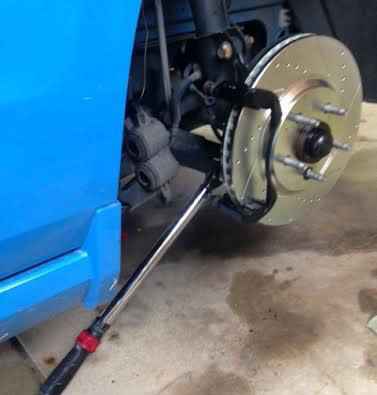
a. These bolts should be torqued to 85 ft/lbs.
Note: It is recommended to check rotor runout when installing new rotors. Rotor Runout could cause brake pulsation.
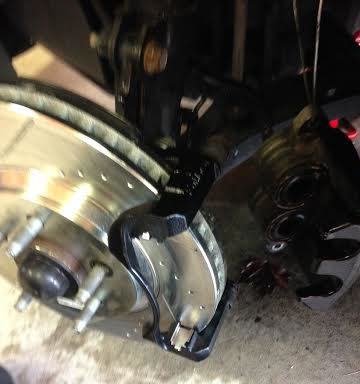
16. Install new brake pads by placing them into the fixed part of the caliper. Apply brake lubricant where the brake pad makes contact with the caliper.
Note: Brake wear sensor (metal tab on pad) should be on the inside brake pad for each corner.
Note: Never apply lubricant to the friction surfaces (wear pad makes contact with the rotor).
17. Proceed by reinstalling the piston half of the caliper by sliding caliper half over the rotor and pads and reinstalling the two bolts using a ratchet and 12mm socket (front) or 13mm socket (rear).
a. These bolts should be torqued to 25 ft/lbs using a torque wrench and 12mm socket or 13 mm socket (rear).
18. Repeat steps 6-17 for the other three corners of the vehicle.
*Important - If at any point during the install a bleeder valve was opened or a line was loosened, bleeding your brakes will be required. If neither instance occurred please continue to next step. *
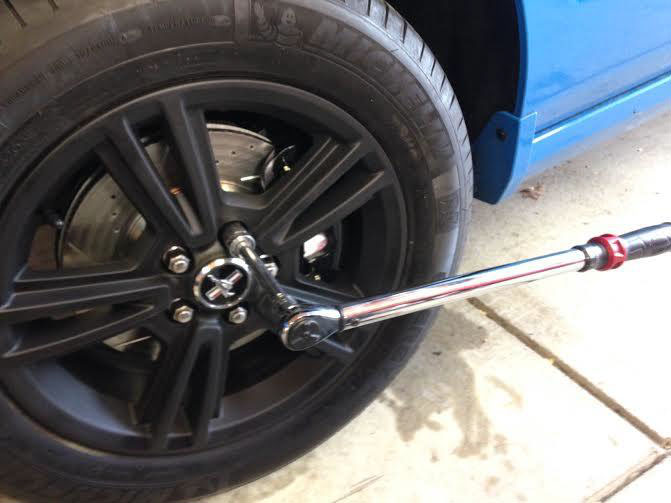
19. Replace the wheels and lug nuts. Ensure lug nuts are snug before lowering the car onto the ground again.
20. Once the jack stands are removed and the vehicle is lowered back down to the ground finish tightening the lug nuts to 100 ft/lbs of torque using your torque wrench and 13/16” socket. Alternate lug nuts as you go to ensure even tightening.
21. Please follow the recommended bedding procedure for proper brake bedding (provided with kit). Bedding in the brakes is critical to avoid rotor warping, pedal pulsation, and damage to rotors.
To bed brakes in Powerstop recommends to complete 5 moderate to aggressive stops from 40 mph to 5 mph without coming to a complete stop and without letting your brake system cool. Then complete 5 moderate stops from 25 mph to 5 mph while letting your brakes cool after each attempt. Slight smell may occur as the brakes heat up.
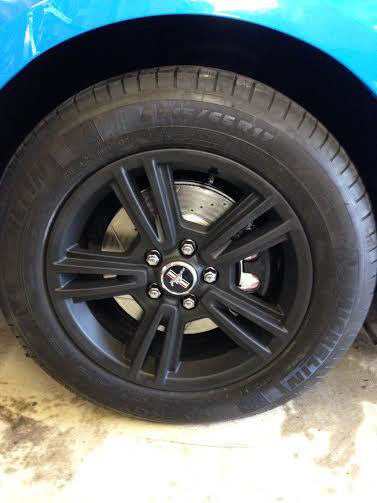
22. Your installation is complete. Enjoy your new brake setup!
Installation Instructions written by AmericanMuscle Customer Brian Doty 6.6.2015

