 FREE 1 to 3-Day Delivery on Orders $149+ Details
Pypes Cut & Clamp X-Pipe ('05-'10 V6) - Installation Instructions
Installation Time
2 hours
Tools Required
- Saw-Zaw (to cut Y-Pipe off)
- Lubricant (to help removing muffler)
- Small, Precise Air Saw (for cutting passenger side of bumper)
- Crayon (For marking where to cut)
- Air Powered Torque Wrench
- Tap and Dye Set
- Material Needed to Convert to Dual Exhaust:
- Pypes 409 Stainless Steel Cut and Clamp X-Pipe with 2 Hangers
- Midpipes from a 05-09 Mustang GT
- GT Takeoff Mufflers/Any type of Mufflers that would fit a GT
- Two Exhaust Hangers for Mufflers (Universal for 05-09 Mustangs)
- (2) 2.5" Exhaust Band Clamps
- If installing on an '08+ V6 - You need to purchase Cross Member Hangers (2)

Shop Parts in this Guide
Installation
1. Put your Mustang up on the lift and raise it so you can walk under the vehicle.
2. Remove existing Muffler. Simply un-screw bolt on the clamp, use the lubricant and shake left to right to pull it off. It might take some elbow grease, but continue shaking left to right and up to down in order to remove.
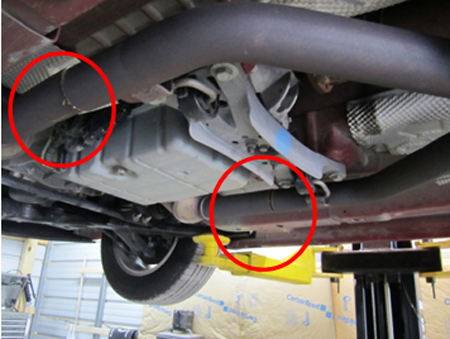
3. Hold the X-Pipe up to the current Y-Pipe and line the hangers up so you know exactly where it's supposed to go.
4. Draw a line at the end of the lip with your crayon so you have enough room to slide the Pypes X-Pipe right on the existing pipe.
5. Cut with your Saw-Zaw along those lines. Make sure not to poke a hole through your floorboards!
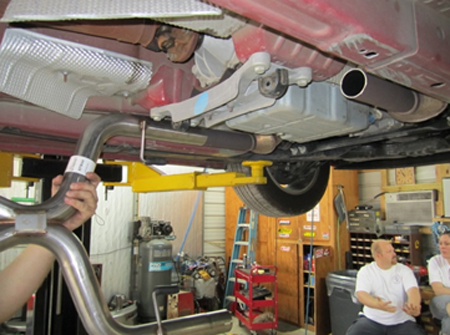
6. Once cut, slide the now cut Y-Pipe and mid-pipe off the two hangers simply by sliding the entire system back about 3 inches off the hangers, drop and maneuver the midpipe over the rear axle.
7. At this point all you should have is roughly 10 inches of pipe after the cats.
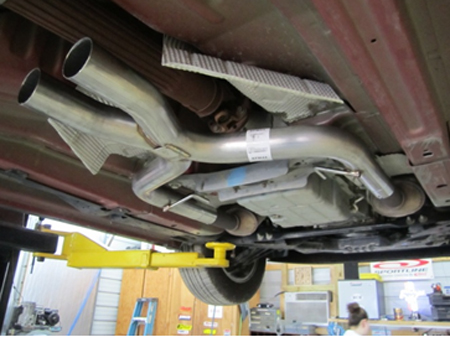
8. Slide the X-Pipe right over the existing pipe and fit accordingly.
9. At this point you should be looking like this. The X-Pipe slides right over top of the existing pipe and can hang there.
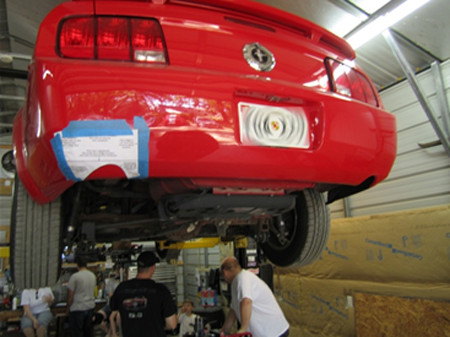
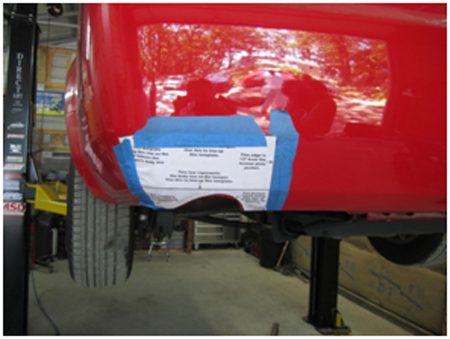
10. At this point you can start to cut your rear bumper. Pypes makes a template that is very easy to use. You can find it at this website. Make sure that when you print out this template that you DON'T "shrink to fit" under printing options.http://pysales.com/inst/SFM68-69-bumper-cutout02.pdf
11. Follow the directions on the template and place on the rear bumper.
12. Once you have the template taped down in the correct place. Grab your precise air saw and start cutting. Make sure to leave roughly and 1/8" to a 1/4" between the paper and your cut. This way you can trim it back with a more precise tool.

13. It should look like this by the time you're done with leaving about an 1/8" all the way around.
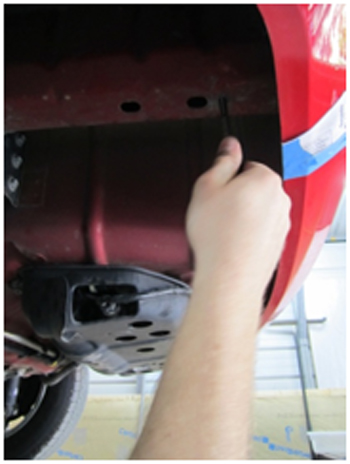
14. Now take a more refined tool and trim around the edges all the way up to the paper. This takes a steady hand, so be very careful.
15. Now that the bumper is done. You can install the exhaust itself. Maneuver the midpipes up above the axle and out. At this point you would not have the mufflers on yet.
16. Take the two of your 2.5" Band Clamps and run them over top of the joint between the x-pipe and the midpipes. DO NOT TIGHTEN ANYTHING YET! They do not slide right over each other, they are supposed to just come up and meet.
17. You may have to tap the holes for the universal mustang hangers on the driver's side. The hanger towards the front of the car will need an extra hole, and the hole won't be there. So, you can leave it hang, (which is just fine) Or, drill another hole.
18. Hang both of the universal mustang hangers on the driver's side for the muffler. Make sure they face the same way as the passenger side, not a mirrored image. Surprisingly, they hang in the same exact position.
19. Hang both of the mufflers by sliding the end of the muffler over on top of the midpipe. Make sure that the little knob in the midpipe lines up with the hole on the ring of the muffler. Go ahead and tighten the muffler rings.
20. At this point, you're almost done! Just simple adjustments.

21. Position the mufflers by how high/low or further in/out you want them by twisting the entire muffler/midpipe side to side which pushes the midpipe further in the x-pipe thus pushing the muffler in or out and up or down.
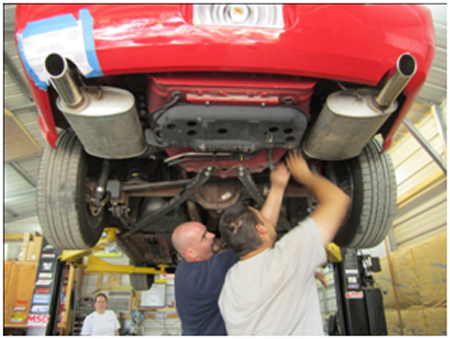
22. Once you get the right placement, have two people hold the mufflers correctly while another person goes around with a torque wrench and tightens the midpipe band clamps first, then the two clamps that secure the x-pipe to the existing pipe by the catalytic converters.
23. After that, lower the car down, start her up, and enjoy!
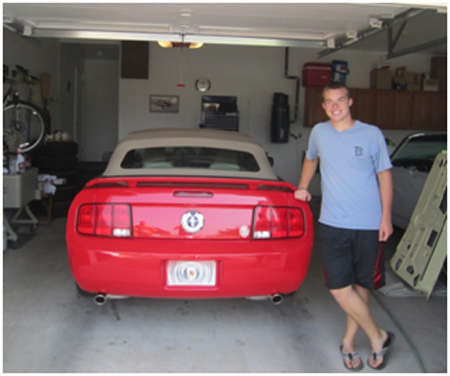
Installation instructions provided by AmericanMuscle customer Chris Cervenka 7.7.10
