 FREE 1 to 3-Day Delivery on Orders $149+ Details
Pypes 409 Stainless Steel Violator Catback with Polished 304 Tips ('86-'93 LX & '94-'97 GT) - Instal
Installation Time
2 hours
Tools Required
- 14 mm socket
- Hack Saw
- Flathead Screwdriver
- 1/2". Socket
- 5/32 in. Allen Wrench
- Safety Goggles

Shop Parts in this Guide
Installation
1. Jack the car up, place on jack stands, and chock the front wheels.
2. Remove both rear tires. This will make it much easier to get the old exhaust system out and the new system in.
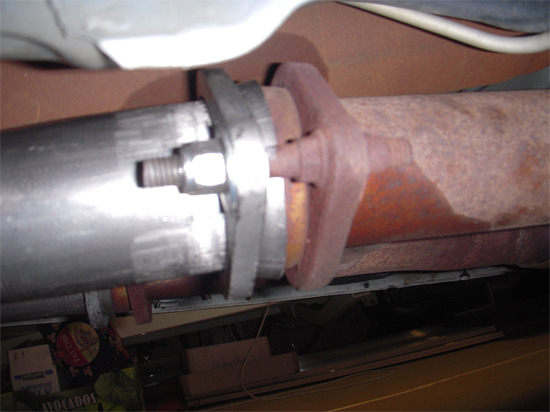
3. With a 14 mm socket, remove the four nuts at the H-Pipe. There are two on each pipe. These are the only screws that need to be removed to get the old system out. This is a picture of the H-Pipe connection.
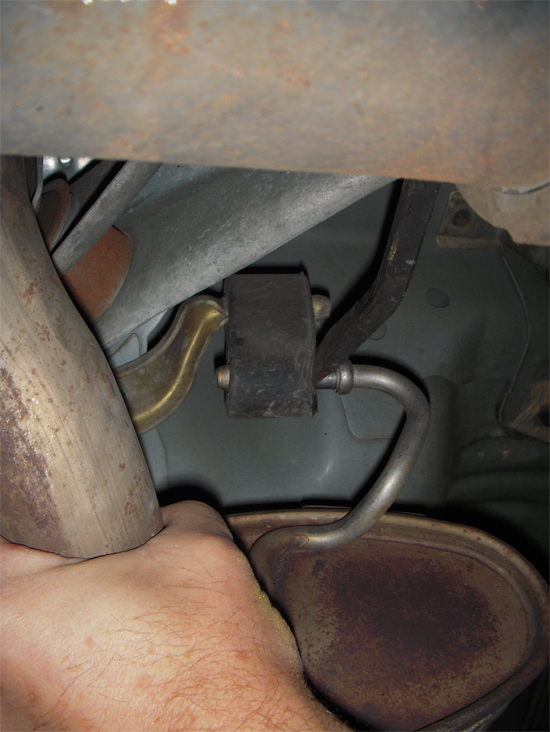
4. The catback hangs at two places; one is right behind the muffler and another at the tailpipe. The pipes are hung by a rubber hanger. These can be a little tricky to remove, but a spray of WD-40 the night before can help in removal. Pry the metal hanger out of the rubber hanger with a flathead screwdriver. Remove the metal hangers from all four rubber hangings. If your rubber hangers are in bad shape, it would be a good time to replace them now.
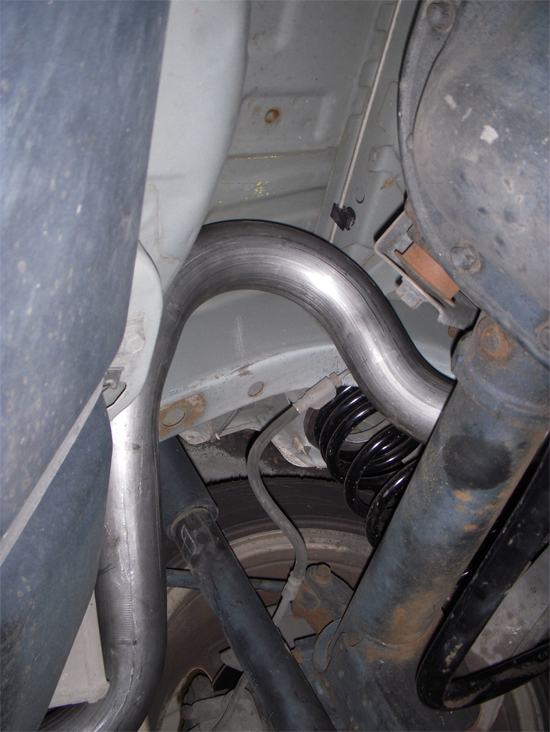
5. Now it is time to remove the system. But seeing it is one long pipe you will need to cut it with a hack saw to remove it. You will need to cut the old pipes somewhere on the arch where it goes over the rear axle. Once you saw through it and have two pieces, pull them over the axle to get the old pipe out of the way. Do this for both sides. See image for hacksaw positioning.

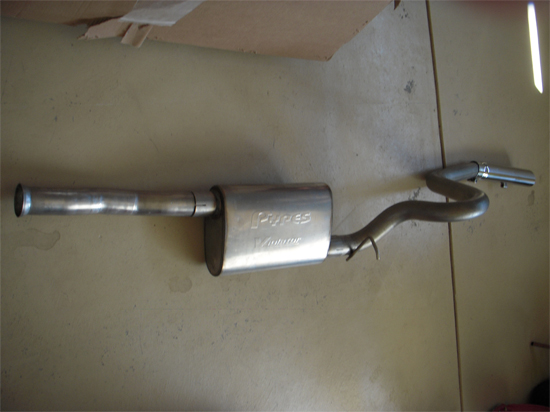
6. The new Pypes catback comes in a set of four pieces: the front flanged piping that attaches to the H-Pipe, the muffler, the piping that goes over the axle, and the polished tail pipe. Here is how your new exhaust will look laid out.
7. Start with the axle pipe and snake it over the axle. It is easiest to start from the rear and cork-screw it up over the axle. You can temporarily let it hang over the axle.
8. Attach the metal hangers provided in the kit to the new polished tail pipe tips. Use an Allen Wrench to tighten the hanger. Hang the tail pipe from the rubber hanger and then connect it to the arched axle pipe. It can be tightened with Allan wrench here as well. Only tighten just enough to hold.
9. Now you attach the “outlet” side of the muffler to the axle pipe and tighten that with the supplied U-Clamps from the kit. This is also a good time to hang the pipe by the muffler.
10. Now attach the flanged straight pipe into the “inlet” side of the muffler and then to the H-Pipe. Use the supplied U-Clamp to tighten the muffler and pipe together. The shorter pipe is designed for the driver side. Use the new nuts from the kit and screw them onto the H-Pipe.
11. Repeat steps 6-9 on the passenger side and fire up your new system.
12. Once everything is loosely in place go ahead and tighten all the connections. Have a buddy hold the exhaust system up while you tighten all the nuts, including the hangers on the exhaust tips with an Allen Wrench. Work on each nut a few turns at a time then switch to the other.
13. Reinstall the rear wheels and lower the car.
14. Using a spray bottle that contains water and some liquid soap check for exhaust leaks. Spray all the joints and look for bubbles.
15. Go back and tighten any bolts where leaks are found.
16. Enjoy your new exhaust system.
Installation instructions provided by Jason Funk 12.21.09

