Guaranteed 12/24 Delivery Still Available see item page for details! available on most items - Details
How to Install Raxiom Clear LED Side & Quarter Markers on your Mustang
Rear Sidemarker Installation
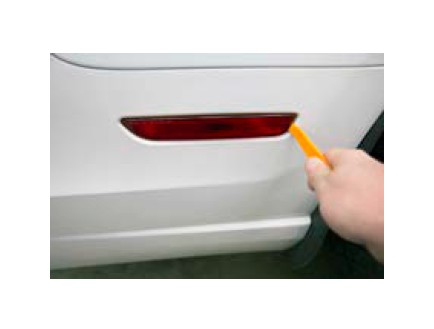
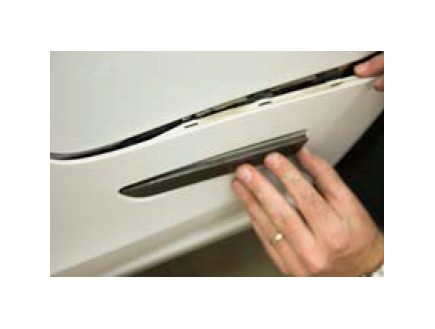
1. If you have a non-marring tool, you may be able to remove the sidemarker by inserting the tool in the backside of the sidemarker and pushing forward toward the front of the vehicle. You may then proceed to step 5.
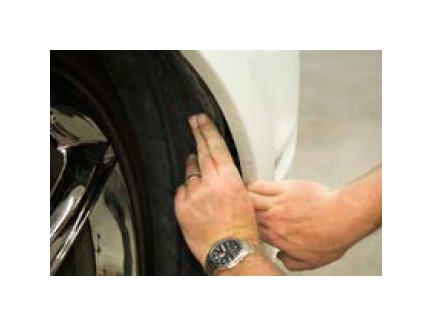
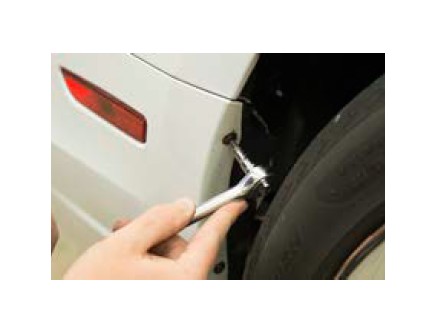
2. If you do not have a non- marring tool or are unable to remove the sidemarker, remove the three screws in the wheel well, using a small Philips screwdriver, or socket with bit.
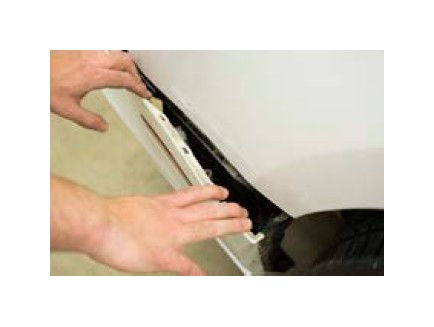
3. Pull back on the rear bumper, unclipping to access sidemarker.
4. Remove the sidemarker by pressing on the clip towards the front of the vehicle, then pushing it out.
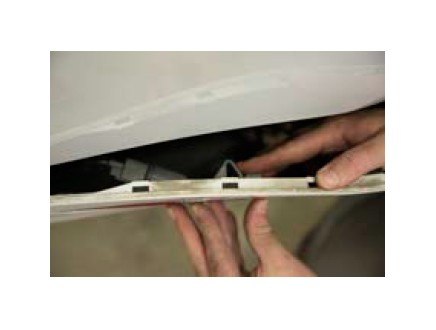
5. Twist the factory plug counter clockwise to remove from the sidemarker, and remove the bulb.
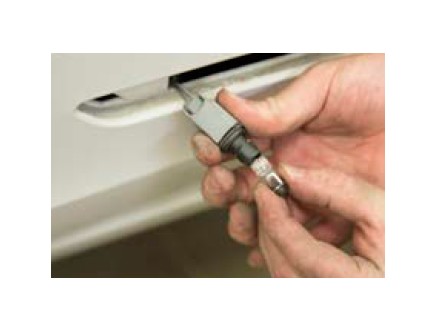
6. Plug the connector from your new sidemarker into the socket. Ensure you have the correct polarity by hitting the unlock button. If the sidemarker doesn’t illuminate, flip the connector 180o.
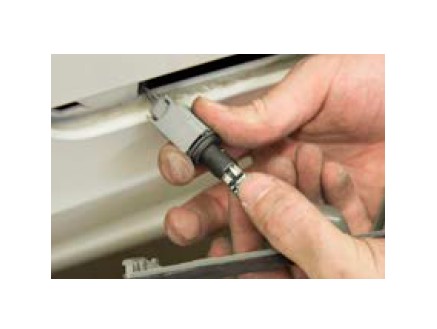
7. Twist the plug back into the new sidemarker to seal.
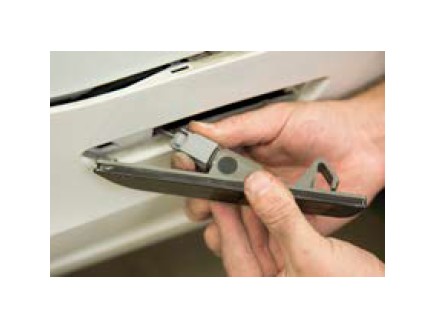
8. Place the sidemarker back into the bumper, clipping it into place.
9. Clip the bumper back into position, and reinstall the screws. Repeat for other side.
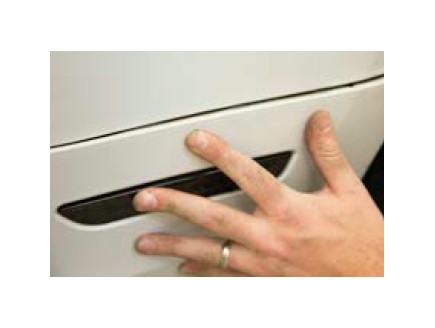
Front Sidemarker Installation
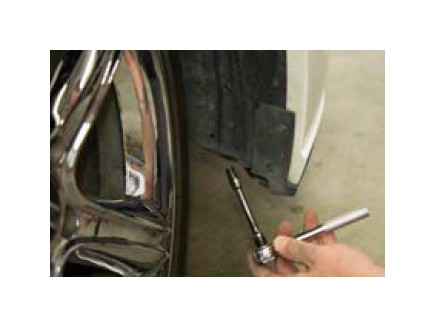
1. Using a 7mm socket wrench, remove the three screws in the wheel well.
2. Pull back the wheel well from bumper, just enough to access the sidemarker.
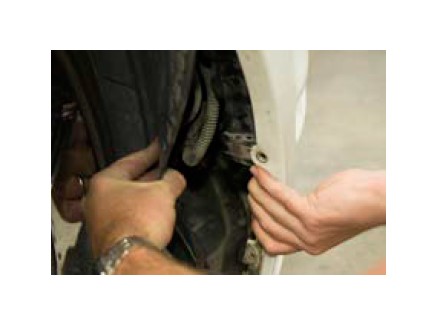
3. Using a 10mm socket wrench, remove the two nuts on the back of the sidemarker.
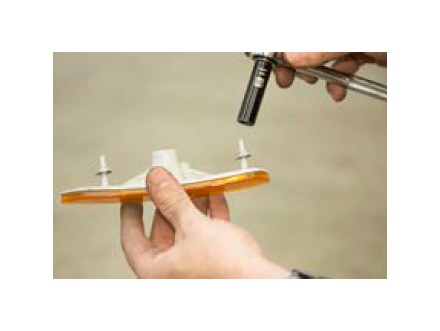
4. Push the sidemarker out from the bumper.
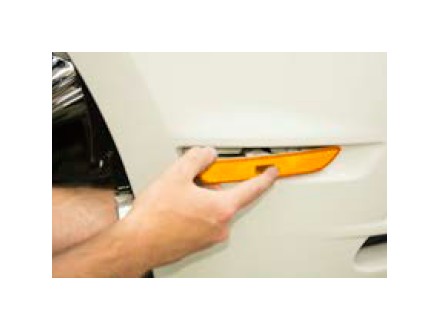
5. Twist the factory plug counter clockwise to remove from the sidemarker, and remove the bulb.
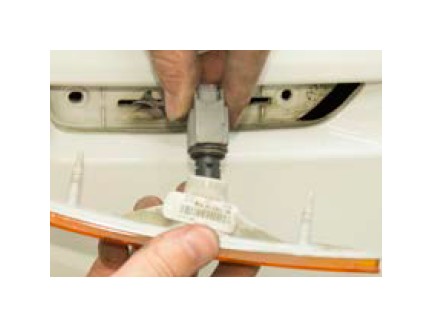
6. Plug the connector from your new sidemarker into the socket. Ensure you have the correct polarity by hitting the unlock button. If the sidemarker doesn’t illuminate, flip the connector 180o.
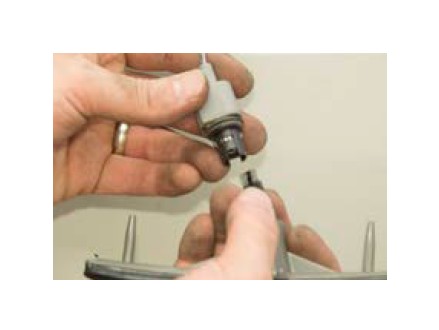
7. Twist the plug back into the new sidemarker to seal.
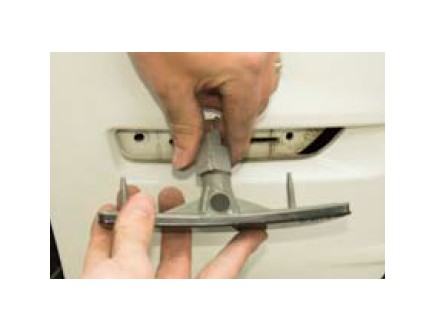
8. Place the sidemarker back into the bumper, and tighten the nuts on the rear. Do not overtighten!
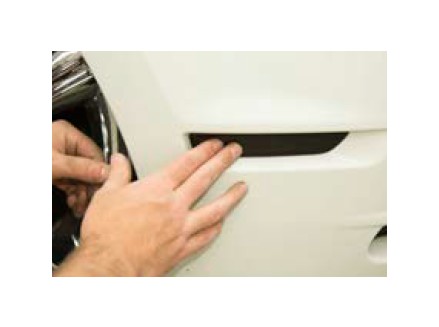
9. Put wheel well back into place, and reinstall the screws. Repeat for other side.
