 FREE 1 to 3-Day Delivery on Orders $149+ Details
How to Install Raxiom Smoked LED Reverse Light w/ Red Running Light on a 15-17 Mustang
Installation Time
1 hours
Tools Required
- ¼” Socket Wrench
- ¼” Socket Extension (10” with swivel tip recommended)
- 7mm Socket
- Flashlight
- Zipties or other to secure wire
- Pliers for Wire Taps
- Small Screwdriver or razor blade

Shop Parts in this Guide
1. Remove plastic nuts that retain rear plastic shield.
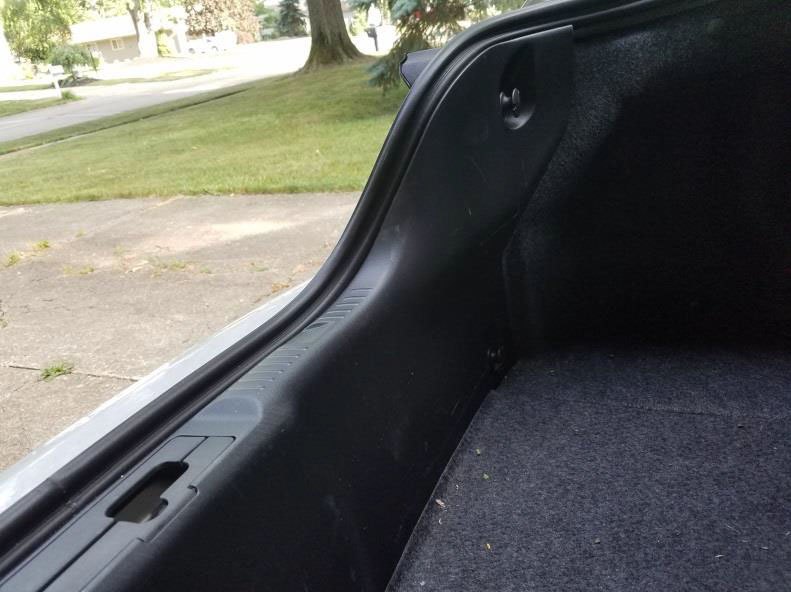
2. Remove rear plastic shield by pulling up and towards the cabin. Be sure not to damage the clips.
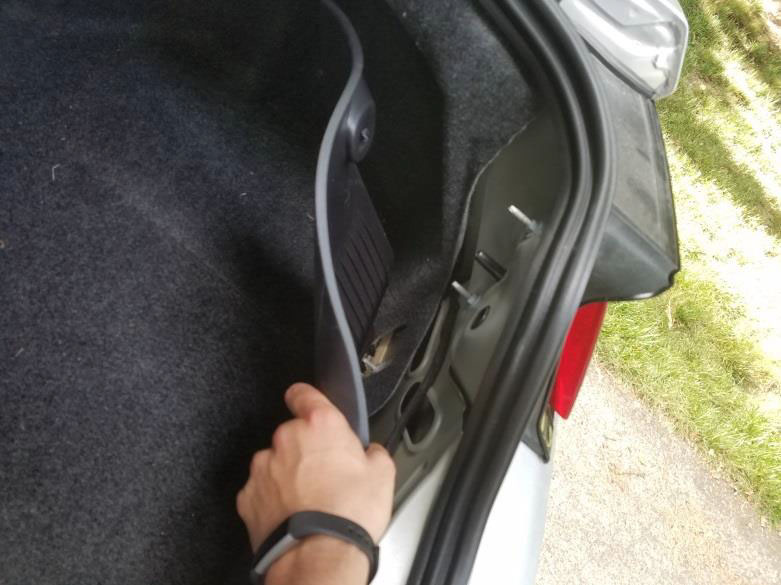
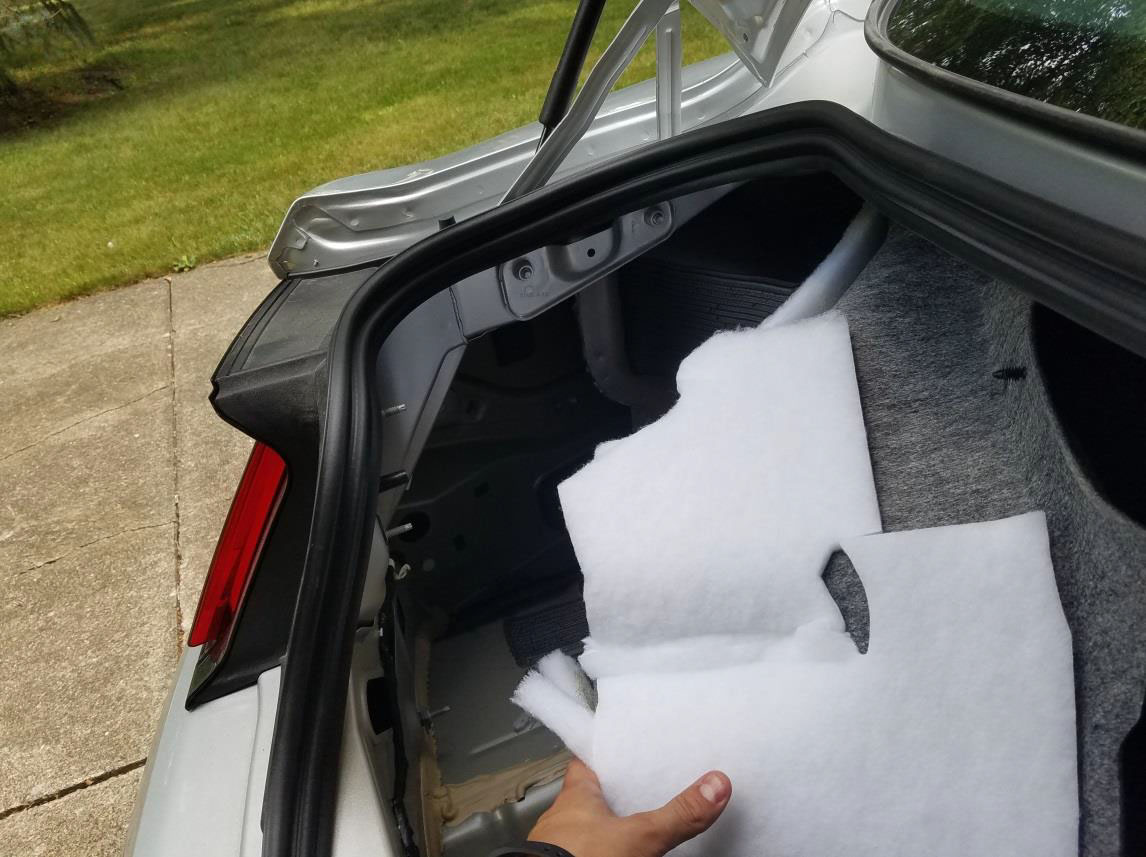
3. Decide if you want to splice into the driver’s side or passenger side tail light. I chose the driver’s side. Locate the Christmas tree plug on the side you chose and remove it. Also pull out your spare tire cover.
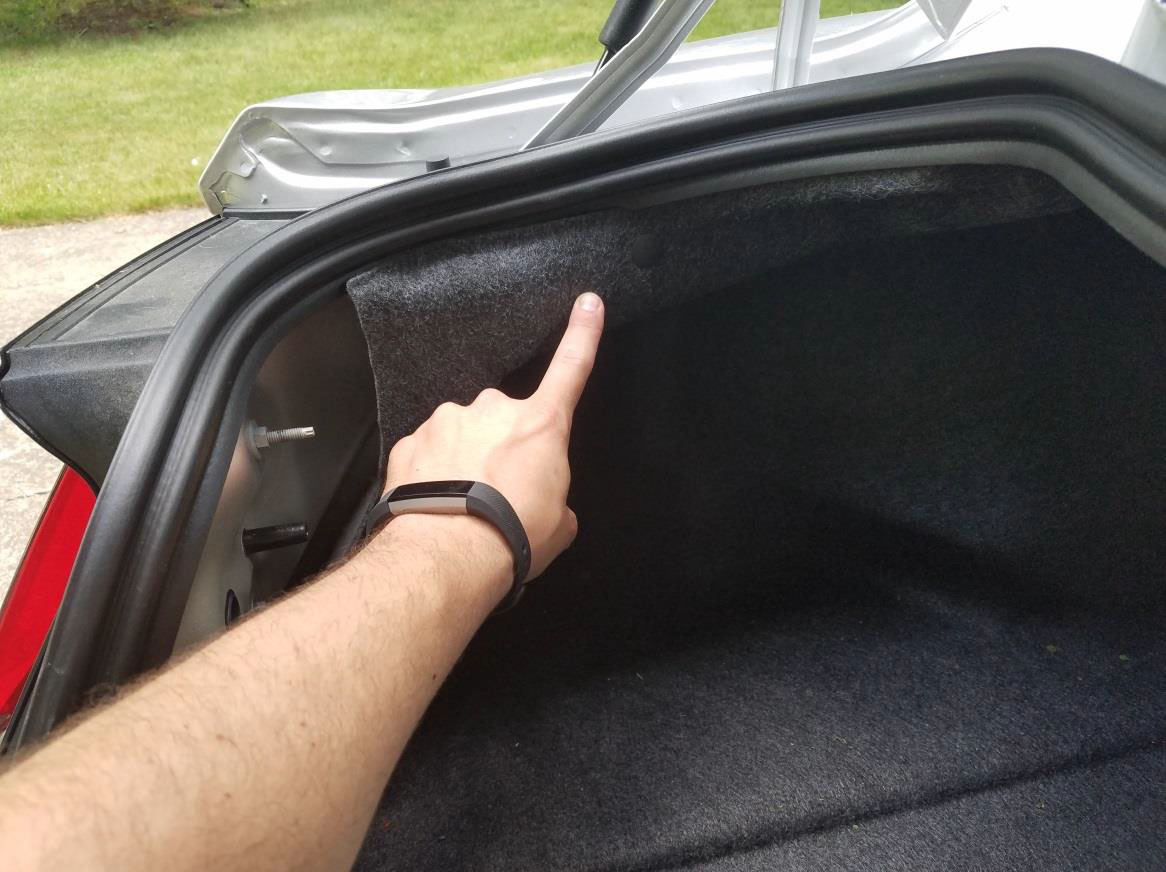
4. Pull the trunk liner away from the rear quarter panel, exposing the tail light.
5. Choose whether you want to jack or lift your car. It is possible to install the light without lifting your car, but it’s a tight fit under there. I did not lift for my install. Time to get cozy under your Mustang. Locate the stock light. Remove the four 7mm plastic screws which hold your stock light on. Remove them using the 7mm socket wrench with extension. Removing and reinstalling the two top screws is easily the hardest part of the install.
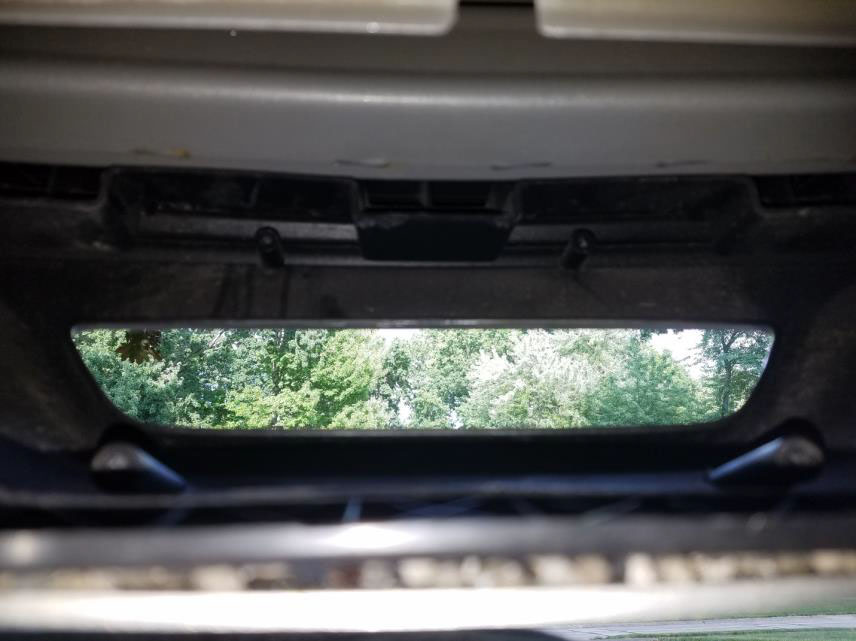
6. Here is a picture of the light removed. It is easier to see the locations of the 7mm plastic screws. DO NOT LOSE THESE, the replacement kit does not provide replacement hardware.
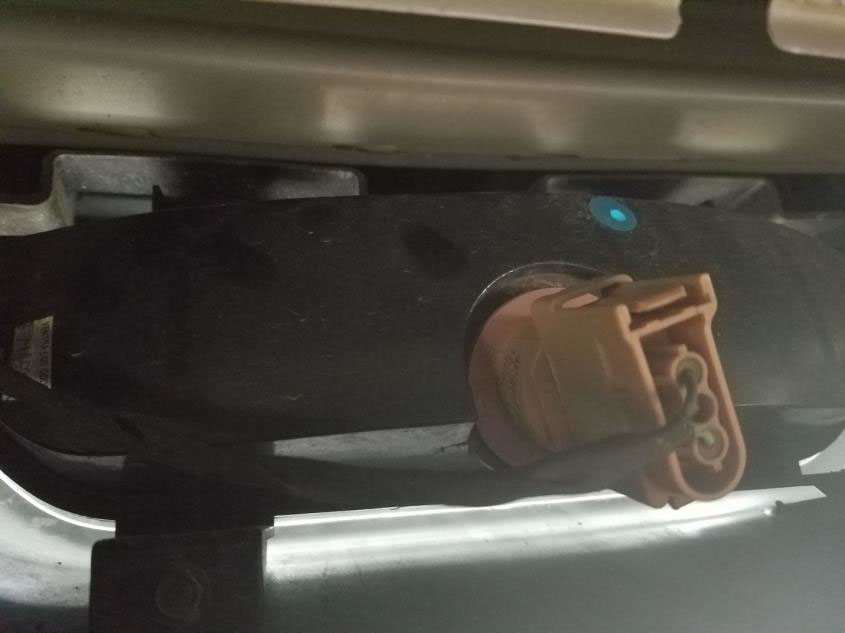
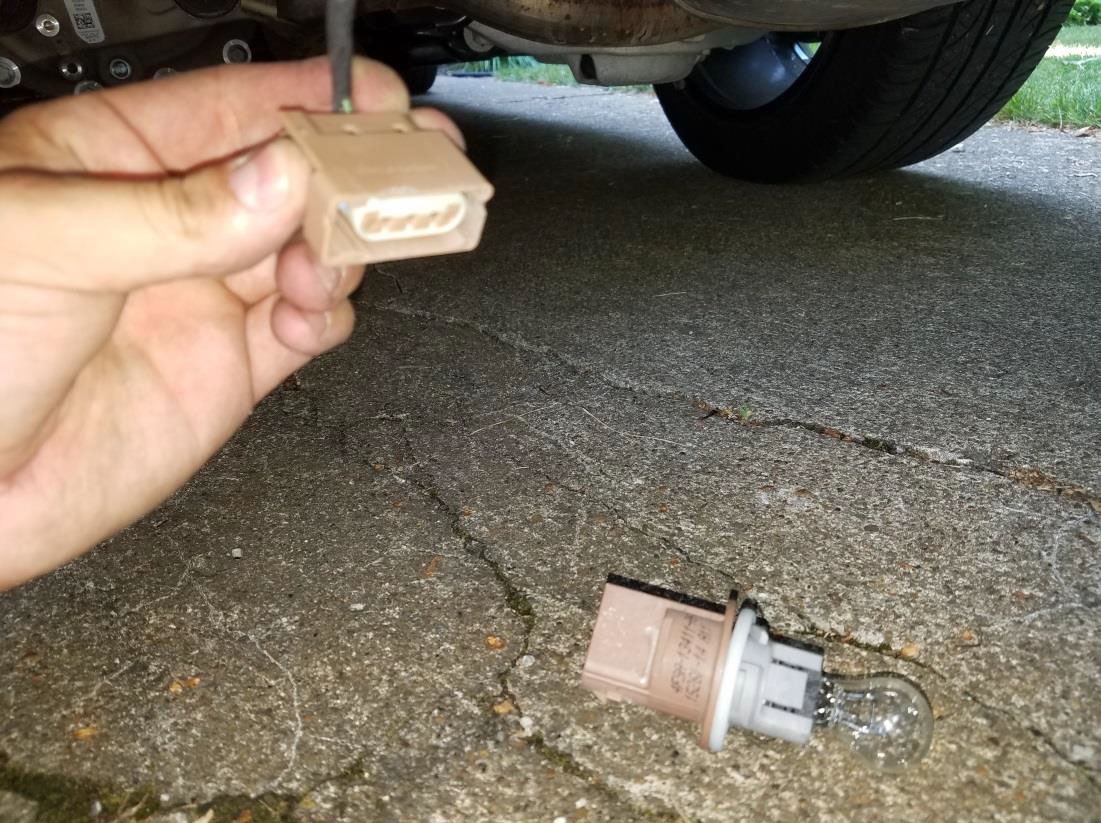
7. Unplug the stock light bulb from its connector. Plug your new light into this connector.
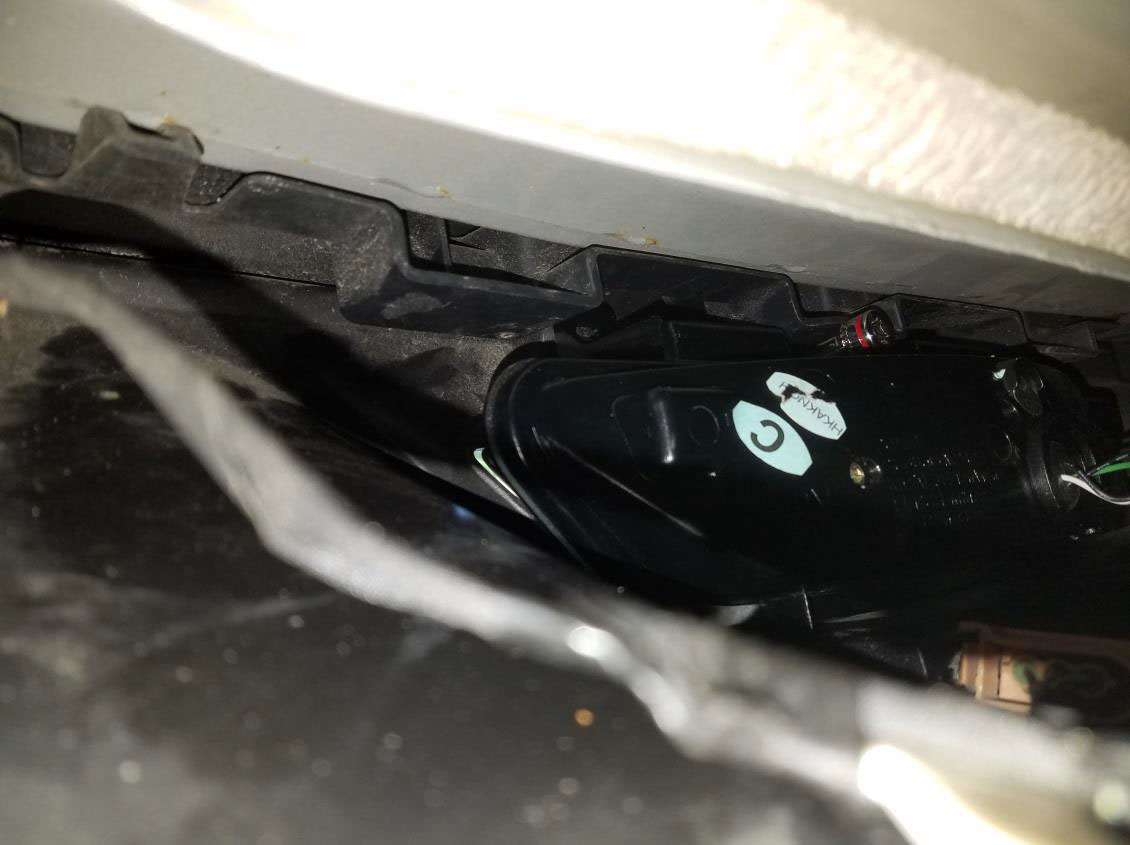
8. Install the replacement light fixture using the stock screws and your extended socket wrench. I found this to be extremely tricky and will require multiple tries. Be sure not to lose the screws. I used a socket to prop up the plastic part that gets in the way of the top screw mount locations.
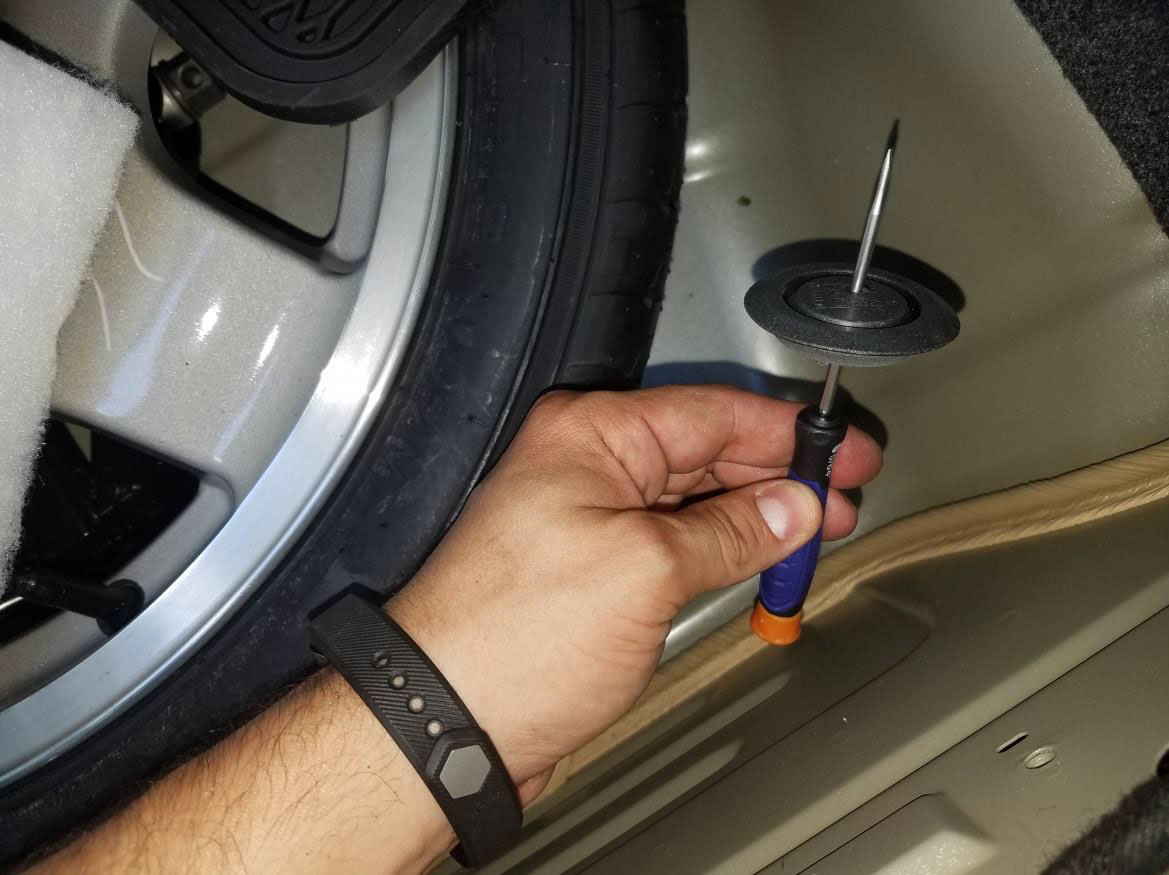
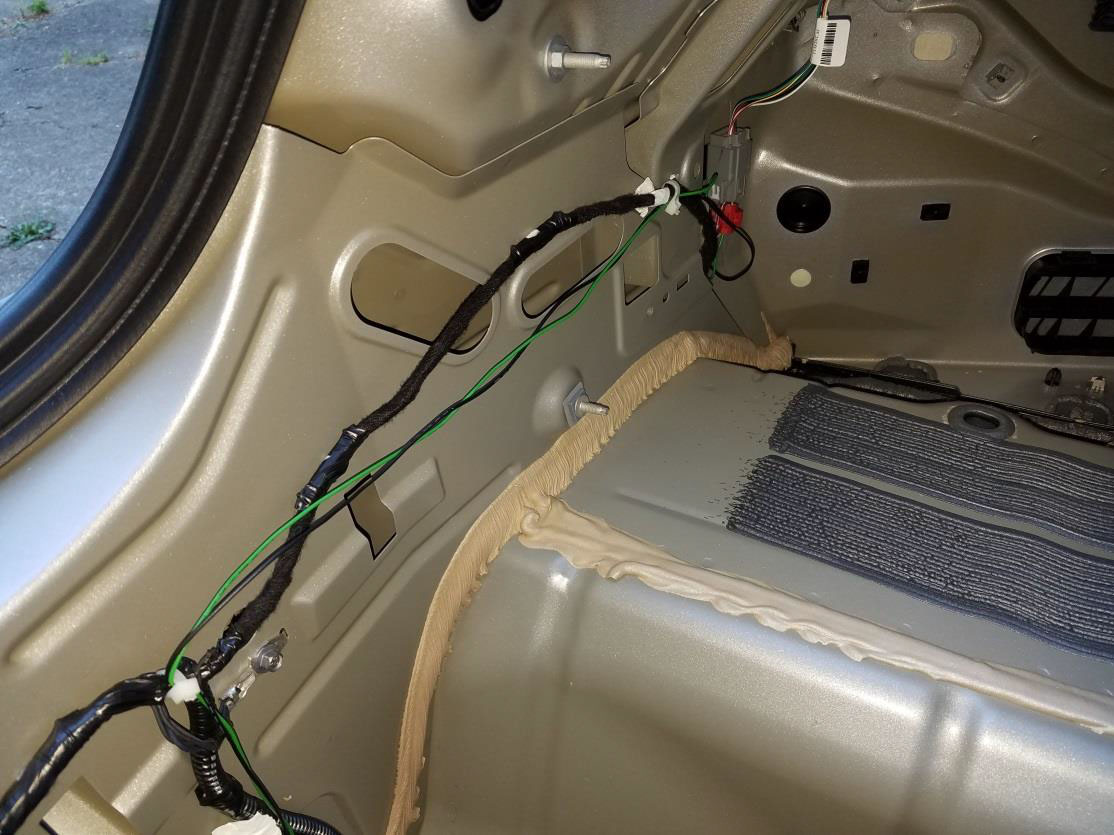
9. Secure the wiring plug so that it does not hang down, and rout the black and green wires up through the grommet shared with the spare tire pit. Use a screwdriver or knife to penetrate the grommet.
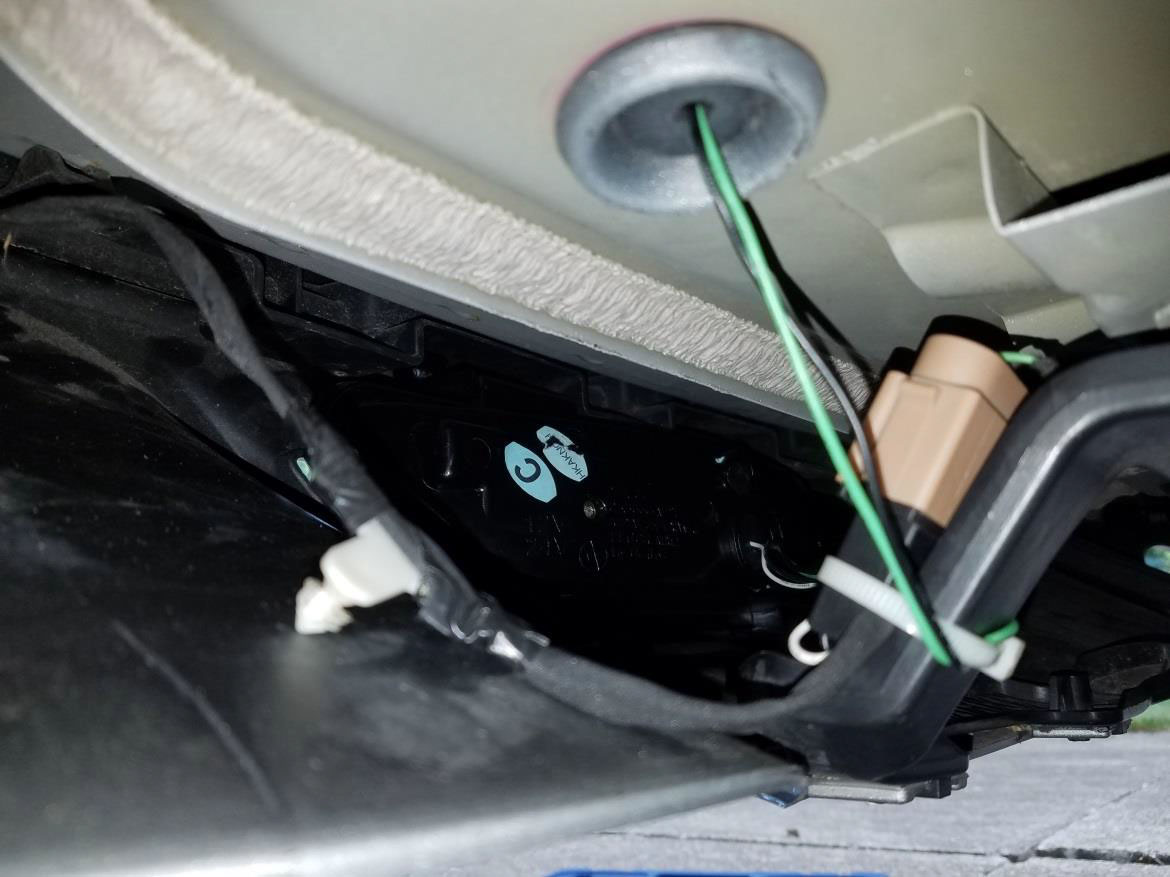
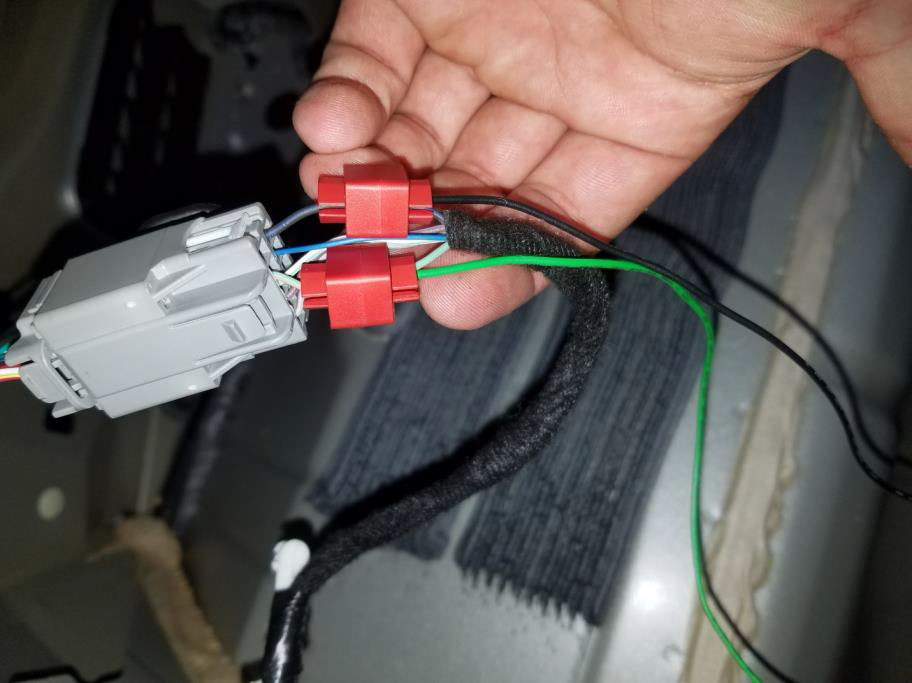
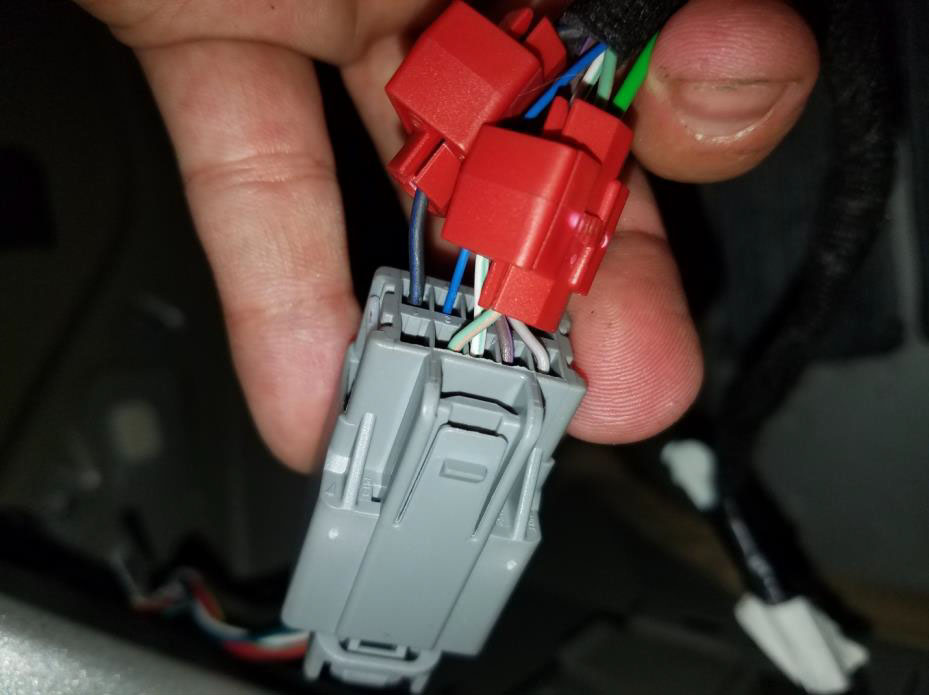
10. Route the green and black wires along the stock wiring to the tail light you have chosen to splice into. Use the provided wire taps to splice into the stock wires. Tap into the wires before the plug, NOT between the plug and tail light. Tap the black wire into the stock black wire, and the green wire into the stock green and orange wire.
11. Zip tie all the wires so they aren’t hanging loose. Reinstall all the trunk panels in reverse order.
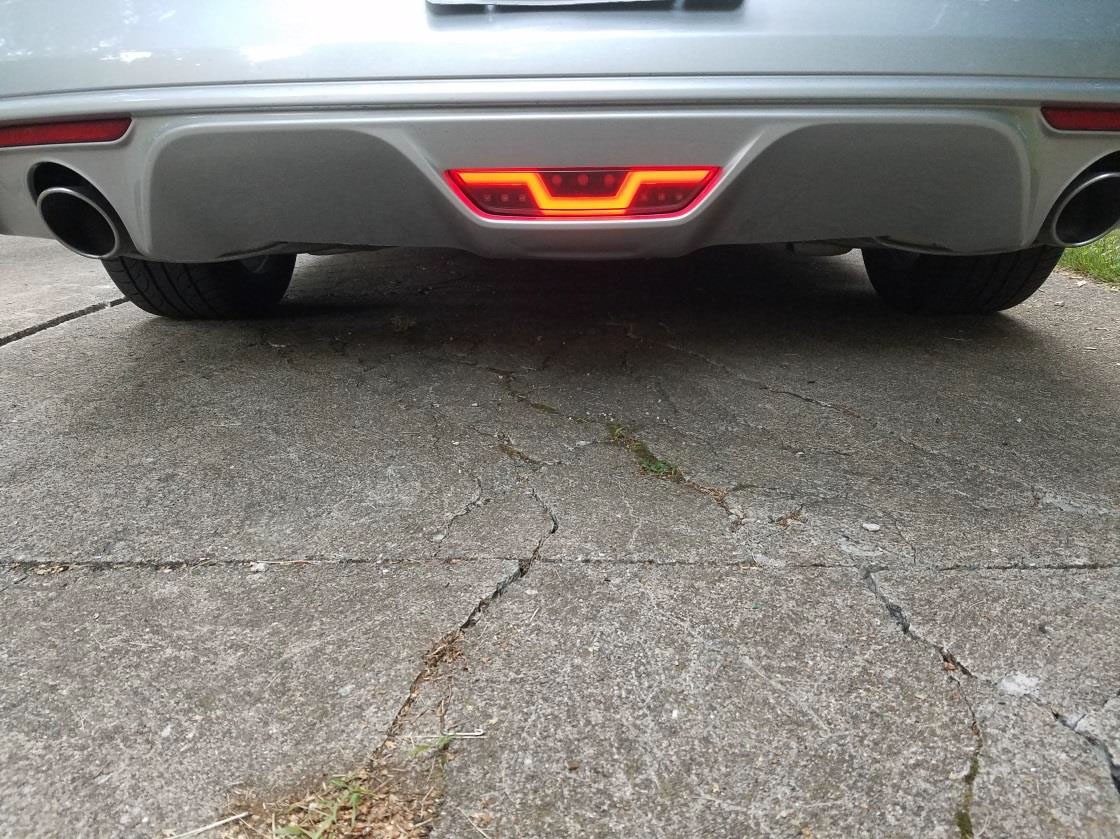
12. Admire your new light. It looks great!
Installation Guide Created and Submitted by AmericanMuscle Customer Jason Wallace on July 9th, 2016