FREE 1 to 3-Day Delivery on Orders $149+ Details
How to Install Roush Axle-Back Exhaust on your Mustang
Installation Time
1 hours
Tools Required
- Safety glasses
- Ramps
- jack and jack stands
- car lift
- Tail pipe cutter
- reciprocating saw
- other cutting tool you prefer
- Marker
- Quarter round file (optional)
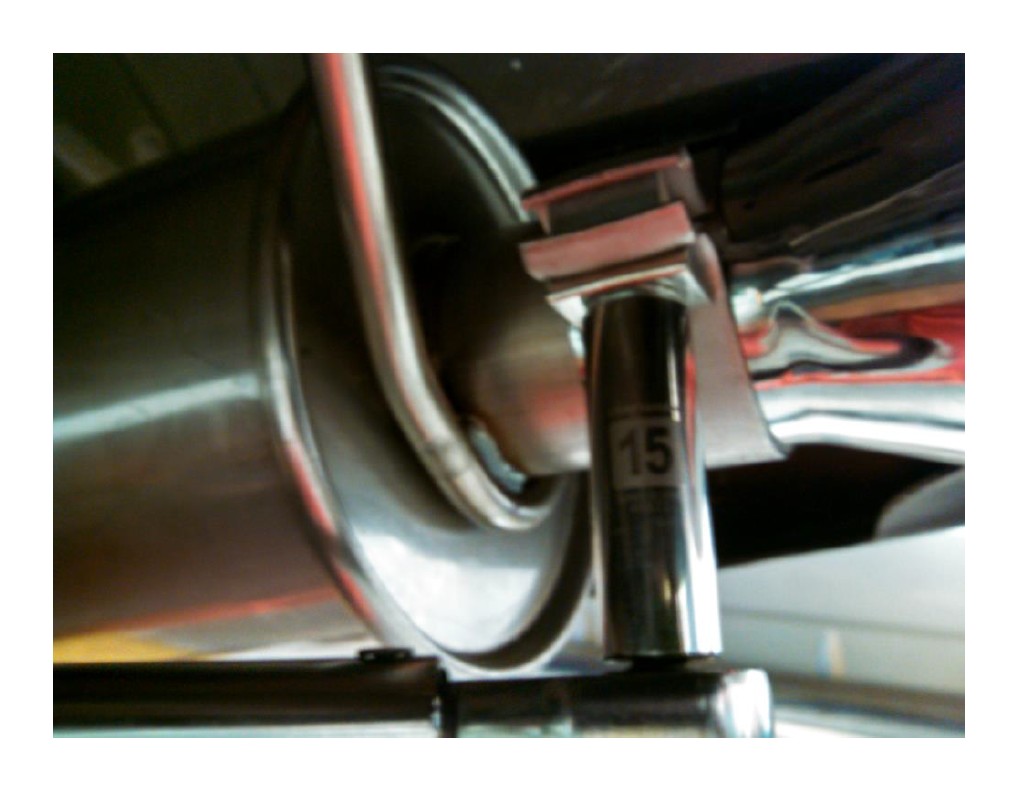
- 15mm deep well socket
- Ratchet
- Torque wrench (preferred but not required)
- Liquid soap (also optional, but may aid installation)

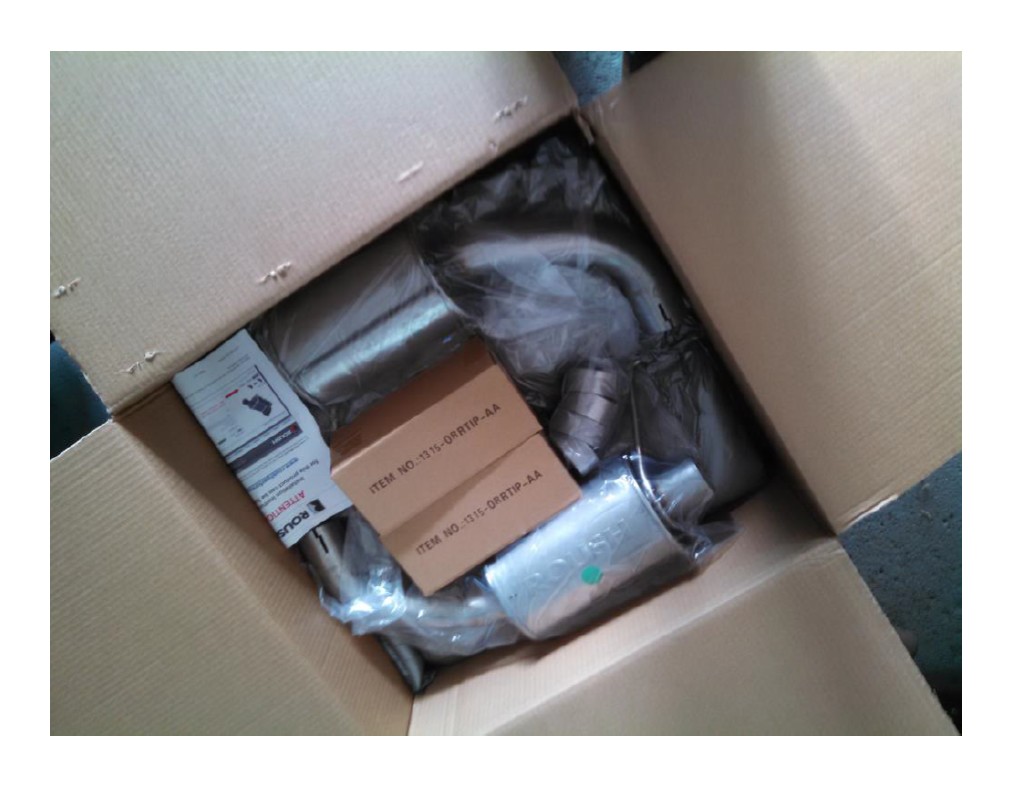
Shop Parts in this Guide
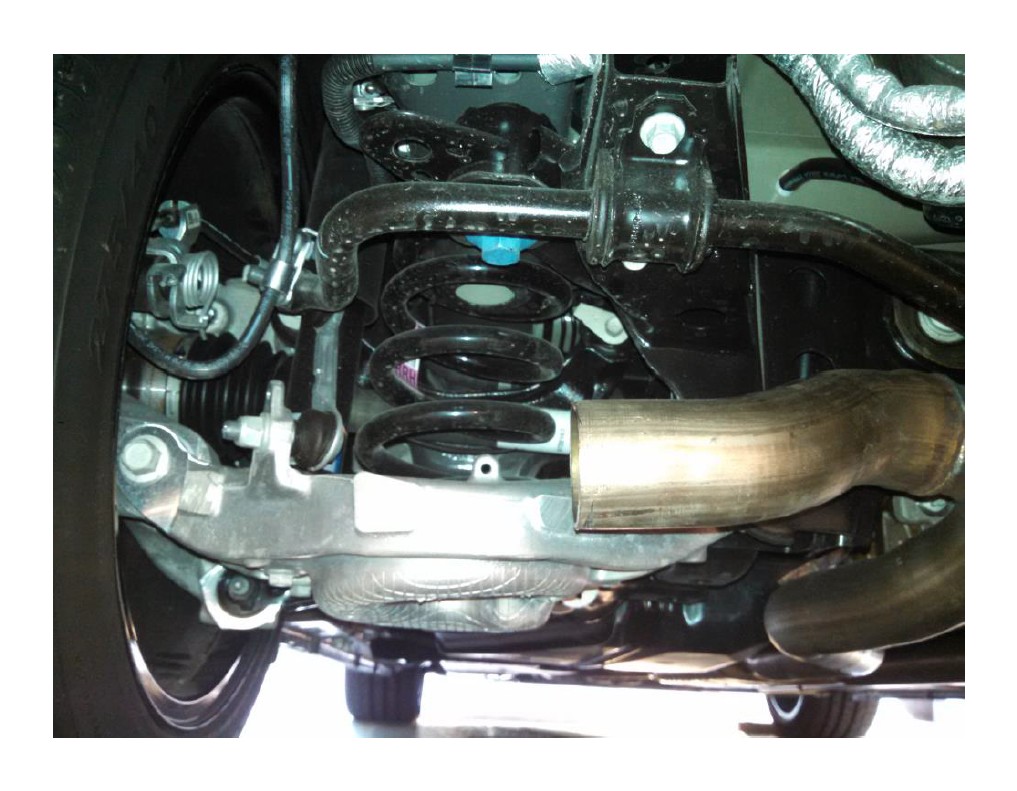
Step 1:
Raise the rear of your car using a lift, ramps, or jack and jack stands.
DANGER – If you are using a jack, ALWAYS use jack stands! NEVER rely on just the jack to hold a vehicle! Trusting your life to a hydraulic system with cheap o-rings is never a good idea. If you are using ramps, ALWAYS chock the front wheels, place the transmission in Park for automatics, Reverse for manuals, and set the parking brake!

Step 2:
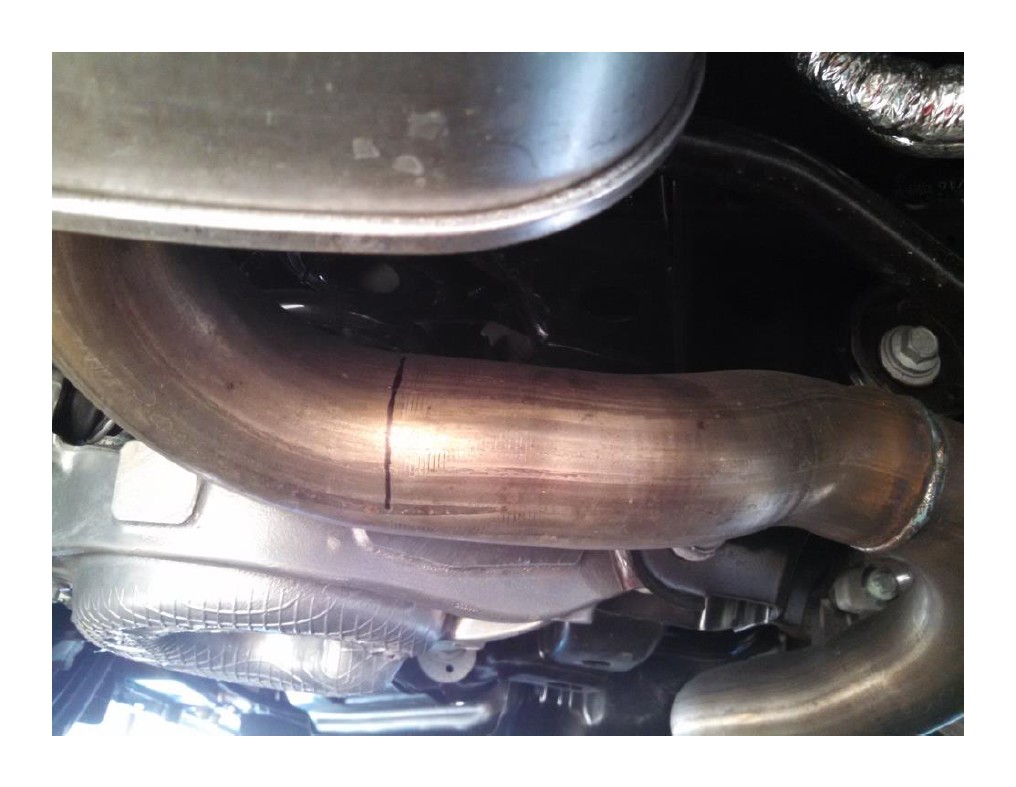
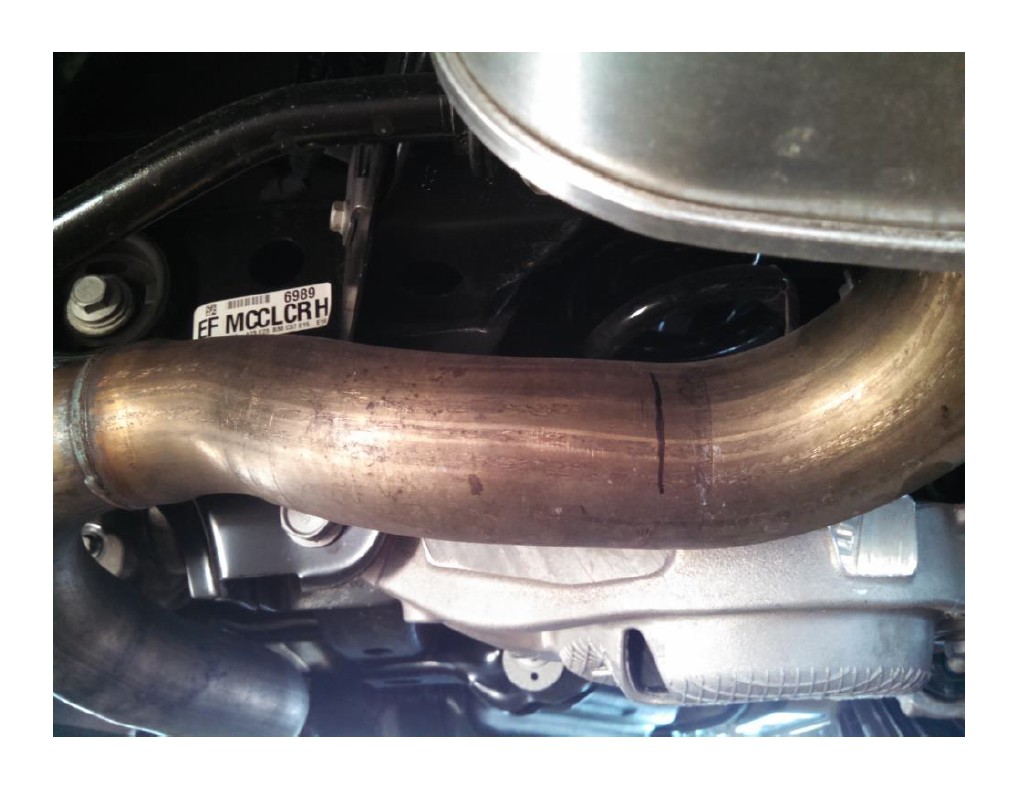
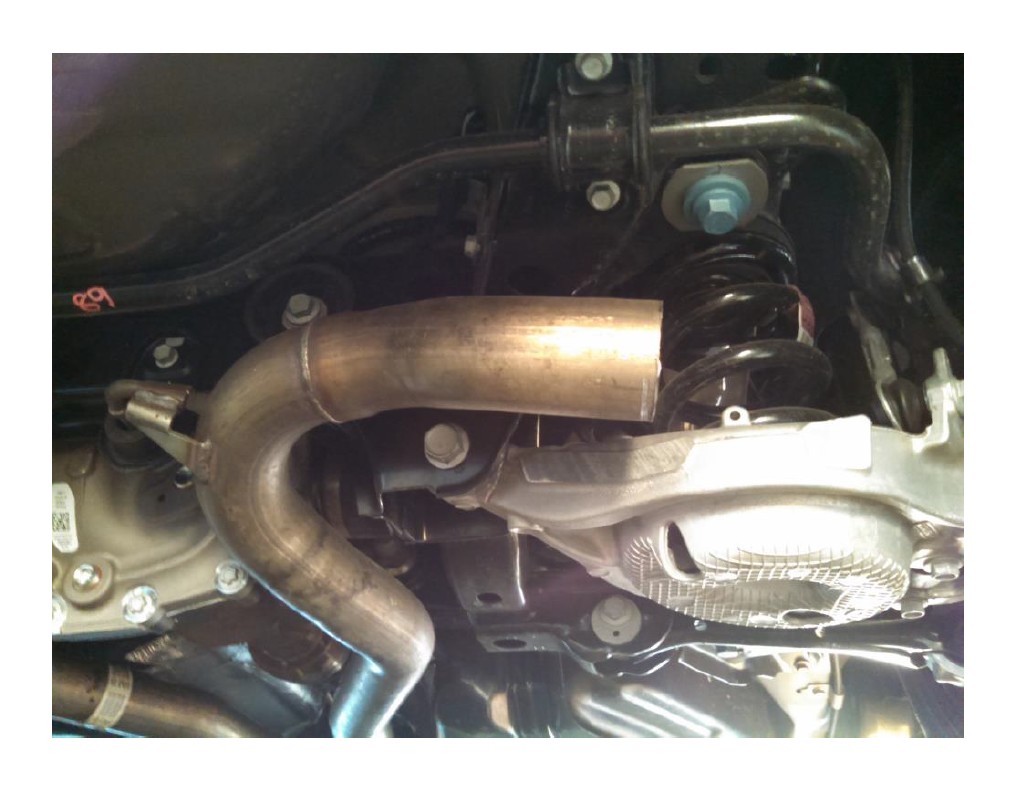
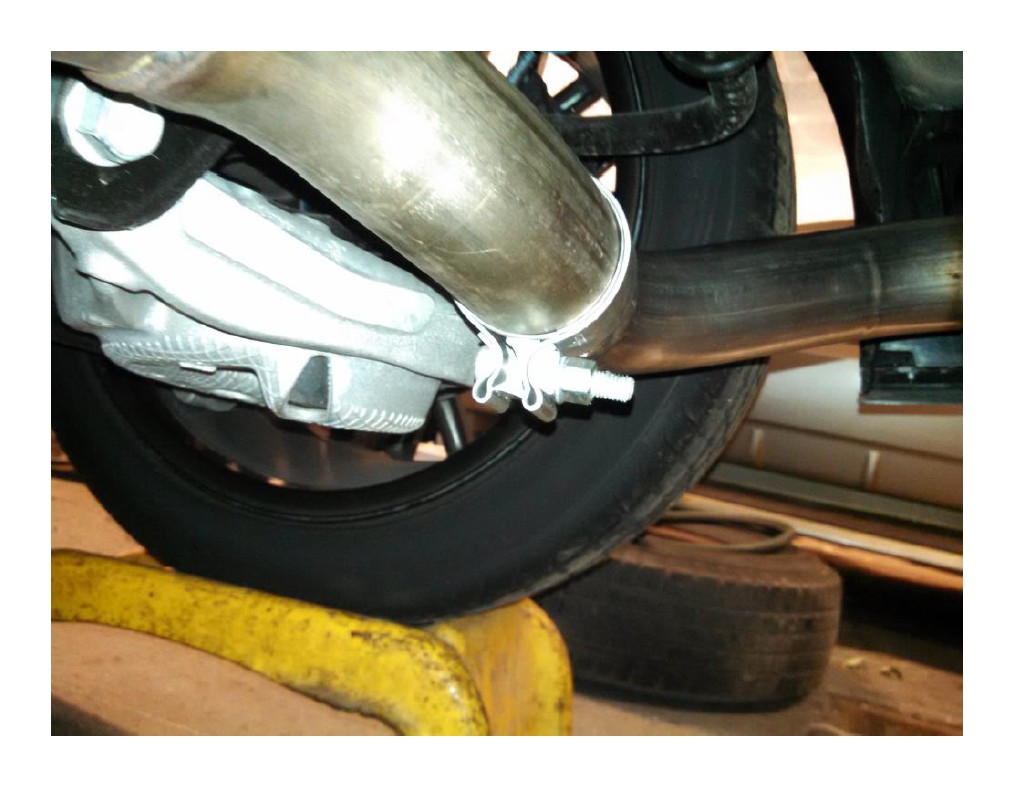
Mark the factory exhaust where you want to cut it. You'll want to make the cut right at the end of the transverse (left to right relative to the car) side of the bend. The swelled part of the new exhaust tubing is long enough to give some leeway, but try to get it as close as you can. Just make sure you don't leave any of the bend, as this will make sliding the new pipes on about impossible.
Step 3:
Cut tubing and remove factory mufflers. Optional: Putting some liquid soap on the end of the metal hanger will help it slide through the rubber bushing, making removal easier.
Caution: As with all cutting and power tools, wear proper PPE. Safety glasses at a minimum. Hearing protection is recommended as well. Also be mindful that as you finish your cut, the inlet side of the muffler and attached tubing will be unsupported, and will drop. Have a helper hold the muffler, or if a helper is not available, cut most of the way through the tubing, grab the muffler and twist it a little a few times to break off what's left of the tubing.

Step 4:
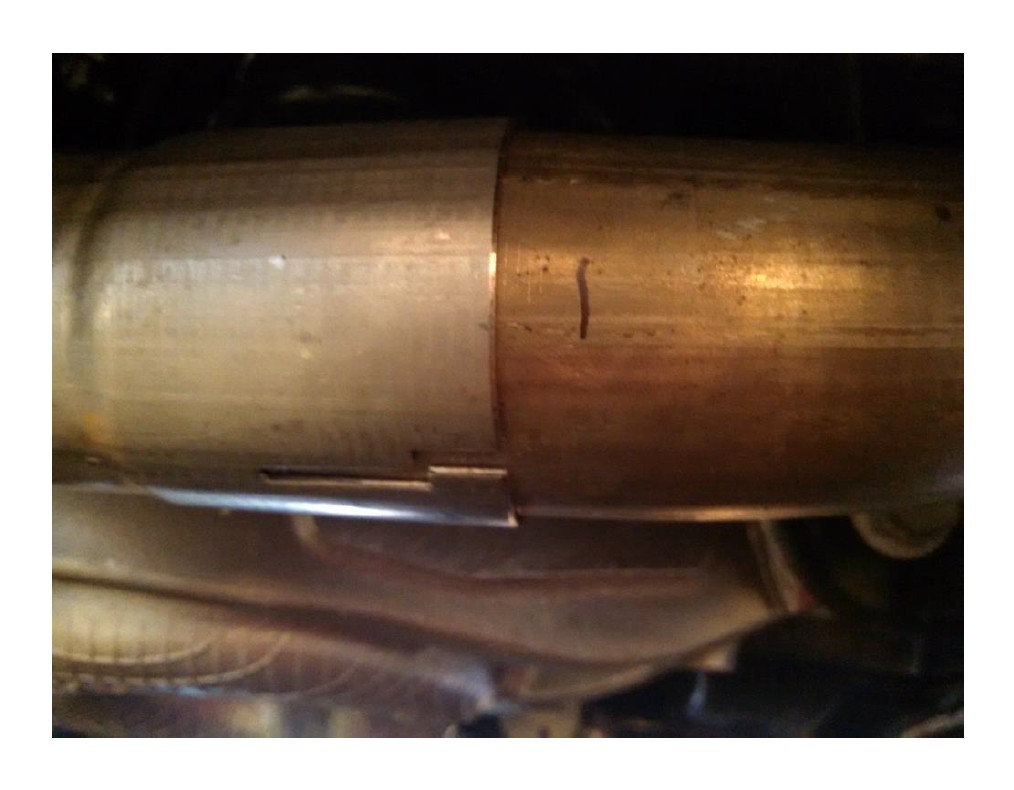
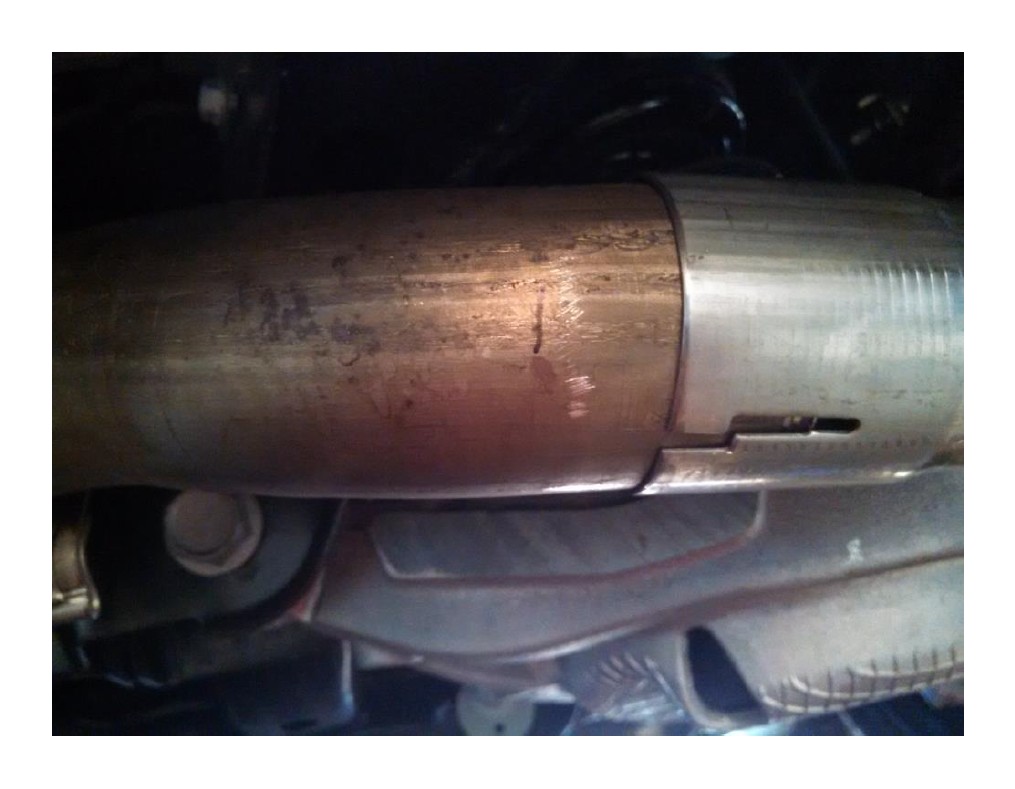
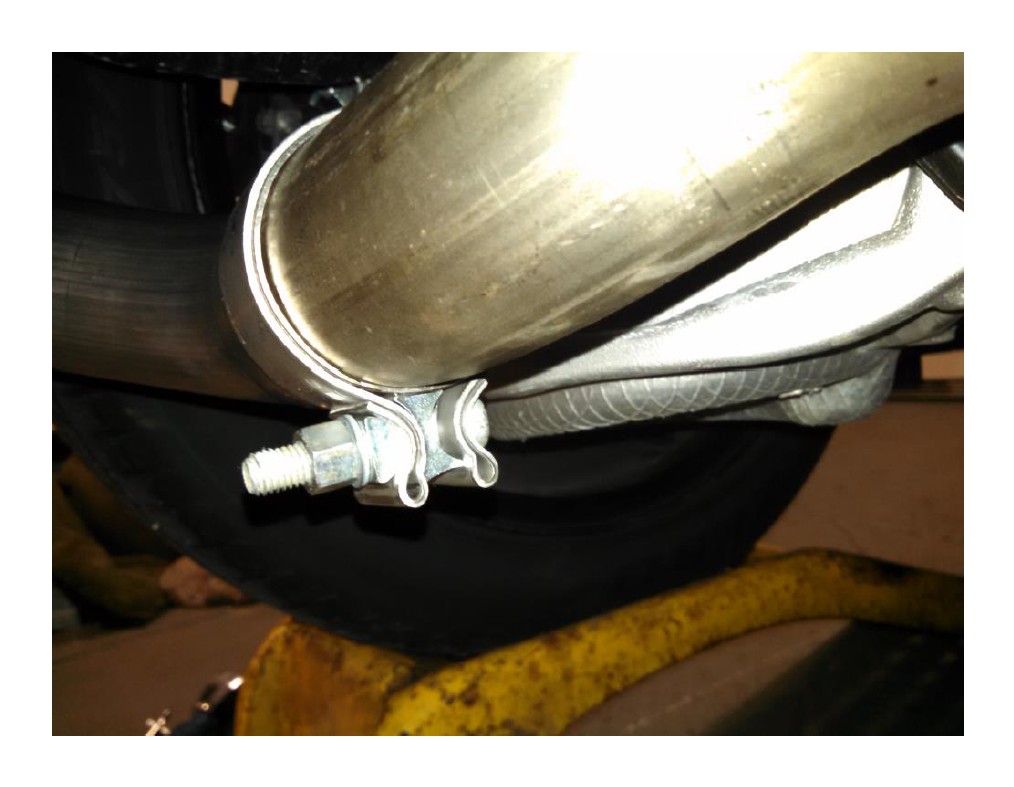
Slide the clamps over the stock tubing, and install new mufflers. Do not tighten the clamps all the way down yet, lightly snug is good for now. As with removal of the stock ones, some soap on the metal hanger will help it slide into the bushing. This is optional of course. Also optional, however a good idea, is to measure or hold the new pipe up to the pipe still on the car and make a mark so you know it is slid in far enough. Another optional but recommended step is to use a file to clean up the edges of the cuts. Depending on your skill and method of cutting, there may be burrs left on the factory tubing that can make sliding the new pipe on more difficult.
Step 5:
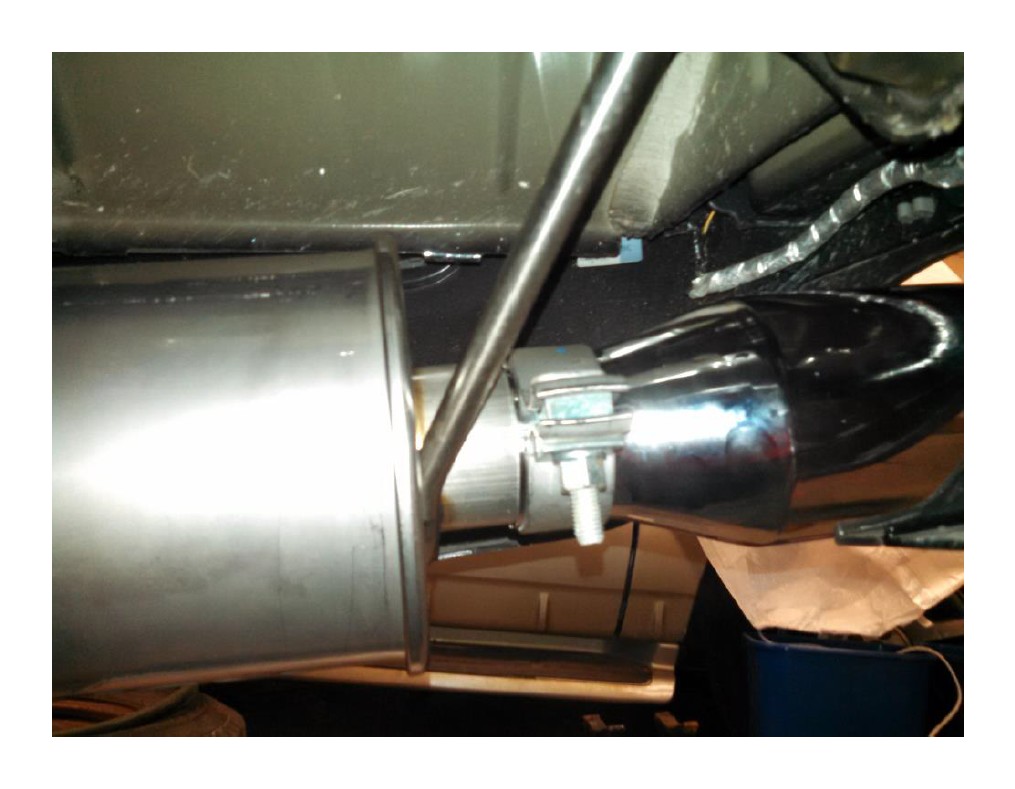
Slide exhaust tips on, align everything, and using your 15mm deep well socket, tighten clamps to 22 ft-lbs(30 Nm). Exact torque isn't exactly critical, but if you have the means to do it, it's a good idea. If adjustments are needed after final installation, simply loosen the clamps, reposition, and retorque the clamps.
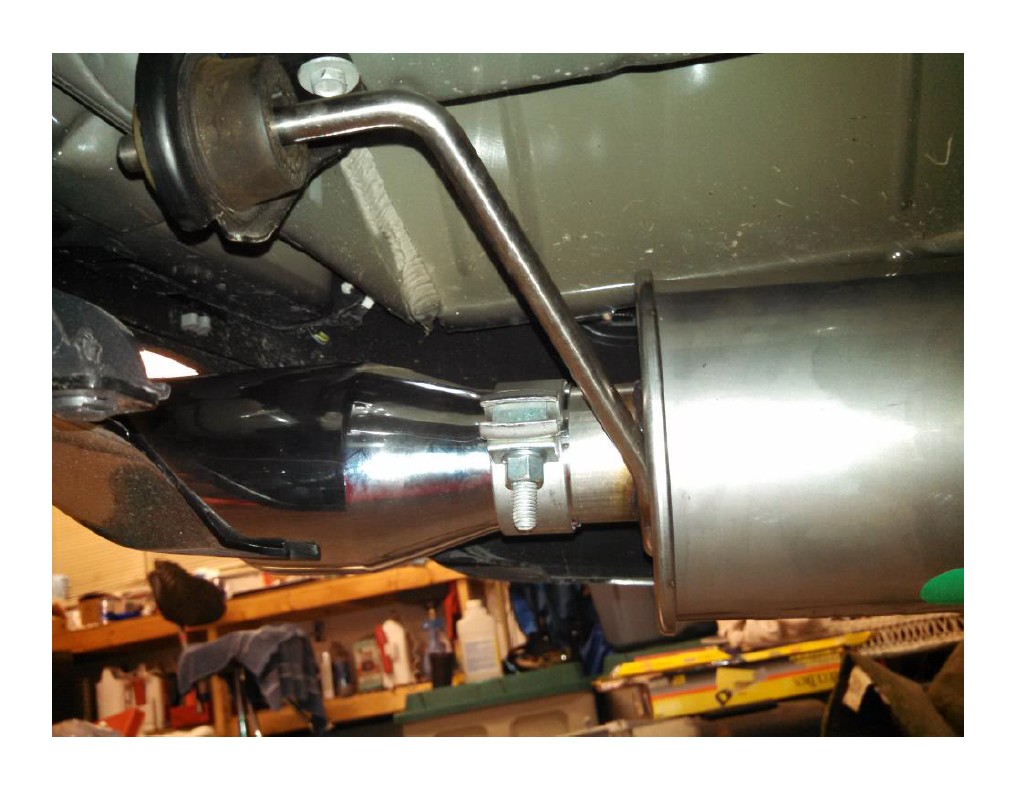
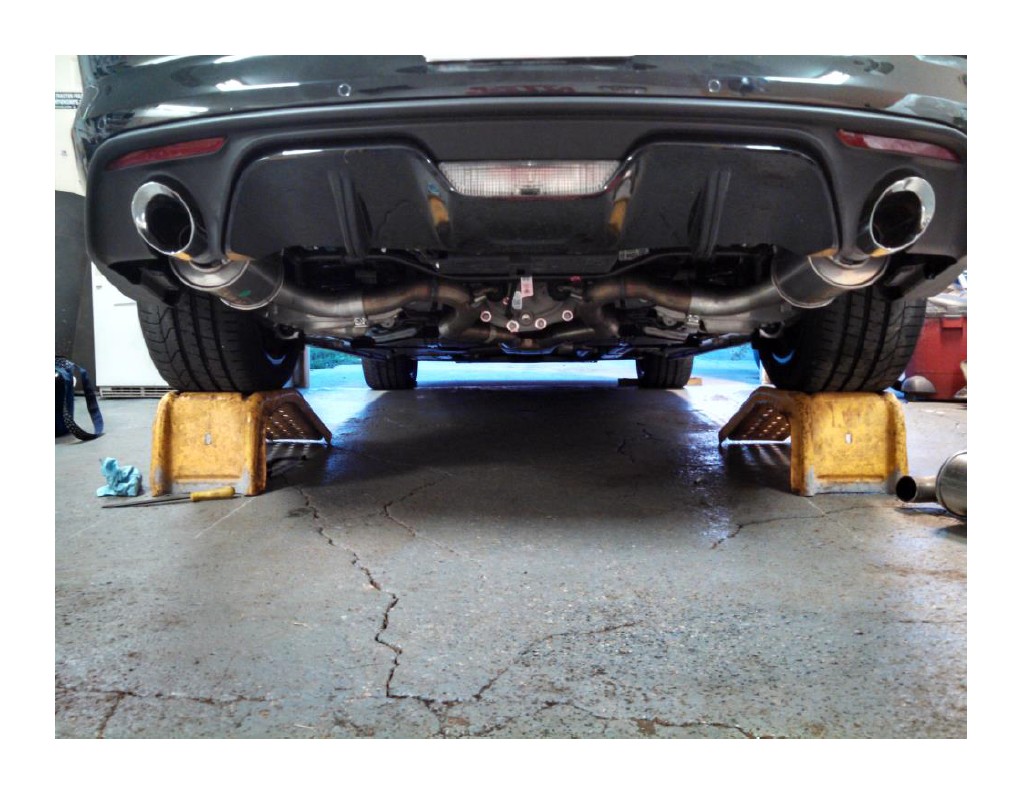
When it's all said and done, you should have something that looks like this, and sounds 100X better.