 FREE 1 to 3-Day Delivery on Orders $149+ Details
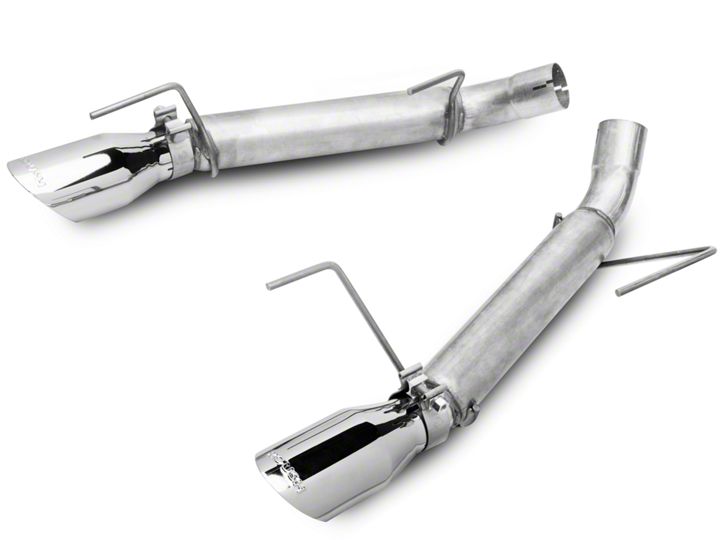
How to Install a Roush Extreme Axle-Back Exhaust your 2005-2009 GT Mustang
Installation Time
1 hours
Tools Required
- 3/8” Drive Ratchet
- 3/8” Drive Extension 3”
- 15mm Socket
- Spray Lubricant (Soapy Water / Glass Cleaner)
Shop Parts in this Guide
Installation Instructions
Before installing your ROUSH Axle Back Exhaust, please read through the entire installation procedure and check to make sure all items are present. Contact ROUSH Customer Service at 1-800-59-ROUSH, 9:00 AM to 5:00 PM weekdays, for any questions regarding fit or instructions that are unclear to you.
NOTE:
All illustrations in this manual are representative of the 2005 - 2010 Roush
Performance Products Axle Back Exhaust System.
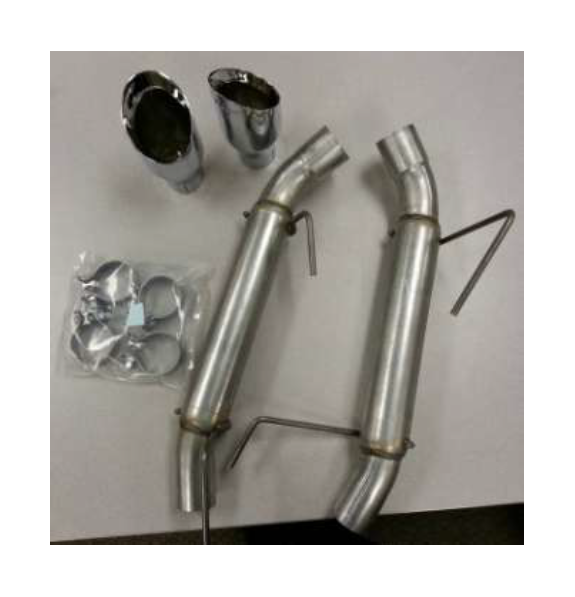
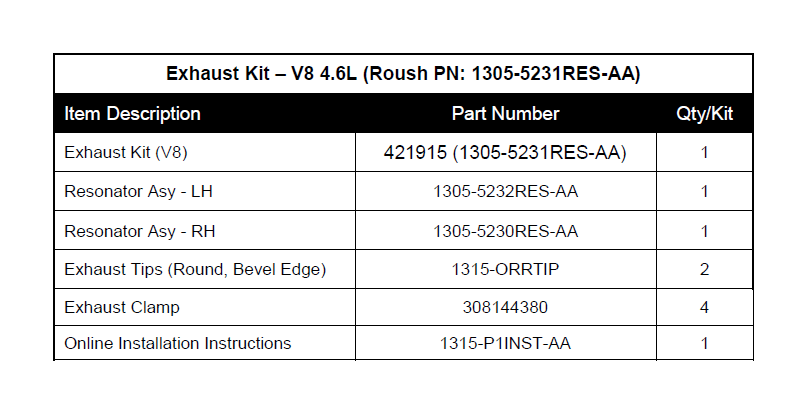
Packaging List for Exhaust Kits
LIMIT OF LIABILITY STATEMENT
The information contained in this publication was accurate and in effect at the time the publication was approved for printing and is subject to change without notice or liability. ROUSH Performance Products (RPP) reserves the right to revise the information presented herein or to discontinue the production of parts described at any time.
SAFETY REQUIREMENTS
STOP! READ IMPORTANT SAFETY CAUTIONS AND WARNINGS BEFORE PROCEEDING.
IMPORTANT SAFETY NOTICE
Appropriate disassembly, assembly methods and procedures are essential to ensure the personal safety of the individual performing the kit installation. Improper installation due to the failure to correctly follow these instructions could cause personal injury or death. Read each step of the installation manual carefully before starting the actual installation.
1. Always wear safety glasses for eye protection.
2. Place ignition switch in the OFF position.
3. Always apply the parking brake when working on a vehicle.
4. Block the front and rear tire surface to prevent unexpected vehicle movement.
5. If working without a lift, always consult vehicle manual for correct lifting specifications.
6. Operate the engine only in well-ventilated areas to avoid exposure to carbon monoxide.
7. Do not smoke or use flammable items near or around the fuel system.
8. Use chemicals and cleaners in well-ventilated areas.
9. Batteries produce explosive gases, which can cause personal injury. Therefore, do not allow flames, sparks or flammable substances to come near the battery.
10. Keeps hands and any other objects away from the radiator fan blades.
11. Keep yourself and your clothing away from moving parts when the engine is running.
12. Do not wear loose clothing or jewelry that can get caught in rotating parts or scratch surface finishes.
13. Allow the engine, cooling system, brakes and exhaust to cool before working on a vehicle.
WORK SAFELY!
Perform this installation on a good clean level surface for maximum safety and with the engine turned off.
Original Exhaust System Removal
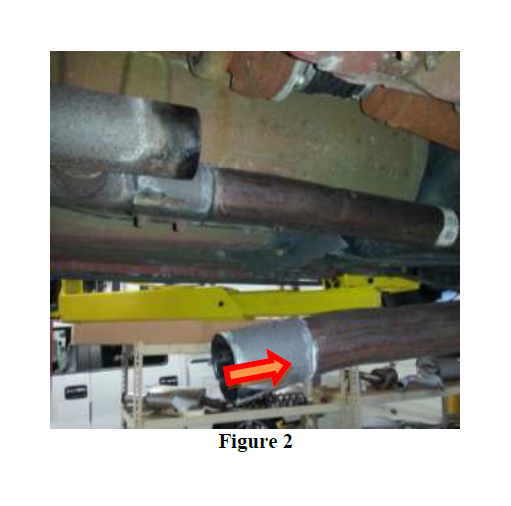
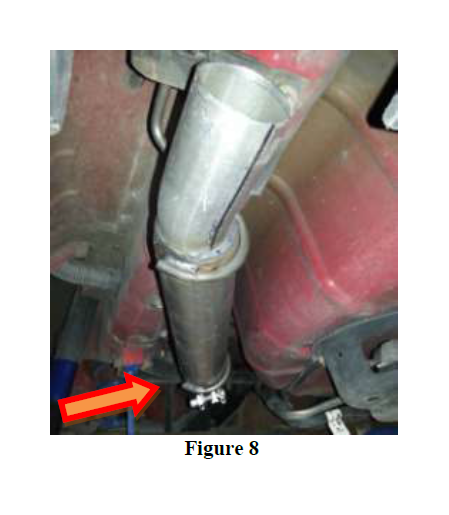
1. Using a 15mm socket and ratchet, loosen the clamps holding the over axle pipes in place. There are two clamps at the front just after the mid pipe and two clamps just over the rear axle (one on each side).
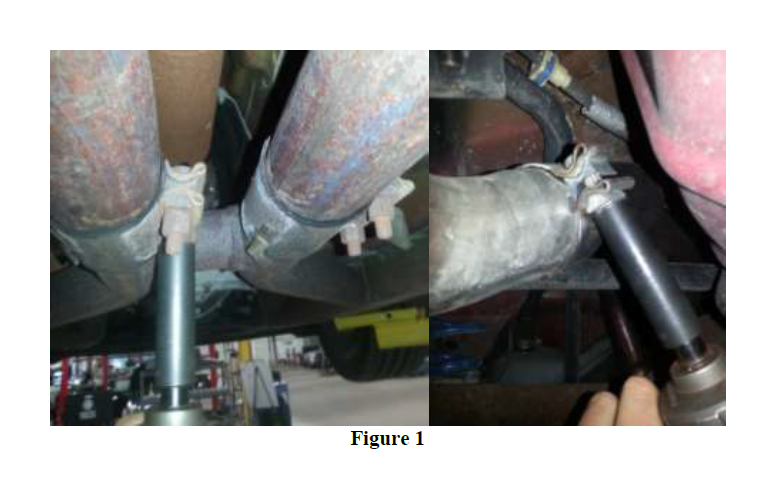
2. Slide the clamps on the front of the over axle pipe rearward to allow the over axle pipes to be removed. Separate the over axle pipes from the axle back pipes one side at a time. Pull them forward over the rear axle and remove them from the vehicle.
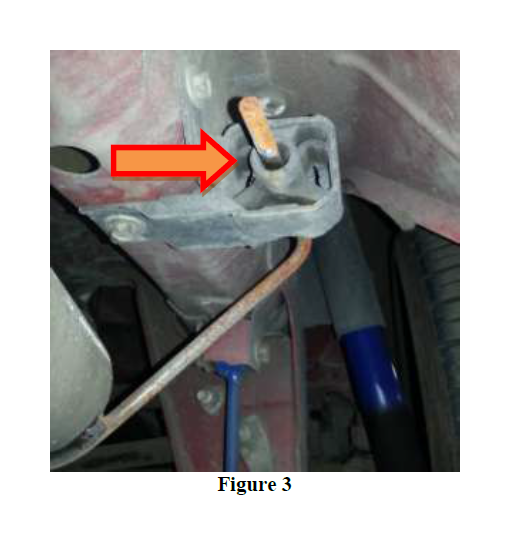
3. With the over axle pipes removed, spray the exhaust hangers with window cleaner or a soapy water mix. This will help with the removal of the axle back pipes. Slide the muffler towards the front of the car to remove them from the vehicle.
Please note that the disassembly process is identical for the left and right sides of the OEM exhaust. This concludes the disassembly process for the OEM exhaust.
Warning: Use extreme caution during installation. Torque all fasteners according to manufacturer’s torque values and tightening sequence. DO NOT use air impact tools to tighten fasteners on ROUSH Performance Products Exhaust Systems. Use of such tools may result in bent flanges or gasket contact areas leading to exhaust leaks.
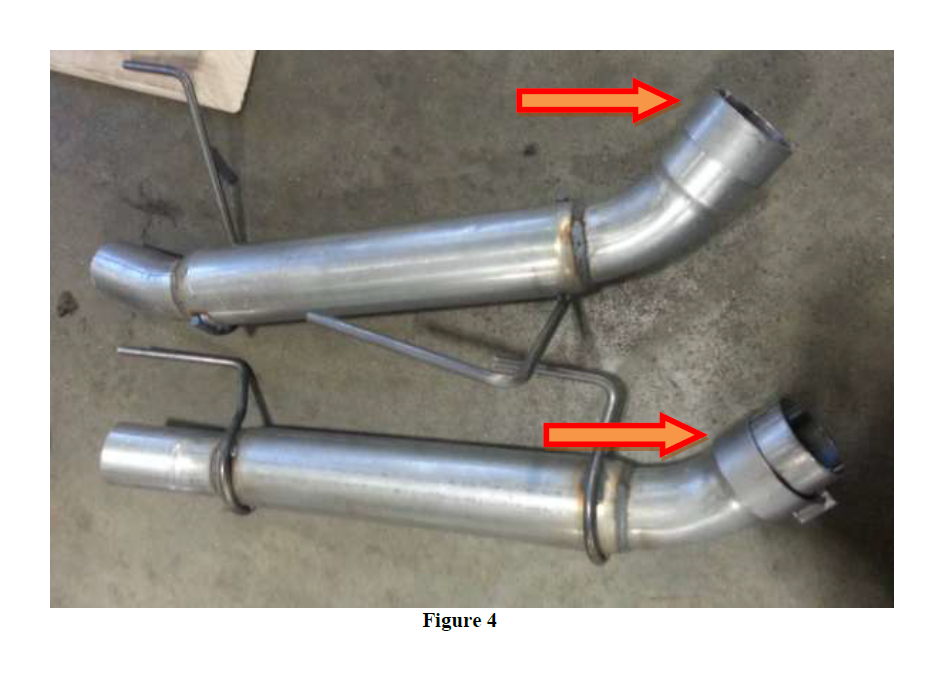
1. Remove any protective shipping covering from the RH & LH portions of the Roush axle back exhaust system.
2. Slide the provided exhaust clamps over the flared ends on the Roush axle back exhaust system.
3. Slide the LH and RH Roush axle back exhaust hangers into the mounts that are
located behind the axle.
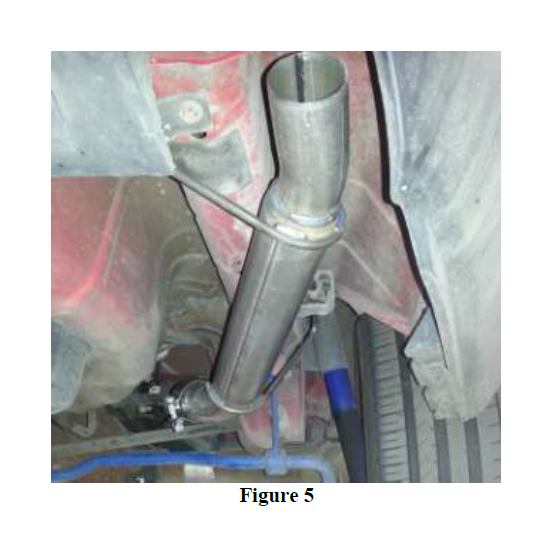
4. Re-position the LH and RH sides of the OEM over axle portion of the exhaust system by first inserting the rear into the Roush axle back exhaust.

5. Push the over axle pipes forward; slide the OEM exhaust clamps so that they are centered over the joint. Torque the clamps to 23 ft-lbs

6. Ensure that the Roush axle back exhaust is fully seated with the OEM over axle portion of the exhaust. Torque the exhaust clamps between the OEM over axle portion of the exhaust and the Roush axle back assemblies to 23 ft-lbs.
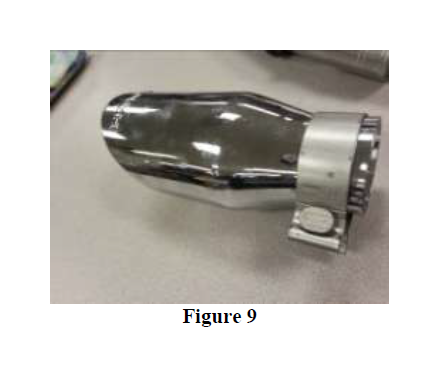
7. Slide the exhaust clamps over the Roush exhaust tips, then slide the tips over the axle back exhaust system. Tighten down the exhaust clamp to 23 ft-lbs.
8. Check your exhaust system for proper clearance under the vehicle and also for tip alignment. If alignment is off, loosen the required band clamp, adjust, and retorque the band clamp.
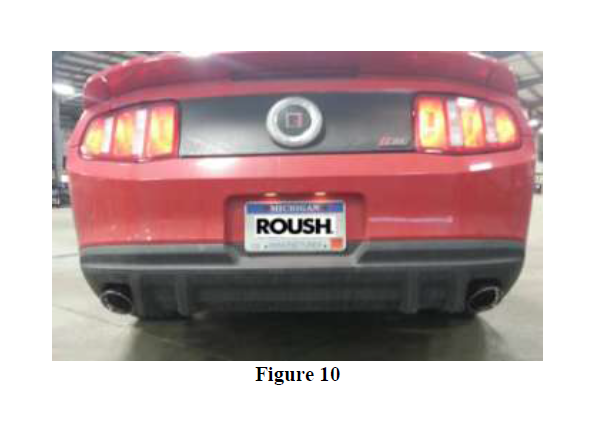
9. Once the desired position and alignment has been achieved, ensure all band clamps are torqued to 23 ft-lbs.
10. Before starting your vehicle, make sure to check all wires, hoses, brake lines, body parts, tires, and any other components for safe clearance from the exhaust system.
11. Start vehicle and check for any leaks. If any leaks are found, determine cause (such as loose or incorrectly positioned clamp) and repair as necessary.
Congratulations!!! You have completed the installation of the ROUSH Performance Products, Ford Mustang Exhaust Kit. It is recommended that you save all parts removed from your vehicle during the installation of this kit.

