 FREE 1 to 3-Day Delivery on Orders $149+ Details
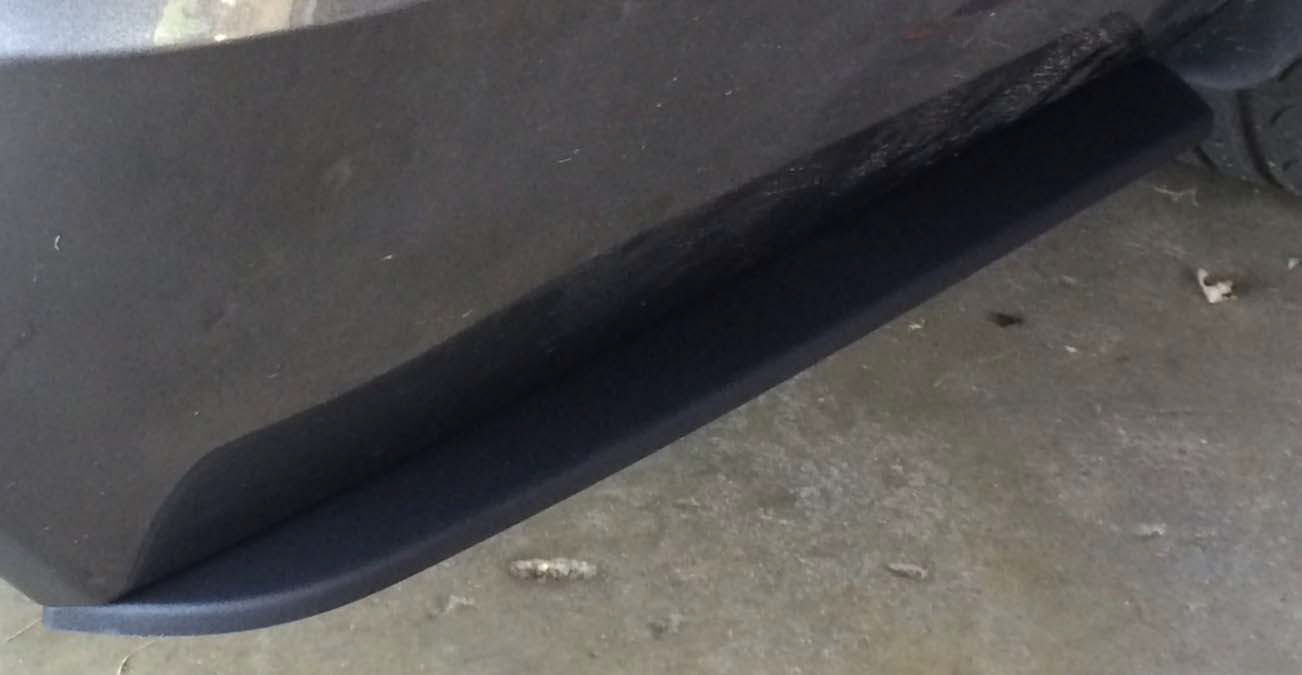
How To Install Roush Rear Side Splitters (13-14 All)
Installation Time
1 hours
Tools Required
- Roush Rear Side Splitters (13-14 All) Item #69128
- 7mm Socket
- 1/4" Drill Bit
- Electric Drill
- Rubbing Alcohol
- Straightedge
- Scissors
- Scotch Tape

Shop Parts in this Guide
Parts Needed
*Roush Rear Side Splitters (13-14 All) Item #69128
*7mm socket
*1/4” drill bit
*Electric Drill
*Rubbing Alcohol
*Straight Edge
*Scissors
*Scotch Tape
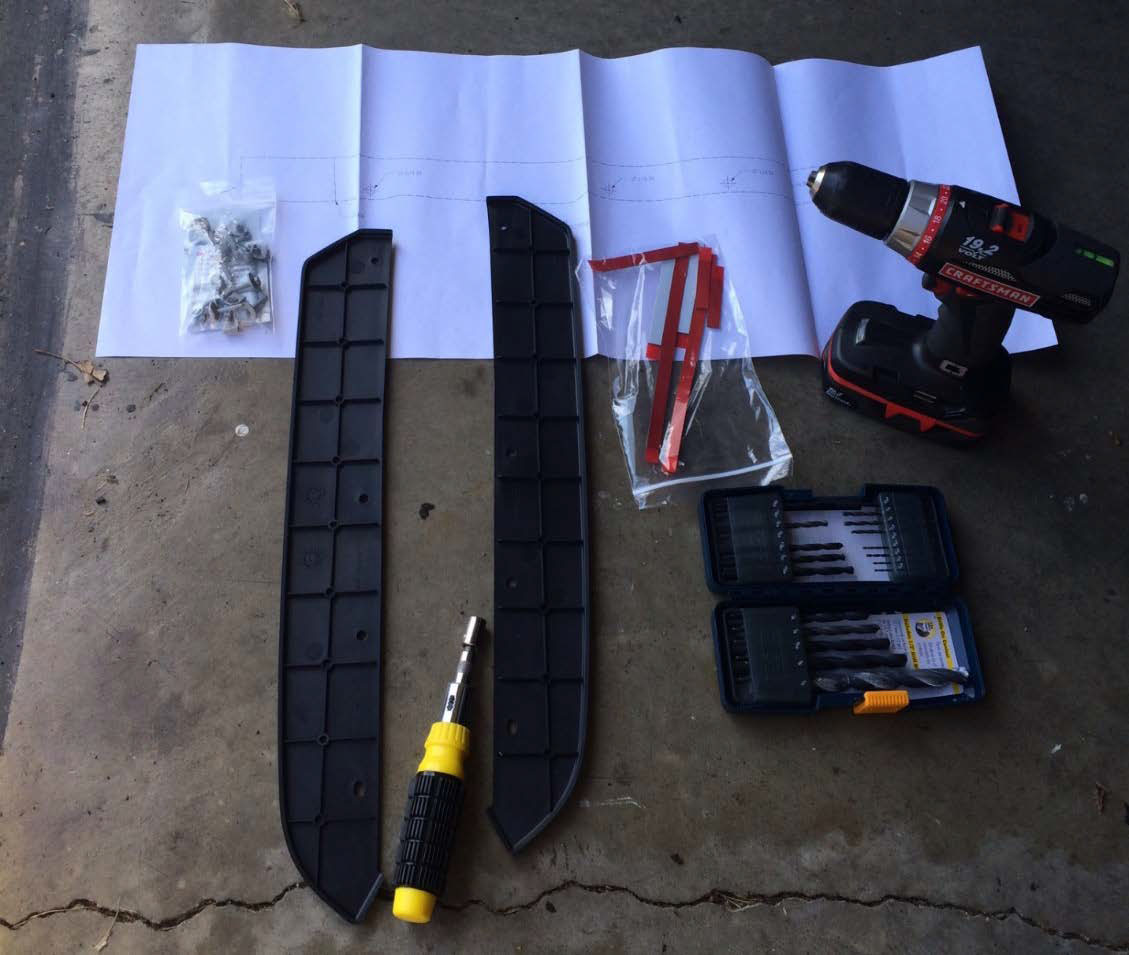
Kit Includes
-2 Splitters
-8 pieces of adhesive tape
-8 bolts
-8 J clips
–Adhesion Promoter
-Drilling Template
Step 1: Cut out the template provided on the dotted lines – do not cut along the line that says “Fold.” Punch the hole on the right hand side.

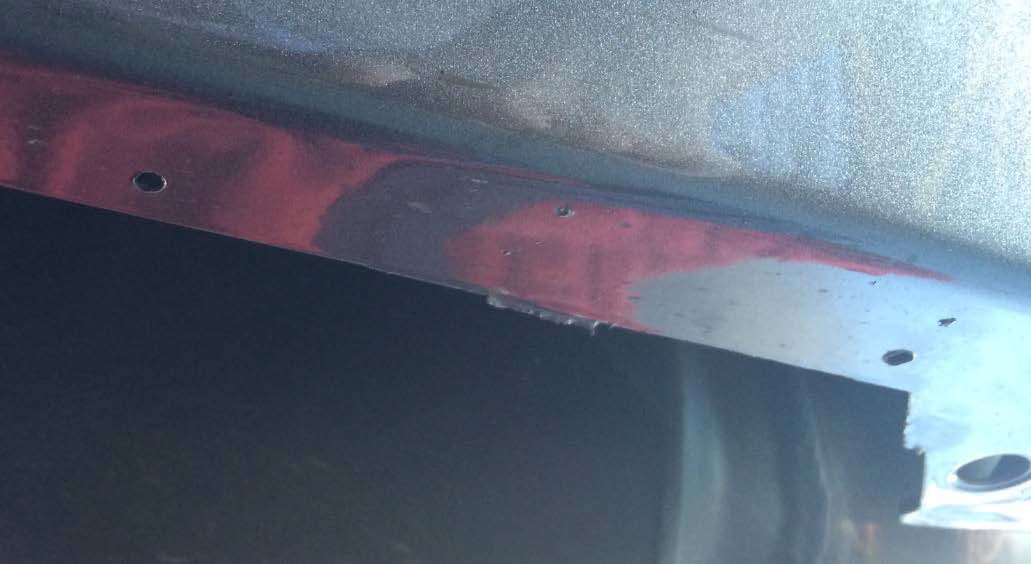
Step 2: Clean the underside of the bumper on both sides. This is where the splitters will attach to the bumper.
Step 3: Starting on the driver’s side, tape the template along the bottom side of the bumper. Line up the hole punched in step one first and follow along the edge of the bumper back towards the wheel.
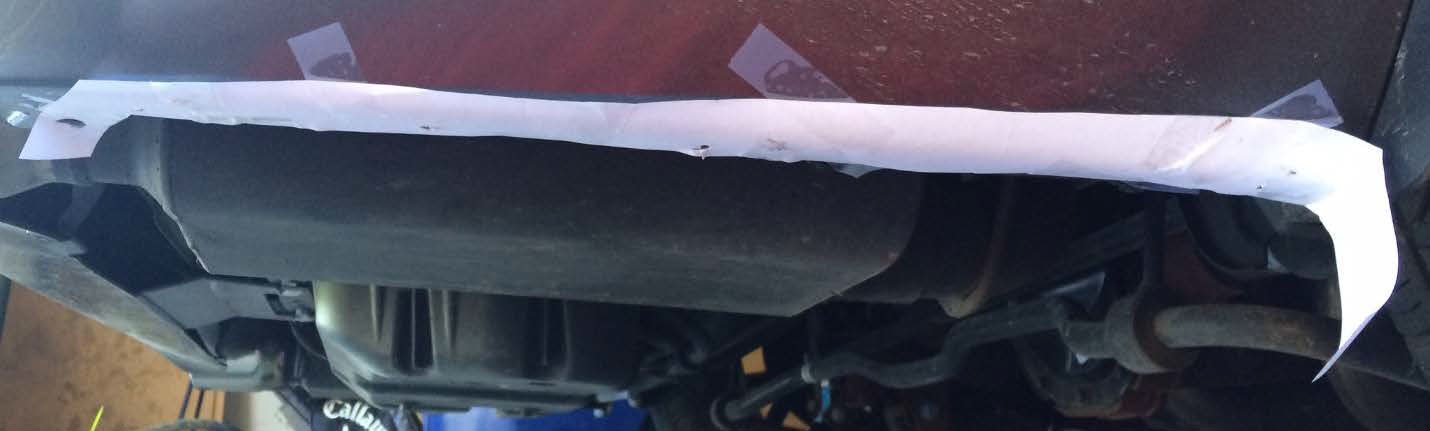
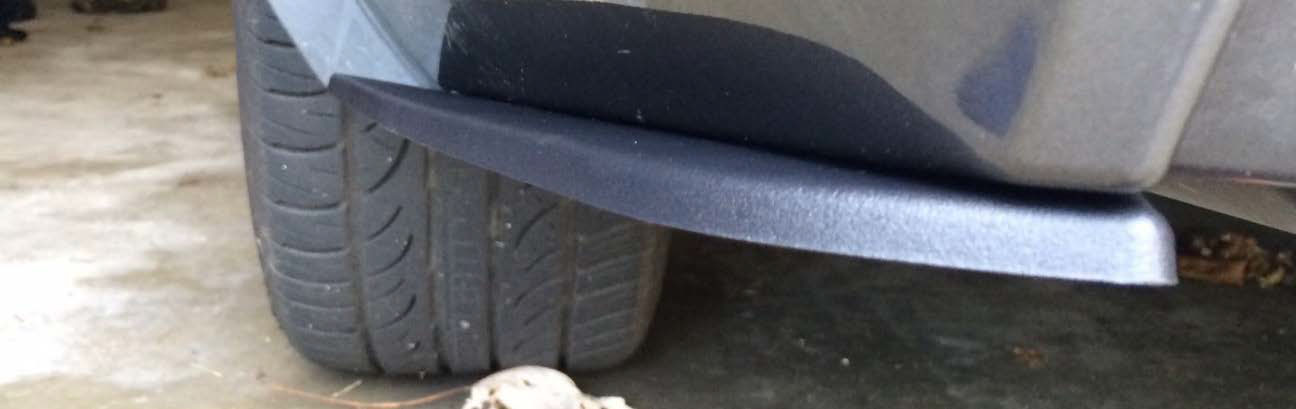
Step 4: Take the driver’s side splitter (labeled LH on the bottom) and check to see if all holes are aligned. Also check for fitment of the splitter along the bumper. If anything is out of align, reposition the template.

Step 5: Using the 1/8” drill bit, drill through the paper template where marked in the 4 spots.
Step 6: Carefully remove the template. Move to the passenger side and reposition the template upside down. Repeat Steps 3-5 for the passenger side.
Step 7: Clean the top of the splitters with alcohol. This will allow the tape to attach.

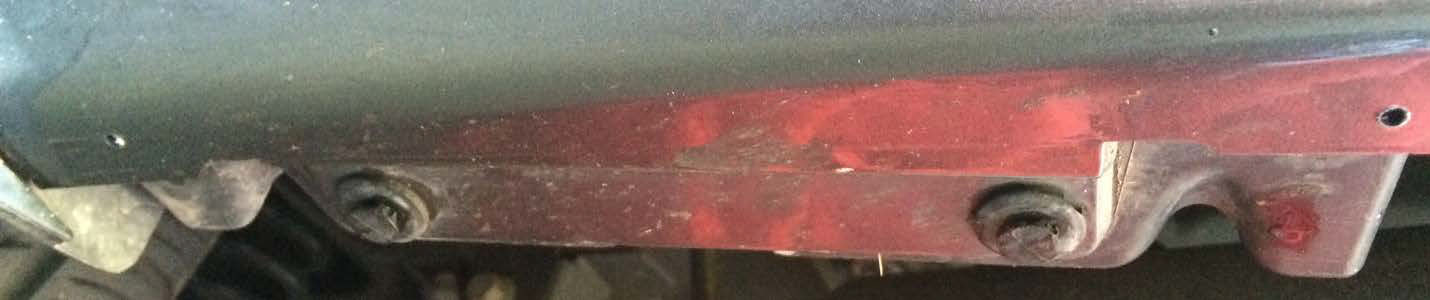
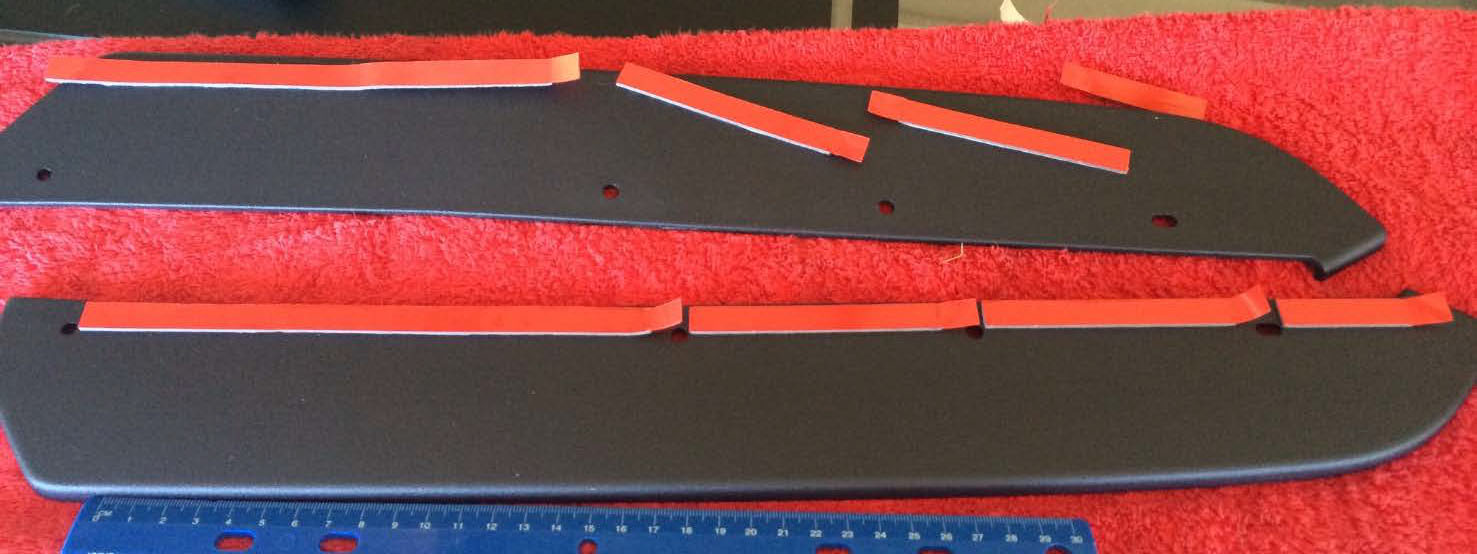
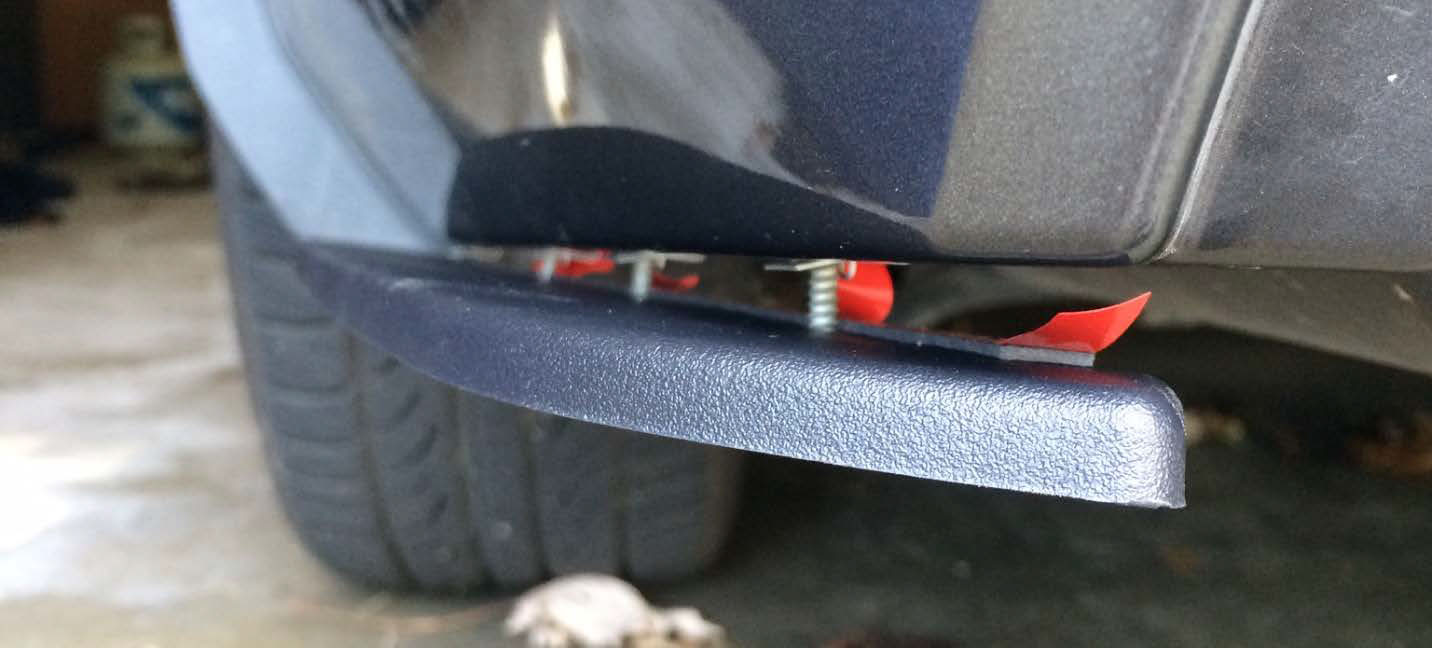
Step 8: Using the straight edge, connect the middle of the holes on the splitter. Apply the adhesion promoter supplied, and do not allow to extend past the holes or else it will be visible after installation. Adhesion promoter is applied where the red tape is shown below.
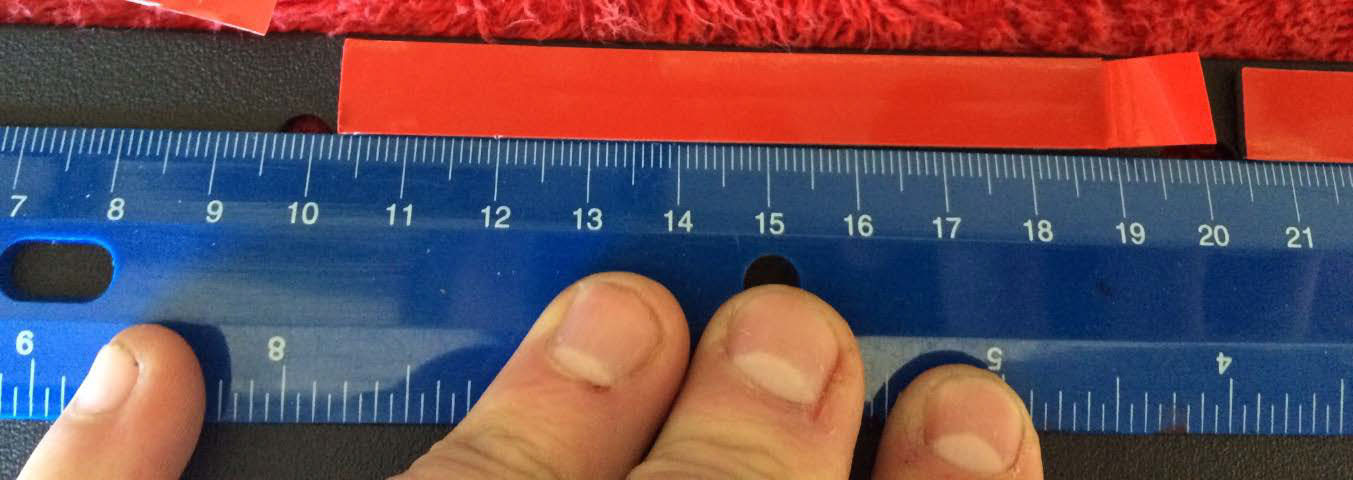
Step 9: Position the supplied tape between the holes on the top of the splitters. There are 2 large, 4 medium and 2 small pieces of tape. Peel the white side off the tape and apply to the top of the splitters.
Step 10: Clean the bottom of the bumper (where the holes are drilled) with alcohol and remove any burrs from where the holes are drilled.
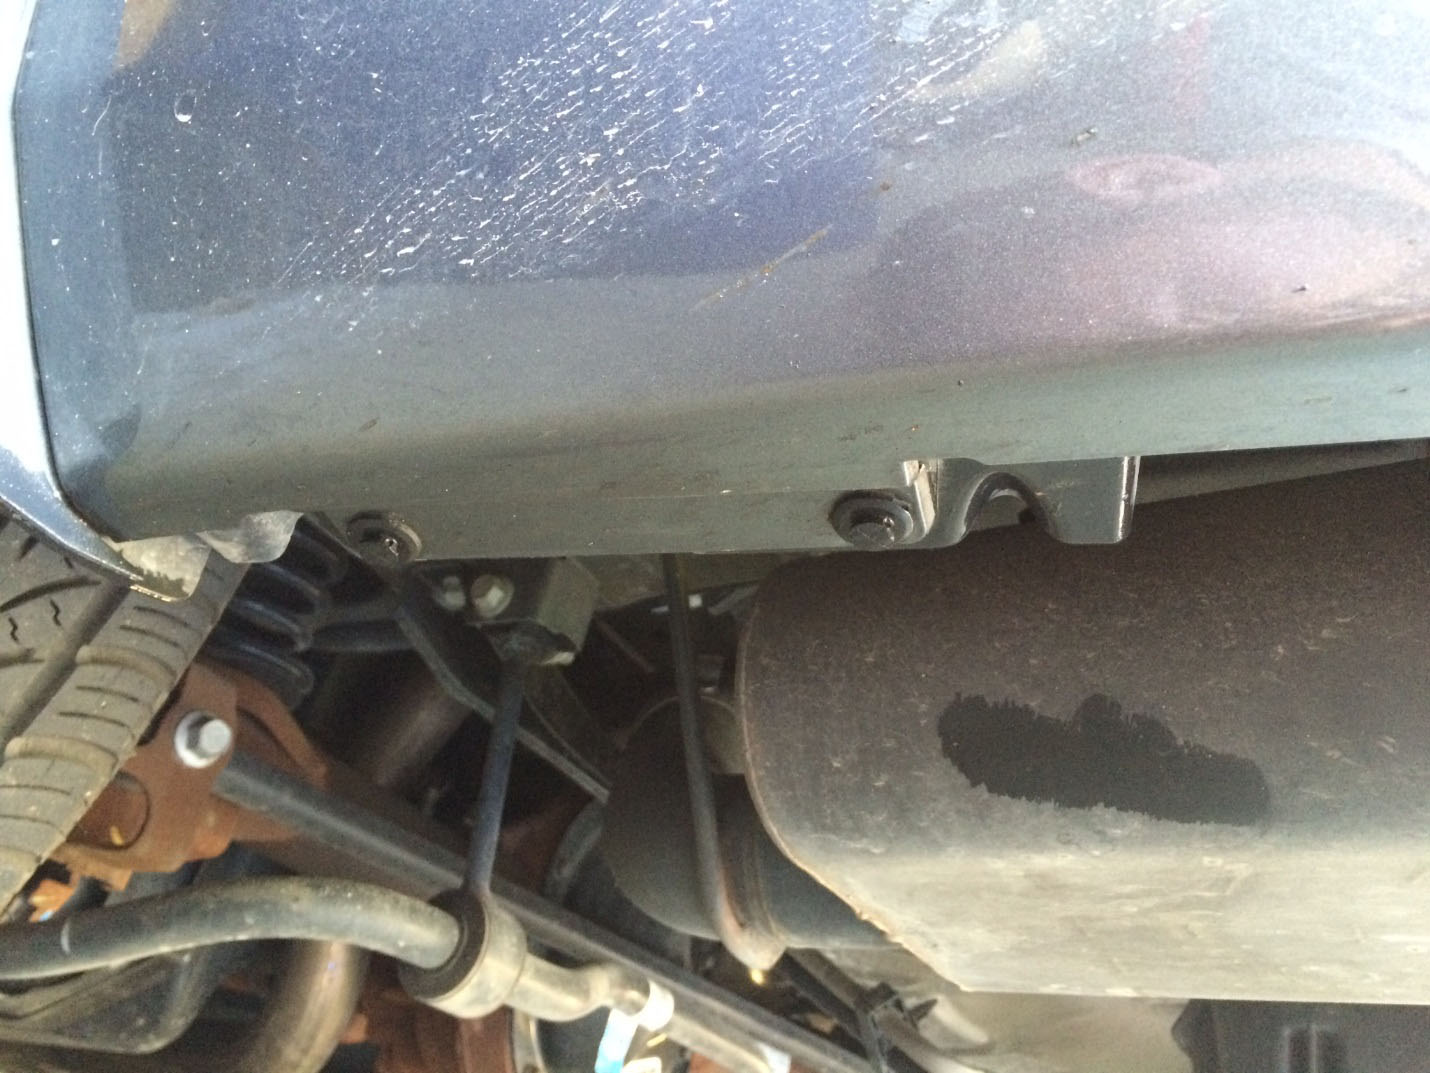
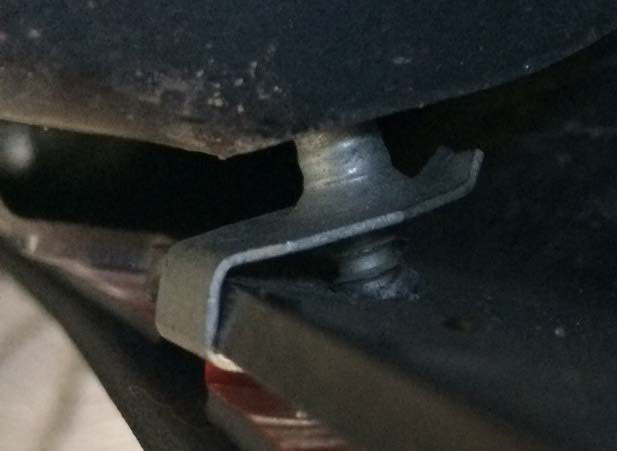
Step 11: Install the 8 supplied J clips where the holes were drilled. The flat part of the clip should face downward.
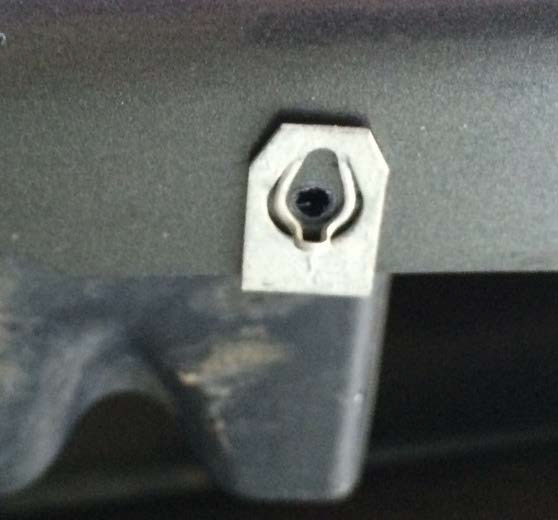
Step 12: Take the splitter labeled LH and loosely attach the screws to the driver’s side J clips. Take the splitter labeled RH and loosely attach to the passenger’s side. Do not attach all the way, as this will allow you to check fitment before finalizing installation.
Step 13: If any clips are out of place or crooked, reattach or redrill holes as necessary.
Step 14: Remove the red off the tape and tighten bolts all the way down.
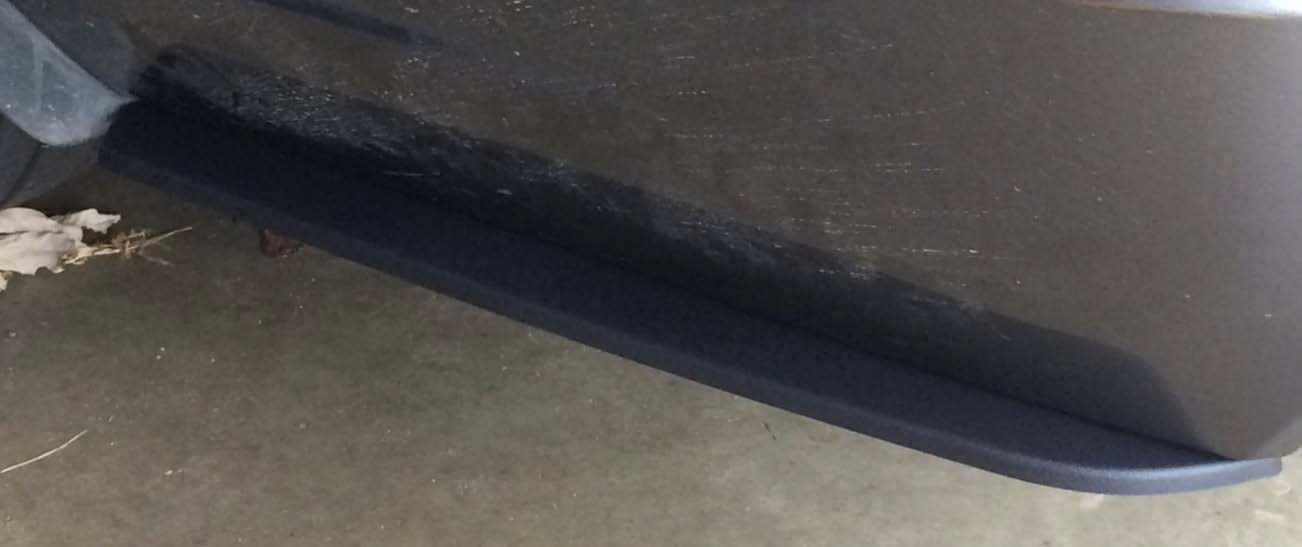
Step 15: Enjoy!
Installation Instructions written by AmericanMuscle Customer Mike Marcantonio 10.11.2014
