FREE 1 to 3-Day Delivery on Orders $149+ Details
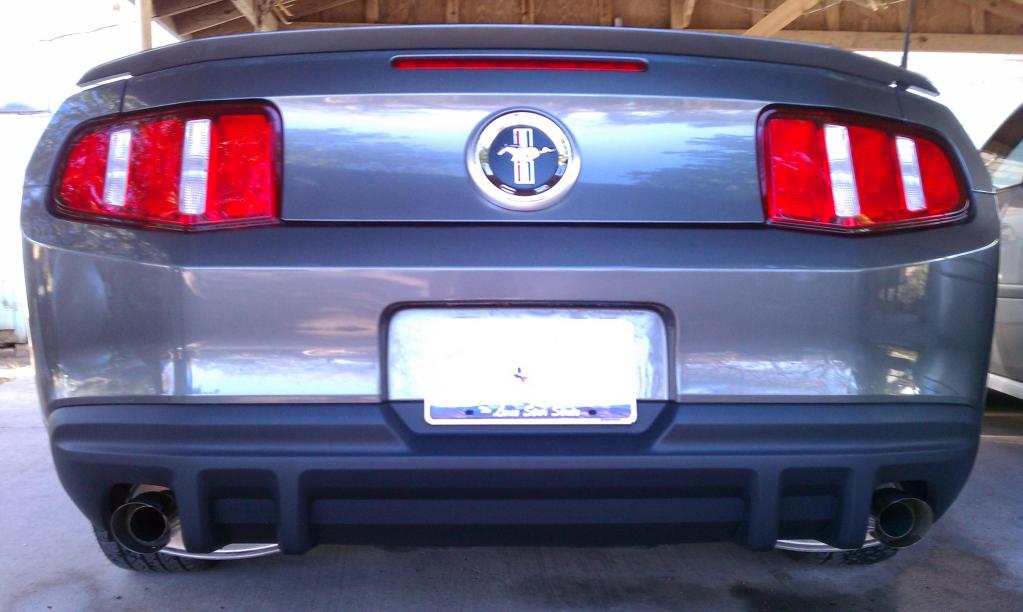
How to Install a Roush Rear Valance for a 2010-2012 Mustang
Installation Time
2 hours
Tools Required
- Push Pin Tool
- Phillips Screw Driver/Ratchet bit
- Flat Head Screwdriver
- Ratchet (We used an air ratchet)
- 11 millimeter socket
- Any hip level padded table/stand to rest bumper upon
- Needle-nose pliers
Installation
Removing the OEM Fascia Assembly
1. Open the trunk and move the carpet forward
2. Take out 4 retainers from the panel. Unscrew top two fasteners and use the push pin tool for both the bottom fasteners. Lift the panel from the net hooks straight upwards.
3. Unhook wiring from the trunk light, take out panel.
4. Disconnect wiring for license plate /side lights
5. Remove wiring harness retainer with push pin.
6. Remove license plate.
7. Using the phillips screw driver/air ratchet with phillips bit, remove the three screws from each wheel well
8. Disconnect both tail lights
9. Move trunk carpet forward to unveil the tail light fasteners
10. Using the eleven millimeter socket and ratchet, take out the six nuts (three on each side).
11. Push wiring harness through the hole, remove tail light assemblies.
12. Using a flat head screwdriver, take out the four push pins from either side of the valence mounting brackets. Dig head under the top button, and lift until barbs are exposed. Then remove completely (needle nose pliers optional).
13. Using the push pin, remove the two w-clip fasteners at the valence attachment flange. These may break upon removal, but Roush has included two extra w-clip fasteners with the valence.
14. Now remove the valence, use help if necessary.
15. Pull the sides out of the wheels wells and pop open the slide retainers.
16. To remove the left and right upper corners, lift the sides up and to the back off the hooks.
17. Pull facia back to unhook the six retainers. Four in the middle and two at each corner bracket.
18. Once OEM fascia and valance is removed, place them onto your padded table/stand to avoid possible exterior blemishes and/or scratches.
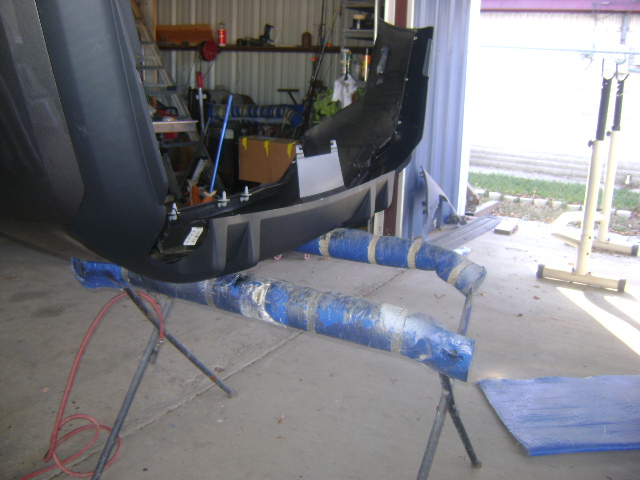
Separate the lower valence from the upper fascia, as demonstrated in the steps below.
20. Using the push pin tool, remove the six wire harness retainers that are attached to the lower valance.
21. Using the phillips screwdriver, take out the four screws that attach the valance to the fascia sides.
22. Using the push pin tool, take out the eight push pins that attach the valance to the fascia sides. Refer to step 12 for the two part push pin removal instructions.
23. Remove the 12 retainer tabs and separate the lower valence from the rear fascia.
Installing the Roush Lower Valance to the OEM fascia
24. Using a small screw driver, take out and place the four spring nuts from the OEM lower valance to the Roush valance.
25. Place the Roush valance onto the OEM rear fascia. Snap the twelve tabs on the right side onto the lower valance into the slots in the fascia. Double check to make sure they are seated correctly. Some slight persuasion may be needed.
26. Install the four screws that attach the lower valance to the fascia. Same screws as in step number twenty-one.
27. Install the eight push pins that attach the lower valance to the rear fascia as directed in step number twenty-two. First insert the base of the pin, then the center pin with the barbs.
28. Install the six wire harness retainers into the holes on the valance, as removed in step number twenty.
29. Install the two new w-clip push pin fasteners at the valance attachment flange. Same clips as step number 13.
30. With some help, put the rear fascia assembly to the back of the mustang. Feed the wire harness through the hole. Seat the grommet.
31. Align the four fascia center retainers and the two end retainers to the inserts and push the fascia forward until the inserts have been fully inserted.
32. Push the left and right upper corner tabs onto the hooks of the rear corner brackets.
33. Push the bumper sides into the retainers.
34. Reinstall the six screws into the wheel wells. Refer to step 7.
35. Very carefully, bend the valance lower side mounting flanges into position, aligning them with the holes. Install the four push pins to the left and right lower side mounting brackets. Refer to step 12. Insert base of the pin, and then the center pin with the barbs.
36. Push the two w-clips into the lower center mounting flange to the holes in the body.
37. Reinstall the tail light assemblies. Install the six nuts, and torque them to fifty-three pounds.
38. Connect the license plate light and the side markers to the body wiring harness connector, and reconnect the trunk light. Refer back to steps 3, 4, and 5.