Guaranteed 12/24 Delivery Still Available see item page for details! available on most items - Details
How to Install a Roush Rear Valance on your 2010-2012 GT Mustang and V6 Mustang
Installation Time
2 hours
Tools Required
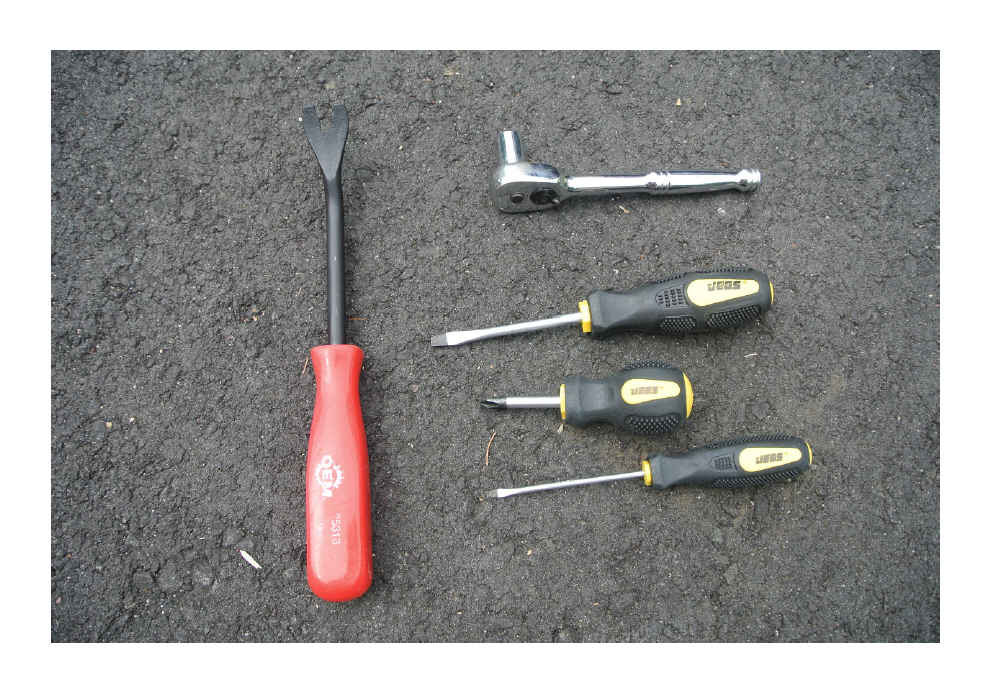
- ¼” Drive Ratchet
- 11mm deep well socket
- Stubby Phillips Screwdriver
- Trim Push Pin Tool
- Small Slotted Screwdriver
- ¼” Drive Screwdriver Adapter and Phillips Bit (Optional)
- Ramps or Jack stands (Optional)
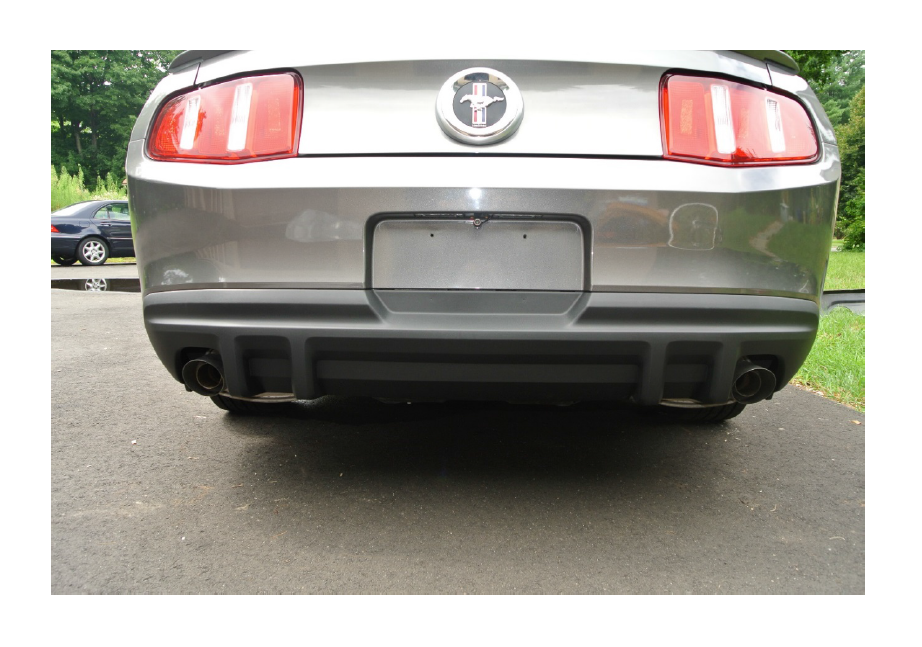
Before Photo
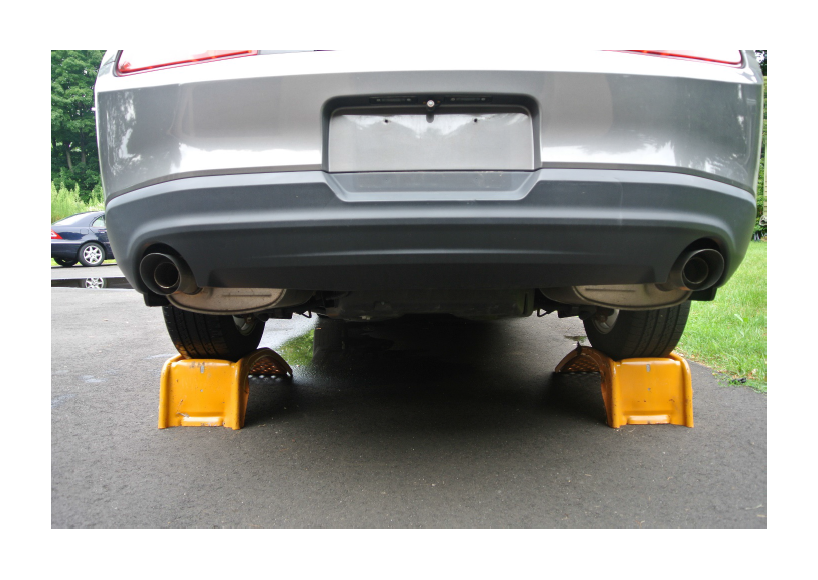
Note: I used ramps to raise the rear of the car and make it easier to access the six retainers located below the car, but it is not necessary to do so.
Installation
1. Remove the license plate.
2. Open trunk and lift floor carpet. I used a small clamp on the top of the trunk opening to hold the panel up and out of the way.
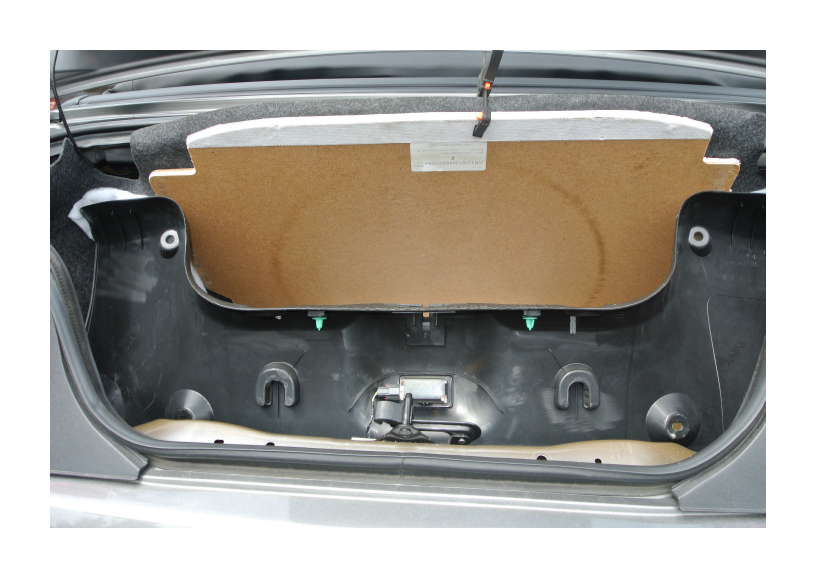
3. Remove two retainers from each side of the plastic panel at the rear of the trunk. The top one unscrews and the bottom one is pilled out with the trim oush pin tool.
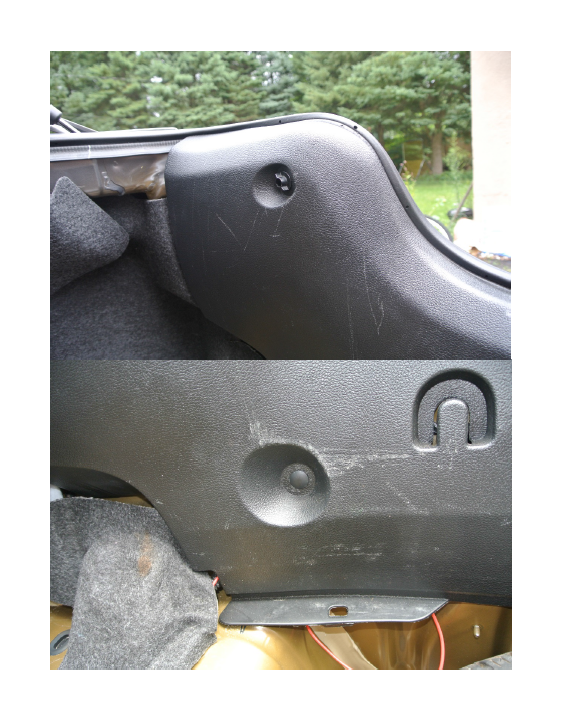
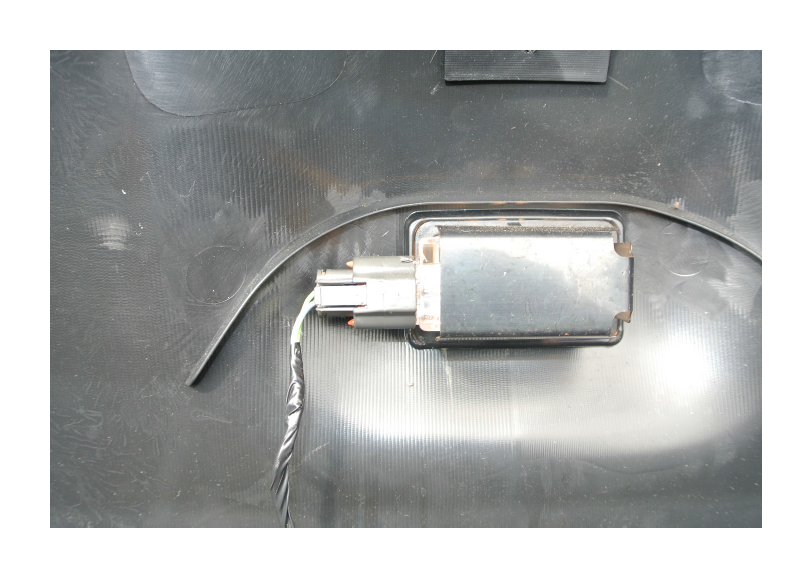
4. Lift the panel straight up and toward the front of the car to expose the trunk lamp connector. Disconnect the lamp and remove the panel.
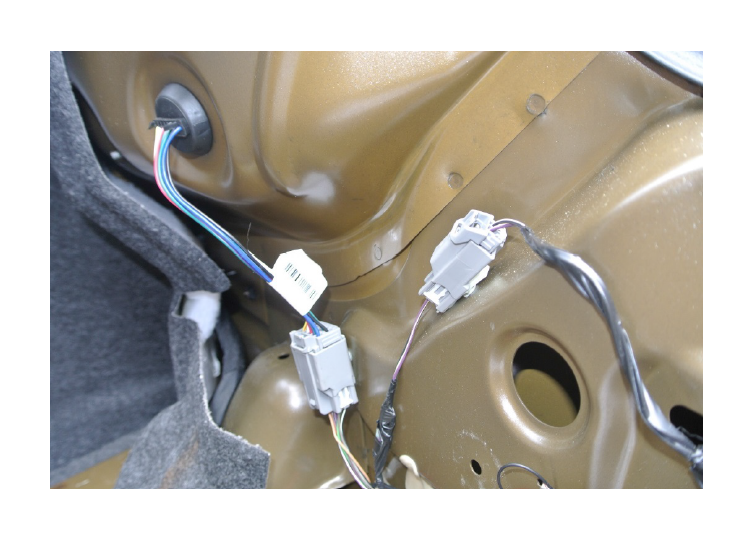
5. Disconnect the two wiring harnesses for the tail lights and the one for the license plate/side marker lamps. Remove the harness retainer with the push pin tool and push the grommet for the license/side marker lamps through the rear body panel. The wire and connector will remain connected to the bumper when you remove it.
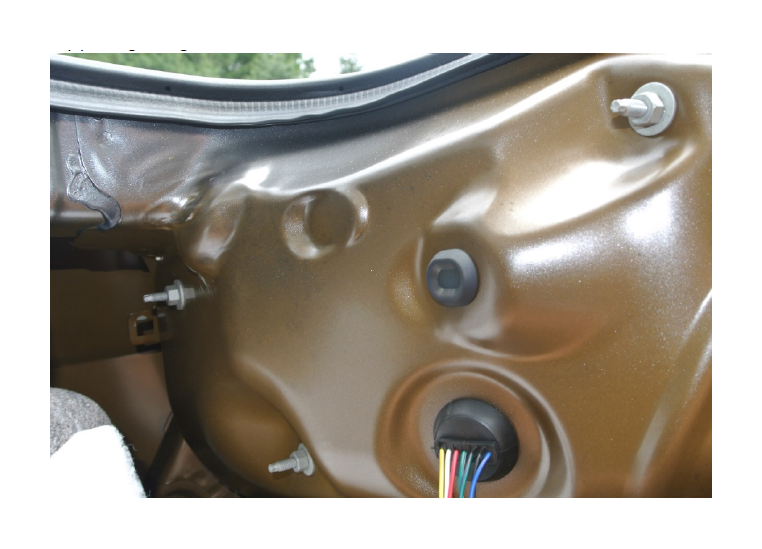
6. Push the tail lamp grommet through the rear body panel on each side. Using a socket wrench with 11mm deep well socket, remove the three nuts at each tail lamp assembly. You will need to push bacl the side carpet to expose two of the nuts. Remove the tail lamp assembly from each side by pulling straight back from the rear of the car.
7. Using a stubby screwdriver or a phillips bit in an adapter on a socket wrench, remove three screws from each rear wheel well. There isn’t much room for a screwdriver here; you may find it easier to remove the wheels for this part.
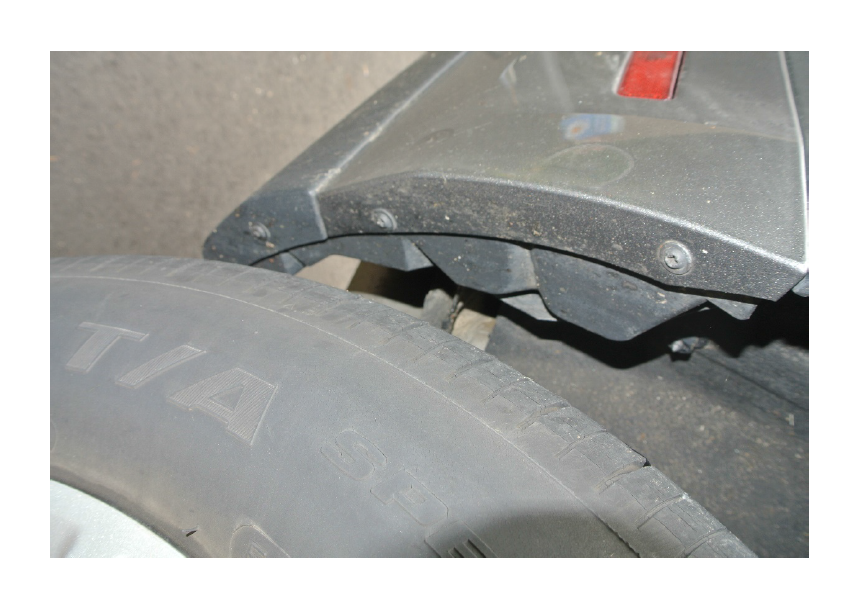
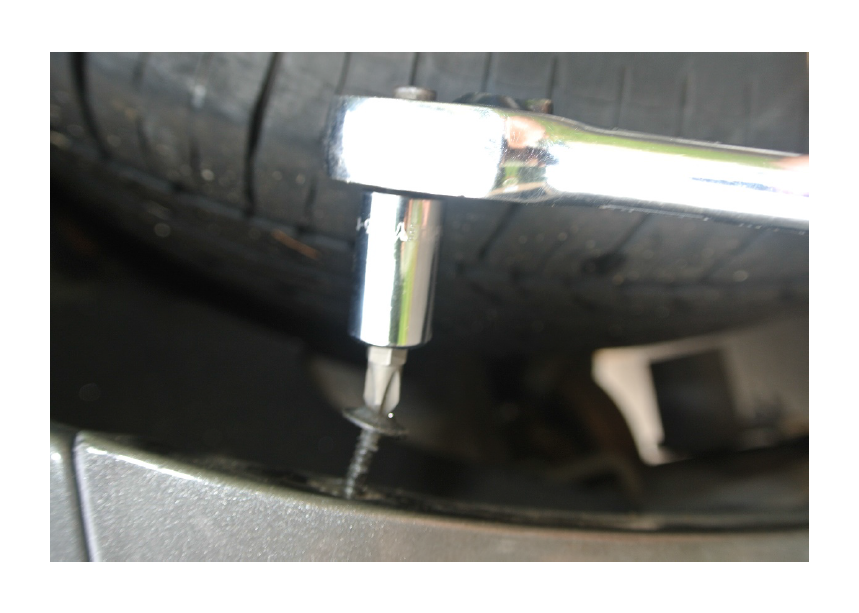
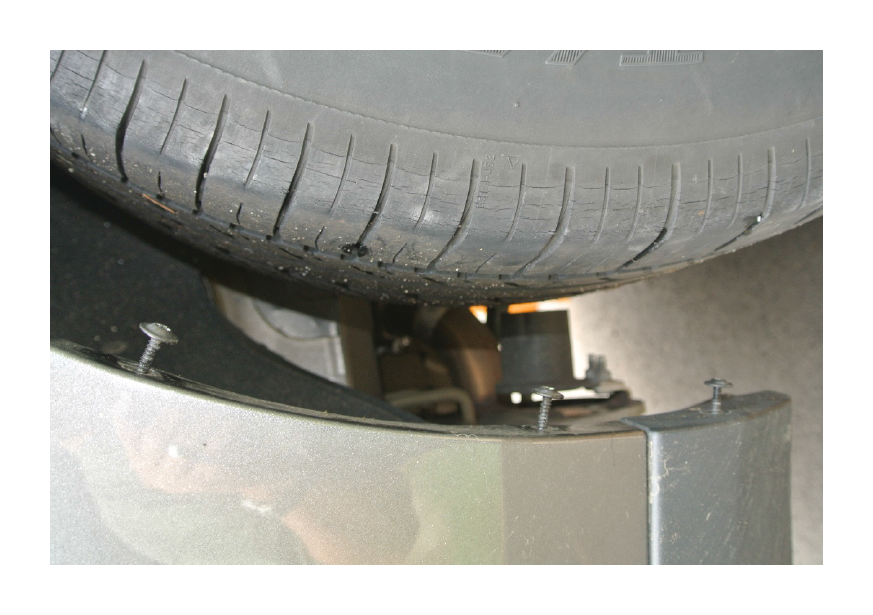
8. Remove the two push pins from the bottom of the valance on each side using a push pin tool.
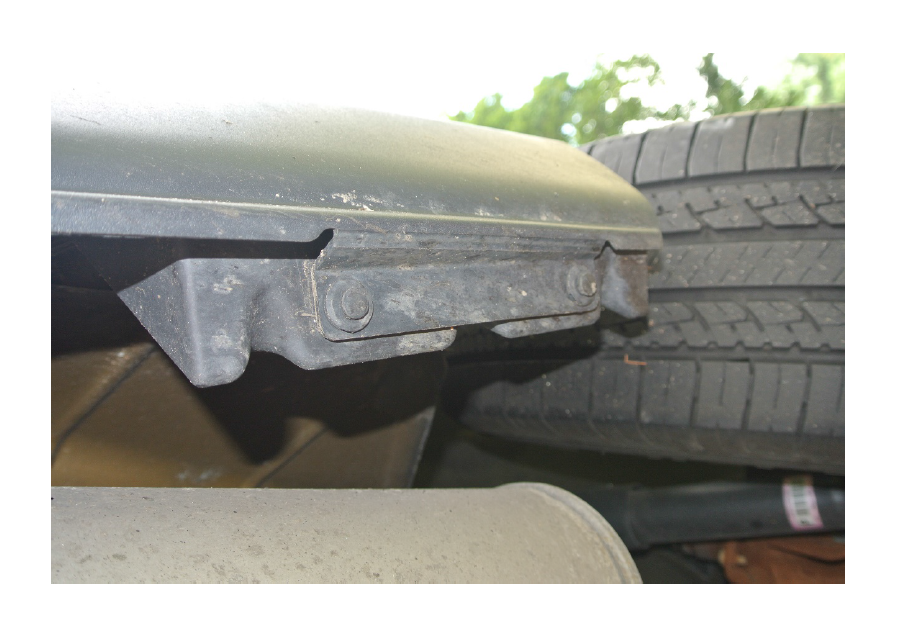
9. With the push pin tool, remove the two fasteners from the bottom center of the valance. These two clips are the only fasteners that will not be re-used during the installation of the new valance.
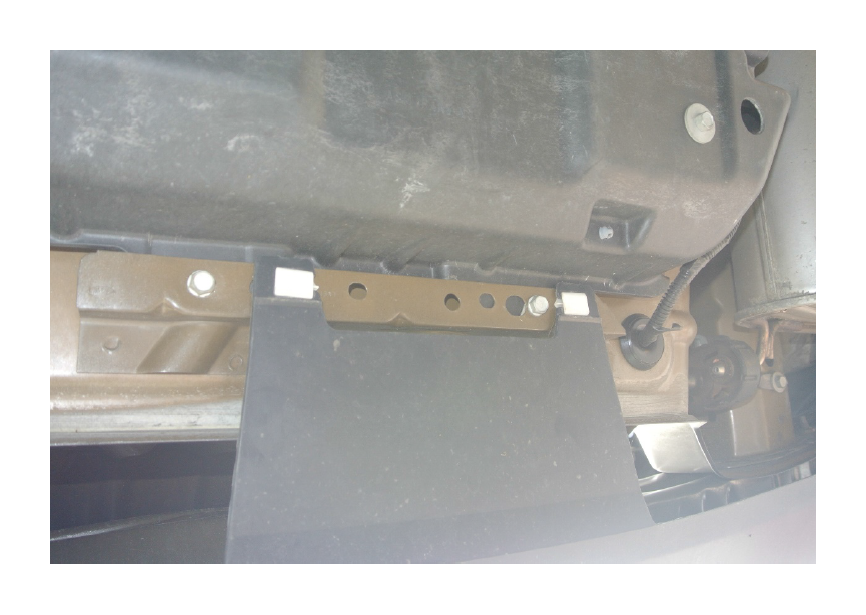
10. Pull the side of the bumber at each wheel opening to disengage the retaining tabs.
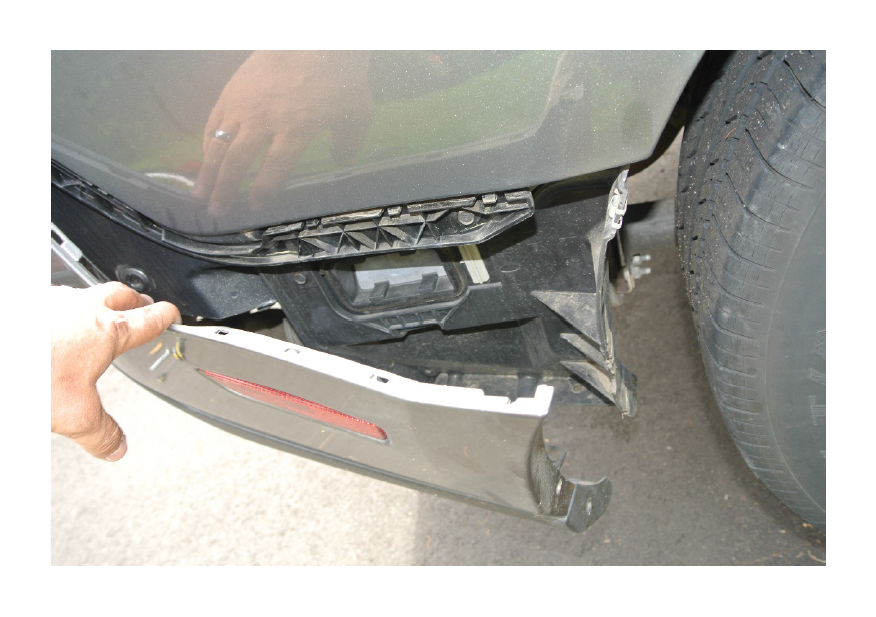
11. Lift the bumper straight out at each corner to disengage the top retainers.
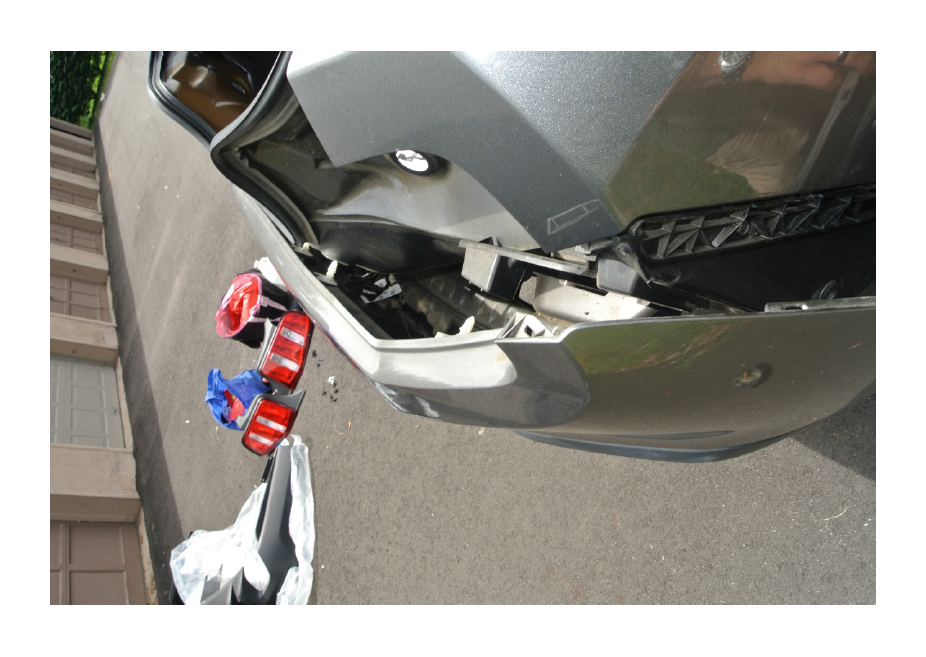
12. Pull the bumper assembly straight back to disengage the 4 remaining pins and remove the bumper assembly from the car.
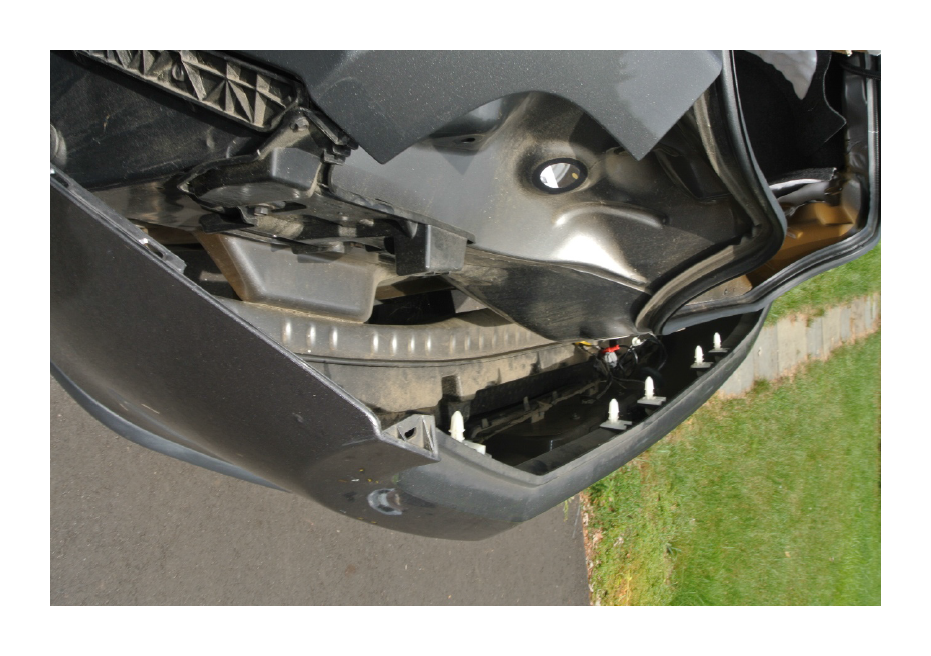
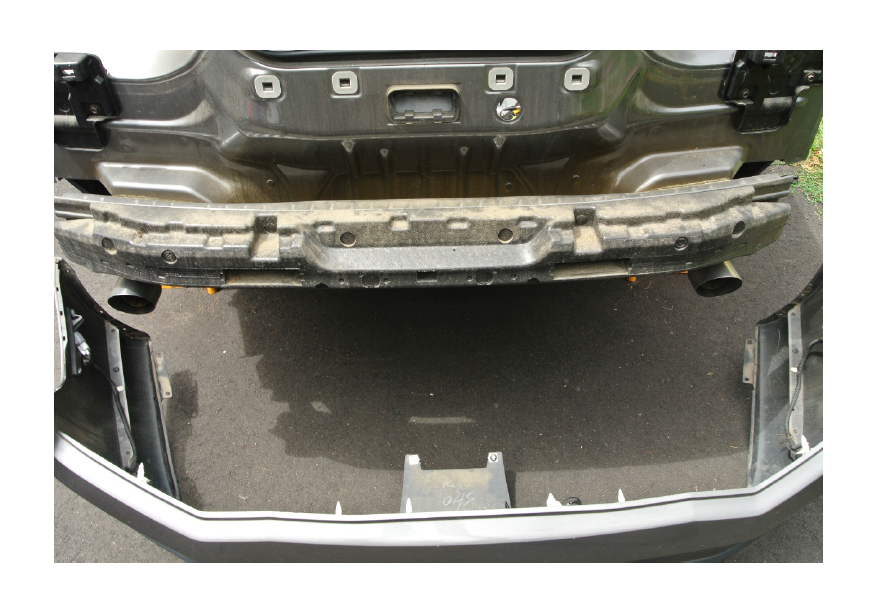
13. Now the valance can be seperated from the bumper.
14. Use a push opin tool to remove six wiring harness retaining pins
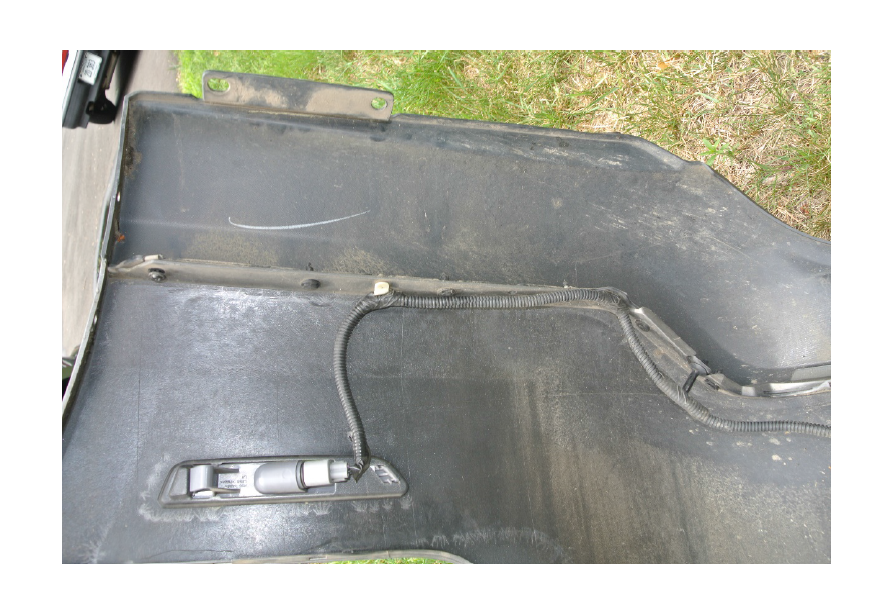
15. Use a phillips screwdriver to remove two screws from each side.
16. For the eight remaining push pins holding the valance to the bumper, use a flathead screwdriver to raise the center post, then use the push pin tool to remove the pins.
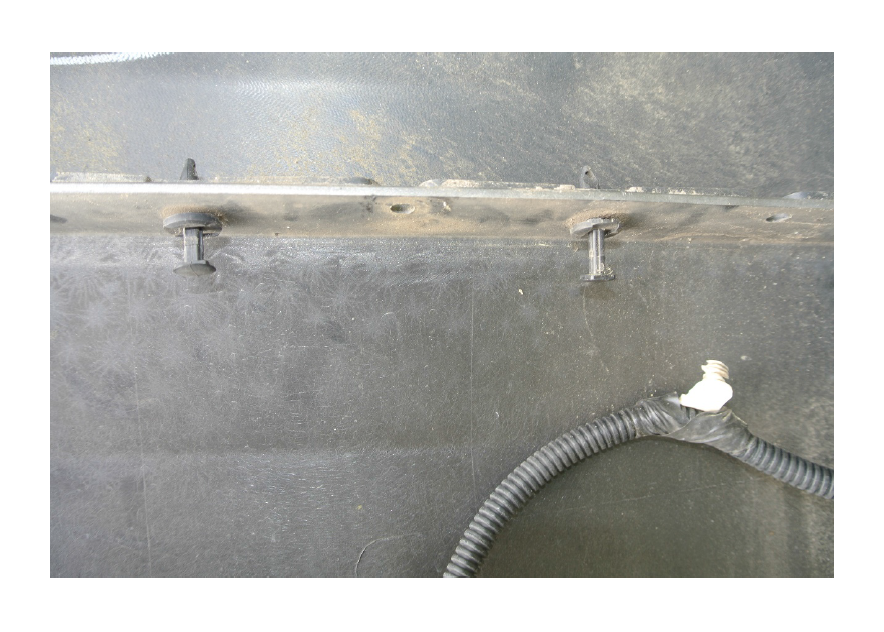
17. The last thing holding the two pieces together are twelve tabs. Working from the sides first, carefully pry the two pieces apart. The four tabs in the center proved the most difficult for me, but some coaxing with a small screwdriver did the trick.
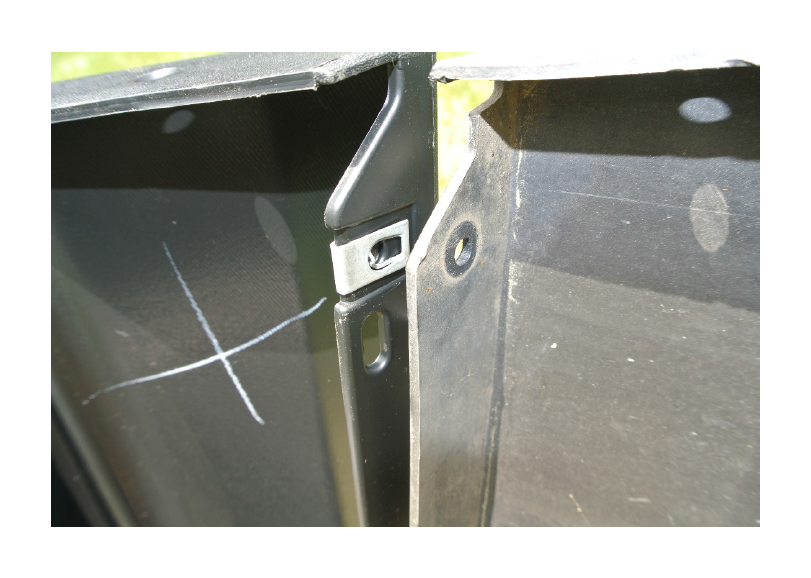
18. Now it’s time to start putting things back together, which is mostly the same steps in reverse. First, use a small flathead screwdriver to remove the four spring nuts from the old valance to the new one.
19. Place the new valance next to the bumper and snap the tabs together working from the inside out.
20. Install the four phillips screws removed in step 15.
21. Install the eight push pins removed in step 16.
22. Install the six wiring harness retainers removed in step 12.
23. Install the two W-Clips that were included with the new valence onto the bottom center of the valance.
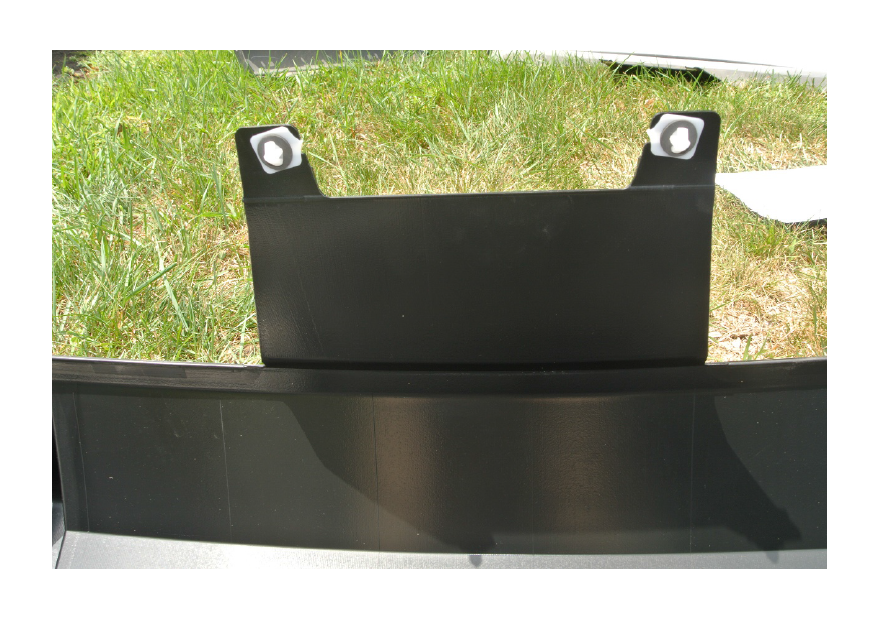
24. Raise the bumper/valance assembly and position it at the rear of the car. It helps to have a partner for this step. Feed the license/signal wire through the opening in the body panel and push the grommet back into place.
25. Line up the four center retainers and the two corner retainers and snap them into place.
26. Snap the side tabs removed in step 10 back into place.
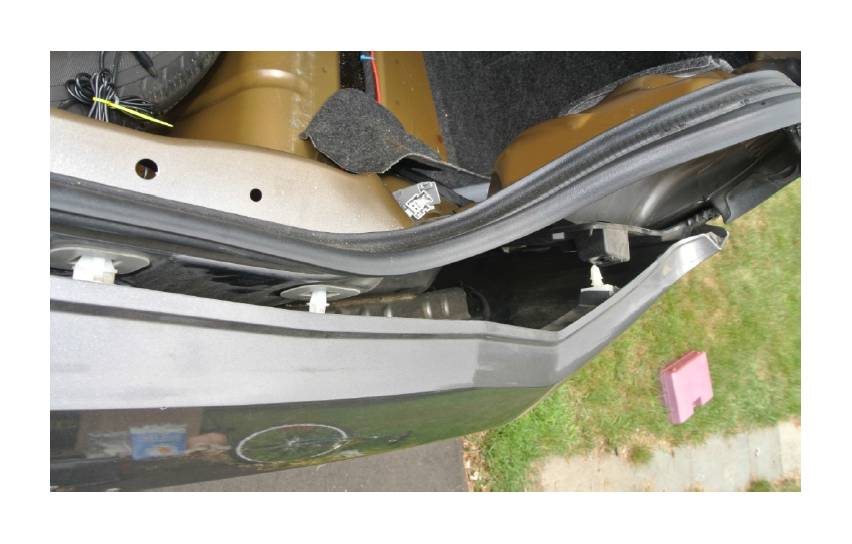
27. Install the three screws removed in step 7 into each wheel well.
28. Install two push pins removed in step 8 onto the bottom of each end of the valance.
29. Snap the two W-Clips into placeat the bottom center of the valance.
30. Install the taillight assemblies and connect the harnesses for the two tail lights and the license/turn signal.
31. Position the rear trunk cover panel and connect the trunk light. Install it using the foyr fasteners remonved in step 3.
32. Put the trunk carpet back in place.
