 FREE 1 to 3-Day Delivery on Orders $149+ Details
How to Install a RTR Front Chin Spoiler on your 2013-2014 GT and V6 Mustang
Installation Time
2 hours
Tools Required
- 1/4" Drive Ratchet
- 7mm Socket
- 8mm Socket
- Jack and Jack Stands (optional)

Shop Parts in this Guide

2013 RTR Chin Spoiler
CDC# 1398-7005-01

About the Product:
The RTR Chin Spoiler is painted “Textured Black”. If you choose to paint body color, we strongly recommend taking it to a professional automotive paint facility. Bake cycle not to exceed 130° F. CDC will not warranty product due to improper paint practices.
Components:
► Chin Spoiler with applied 3M Acrylic Bonding Tape
► 2 – Alcohol Packs
► 1 – Adhesion Promoter Packs
► 1 – Installation Guide
Tools Required:
► 1/4” Drive Ratchet
► 7mm Socket
► 8mm Socket
► Jack and Jack Stands (optional)
Note: This install was performed on a hoist for ease of taking photographs, however it is not required. Elevating the car and placing the car on Jack Stands will make the installation easier, but it is optional. Follow all safety procedures if you choose to place the vehicle on Jack Stands.
Installation Procedure:
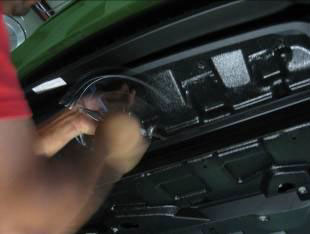
1. Remove the (6) 8mm Screws that secure the center section of the factory Splitter.
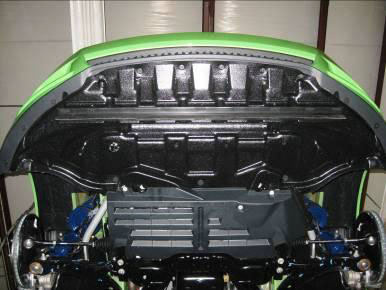
2. Pull down on factory Splitter to separate from Fascia. Note: The Splitter will not be removed. Your RTR Chin Spoiler will fit between the Fascia and the Splitter.
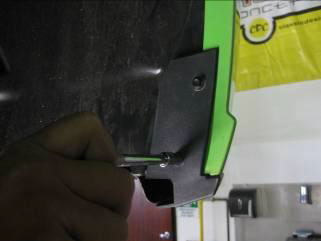
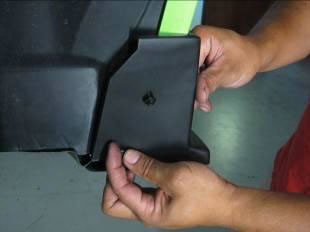
3. Remove the 7mm Screws (2 on each side of the car) that secure the corners of the Splitter.
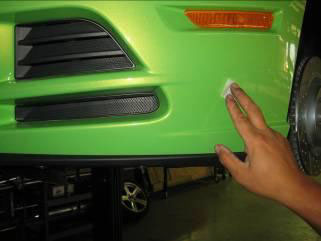
4. Clean the Fascia/Chin Spoiler bonding surfaces with the supplied Alcohol packs. Allow Alcohol to dry, and then apply the 3M Adhesion Promoter. Note: Do not apply Adhesion Promoter above bonding area; it will leave a visible residue. Excess can be cleaned with wax and grease remover if needed.
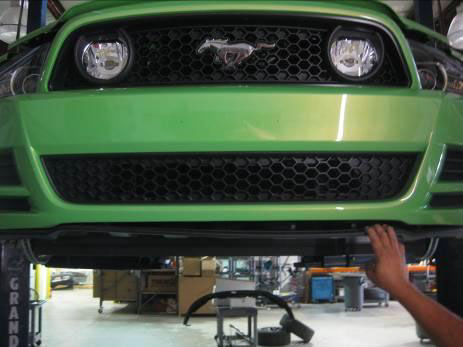
5. Place the center portion of the Chin Spoiler between the bottom of the Fascia and Factory Splitter.
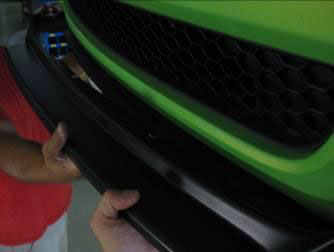
6. Peel the red backing of the 3M tape (pre installed on the Chin Spoiler) to create “pull tabs”.
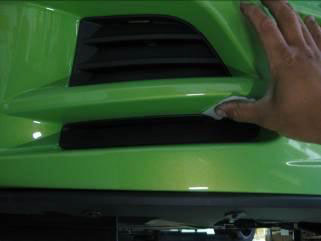
7. After the Chin is in place like the image below, peel the backing completely and firmly press the Chin to the Fascia to activate the adhesive of the 3M tape.7. After the Chin is in place like the image below, peel the backing completely and firmly press the Chin to the Fascia to activate the adhesive of the 3M tape.

8. Reinstall the 7mm Screws that were removed in step # 3.
9. Reinstall the (6) 8mm Screws removed in step # 1.
Thank you for choosing Classic Design Concepts for your restyling needs. If you have any questions or concerns regarding installation please contact [email protected] or call 866-624-7997.

