 FREE 1 to 3-Day Delivery on Orders $149+ Details
How to Install Shelby Iso-Clutch Remote Reservoir Kit (10-14 All) on your Ford Mustang
Installation Time
60 minutes
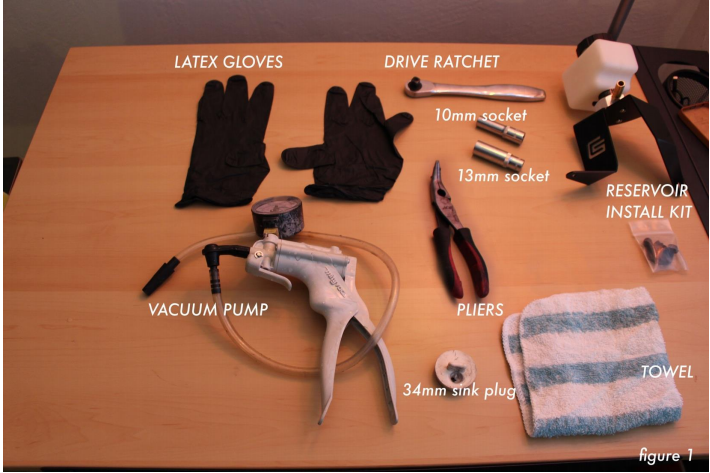
Tools Required
- 10mm Socket
- 13mm Socket
- Drive Ratchet
- Pliers
- Vacuum Pump with a 1-5/8in Rubber Stopper or a 34mm Sink Plug
- Latex Gloves
- Towel
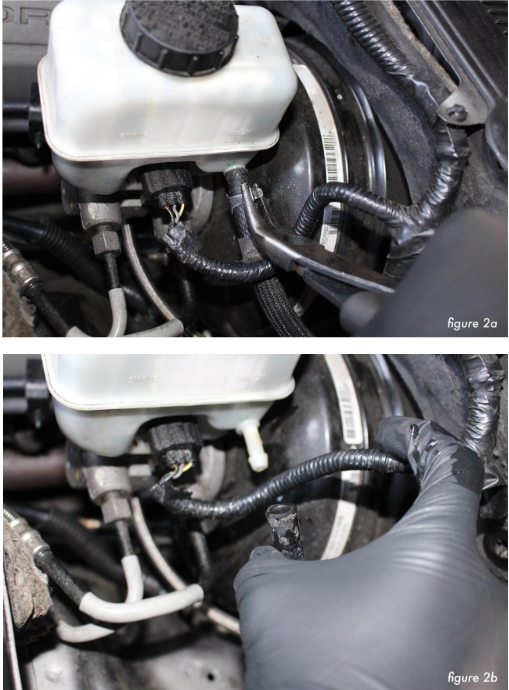
1. Start by using the pliers to pull back the hose clamp that connects the clutch pedal
hose to the master cylinder figure 2a. And disconnect the hose from the master
cylinder figure 2b.
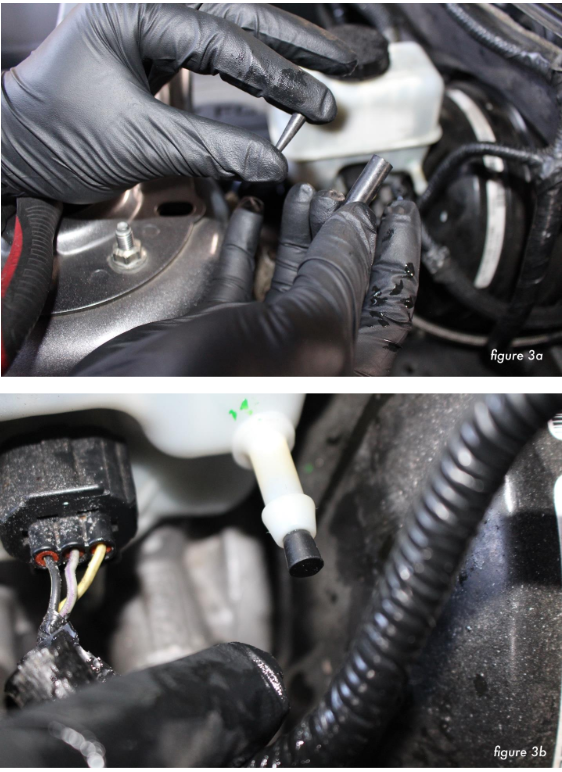
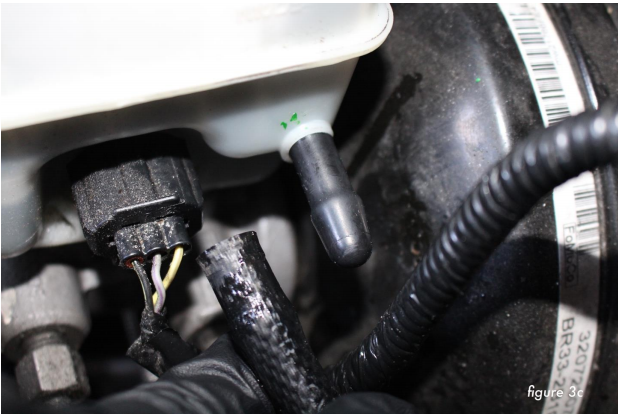
2. Insert the rubber cone seal and the rubber cover boot (provided in the kit), on the
exposed master cylinder nipple. In the sequence of rubber cone seal 1st figure 3b, then the rubber cover boot 2nd figure 3c.
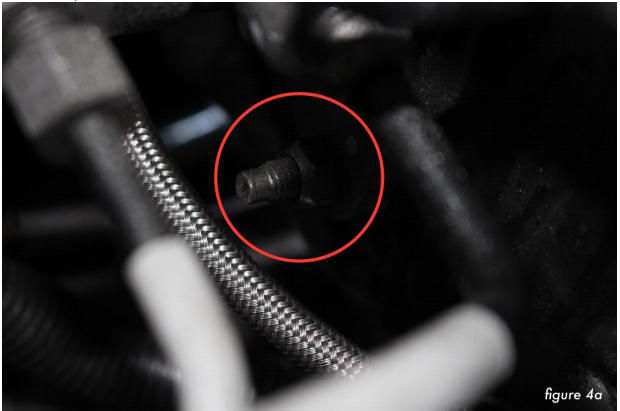
3. Using the 13mm socket unscrew the 13mm nut underneath the master cylinder
holding the master cylinder to the brake booster figure 4a (do not discard the nut, it
will be reused)
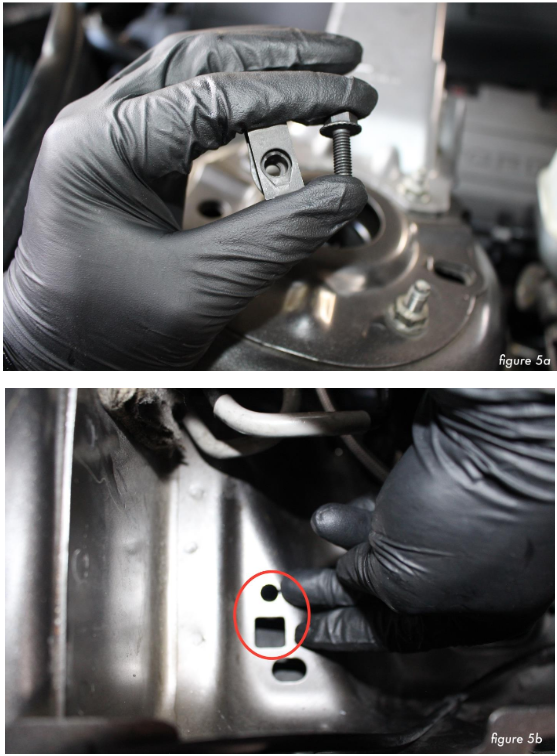
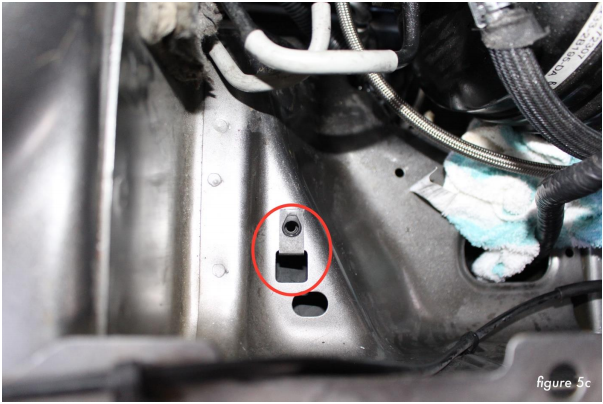
4. Properly insert the clip nut provided in the kit figure 5c. Using the two openings
already pre cut on your chassis, at the bottom of the strut tower wall figure 5b.
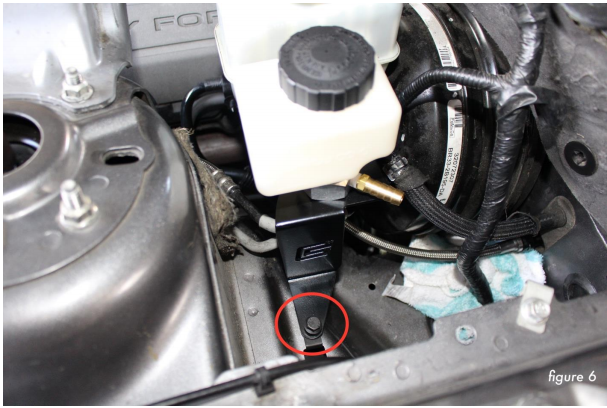
5. Now set your clutch reservoir in place with the Shelby American logo facing the
driver side fender, align the brackets with the clip nut and the master cylinder stud
and secure the brackets with the 13mm nut you previously removed from the
master cylinder stud and the 10mm bolt provided in the kit.
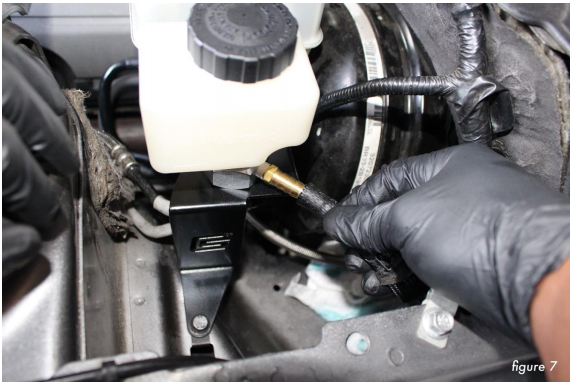
6. Plug the clutch pedal hose into your new reservoir nipple, using the pliers again
pull the hose clamp towards the nipple base to secure the hose.
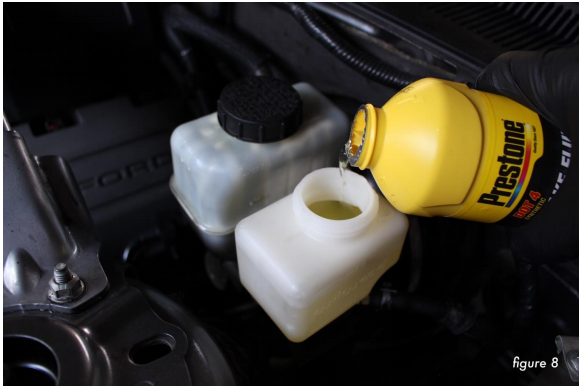
7. Fill the reservoir up to the max level with your clutch/brake fluid. (DOT 3 is
recommended)
8. NOTE: Make sure your rubber stopper and vacuum pump set is clean
before starting this procedure.
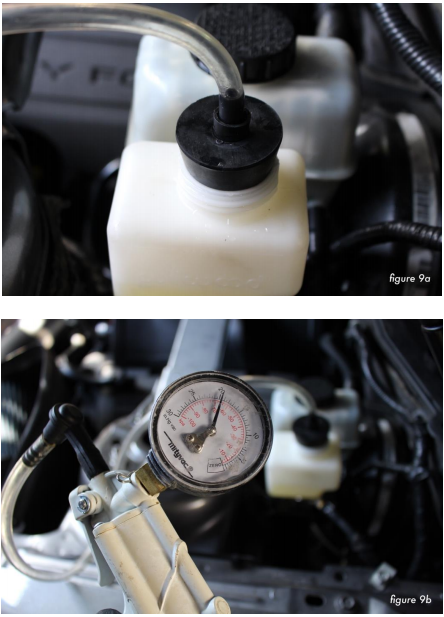
To regain pedal feel or to be sure there’s no air in your lines; Using the vacuum
pump set, plug the rubber stopper into the top of the reservoir figure 9a, sealing all air
entrance and follow the steps
- Vacuum to 20 In-hg and hold the vacuum at that 20 In-hg for 1 minute. figure 9b
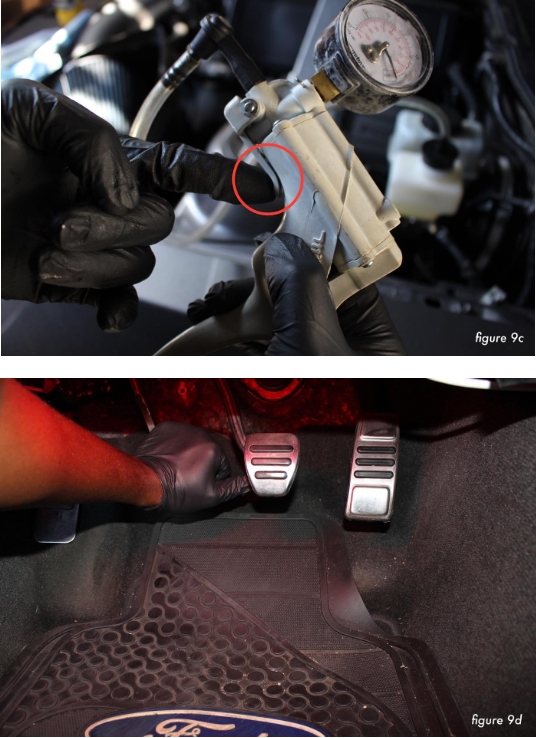
- Then release the vacuum. figure 9c
- Pump the clutch pedal 10 times. figure 9d
- Repeat 4 times if you lost pedal feel, repeat once if you did not.
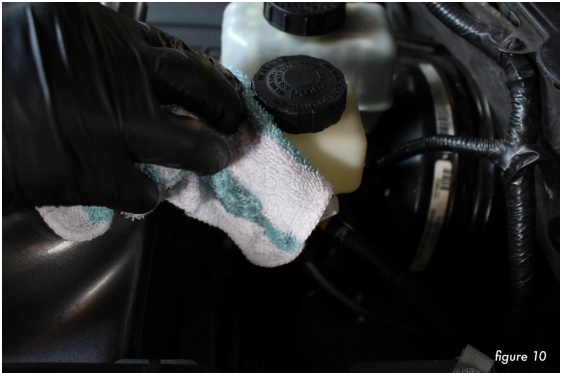
9. Clean up any mess or brake fluid spills (carefully using a brake cleaner is
recommended).
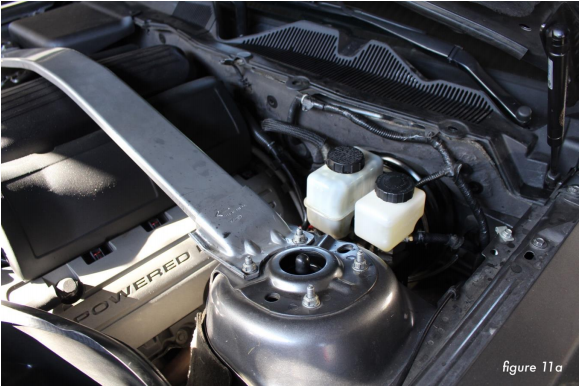
10. Inspect your install and make sure there’s no leaks, and the bracket, bolt and nut is in place and firmly secured. Reinstall all other hardware(s) you may have removed.
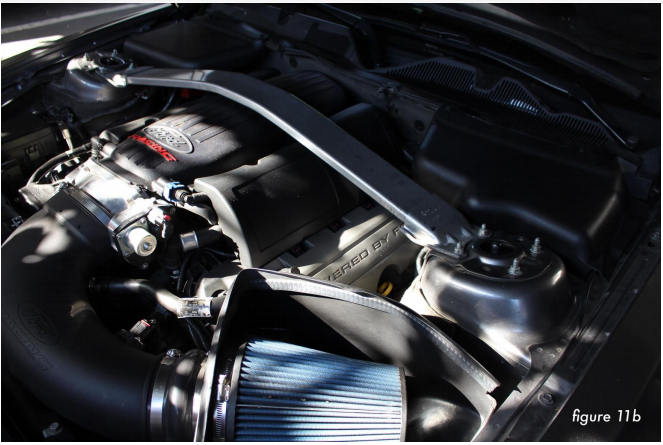
You're done installing your new Shelby ISO clutch reservoir. Good job!
Installation Instructions Written by Miracle Akuma July 14, 2018
