 FREE 1 to 3-Day Delivery on Orders $149+ Details
How to install SR Performance Caster Camber Plates on your 1994-2004 Mustang
Installation Time
2 hours
Tools Required
- Floor Jack
- Jack Stands
- Lug Wrench
- Ratchet
- Deep Sockets - 15/16”, 13/16”, 5/8”, 9/16”
- Socket Extensions
- Breaker Bar
- Adjustable Wrench
- Torque Wrench
- Large Flathead Screwdriver
- Hammer
- Knife
- Ruler
- Measuring Tape
- Drill and Drill Bits

Shop Parts in this Guide
Tools Needed:
Floor Jack
Jack Stands
Lug Wrench
Ratchet
Deep Sockets
o 15/16”, 13/16”, 5/8”, 9/16”
Socket Extensions
Breaker Bar
Adjustable Wrench
Torque Wrench
Large Flathead Screwdriver
Hammer
Knife
Ruler/Measuring Tape
Drill and drill bits
Installation Instructions:
1) Make sure your car is in gear with the parking brake engaged.
2) Break loose the lugs on the front wheels and then jack up the front end.
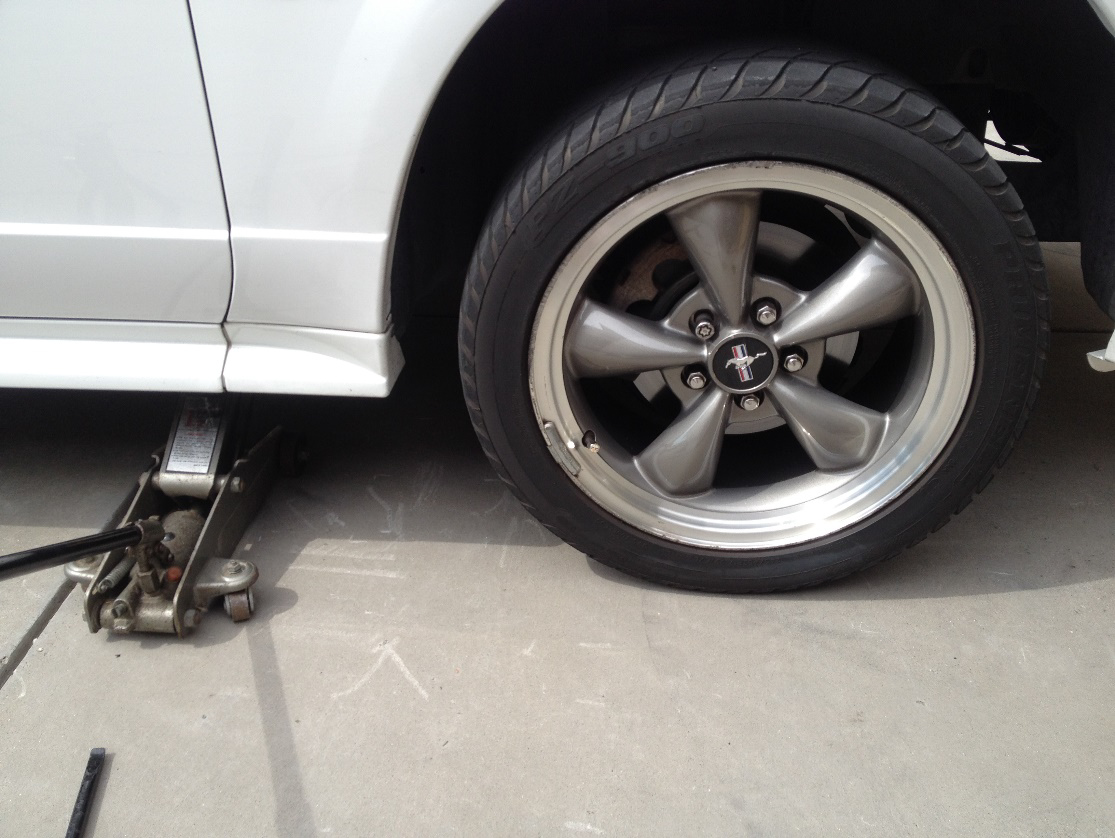
3) Support each side of the car with jack stands, remove the wheels, and pick a side to start working on.
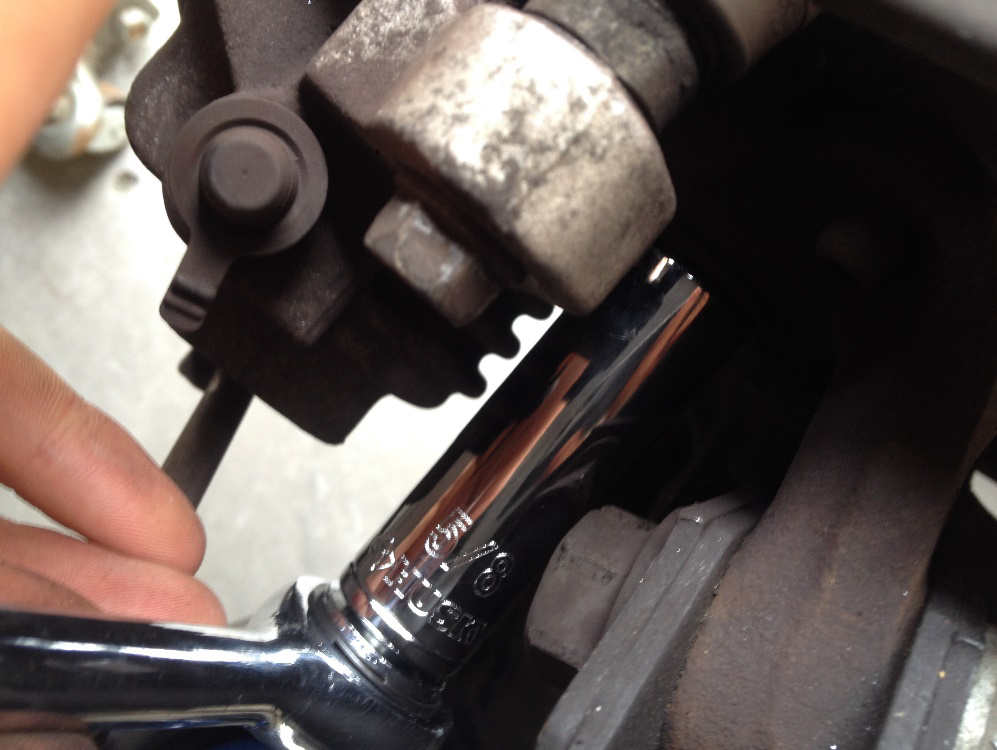
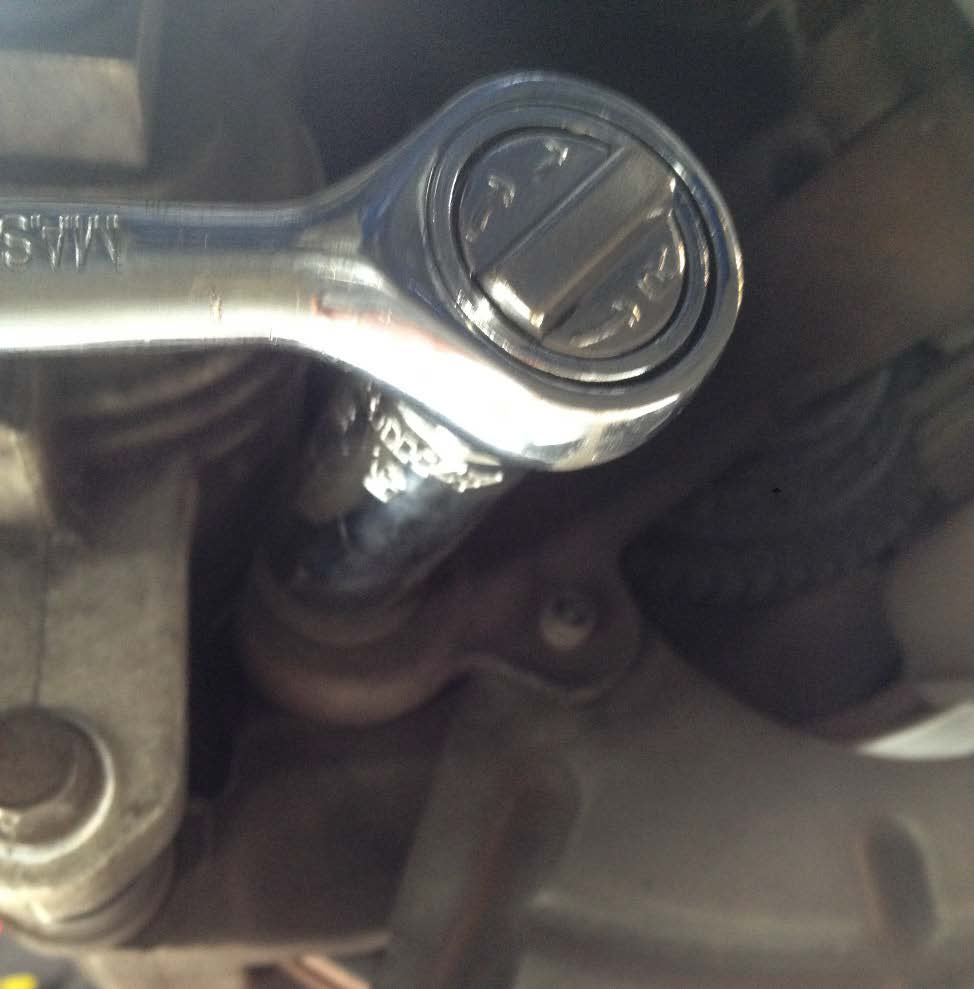
4) Remove the two bolts holding the caliper and rotor in place with a 5/8” socket.
5) Remove the caliper from the rotor and tie it up, use a block or use the spare scissor jack to rest the caliper on. You might be able to get away with resting the caliper on the lower control arm.
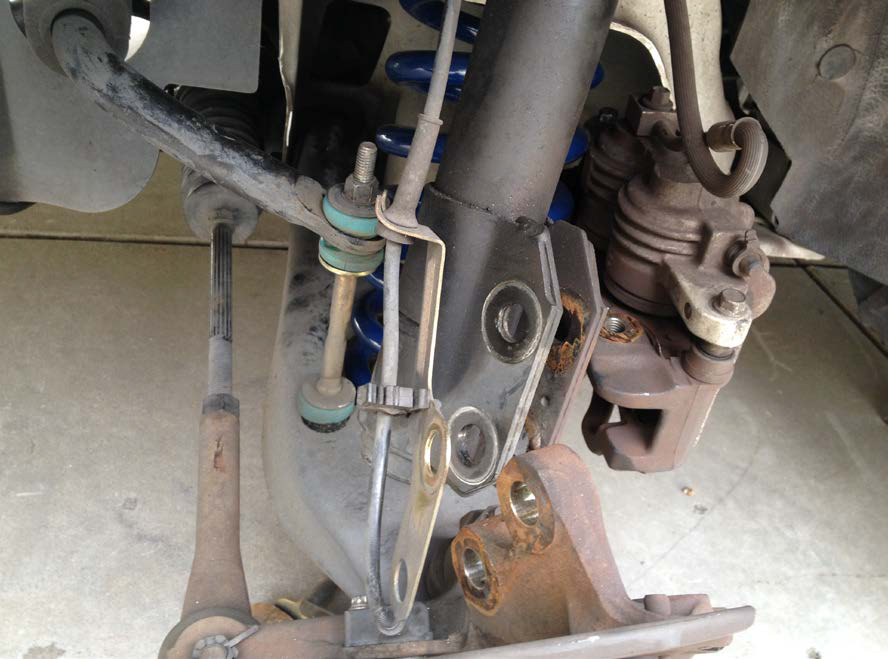
6) Remove the rotor from the spindle.
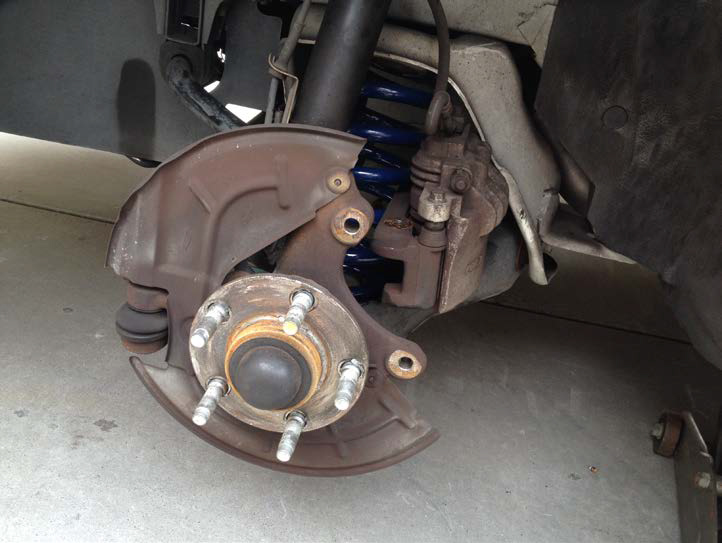
7) Remove the nut that secures the ABS sensor bracket to the strut using a 15/16” socket and move the bracket off to the side.
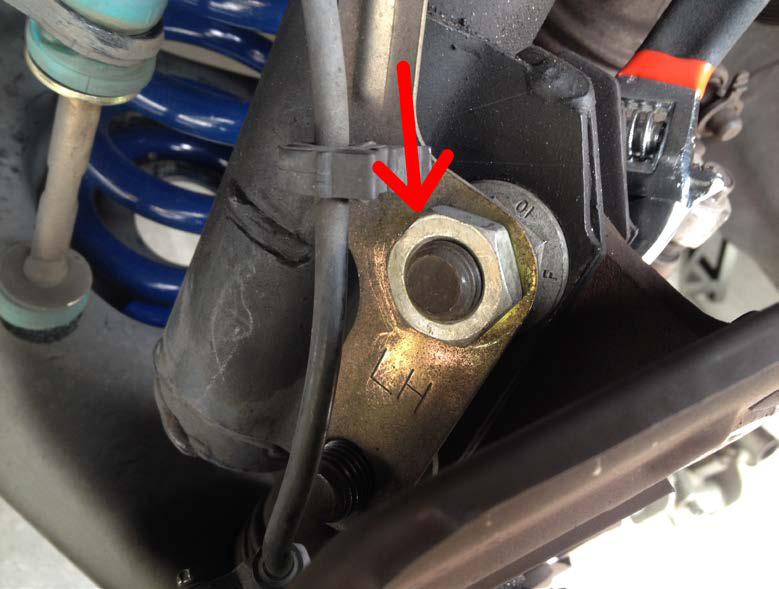
8) Using a breaker bar, a 15/16” socket and extension, and an adjustable wrench, remove the nuts off the two bolts attaching the strut to the spindle.
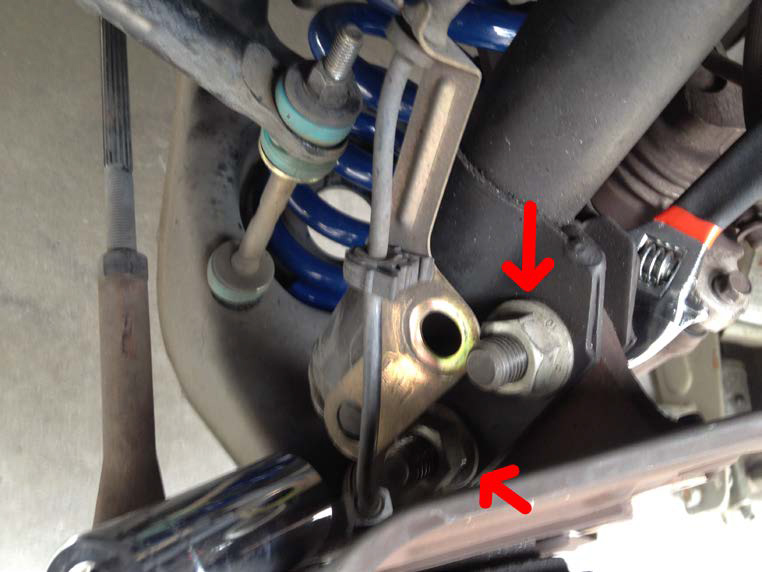
9) Remove the strut bolts and let the spindle hang. If the bolts are stubborn, you can use a hammer to tap them out.
10)Move to the stock camber plates under the hood and measure the distance between the center of the strut and the inner edge of the fender and keep track of the number.
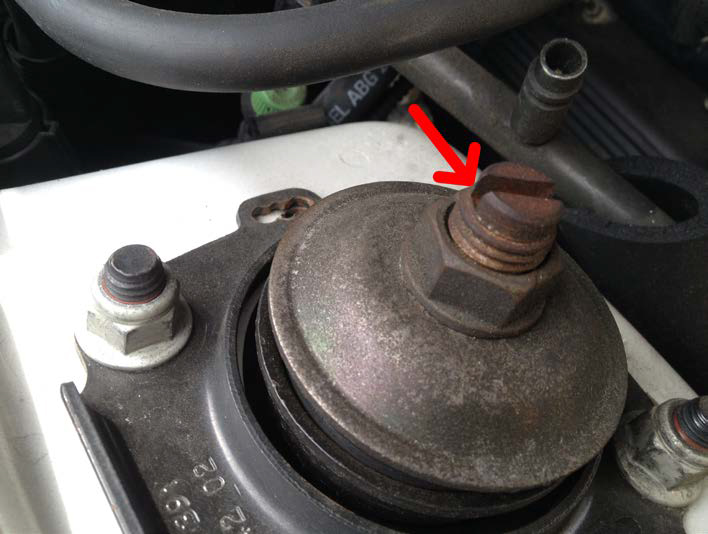
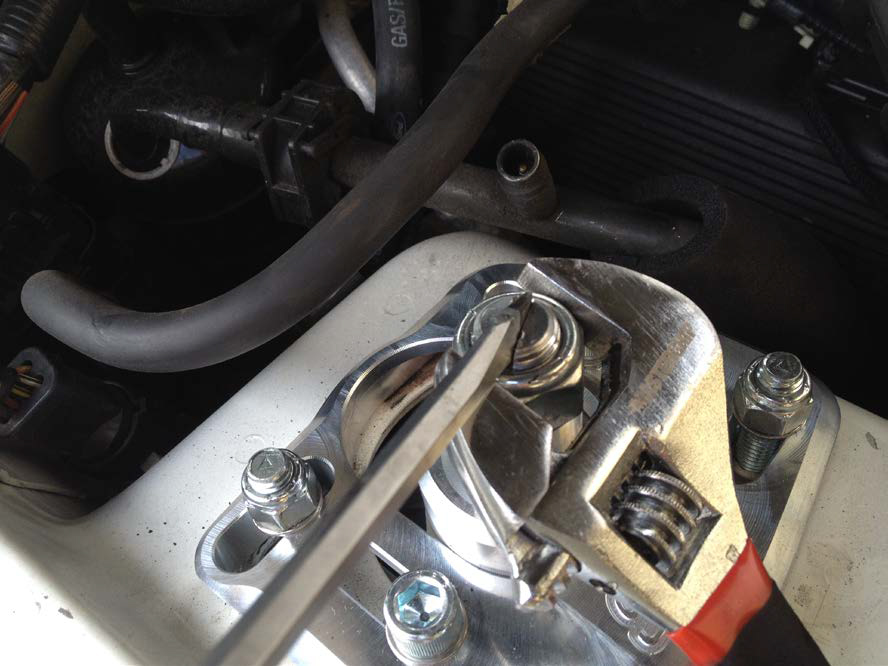
11) Stick a large flatblade screwdriver in the slot at the top of the strut and with an adjustable wrench, remove the top strut nut and remove the strut from the car.
12) Drill out the rivets holding the camber plates in place. Then, hold the bottom of the camber plate from underneath the strut tower and remove the three nuts on the stock camber plate with a 5/8” socket.
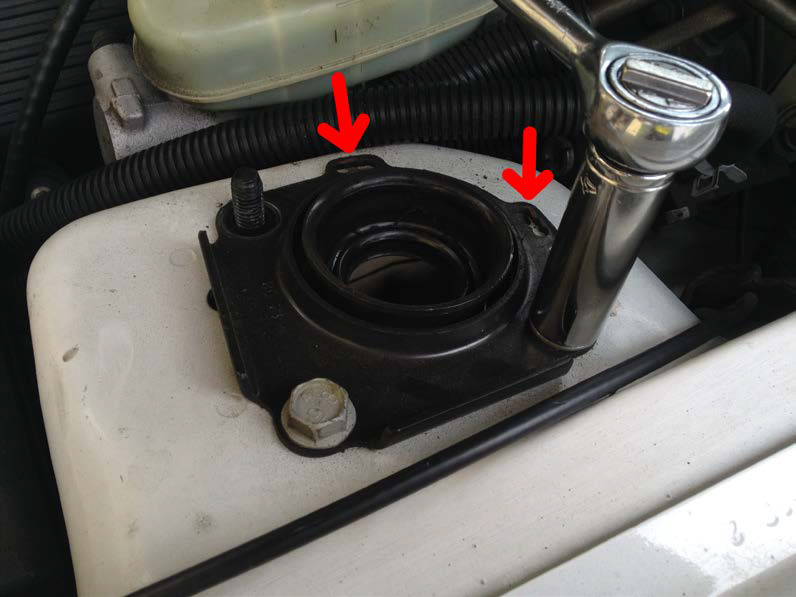
13) Remove the stock camber plate.
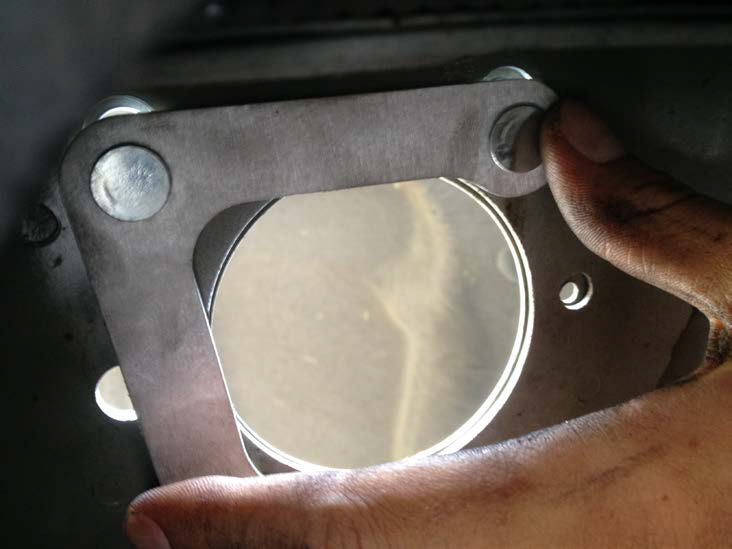
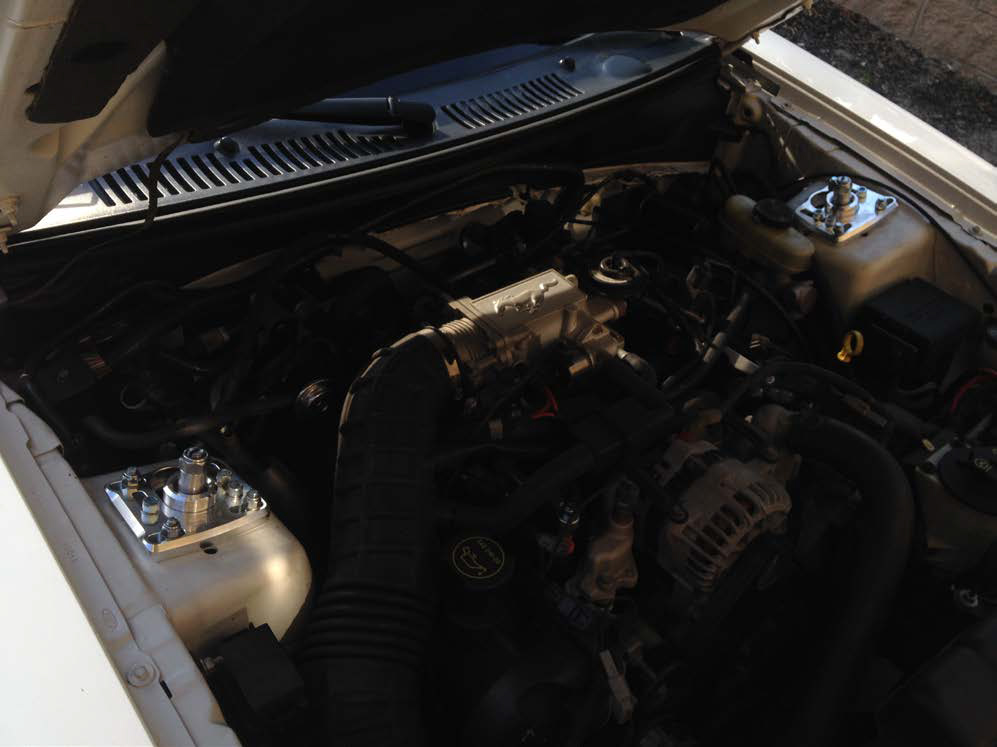
14) Insert the bottom portion of the SR caster camber plate through the bottom of the strut tower.
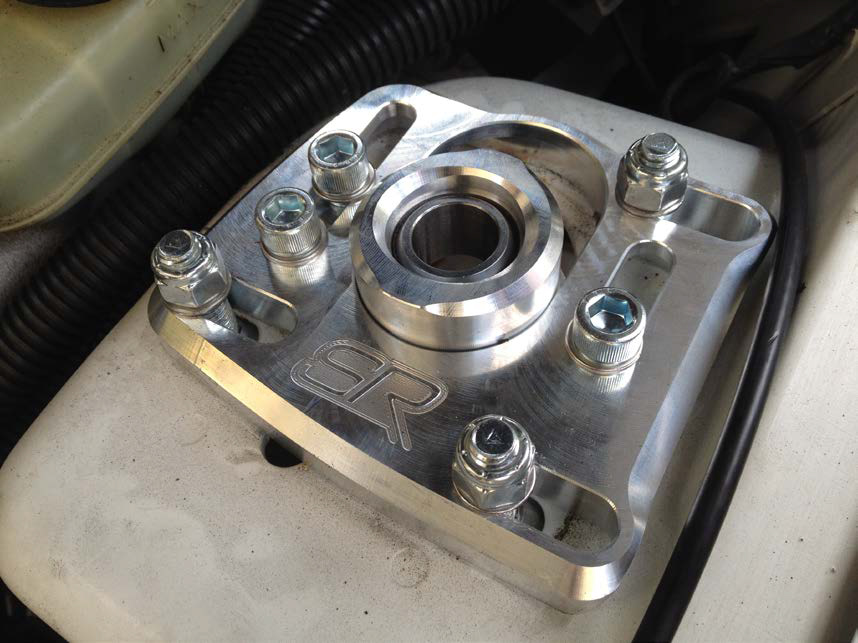
15) Install the camber plate to the top of the strut tower with a 9/16” socket and adjust the distance from the center of the hole on the plate to the fender to match your previous number. Torque nuts to 25-30 ft/lbs.
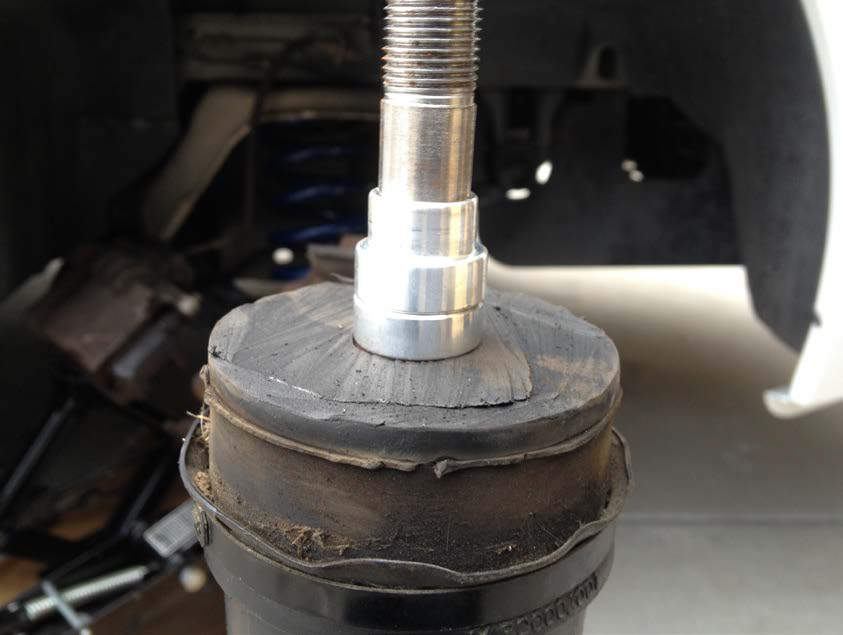
16) For cars with a stock ride height, a tall strut bushing and a spacer should be used.
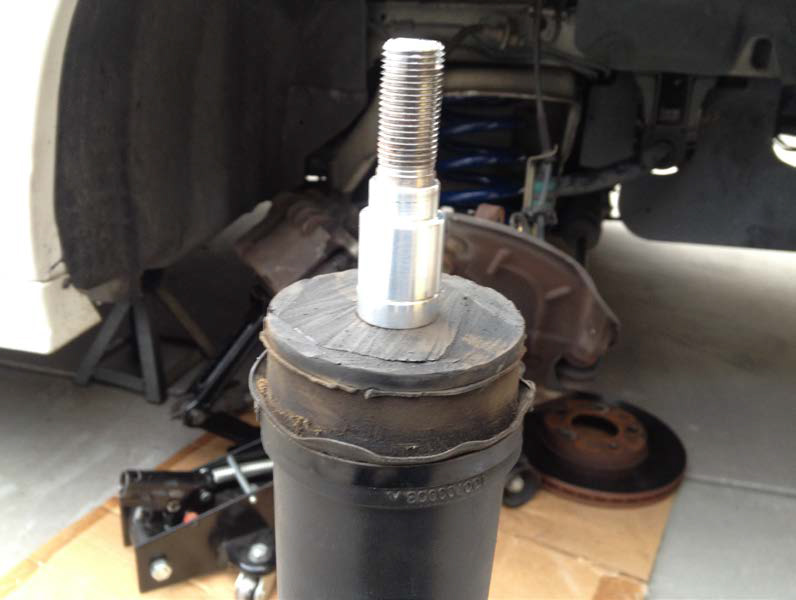
17) For cars lowered .5”-.75”, a tall strut bushing should be used.
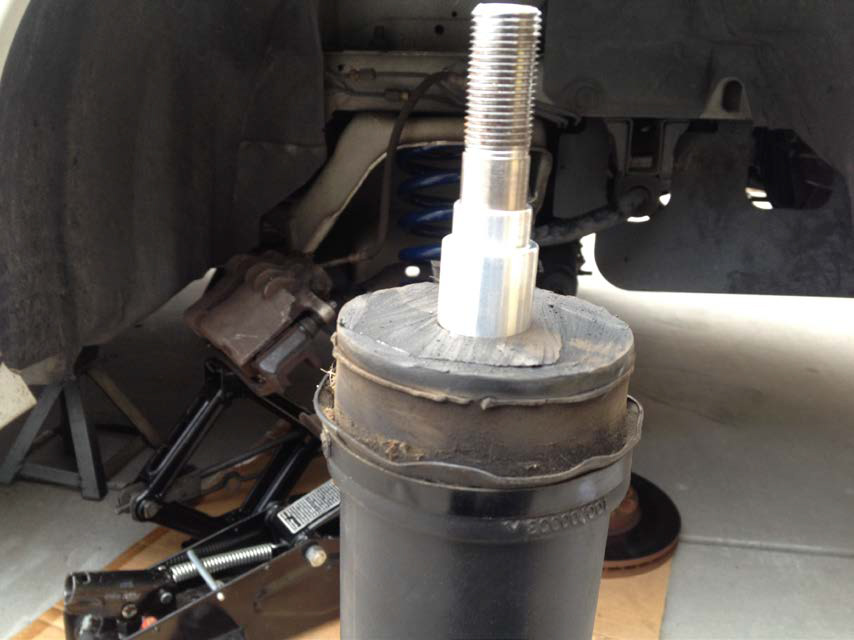
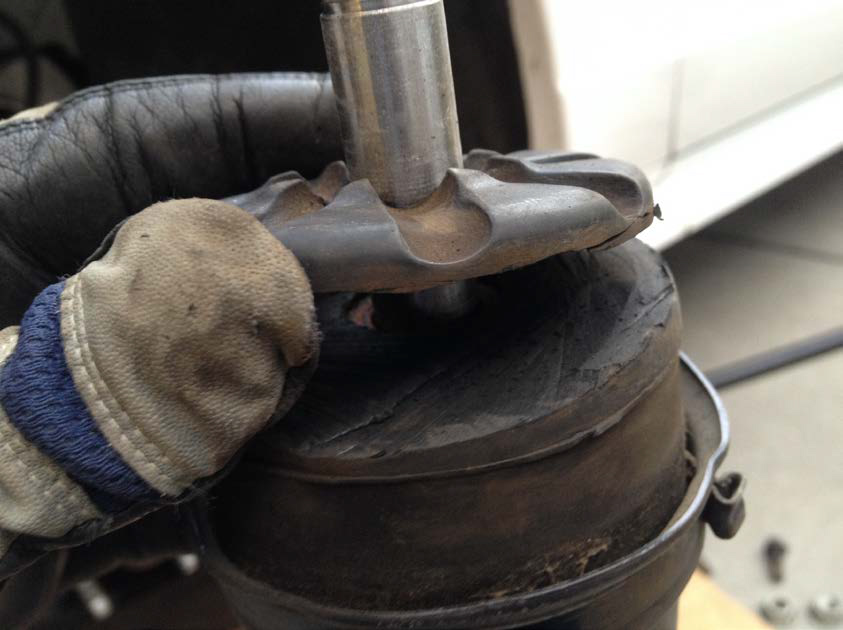
18) For cars lowered 1-2” the bump stop needs to be cut just under the ‘u’ shaped grooves. You should use one small strut bushing and a spacer for this setting.
19) Install the strut and tighten down the top nut with an adjustable wrench and flathead screwdriver and torque to 65-85 ft/lbs.
20) Install the strut to the spindle and torque to 148 ft/lbs
21) Install the ABS sensor bracket and torque to 15 ft/lbs
22) Reinstall the rotor and caliper and torque caliper bolts to 98 ft/lbs
23) Repeat process for the other side of the car
24) Once finished, reinstall your wheels and hand tighten the lugs
25) Take the car off the stands and torque lugs in a star pattern to 40 ft/lbs all around and then 90 ft/lbs
26) Take the car for a drive around the park and then take it in for an alignment. It is strongly recommended that you take your car in for an alignment by a professional after installing caster camber plates.
Installation Instructions written by AmericanMuscle customer Aaron Adams 8.5.14


