 FREE 1 to 3-Day Delivery on Orders $149+ Details
Street Scene Rear Spoiler - Fastback - Unpainted (15-17 All)

Shop Parts in this Guide
INSTALLATION INSTRUCTIONS
NOTE: Fit all parts before painting (See Special Instructions For Paint Prep.) Parts that have been installed, preped, or painted are not returnable.
NOTE:
Check fit all body parts PRIOR to paint. Follow urethane prep instructions before painting. Take your time and pre-fit all pieces so that they will have a tight fit to the body.
VERY IMPORTANT! Read and understand all directions and check the following parts list before starting installation.
PARTS LIST
| 1 | Rear Wing | 1 | Instruction Sheet | 12 FT | 1/2" Two Sided Tape # 75344 |
| 1 | Urethane Prep Sheet | 3PKGS | 3M Adhesion Promoter |
1. Remove any other wings if so installed.
2. Set the Street Scene center rear wing in place to see where the two sided tape will go. You will need to clean both the vehicle and the new wing with 3M promoter so that the tape will stick good.
3. Do the same procedure to the left and right side of the wing. Clean with the 3M promoter. Below is a photo where the two sided tape goes on the center wing and corners.
TAPE LINE ON CENTER WING

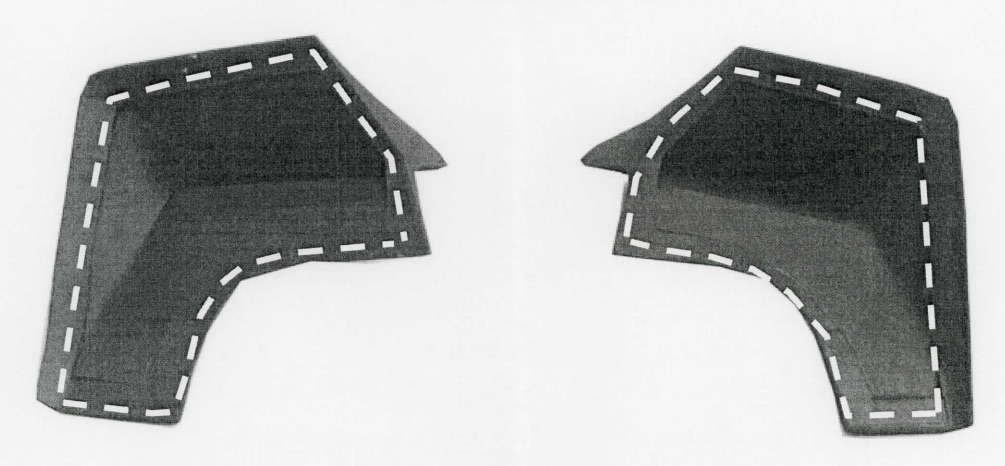
TAPE LINE ON CORNERS LEFT & RIGHT
4. Lift the corners of the tape backing on the ends. Do not pull all off at this time.
6. Set wing onto the deck lid where it will be installed. Grab the corner of the tape backing and pull. Apply pressure to the wing. Do the same on all pieces.
7. Done! Enoy your Street Scene 3-Piece Urethane Spoiler!
STREET SCENE URETHANE PAINT PREPERATION
PROPER PAINTING TECHNIQUES FOR POLY URETHANE PRODUCTS
ALL PARTS SHOULD BE PROFESSIONALLY PAINTED
Pre-fit the component to vehicle. Once you are assured that you have the right component you may proceed, we highly recommend using masking tape anywhere the component may be touching the vehicle body to prevent scratches during the pre-fit.
1. The first step will help to remove pinholes and bubbles that form in the poly urethane. First use a 220 grit sand paper with a DA sander. Sand part complete.
2. Next clean part with aerosol cleaner ( wax & grease remover ).
3. Spray booth: Prime part complete. ( Use PCL 905 primer ).
4. Once part is dry, sand with 320 DA sander. To finish the part wet sand entire part with 400 grit sand paper by hand. This will) give the part a nice finish before painting it.
5. Clean part again.
6. Spray booth: Next spray sealer, Use DP 48 ( PPG white sealer ). Do this to make the part white before painting it. With the part still in the spray booth then finish painting the part with the factory matched color, and then finish with clear coat. ( Use PPG 2010 clear ).
7. Neat color sand / wet sand the part. First use 1000 grit wet / dry sand paper and sand any dirt or runs out. Then go over the entire part with 1500. Last go over the part with 2000. Sand mostly the smooth and flat surfaces, trying to stayaway from the edges so that you do not burn ( go through the painted surface) it laterusing the buffer.
8. Next buff it with a rubbing compound, and finish it with polish. Wash the surface and you will have a beautifully finished part.
ON ALL THE SSE URETHANE PARTS THE PREFERRED PROCEDURES ARE :
A. Pre-fit, sand and shape
B. Paint
C. Install
IMPORTANT PAINT PREP INSTRUCTIONS
URETHANE PAINTING INSTRUCTIONS
Urethane body components require a special cleaning and painting procedure to obtain a proper finish. Once the urethane components have been properly pre-filled CLEAN AND SCRUB THEM Using plenty of hot water, plenty of scouring powder ( Like AJAX Or COMET and a # 7447 Scotch Brite Pad ). Scrub each piece thoroughly until there are no shiny spots. Scrub all surfaces expecially the back side top sections that will be against the body. You will be applying double sided tape to this area so clean and sand it !. The goal is to achieve an even dull finish on all surfaces to be painted. After you've finished scrubbing the parts completely repeat the procedure one more time. If this is not done properly the paint will not stick.
Any automotive primer will provide excellent adhesion to the part if the surface is properly prepared. how ever ! WE DO NOT RECOMMEND USING LACQUER PRIMER ON URETHANE COMPONENTS DUE TO IT'S RIGIDITY. Elastomeric of acrylic primers can be used but elastomeric primers due to the flex agent added are preferred over acrylic primers. Light sanding is recommended after primer has dried and before final color painting.
STREET SCENE BODY
COMPONENT INSTALL PROCEDURE
1. TEST FIT: Make sure you have the proper component BEFORE Proceding further.
2. PRE-FIT: Sand, Shape, Fill as necessary
3. PAINT: Following paint prep procedure outlined above .
