 FREE 1 to 3-Day Delivery on Orders $149+ Details
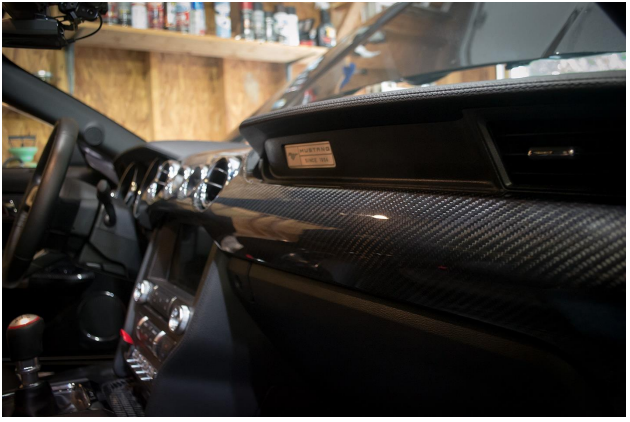
How to Install Trufiber Carbon Fiber Dual Gauge Dash Kit (15-18 GT w/ Performance Pack, EcoBoost) on your Ford Mustang
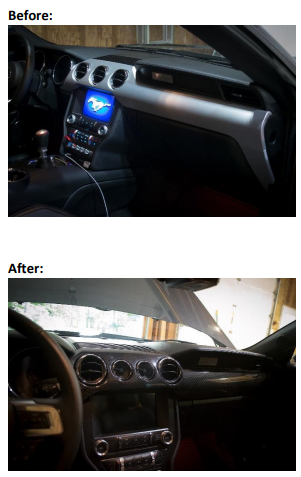
Difficulty: DIY-able, though care should be taken to not damage any existing parts
Note: Though carbon fiber is known for its strength, you should still handle the dash kit with care. It is easy to scratch or damage, and when damaged cannot be easily repaired.
Installation Instructions
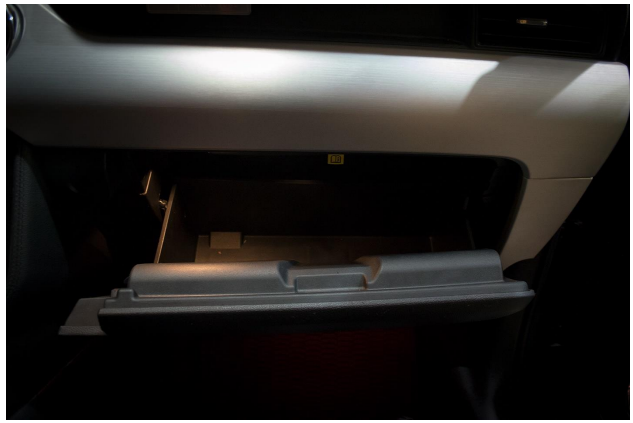
1. Begin by opening the glove box, granting better access to the dash panels to the right and top of the glove box.
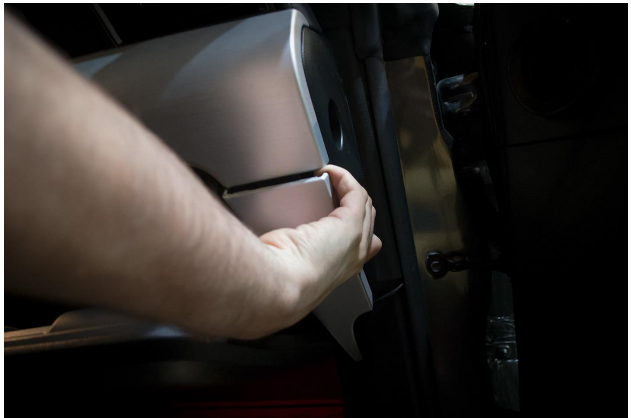
2. Next, grab the lower-right dash panel and carefully pry it out of its place.
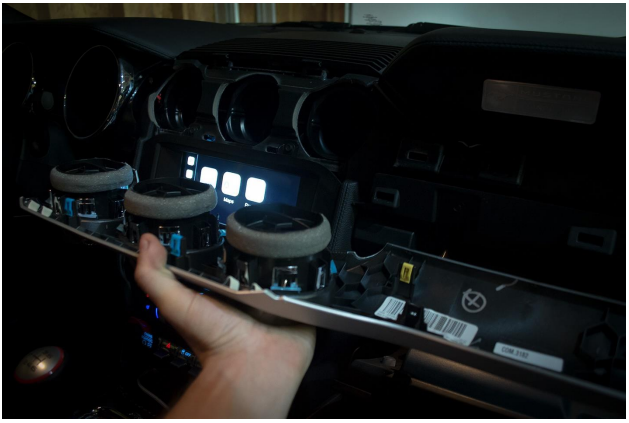
3. Continue with the middle dash piece; to reduce the likelihood of damage, grab both the top and bottom of the panel with both hands instead.
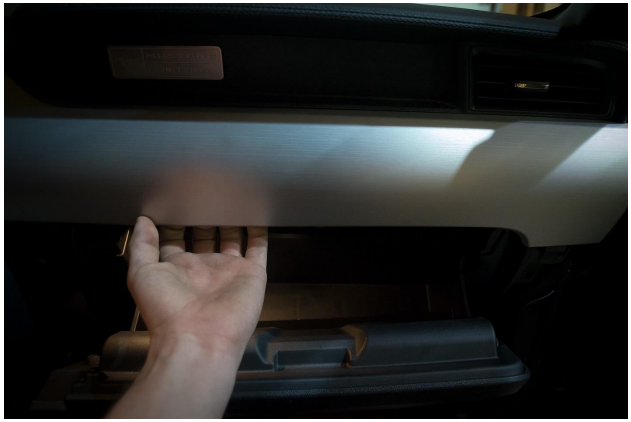
4. Continue with the middle of the dash; again, pry the dash panel out carefully using both hands and pulling it straight out.

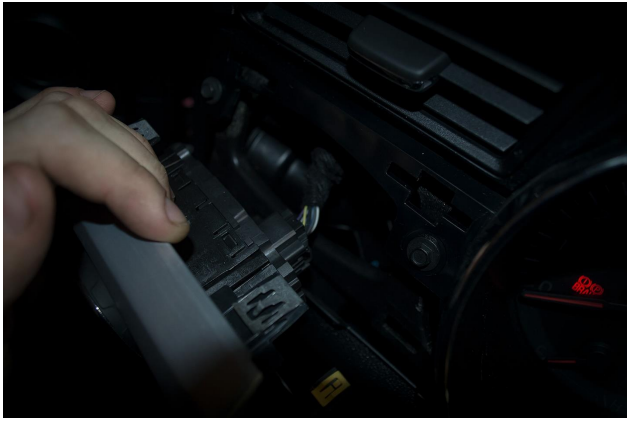
5. If you have a Performance Pack Mustang, you’ll want to disconnect the connector connected to the gauges at this time before removing the panel entirely.
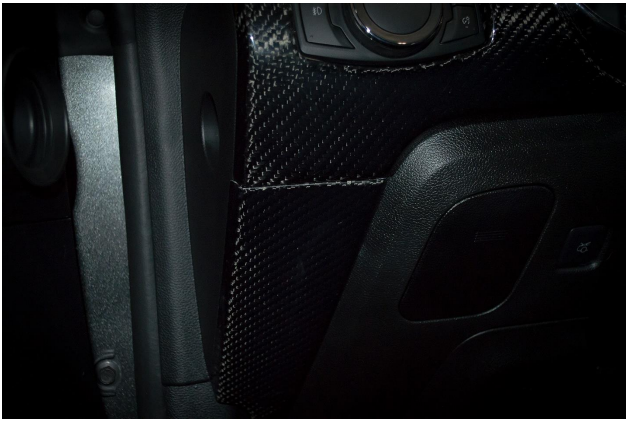
6. Moving to the left side of the dash, you can begin by carefully prying out the lower-left piece out of place.
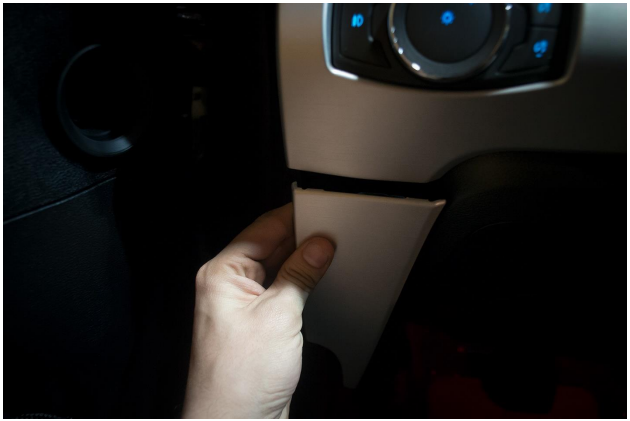
7. Remove the panel to the left of the headlight switches by prying it from its place.
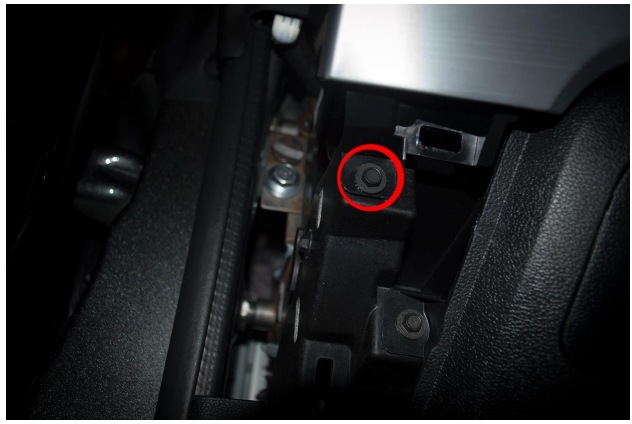
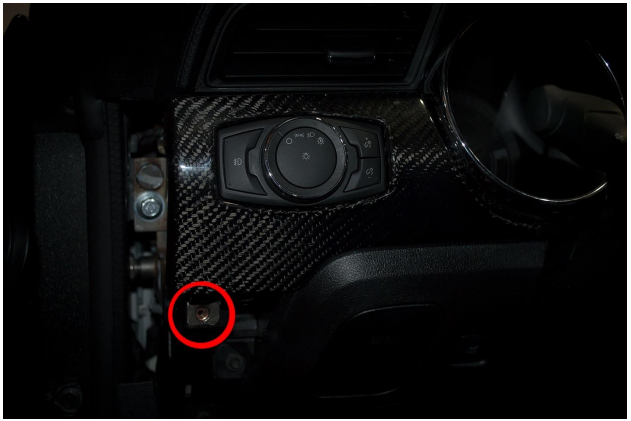
8. Remove the circled bolt using your 7mm socket. Keep this bolt, as you’ll need it later.
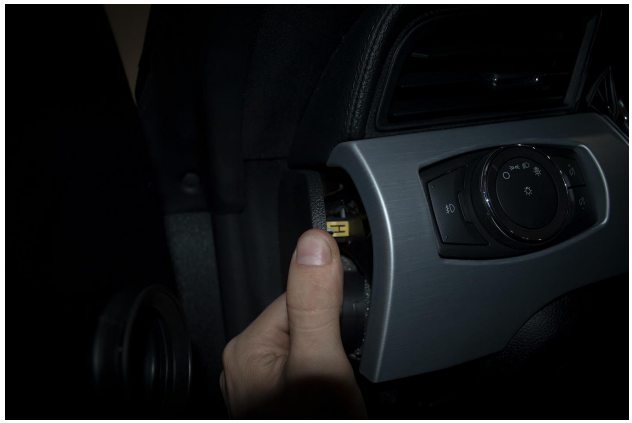
9. Begin prying the headlight switch panel out; prior to completely removing it, disconnect the connector behind it.
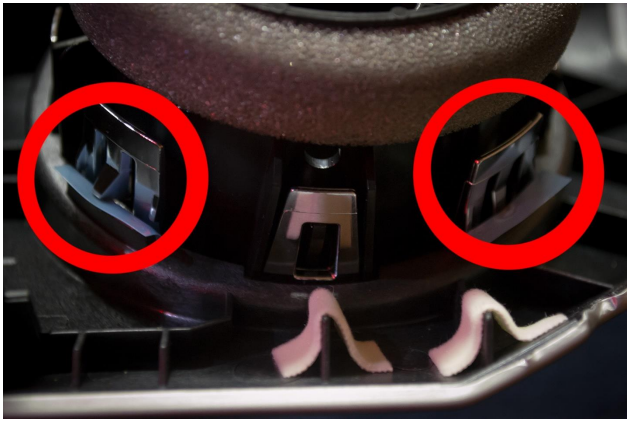
10. You can remove the headlight switches from the dash panel by squeezing the four tabs circled and pushing it out.
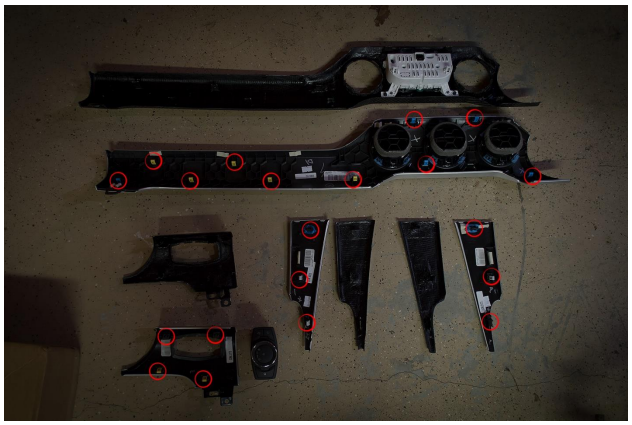
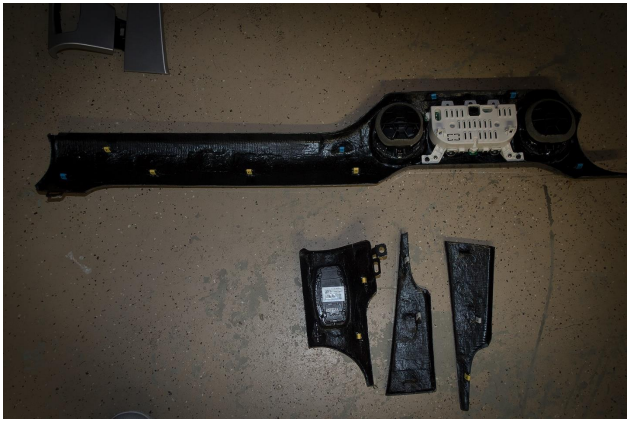
11. At this point, you should have all the panels removed. You can now start to remove the various clips from the existing dash panels and reinstall them on the carbon fiber dash.
12. In order to remove the AC vents, simply squeeze the four tabs holding them in place and push them out. You can slide them back into the carbon fiber dash.
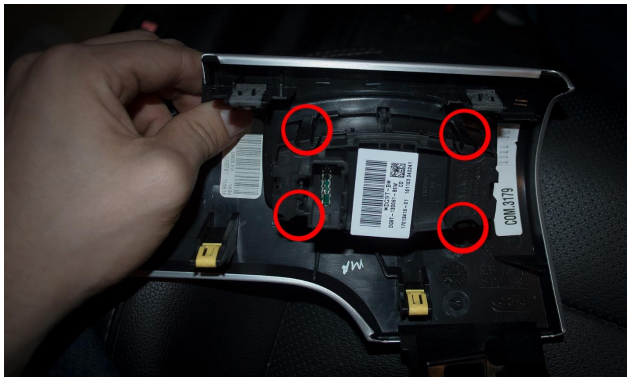
13. You can remove and reinstall the performance pack gauges using the T20 TORX bit to remove and reinstall the four (4) screws securing it in place. You can reinstall the headlight switch by sliding it back into place.
14. Press the carbon fiber headlight switch dash panel into place; the clips should click into place. Reinstall the 7mm bolt back into its former location.
15. Push the side panel next to the headlight switches back into place and push the bottom-left carbon fiber dash panel into place. The clips should again click into place.
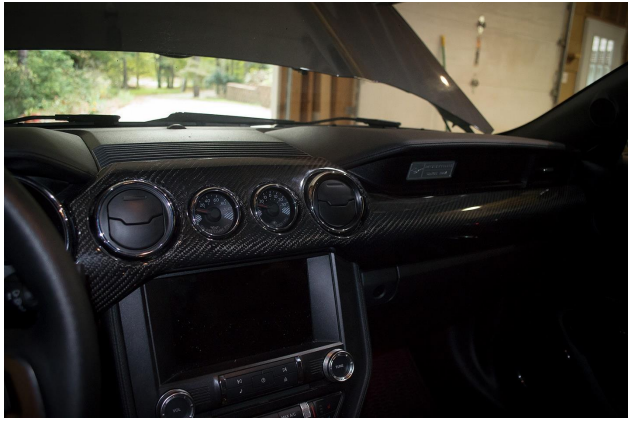
16. Re-connect the gauges and push the center and bottom-right dash panels into place (in that order). Their clips should also click into place. At this point, installation is complete.
Installation Instructions Written by AmericanMuscle Customer on 10/6/17.
