 FREE 1 to 3-Day Delivery on Orders $149+ Details
How to Install X-Force Varex Cat-Back Exhaust on your Mustang
Installation Time
2 hours
Tools Required
- Ratcheting wrench and matching drive extension
- 13mm, 14mm, 15mm, 17mm sockets
- 6mm hex key
- Vehicle ramps
- Jack Stands

Shop Parts in this Guide
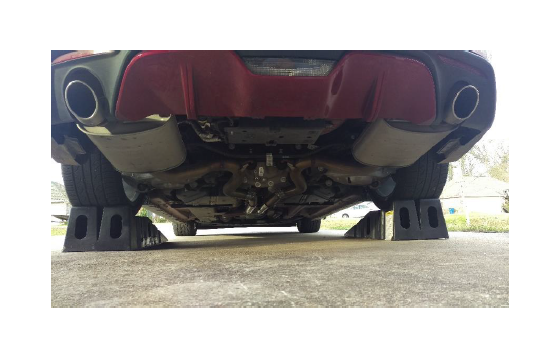
Removing factory exhaust:
1. Place car on ramps or lift.
2. Loosen the 4 fasteners at the front of the mid-pipe.

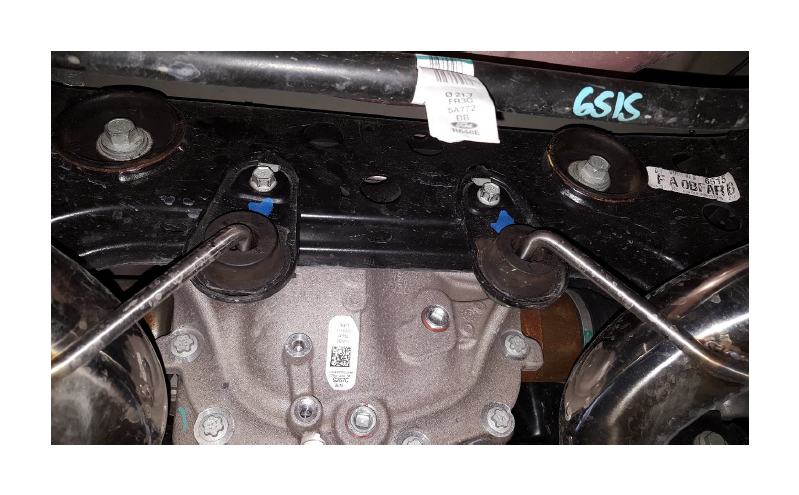
3. Remove the bolts securing each of the 2 exhaust hanger brackets to the frame just behind the rear differential.
4. Remove the 4 bolts securing the rear exhaust hanger brackets to the sub-frame, between the rear bumper cover and the rear of the mufflers.
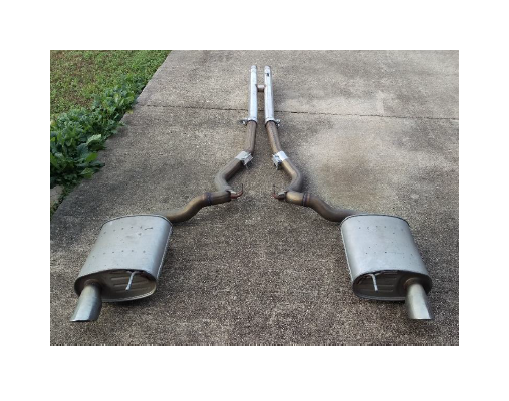
5. Remove factory exhaust by lifting upward and pulling toward the rear of the car until the mid-pipe/resonator is free from the front of the exhaust system.
Installing the Varex Cat-back system:
(NOTE: Do not fully tighten any fasteners until step 10.)
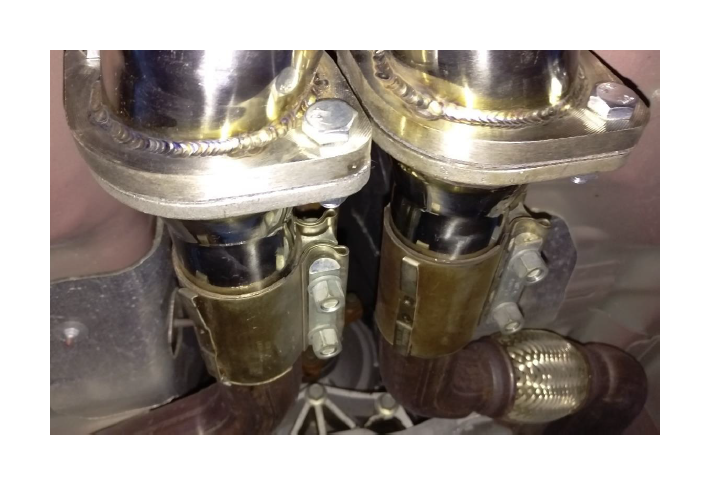
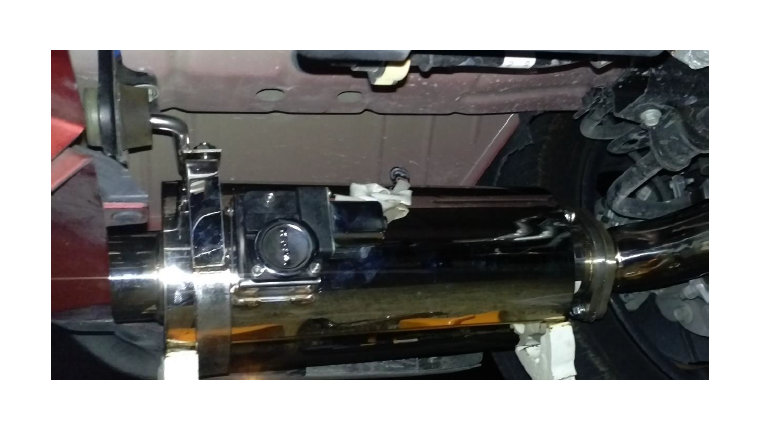
1. Install the reducers onto the mid-pipe, using the supplied fasteners and gaskets.
2. Insert the reducers into the connections you removed the old system from. (I used a rubber mallet to make sure they slid in all the way.) Place a jack stand under the mid-pipe to support it while you work on the rest of the system.
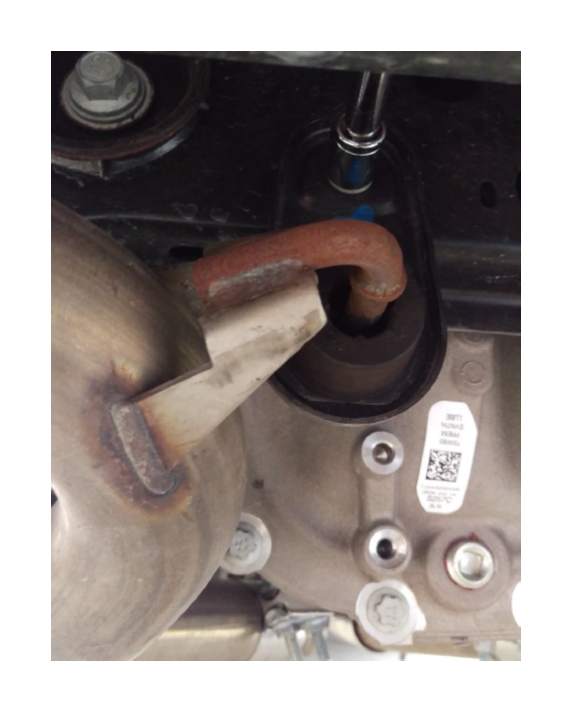
3. Reinstall the 2 exhaust hanger brackets onto the sub-frame behind the differential. Insert the hangers on the differential pipe sections into the brackets.
4. Bolt the differential pipes to the mid-pipe with the fasteners and gaskets.
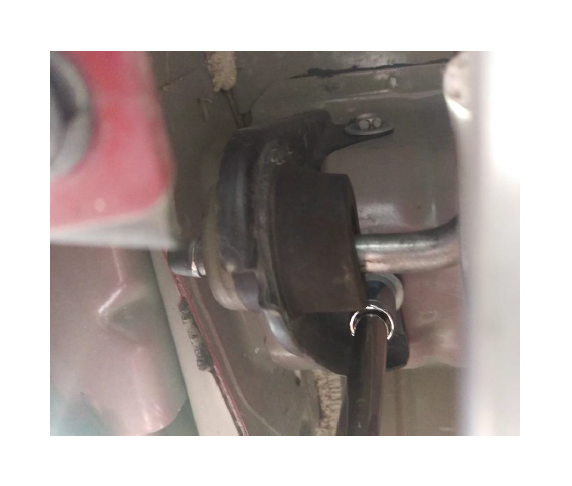
5. Reinstall the rear exhaust hanger brackets onto the sub-frame.
6. Install the supplied exhaust hangers onto each of the mufflers. (Note: The bolt to tighten the hanger should be positioned on the opposite side of the muffler from valve motor.)
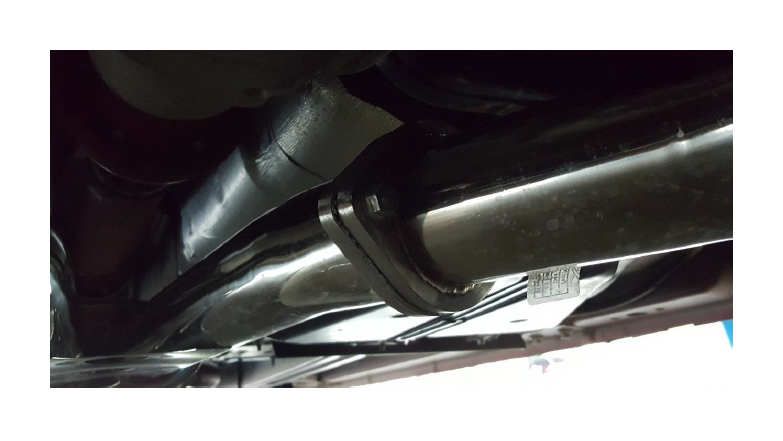
7. Insert the hanger rod into the bracket and use jack stands to support the muffler. Bolt the muffler to the differential pipe.
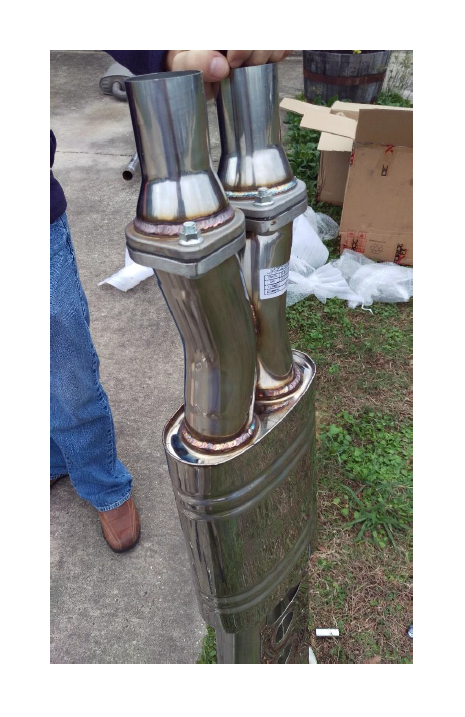
8. Install the tips onto the mufflers using a 6mm hex key.
9. Adjust the tips to your preference and tighten down the hangers to hold them in place.
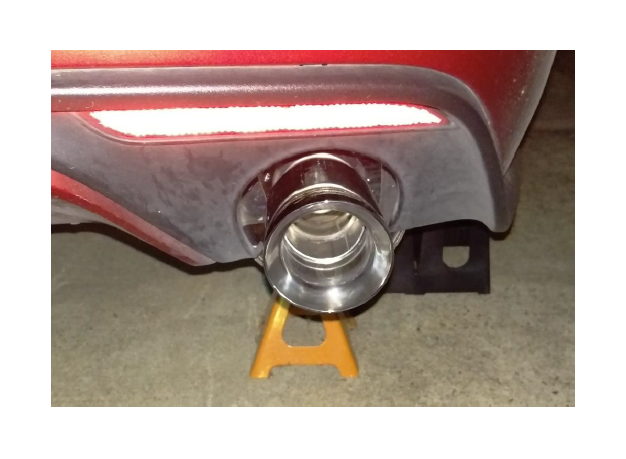
10. Working from the back to the front, tighten all fasteners.
11. Re-check the position of the tips and adjust if necessary.
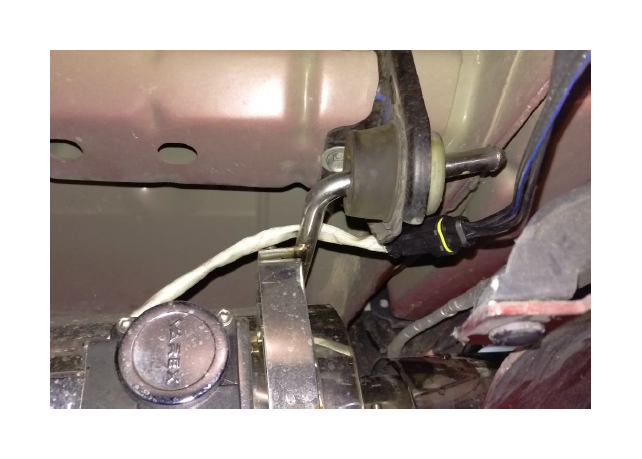
12. Route the supplied wiring harness according to your own preferences. (I chose to route mine through the rubber grommet in the trunk/spare tire area to the 12-volt outlet in the center console.)

13. Connect the wiring harness to the motors on the mufflers.
14. Remove car from ramps or lift.
15. Wake the beast…
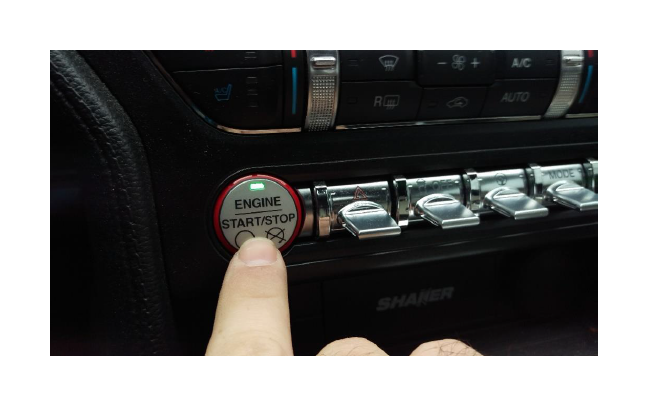
16. “A” for quiet, “B” for loud.
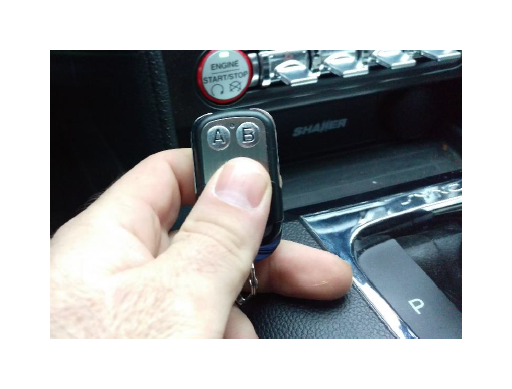
17. Enjoy your new X-Force Varex Cat-Back!

Installation Instructions Written by Wayde Sutton
For AmericanMucle.com
