 FREE 1 to 3-Day Delivery on Orders $149+ Details
How to Install a Wheel & Tire Package on your 1979-2018 Mustang
Installation
**Please note: This guide was written and shows installation on a 2006 Mustang GT. However, the installation is the same process for all years and models.
Before:

Installation Guide:
1. Always refer to the owner’s manual for proper jacking procedures. Safety first!
2. Park car on a level spot, turn off engine and engage the emergency brake.
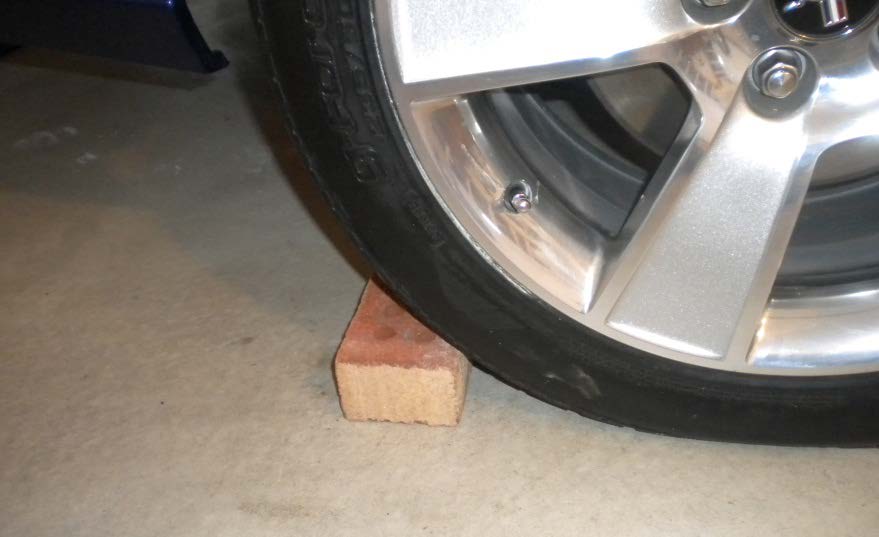
3. Place wheel chock opposite of wheel being changed.
4. Slightly break loose the lug-nuts prior to raising car off the ground.
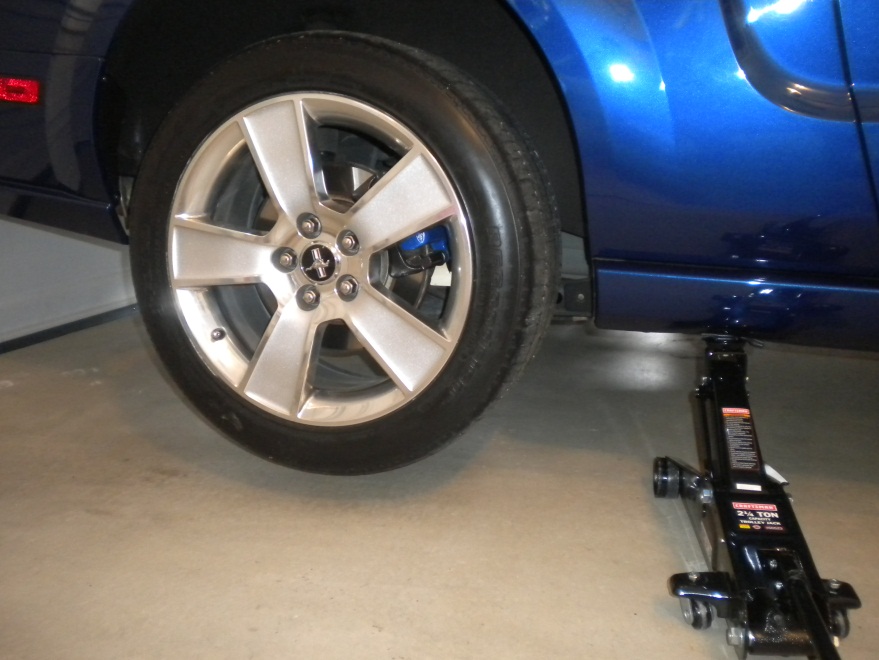
5. Position jack and raise the car so that wheel is just slightly off the ground. However, make sure you raise the car high enough so that when you put on your new wheels (that are probably larger in diameter), you give yourself enough elevation.
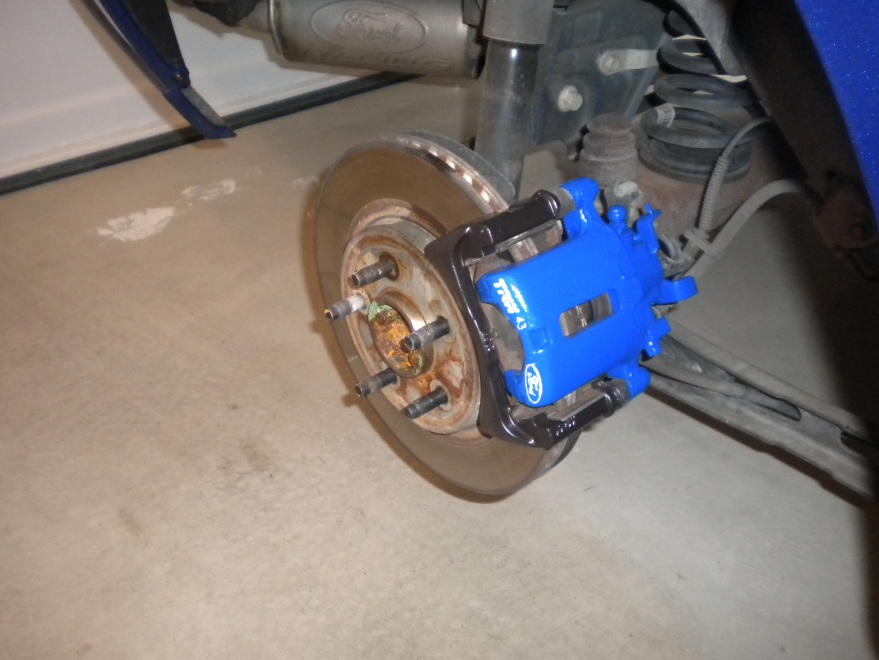
6. Once car is raised to proper position, remove lug-nuts and wheel.
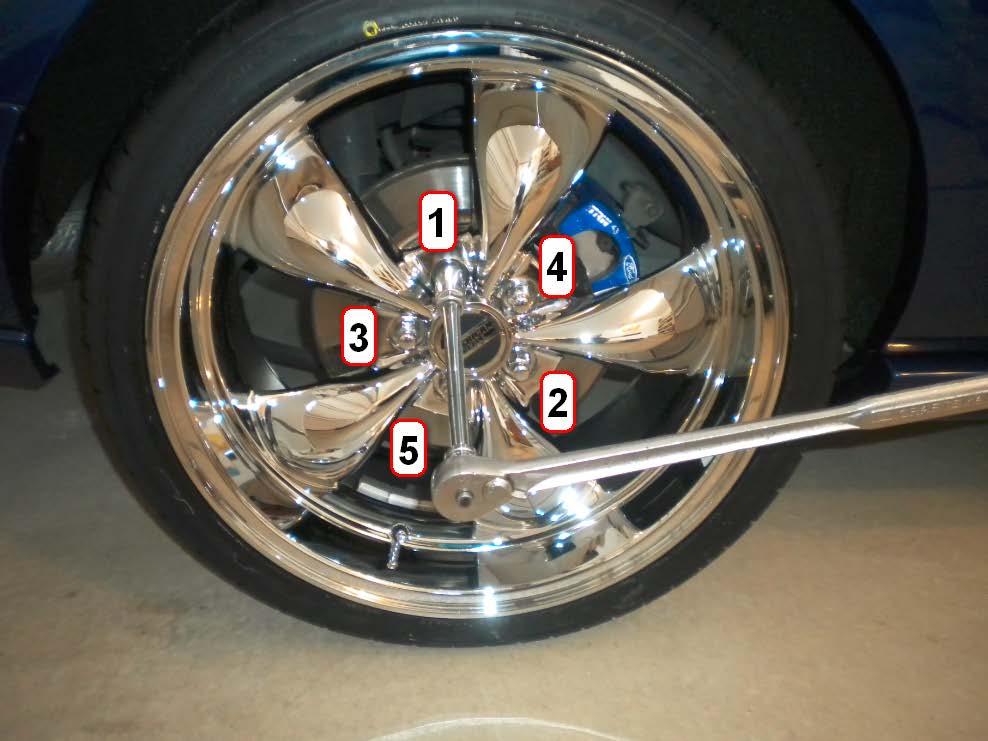
7. Visually inspect and clean / remove any foreign matter from wheel mounting surface and studs.
8. Set new wheel in position making sure it is seated flush with mounting surface.
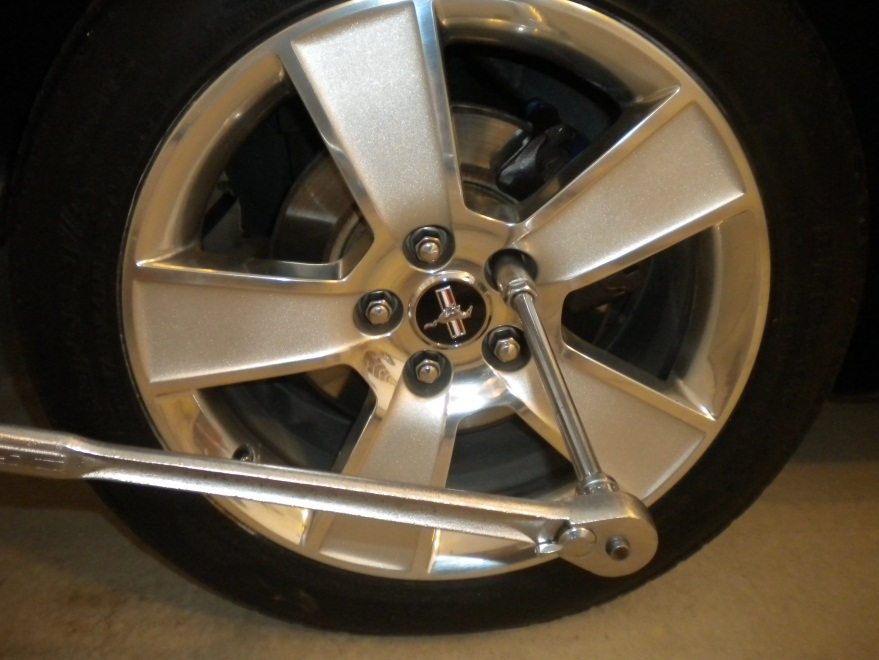
9. Replace all lug-nuts using the alternating method shown in photo below. Tighten just enough so the wheel stays in place. CAUTION: Do not be too aggressive while tightening the lug-nuts as this may cause your car to become unstable while still in the raised position.

10. Lower car and remove jack.
11. Finish torqueing the lug-nuts to Ford’s recommended torque values mentioned in the owner’s manual. Remember to continue in the alternating method.
12. Repeat above steps until all wheels are installed.
13. It is a good idea to check and re-torque (if necessary) the lug-nuts a week or so after installation.
AFTER:

Installation Instructions written by AmericanMuscle customer Grant Kennedy 2.17.12

