 FREE 1 to 3-Day Delivery on Orders $149+ Details
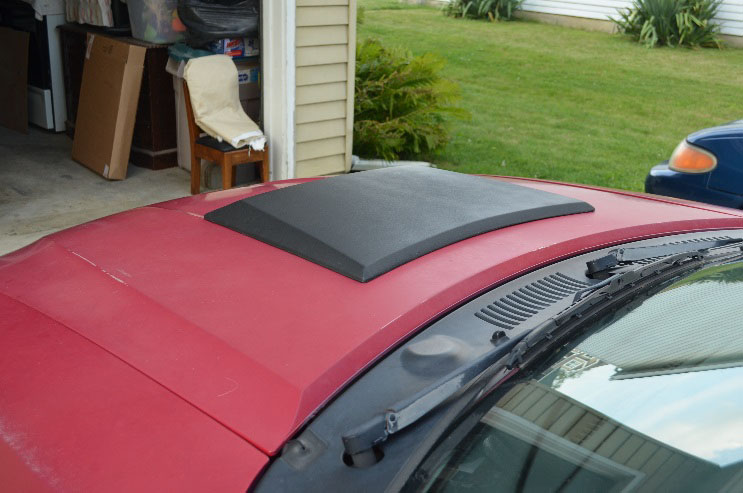
How To Install a Xenon Hood Scoop (99-04 GT, 99-02 V6 Mustangs, 01 Bullitt)
Installation Time
1 hours
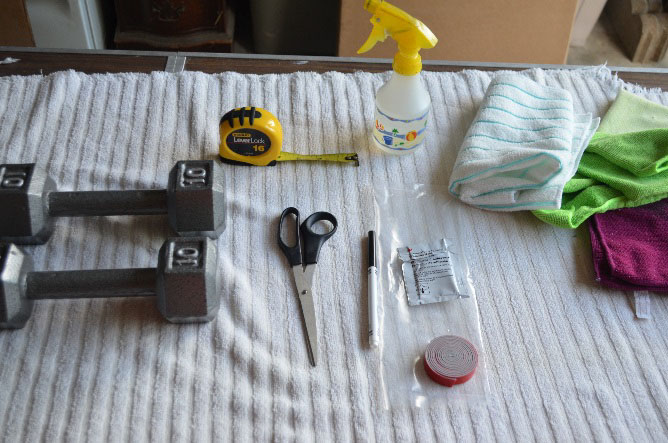
Tools Required
- 3M Adhesion Promoter (provided)
- 3M Tape (provided)
- Scissors
- Tape Measure or Ruler
- Magic Marker
- Soap and Water
- Towel
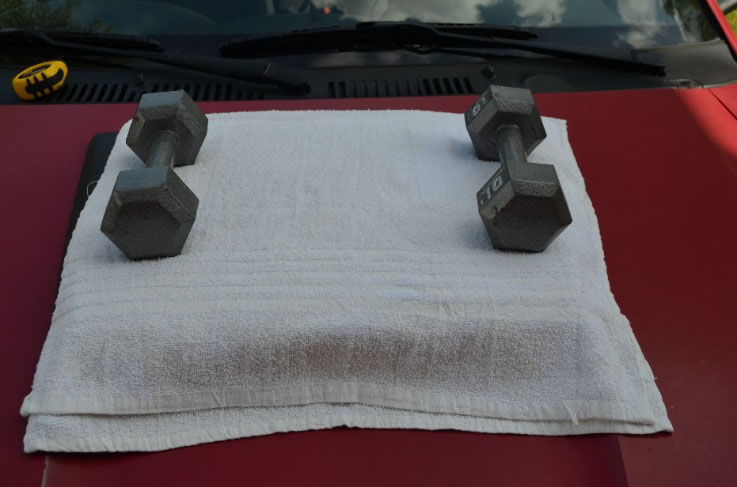
- Some Type of Weight (10-lb. Dumbbell)

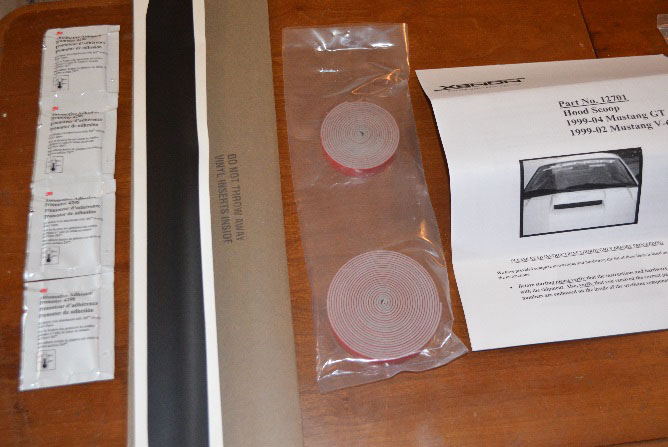
Shop Parts in this Guide
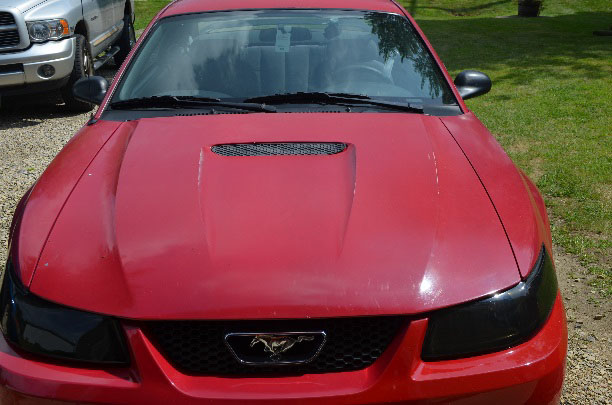
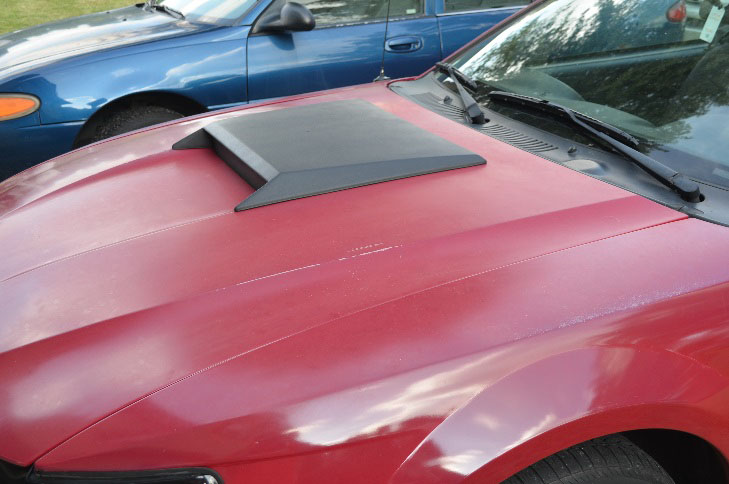
Before

Tools
• 3M Adhesion promoter (Provided with purchase)
• 3M Tape (Provided with purchase)
• Scissors
• Tape measure or ruler
• Magic Marker
• Soap and Water
• Towel
• Some type of weight (10 pound dumbbell)
Preparation
• Put the hood scoop in the sun for 30-60 minutes (Helps become more flexible, easier install)
• Clean area on the car where the hood scoop will be placed with soap and water, let dry. (Make sure to rinse off all of the soap)
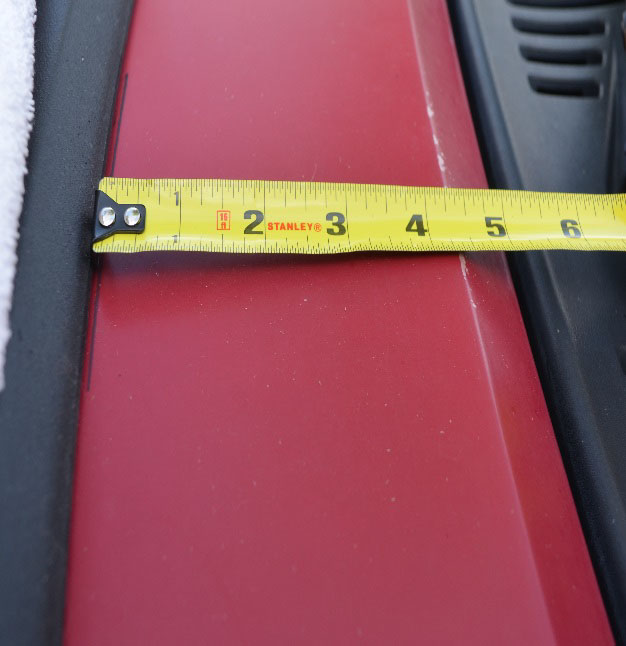
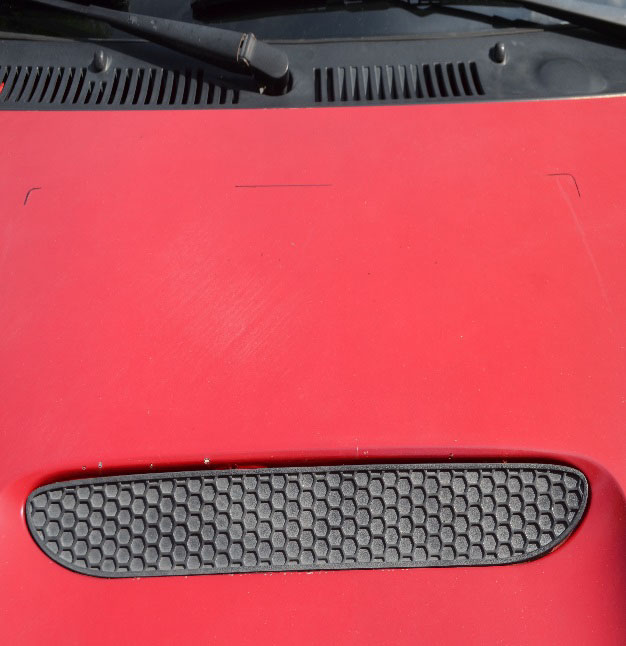
• Place the hood scoop on the hood (without tape) and mark the corners where the scoop will sit.
• On cars without factory scoop the Xenon scoop will sit 4 ¼ inches from the crease before the cowl vent. On cars with factory scoop the Xenon scoop will sit 5 ¼ inches.

Installation
• Use 3M Adhesion Promoter on areas where the 3M tape will rest on the scoop.
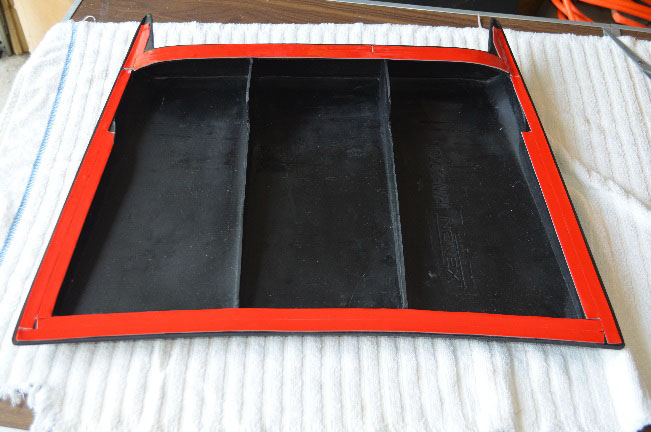
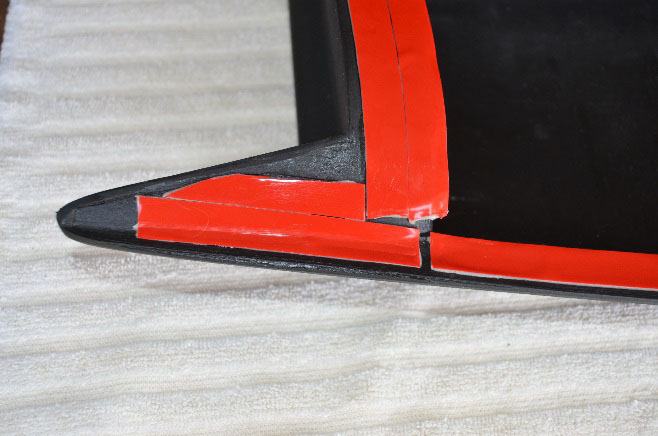
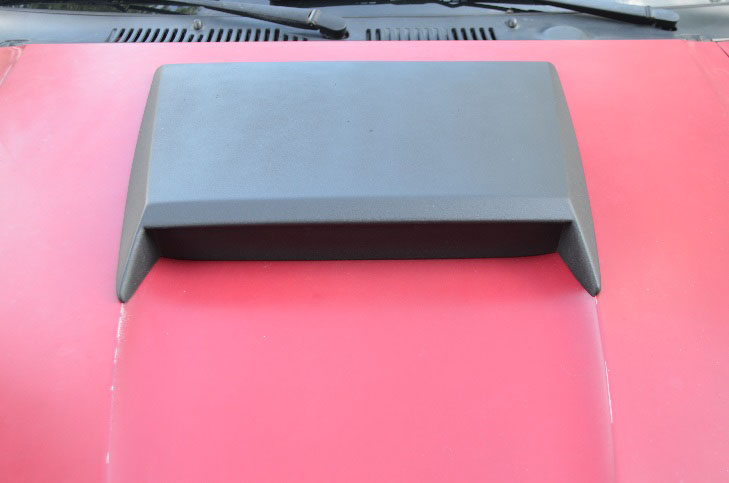
• Cut 3M Tape and apply it to the areas on the hood scoop (shown in the picture below) some areas will have two (2) rows of tape.
• Let the tape adhere to the hood scoop for 20-30 minutes.
• Before peeling red liner off practice putting the scoop on, lining it up with the marks you made with the magic marker in preparation. (It helps to have an extra set of hands to help you be more precise.)
• Once the scoop is on press down on all sides to make sure all of the tape is in contact with the car.
• To insure that the tape is on completely put a towel over the scoop and put some weight on it for 5-15 minutes. (I used 10 pound dumb bells)
• Finally, remove weights clean the paint and insert the vinyl insert provided.
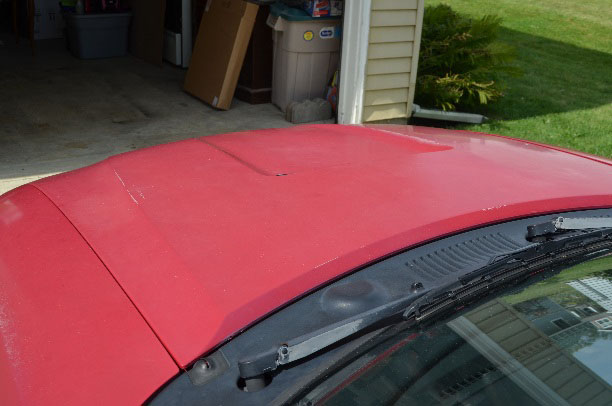
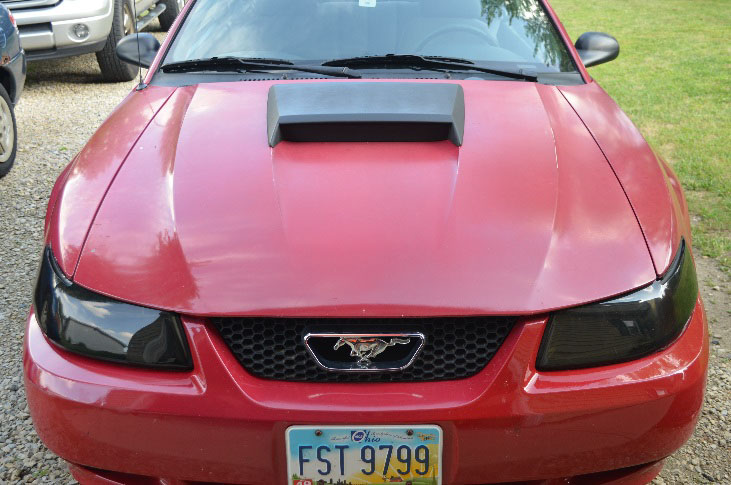
After
Installation Instructions written by AmericanMuscle Customer Jeremy Alder 8.24.2014
