 FREE 1 to 3-Day Delivery on Orders $149+ Details
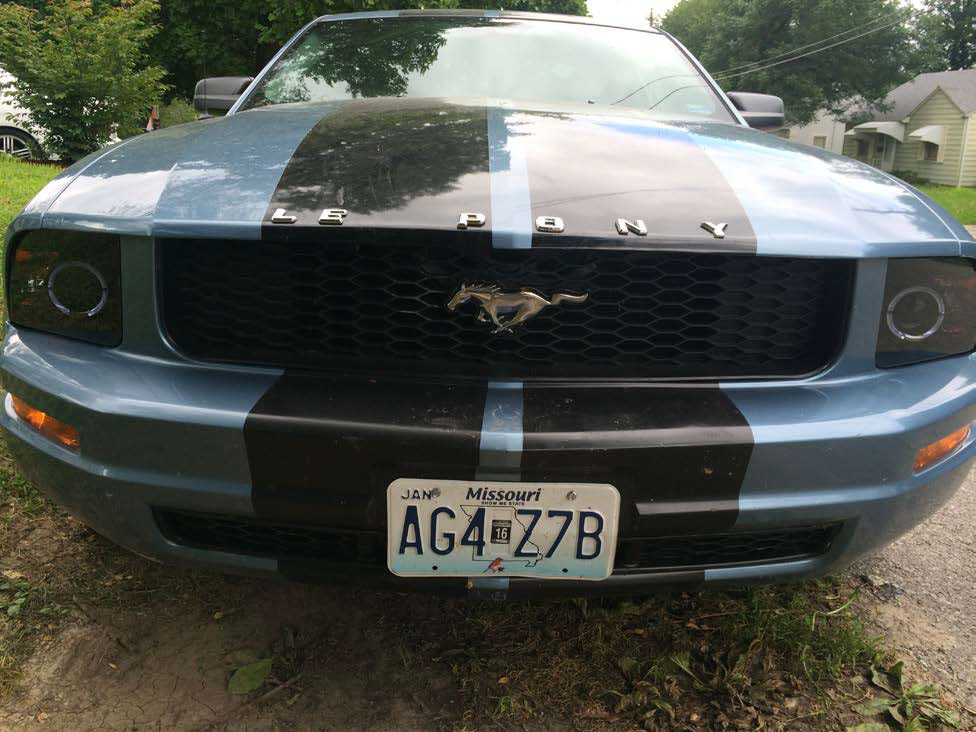
How to install a Raxiom 2010 Style Smoked Headlights on your 2005-2009 Gt Mustang and V6
Installation Time
2 hours
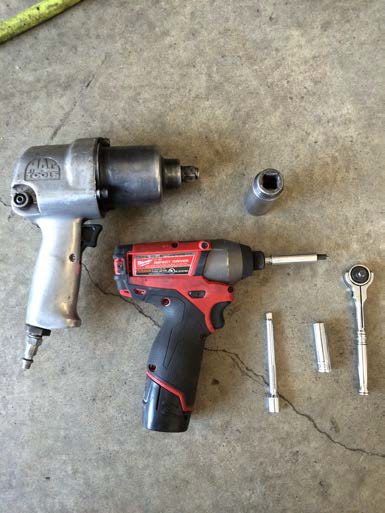
Tools Required
- Screw Driver or Gun (Phillips #2 Head)
- Ratchet
- 10 mm Socket
- Extension
- Lug Wrench or Gun (21 mm Socket Size)
- Jack (not in picture)

Shop Parts in this Guide
Tools Needed:
Screw Driver or Gun (Phillips #2 Head)
Ratchet
10 mm Socket
Extension
Lug Wrench or Gun (21 mm Socket Size)
Jack (not in picture)
—Optional—
A flat head screwdriver and/or pliers (for removing plastic anchors)
Another person to make removing and re-installing the bumper easier
Electrician’s Tape
Knife
Installation Time: (approx 70 minutes)
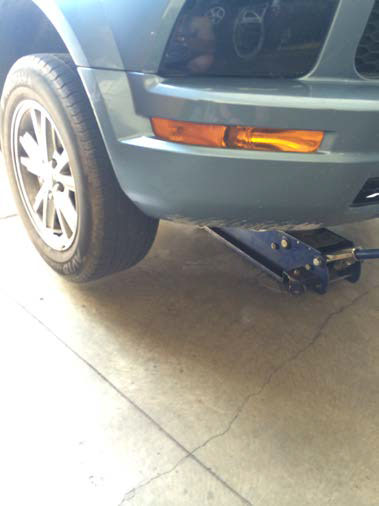
1.) Prop your car up from up front in the middle so it lifts both tires off the ground and pop up the hood.
2.) Remove the plastic covering by removing the plastic anchors (4 of them)
3.) Remove both front tires with the Lug Wrench and the 21 mm socket.
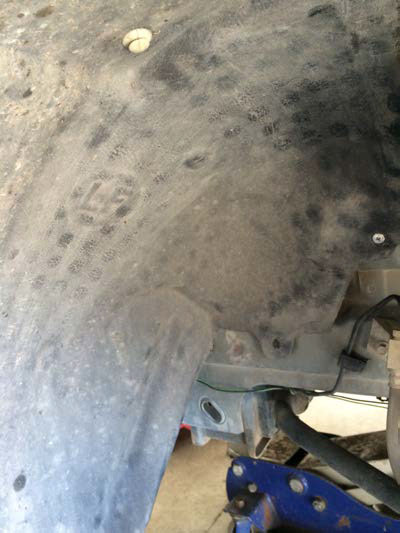
4.) Next is removing the plastic coverings (splash guards) but only the one that’s attached to the bumper.
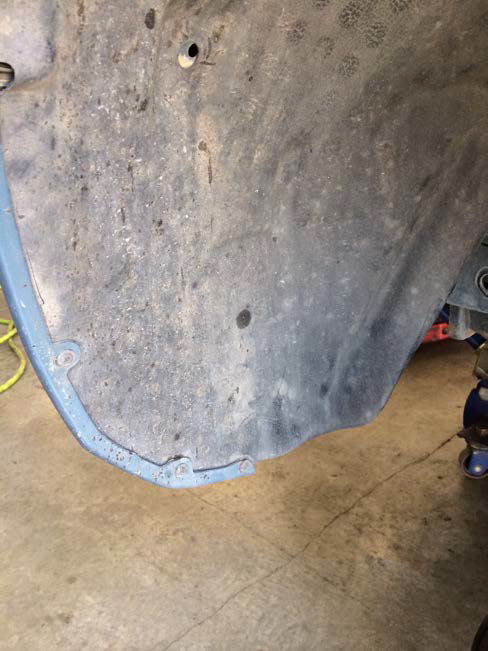
4.) Using the screw driver or screw gun with the Phillips #2 head, remove the 3 screws along the outer edge.
5.) There should be 1 or 2 plastic anchors (I am not sure how many because my car didn’t have any and I added them after)
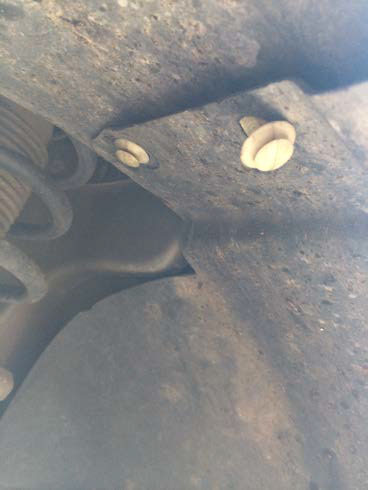
6.) Where the 2 splash guards meet there will be 1 or 2 plastic anchors holding them together. Remove them and take out the splash guard (keep track of your screws and anchors!)
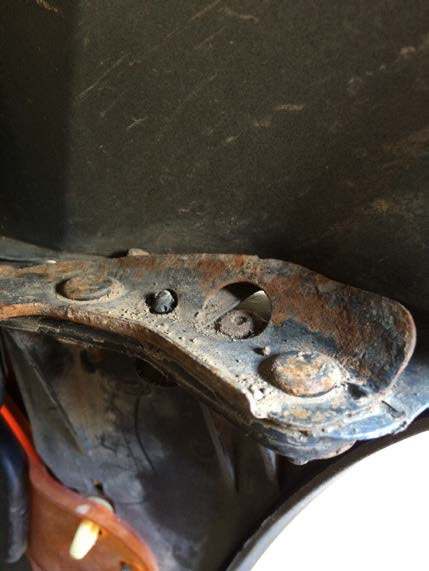
7.) Once you remove the splash guard, the bumper is held by 2 bolts. You keep the bolts in place but will remove the nuts on the bottom that keep the bumper tighten using the ratchet, extension, and 10 mm socket
(Note: Once you unscrew the nuts, grab the bumper from right there and pull down. You will have to fiddle with it since it is also held in place by pressure.)
8.) Unplug the turn signal lights and parking light
—Repeat Steps 4-8 for the other Side—
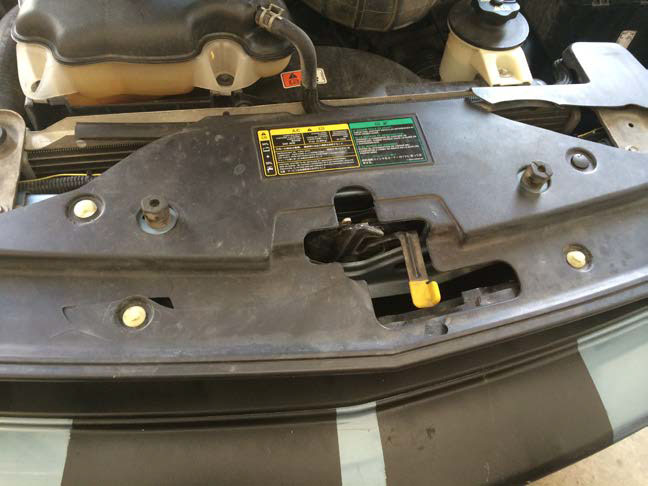
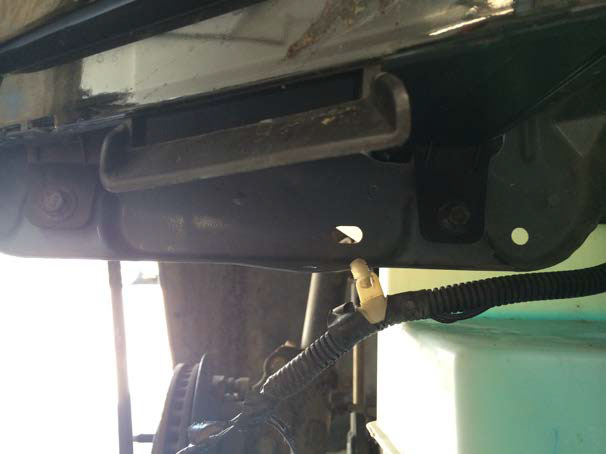
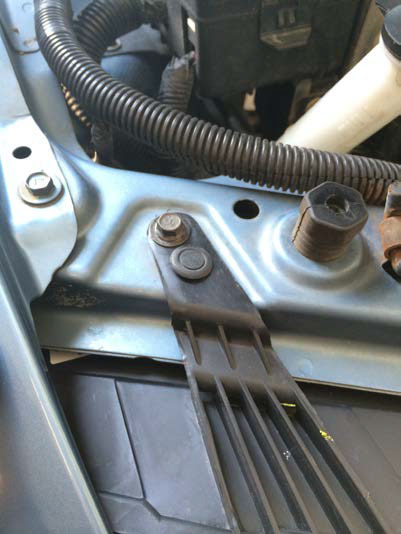
9.) Now before you start popping yanking at the hood, get under the hood and you will see the bumper also had 2 bolts holding it in place. Remove them with the same 10 mm socket.
(Note: To remove this part you have to lift it a little bit and then pull back)
—If you have a GT or Fog lights Installed in your car, unplug the fog lights before completely removing the bumper—
10.) If you have a friend you can each stand on each end of the bumper and remove it and carry to a safe and out of the way place. If not, after ensuring everything is lose, stand in the middle of the bumper (mind the jack) and remove and carry it out of the away.
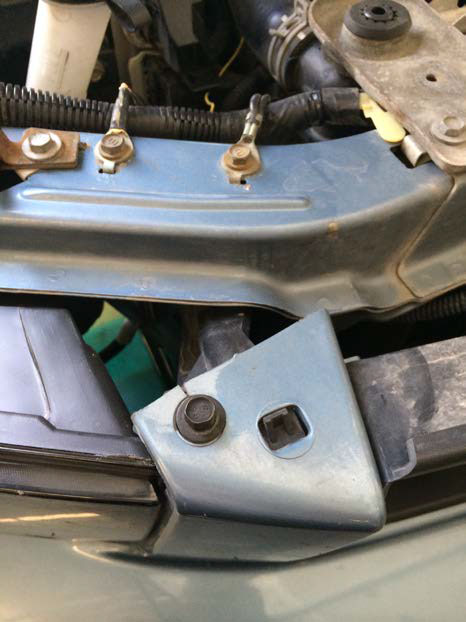
11.) If you look at bottom (left picture) and top of the head light (right picture) you will see a total of 3 bolts. Remove them along with the plastic anchor below the top bolt.
CAUTION: REMOVE THE BOTTOM BOLTS FIRST AND THEN THE TOP SO YOU CAN HOLD THE HEADLIGHT WHILE YOU UNPLUG THE HARNESS
(Note: Your headlights may or may not have a plastic anchor right below the bolt that’s on the top [right picture] )
—Repeat Step 11 for the other headlight—
Now you can get your sexy new headlights out of the box and onto your car
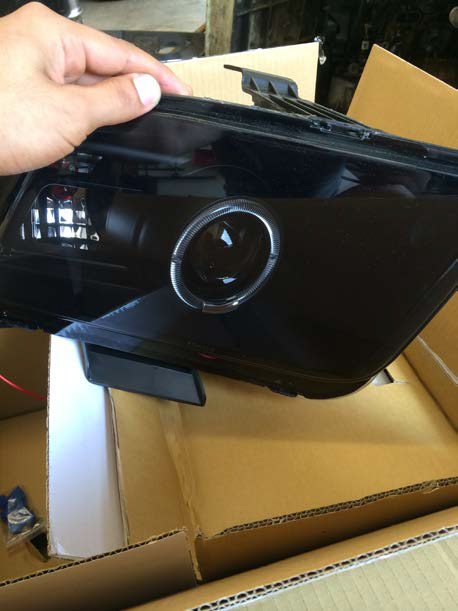
12.) Grab a headlight and get close enough so you can let the headlight lean on you while you connect the harness.
13.) Insert headlight and screw on the bolts and fish the wires for the halo downward to the floor so you can access them easily.
(Note: I suggest you screw on the top bolt first so it can be held in place while you align and screw in the bottom bolts)
CAUTION: STAY CLOSE ENOUGH SO THE HEADLIGHT LEANS ON YOU AND DOESN’T FALL WHILE YOU ALIGN THE HOLES AND SCREW ON THE TOP BOLT
—Repeat Step 13 for the other side—
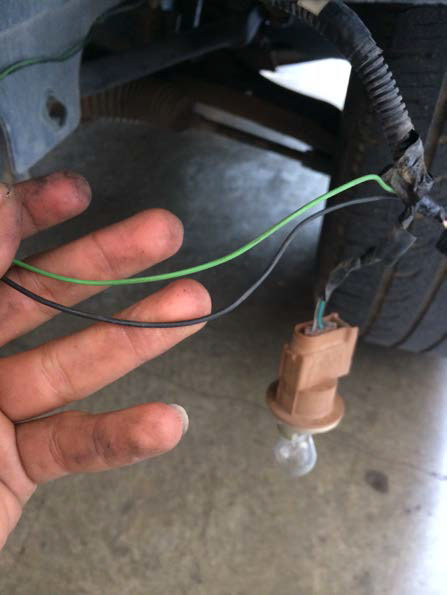
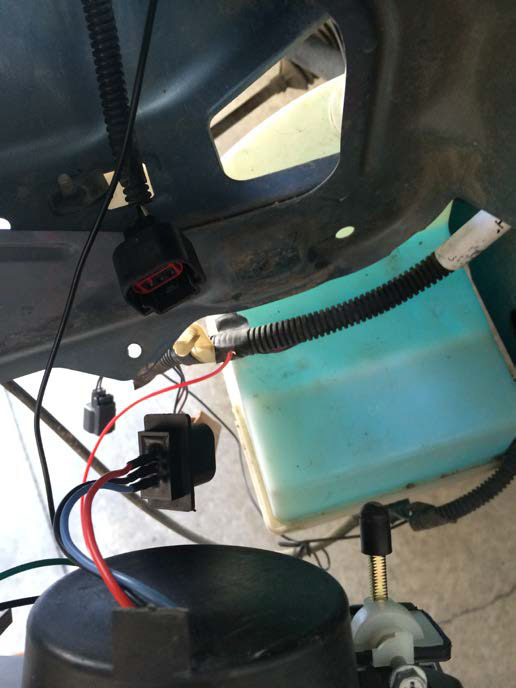
The harness that you unplugged and are dangling are your parking lights.
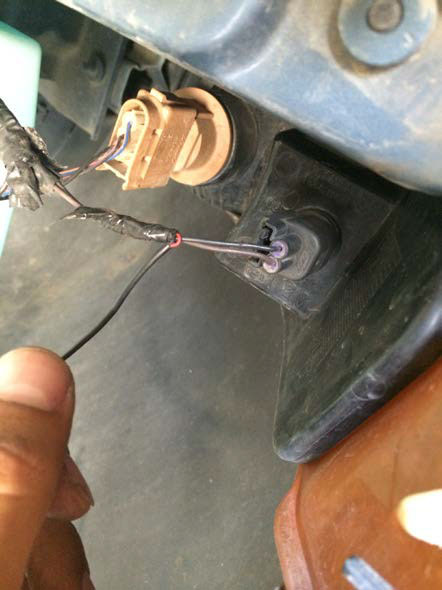
14.) Connect the headlight’s halo wires. (Black with black and the green with Red)
• If you use the quick splice connectors you will need the pliers to push down the metal part.
• If you use the traditional cut and tape method, make sure you cover it good so water doesn't get in
—Repeat Step 14 for the other side—
15.) After you connect both sides and before you start re-installing the bumper, turn on your parking lights and ensure the headlights and halos turn on and are working properly.
16.) After you everything is working properly, re-install the bumper.
17.) When re-installing the bumper:

• If alone, hook on and re-install the bolts on the top of the bumper first so they hold in place while you insert the holes into the bolts on each side
• If with a friend, each hold one end and insert bumper holes into the bolts on the ends first
18.) To install bumper follow the steps backwards starting from Step 9
(Re-install bumper bolts, reconnect harnesses, splash guards, reinstall tires, re-install plastic covering, and carefully lower your car)
Enjoy your new Sexy 2010 Style Headlights :)
Installation Instructions written by AmericanMuscle Customer Luis Cuellar
