 FREE 1 to 3-Day Delivery on Orders $149+ Details
How to Install a RTR Aluminum Rear Spoiler on your 2010-2013 Mustang
Installation Time
2 hours
Tools Required
- 1/4" Ratchet
- 10mm Deep Socket
- 30lb Fishing Line
- Needle Nose Pliers
- Goo Gone
- Rags
- Touch up paint
- Plastic putty knife
- Painters Tape
- Center Punch*
- Drill*
- 3/8" Drill Bit*

Shop Parts in this Guide
Installation
1. Start by carefully removing the wing from the packaging and inspect thoroughly for any damage. Also check to make sure that all of the necessary parts in included.
2. [If your Mustang came with a factory spoiler, then skip to step 4 below] Cut out the supplied template and tape it so it is aligned with back and side edges of the passenger side of the deck lid. Using a center punch mark the location on the deck lid to drill. Flip the template over and repeat for the driver’s side.
3. Drill a 3/8” hole at the two locations marked in step 2. Once the holes are drill apply a small amount of touch up paint to prevent rust from forming in the future. Skip to step 8 below.
4. Remove the decorative panel from the inside of the decklid by popping the center of the retaining clips out and using pliers to pull out the clip. Be careful to no damage the clips as they will need to be reused.
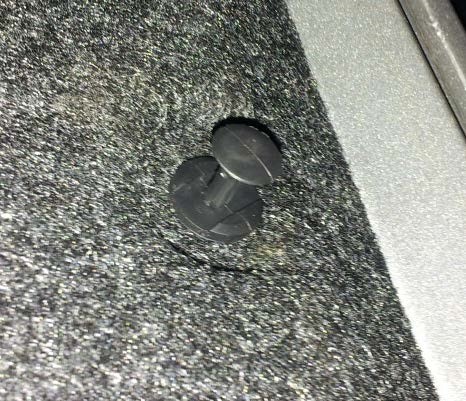
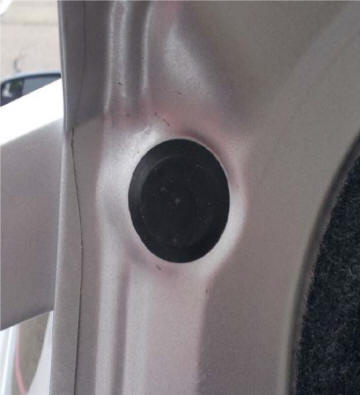
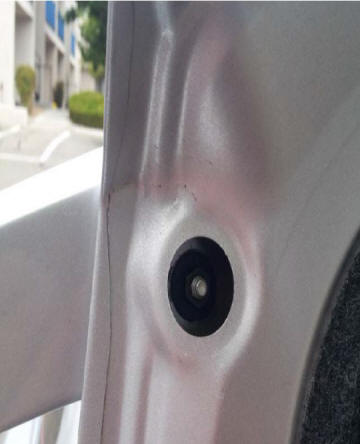
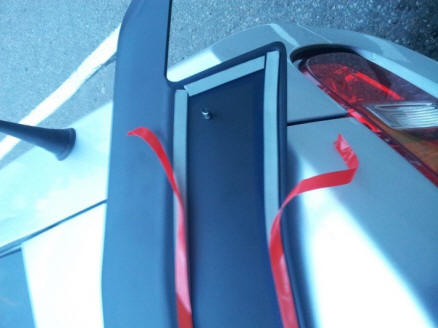
5. Remove the plastic hole covers to reveal the 4 spoiler studs and retaining nuts. Using a 10mm deep socket remove all 4 of the retaining nuts, 2 on the outer edges and 2 on either side of the center.
6. Using heavy fishing line slowly work it into the crevice on one edge of the spoiler. Using a sawing motion work it back and forth to cut through the double sided molding tape. In the areas where the bolts are located it may be necessary to use the plastic putty knife to free up enough room to get the fishing line through to keep working along the spoiler. Take your time to avoid damage to your paint!
7. Pick away the remainder of the double sided tape that is left on the rear deck lid. I found that just using a firm rubbing motion with my thumb worked well to remove the majority of the tape. Once most of it is off use a rag and goo gone to remove any residue that is left on the deck lid. It is important to remove everything in order to assure a good bond with the new tape on your RTR spoiler. Apply touch up paint as needed to the factory holes to prevent rust from forming in the future.
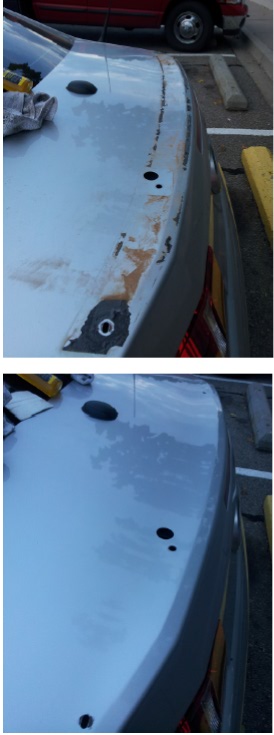
8. Remove the rubber thread protectors form the studs and dry fit the RTR spoiler in place to insure a proper fit. If you drilled holes using the template it may be necessary to elongate them slightly with a file. Be sure to use touch up paint to prevent rust if you do. If desired you can mark the edge locations of the spoiler using painters tape to help you align it during final installation.
9. Peel the double sided tape liner off completely on both sides of the spoiler. Peel back a few inches of the front and back tape on one side and fold them out from the center of the spoiler.
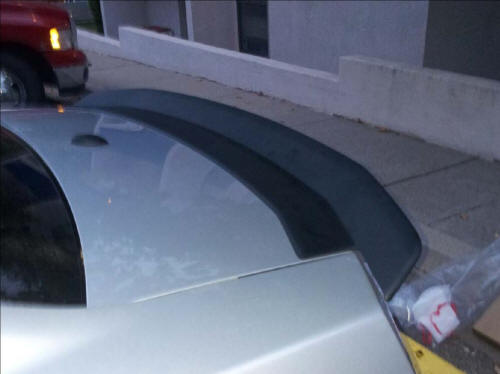
10. Carefully place the spoiler down on the deck lid using the painters tape as a guide. Insure that the trailing edges of the tape liner are sticking out from under the spoiler. Once you are satisfied with its location press firmly down on both sides and begin removing the remainder of the tape liner. Once it is completely removed firmly press down along all the edges that contain tape to ensure a good bond between the spoiler and deck lid.
11. Using the 10mm deep socket install the two supplied nuts to the studs on either end of the spoiler from the underside of the deck lid. Be careful to not over tighten the nuts.
12. Reinstall the plastic hole covers and the decorative panel using the retain clips from step 4
13. Close the deck lid, stand back and enjoy your new spoiler!
Installation instructions provided by AmericanMuscle customer Kevin Cross 10.01.12
