 FREE 1 to 3-Day Delivery on Orders $149+ Details
How to Install a Borla Stinger S-Type Axle-Back Exhaust for 2011-2012 Mustang V6
Installation Time
3 hours
Tools Required
- Car lift/ Hydraulic jack with jack stands
- 13mm socket and wrench
- 1-2 inch socket extension
- WD-40
- Wire/bolt cutters

Shop Parts in this Guide
Installation
1. Thoroughly inspect each muffler for factory defects or packaging damage before doing anything with them.
2. Using either a hydraulic jack or a lift, lift the car up on its designated lift points. The lift points are where the floor pans and the fenders meet. There are notches for the front and back for the points right under the black plastic on the side of the car. If your using jack stands, place the jack stands on the rear axle. If you’re unable to find the points, look in your manual for a reference.
3. Now that your stang is in the air, locate the hangers holding the exhaust in place and spray the rubber hangers and the bolts that hold the hangers to the body with WD-40. There are three hangers and 3 bolts on each muffler. (Only do one muffler at a time to ensure a proper fit and a good understanding of what you’re doing). After a couple Mins the WD-40 has soaked in, take out the two bolts for the front clamp and the bolt on the side. Keep the bolts in a safe place or a container so they won’t get lost.Note: (The lower bolts for the front hanger are hard to get to due to the bumper so use the socket extender). There is a small piece of metal on the front hanger which locks the hanger into place, remove this from its hole by twisting the hanger and pull it out. The hanger then should be able to slide off the exhaust hanger.
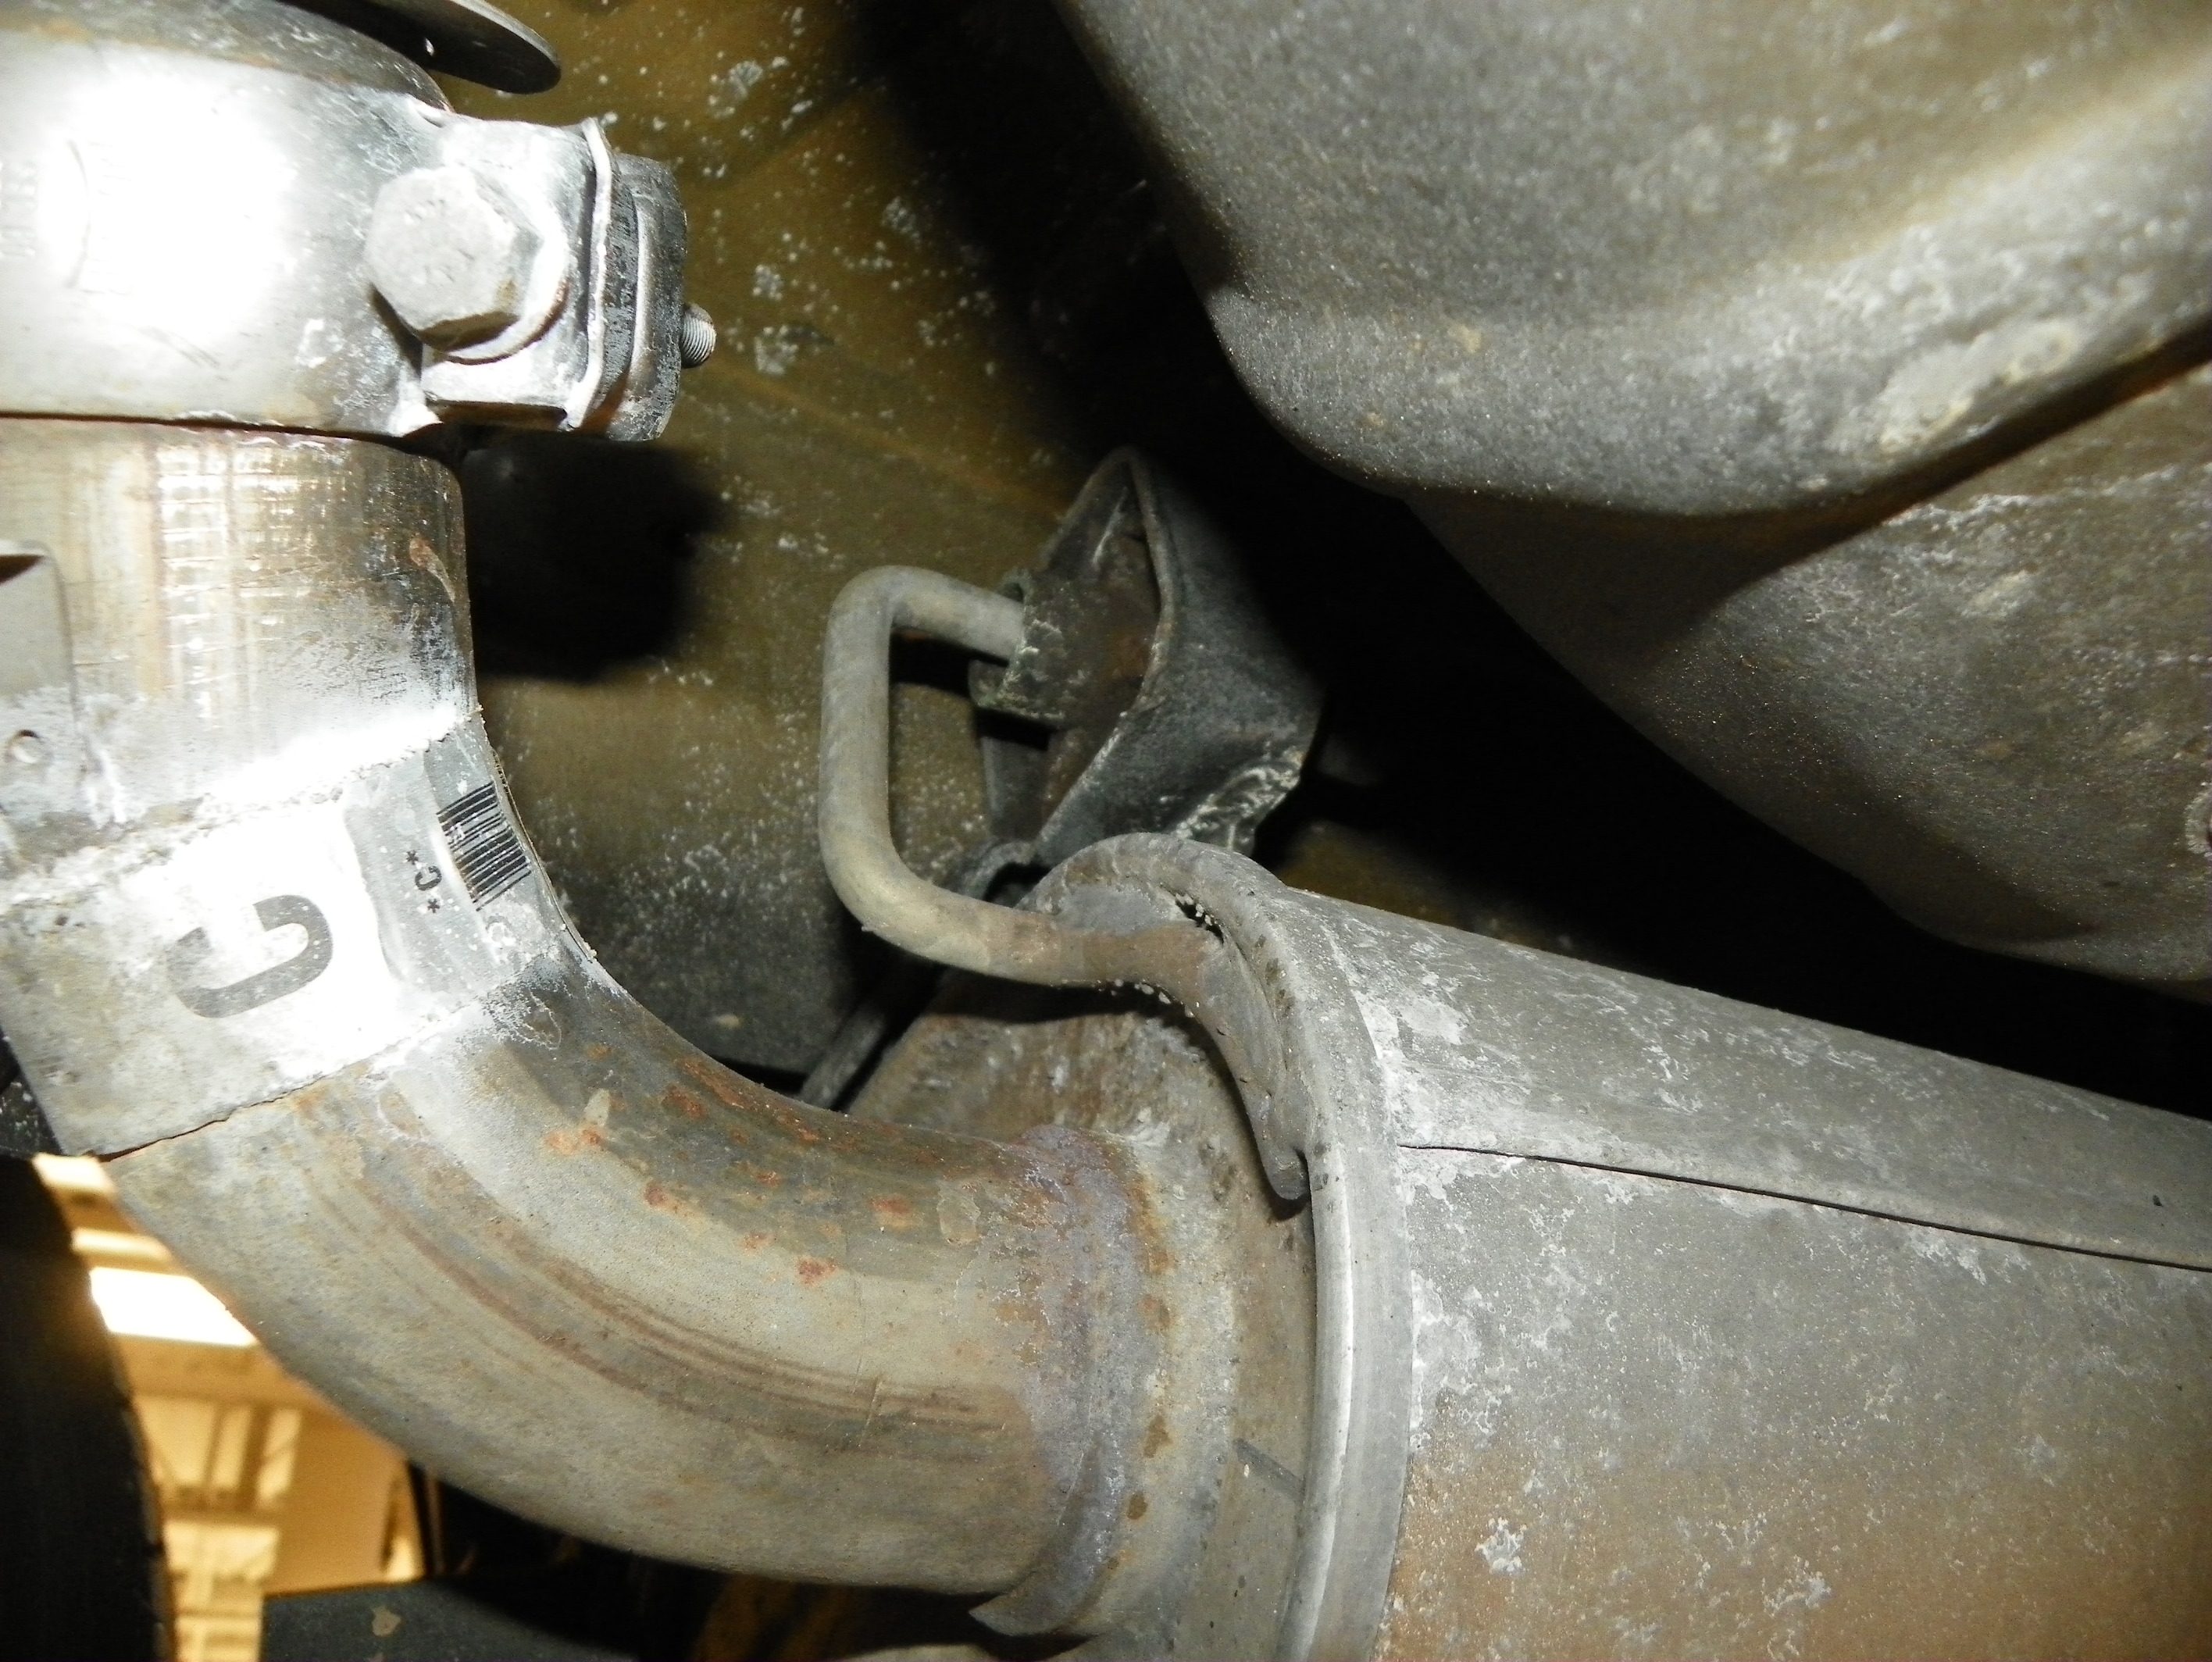
Rubber hangers which hold the muffler towards the front of the car
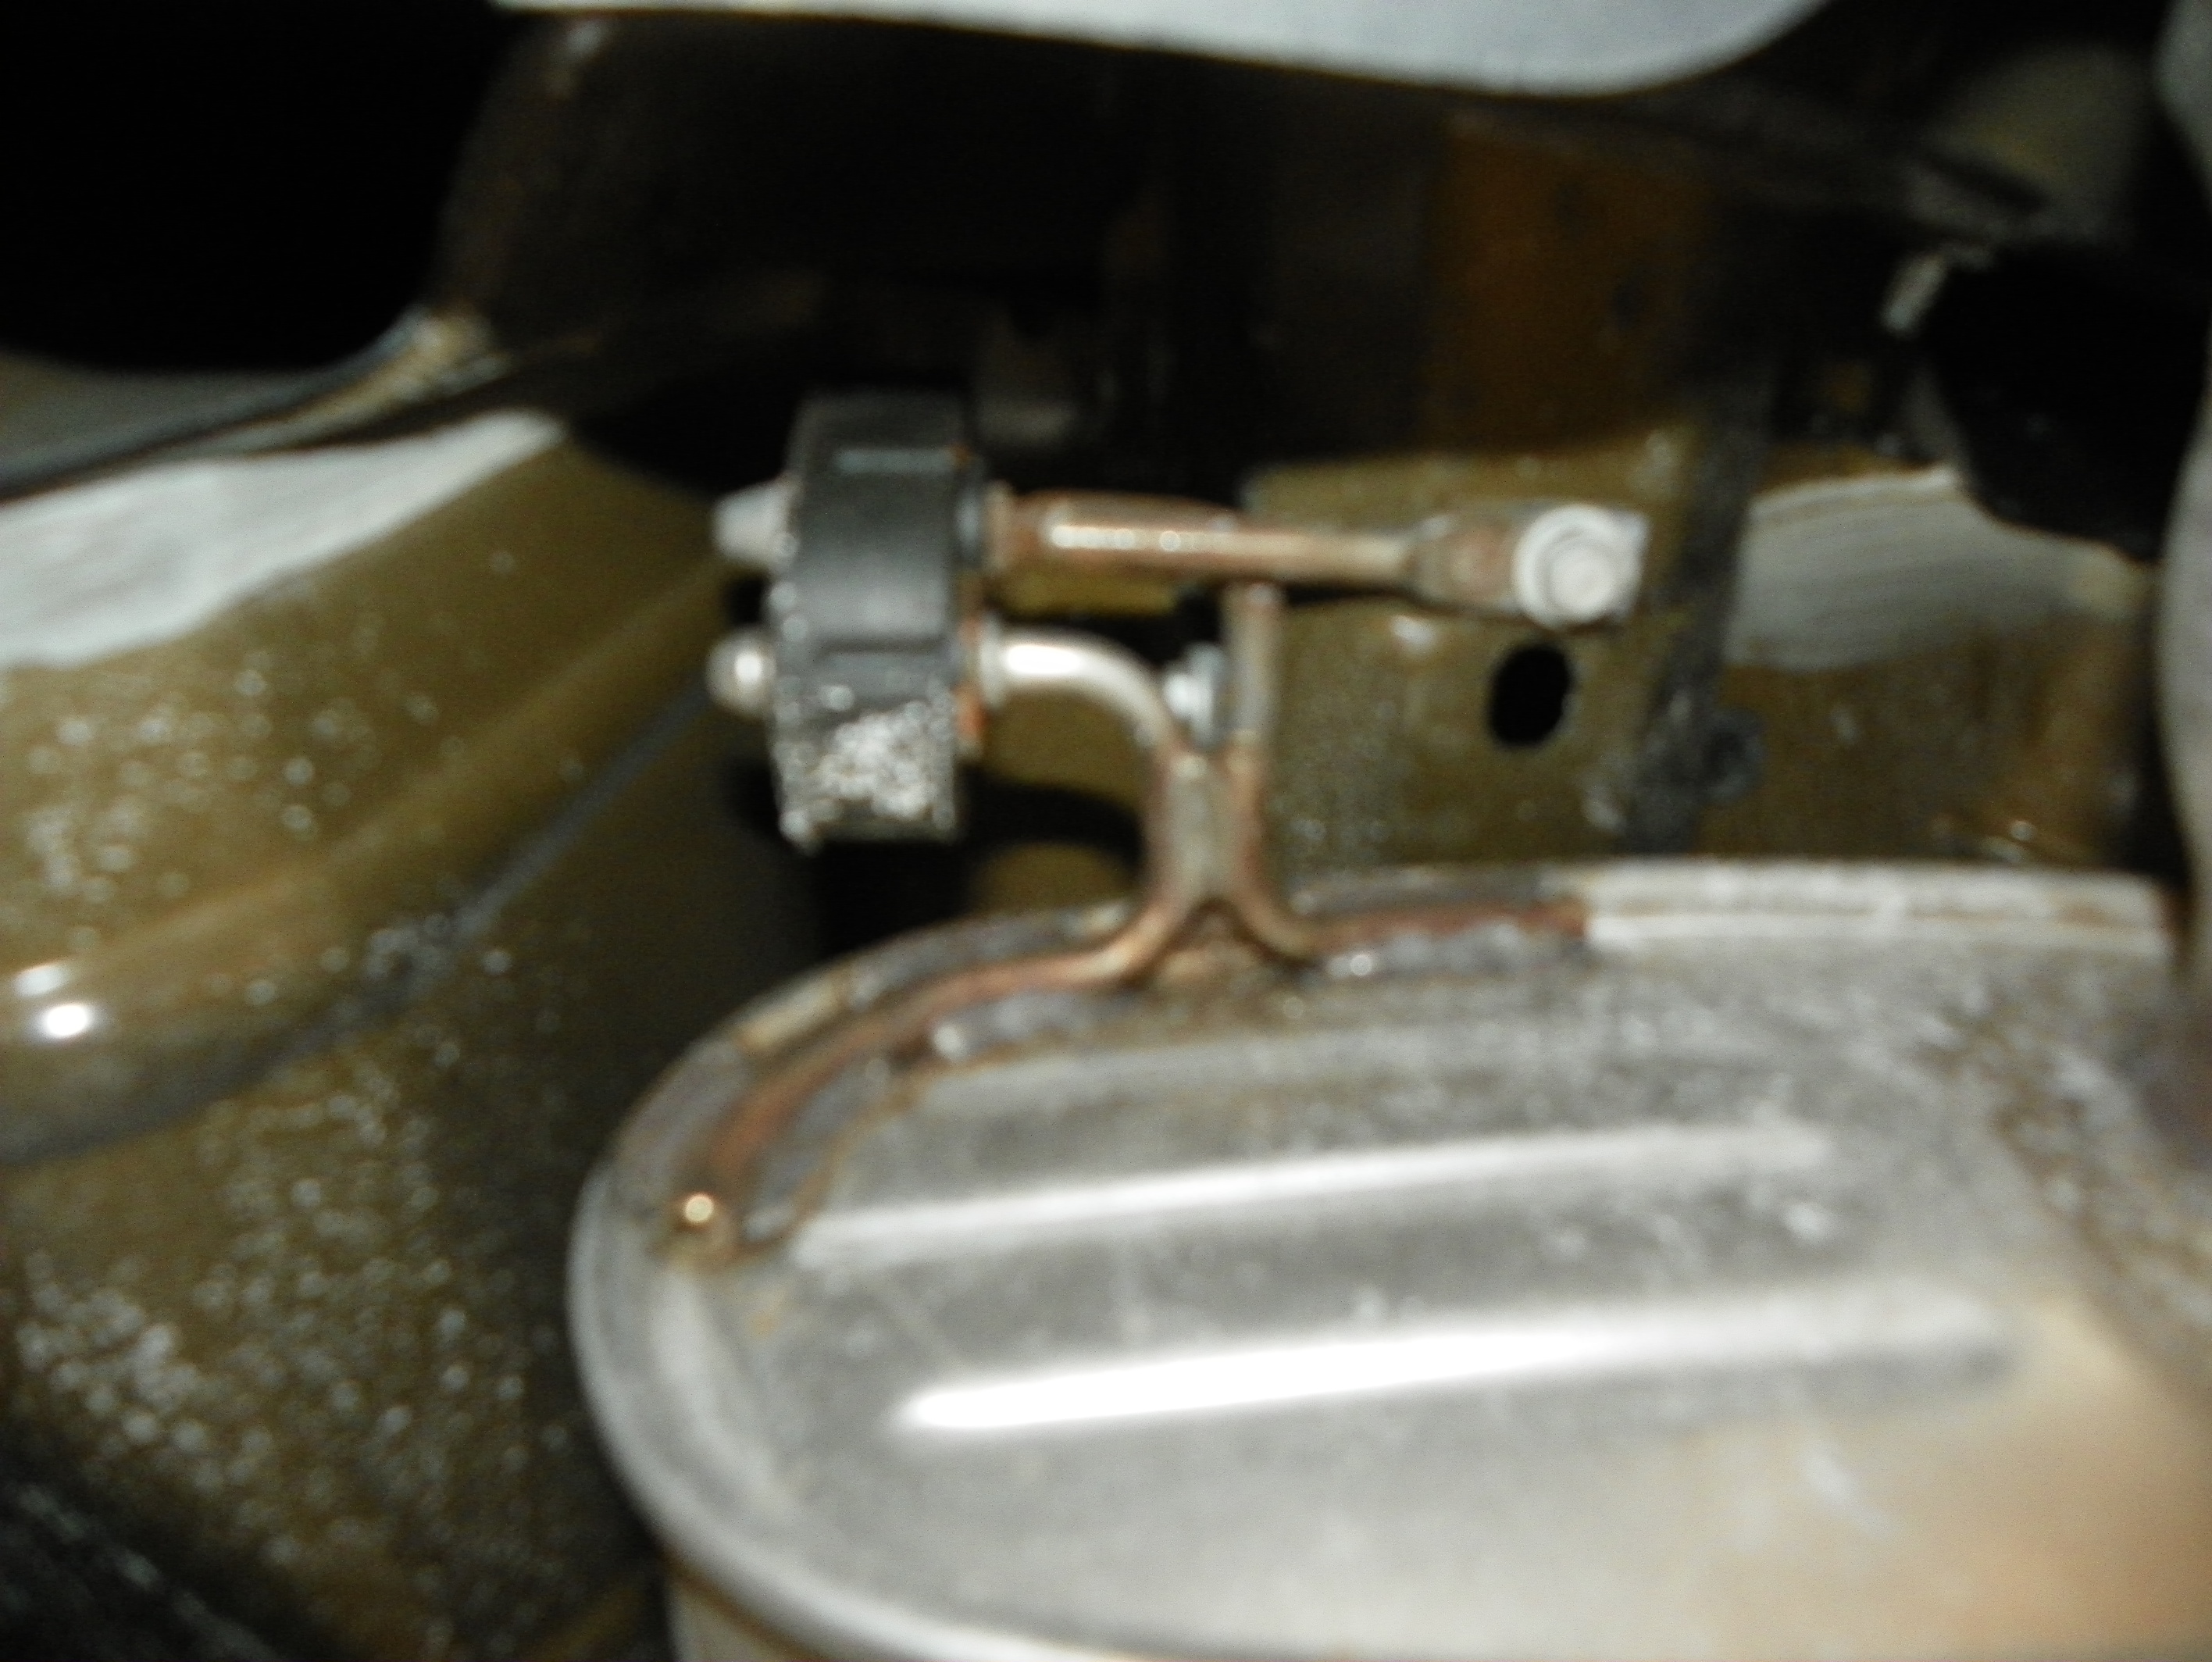
Hanger with the two bolts closest to the rear of the car.
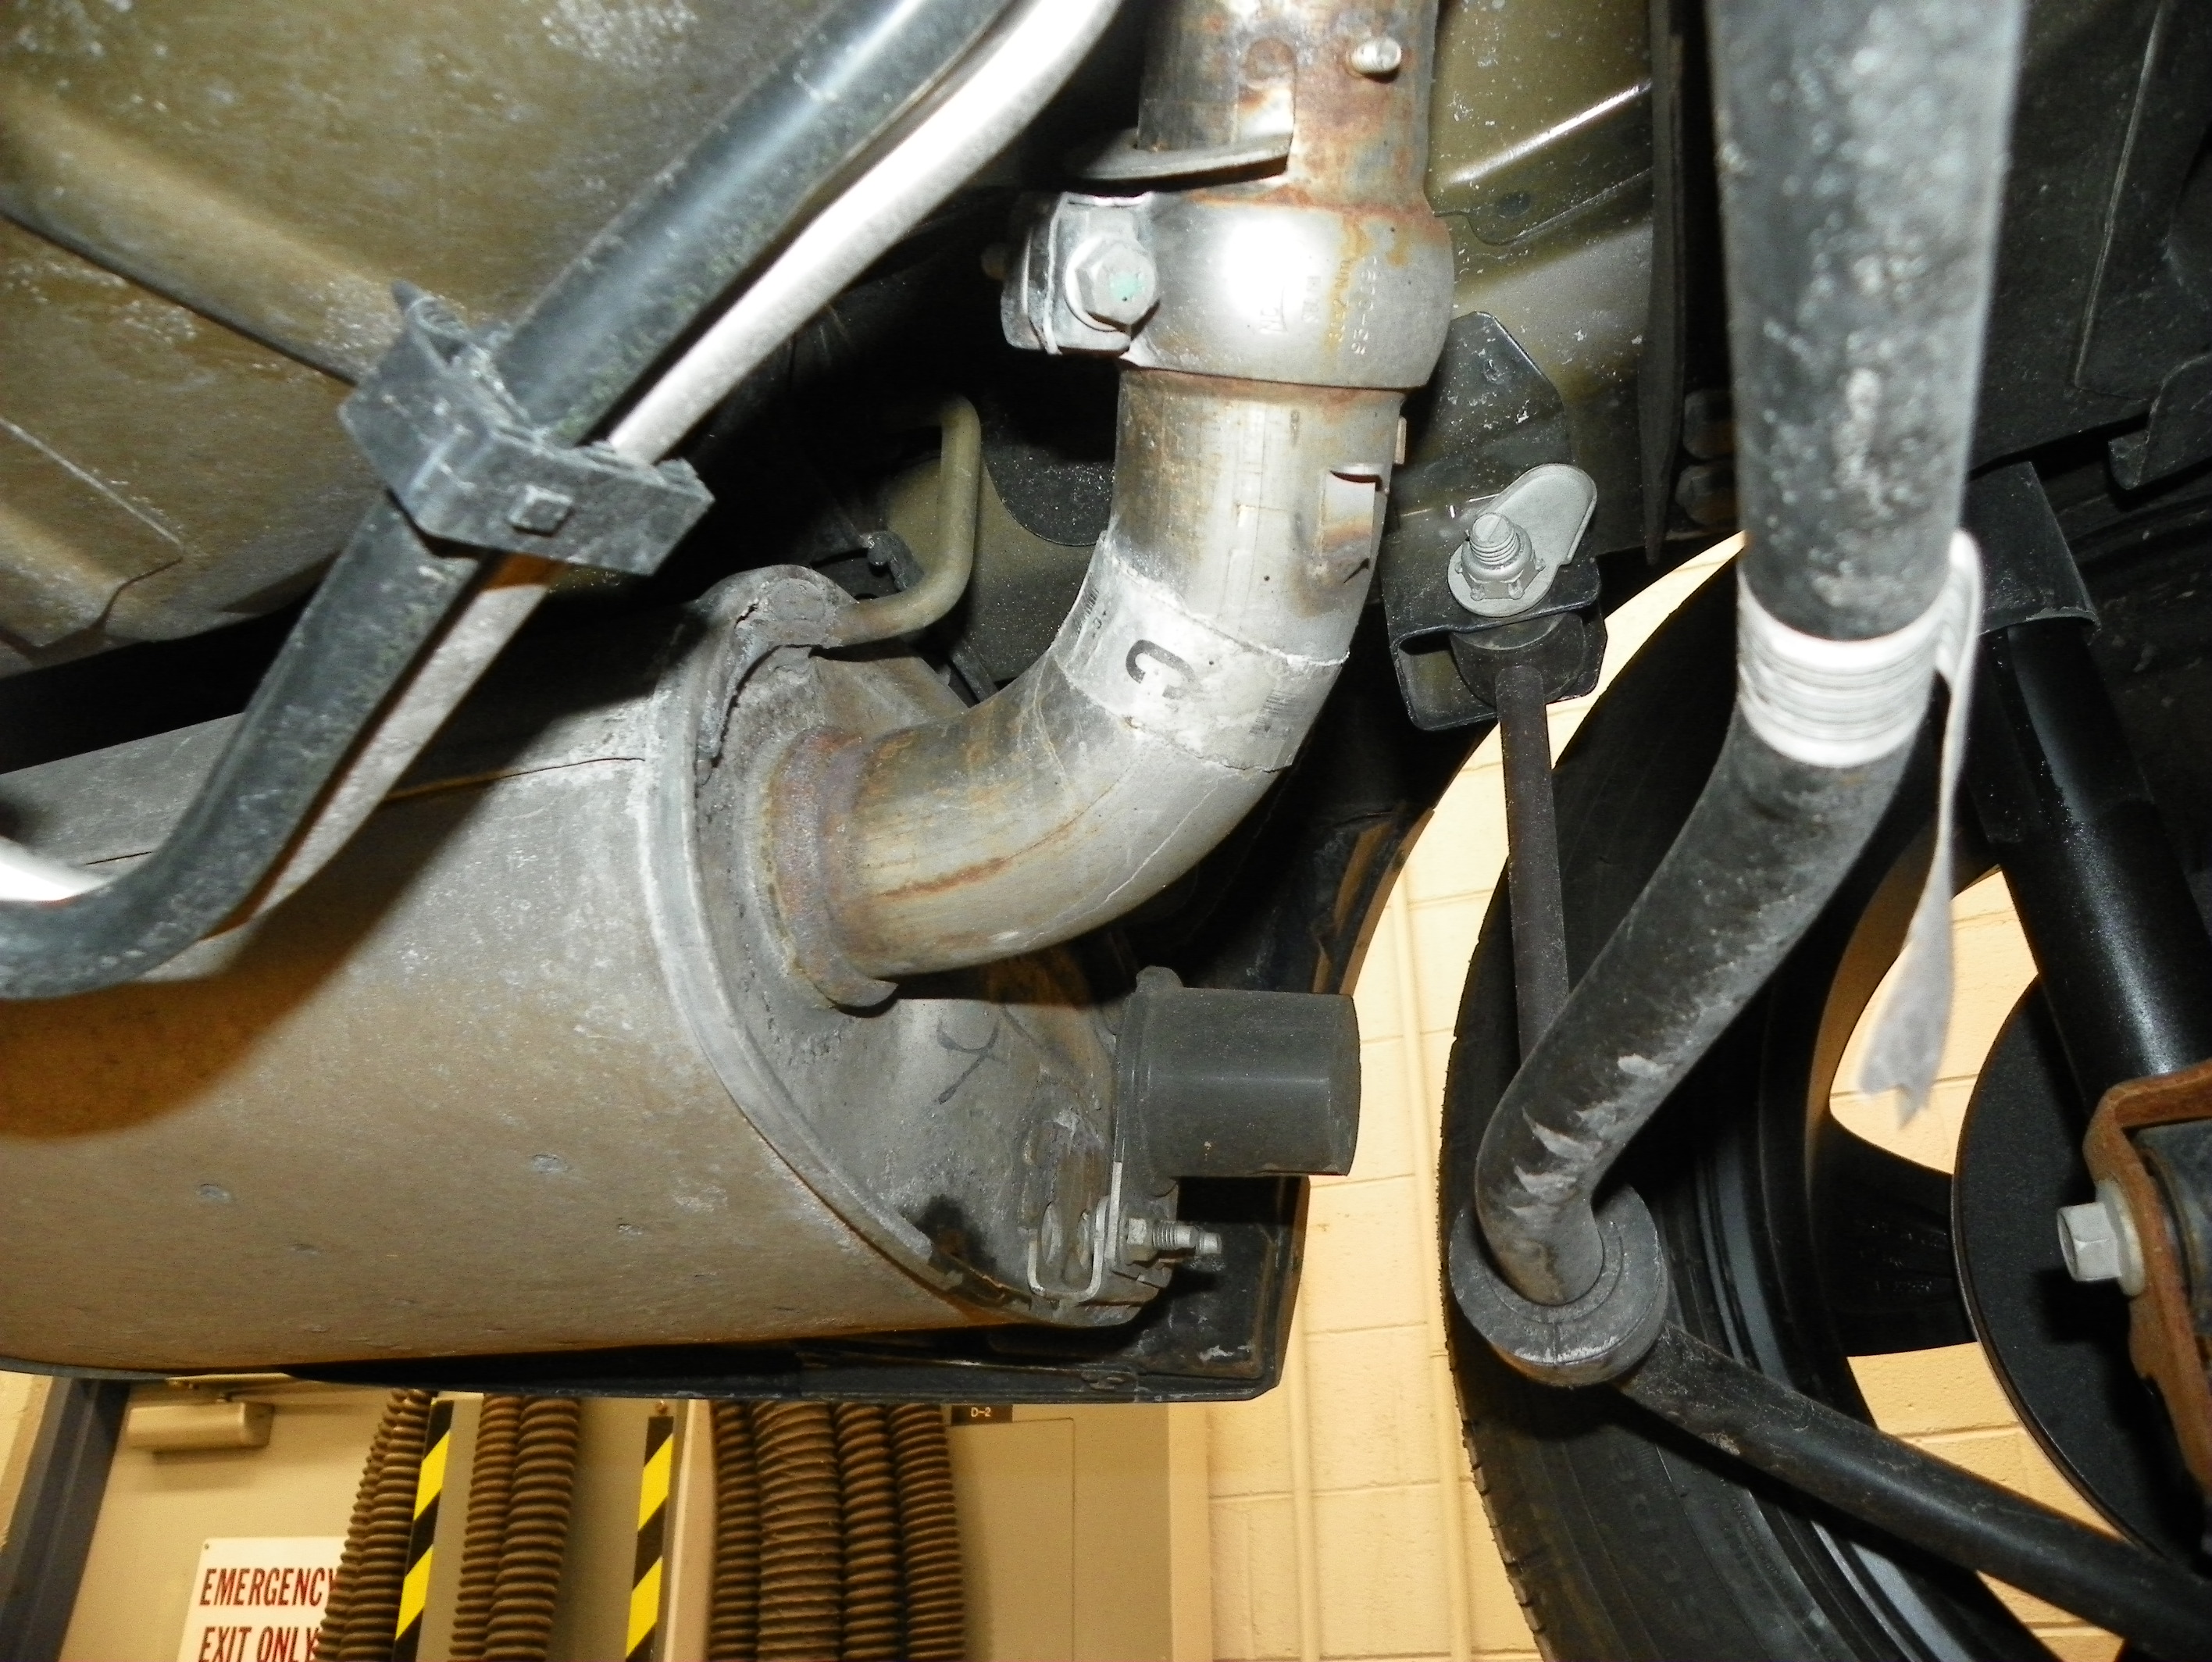
4. Loosen the clamp as much as possible, which attaches the muffler to the rest of the exhaust. Pull the muffler away from the rest of the exhaust (towards the back of the car) to loosen the muffler from the rest of the exhaust. Pull the muffler towards to the front of the car to free the exhaust from the two hangers.
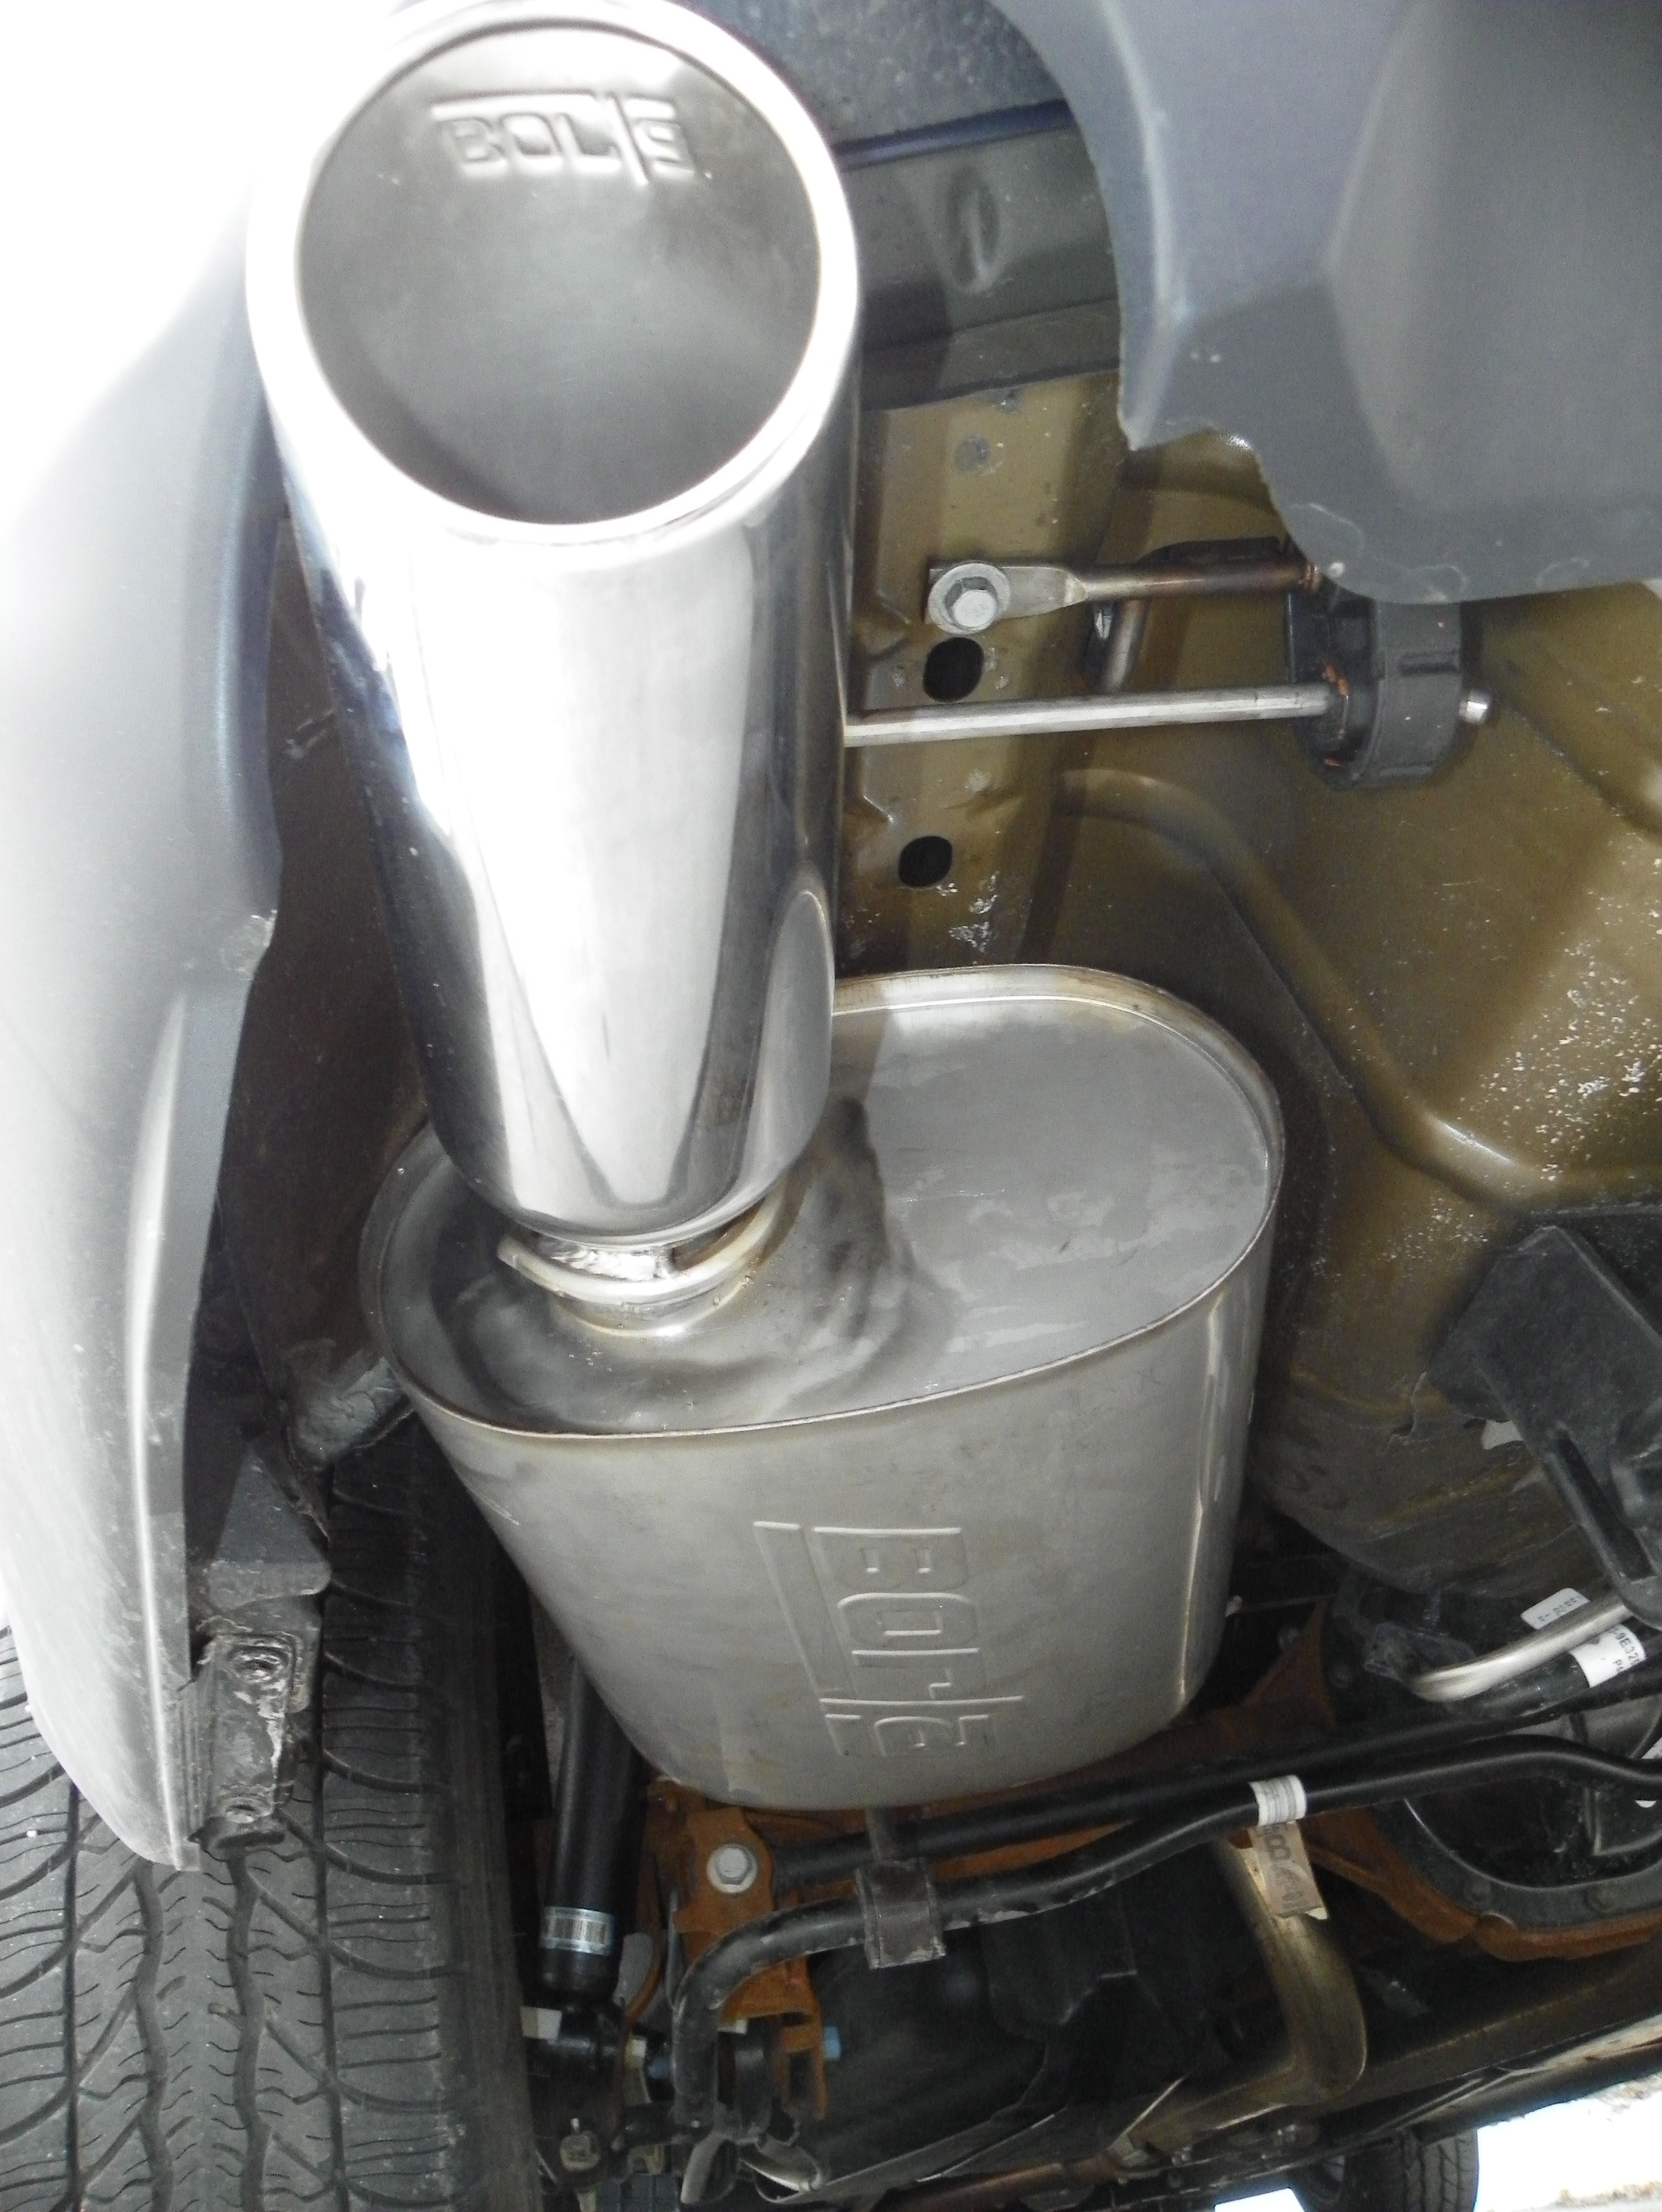
5. Put the front hanger on the new exhaust. The clamp is spot welded on the muffler so break off the clamp using wire/bolt cutters. Put the new clamp on the muffler pipe. Line up the new muffler and put the two back muffler hangers through the designated rubber hangers. Line up the front hanger and lock it into place with the small strip of metal. Put the bolts back in for the front and side hangers. The pipes should line up so tighten the exhaust clamp tightly to ensure that there will be no exhaust leaks.
6. Inspect all the bolts and hangers and placement of the muffler to ensure correct installation. The mufflers should line right up, so there should be no need to adjust the alignment.
7. Repeat the steps 3-6 for the other muffler.
8. Before lowering the car, check all wires, hoses, brake lines, body parts, and tires for safe clearance from the exhaust system.
9. Start the vehicle and check for any exhaust leaks coming from the mufflers.
10. Take a nice step back and enjoy the new sound of your new borla mufflers, and admire the beautiful tips they have on them.
11. Last but not least.DRIVE IT!!
Related Guides
-
Installation
-
Installation
-
Installation

