 FREE 1 to 3-Day Delivery on Orders $149+ Details
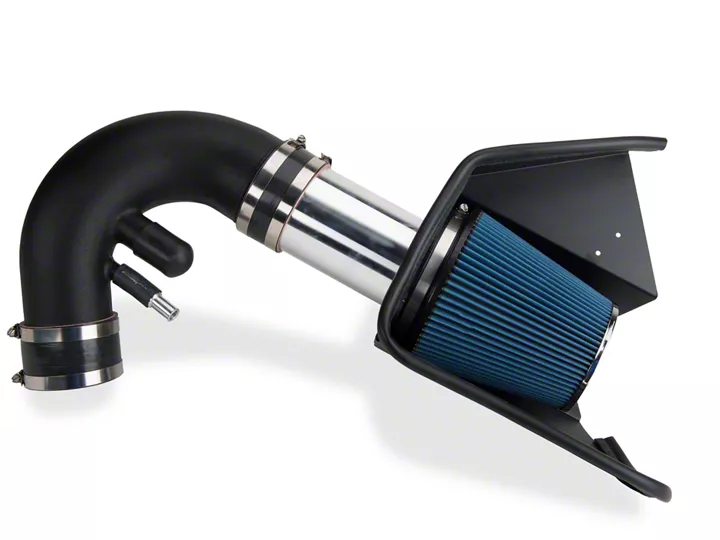
How to Install a Steeda Cold Air Intake for a 2011-2012 Mustang GT
Installation Time
1 hours
Tools Required
- 1/8" Allen Wrench
- 5/32" Allen Wrench
- 3/32" Allen Wrench
- 3/8" Box or Open End Wrench
- Optional" 3M Weather Stripping Adhesive
- Standard Flat Head" Screw Drive
- 1/4" Ratchet
- 6 inch 1/4" extension
- 10mm Socket 1/4" Drive
Shop Parts in this Guide
Installation
1. Remove protective coating from Heat Shield
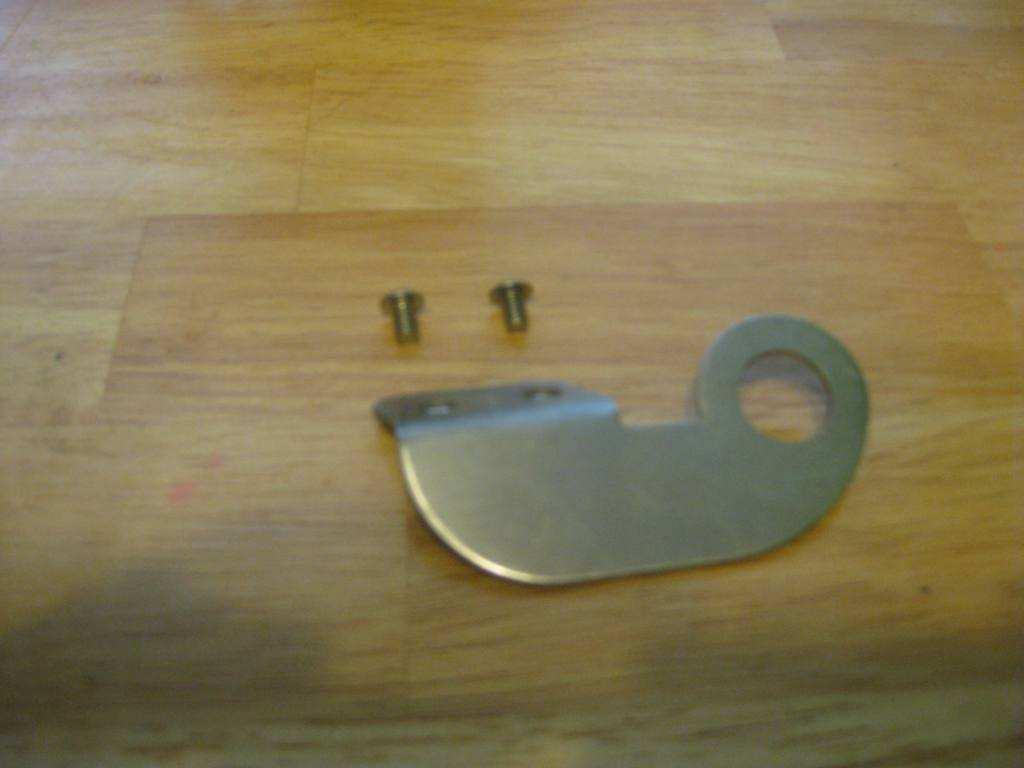
2. Locate the Following Parts: Large Bracket,(2) Aluminum Dowels, (2) ¼” Flat Washers, (2) ¼”x 5/8” Hex Head Bolts, and (2) #10 x 5/16” Button Head Allen Screws
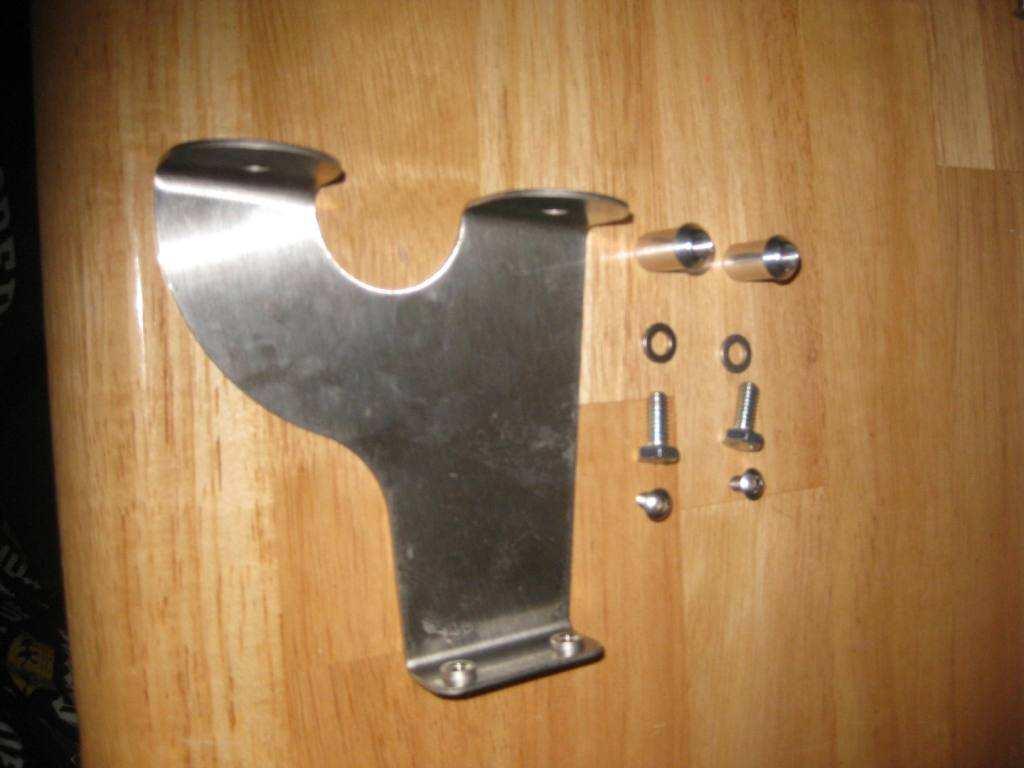
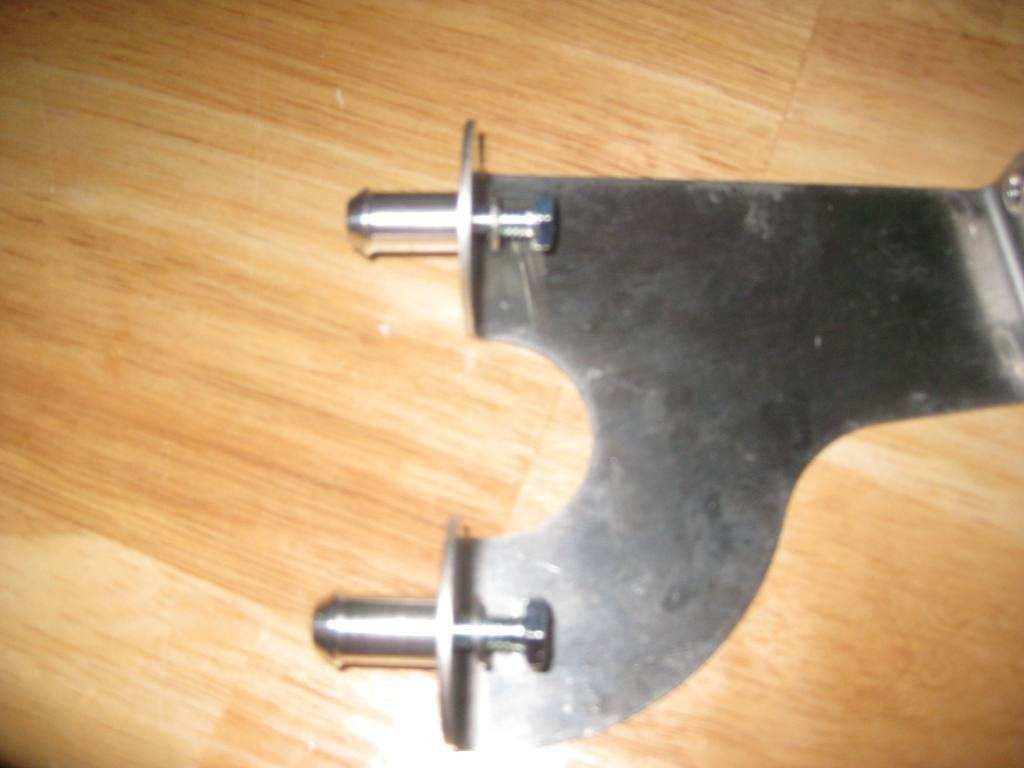
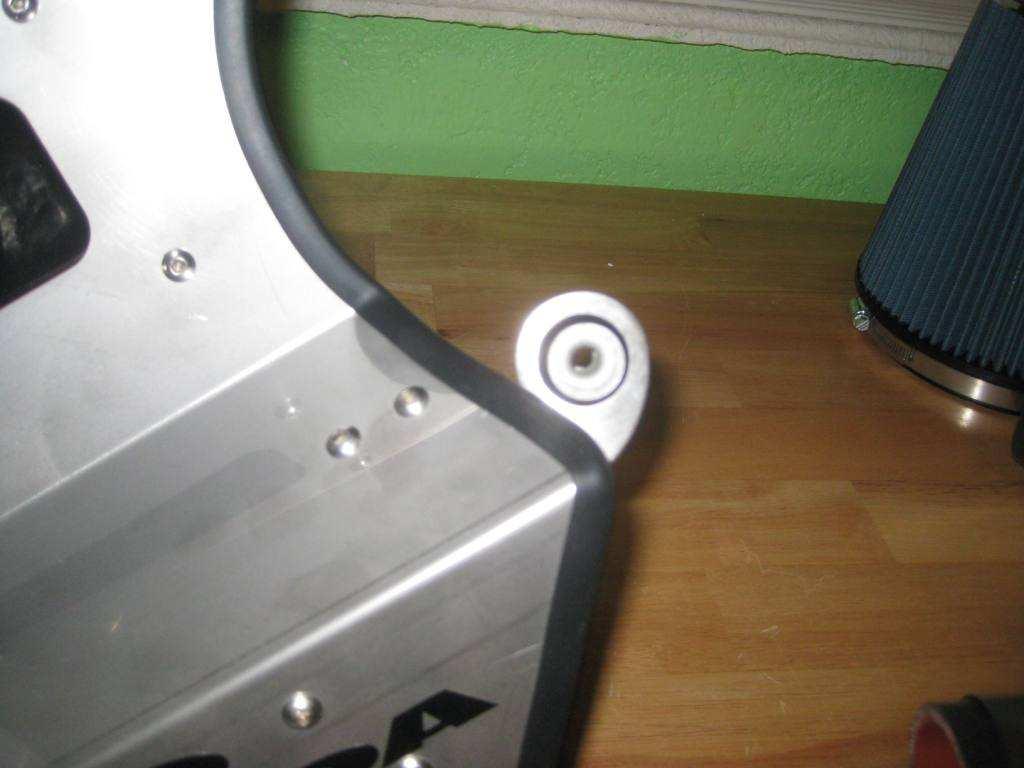
3. Fasten the Dowels to Large Brackets using the Hex Head Bolts and washers.
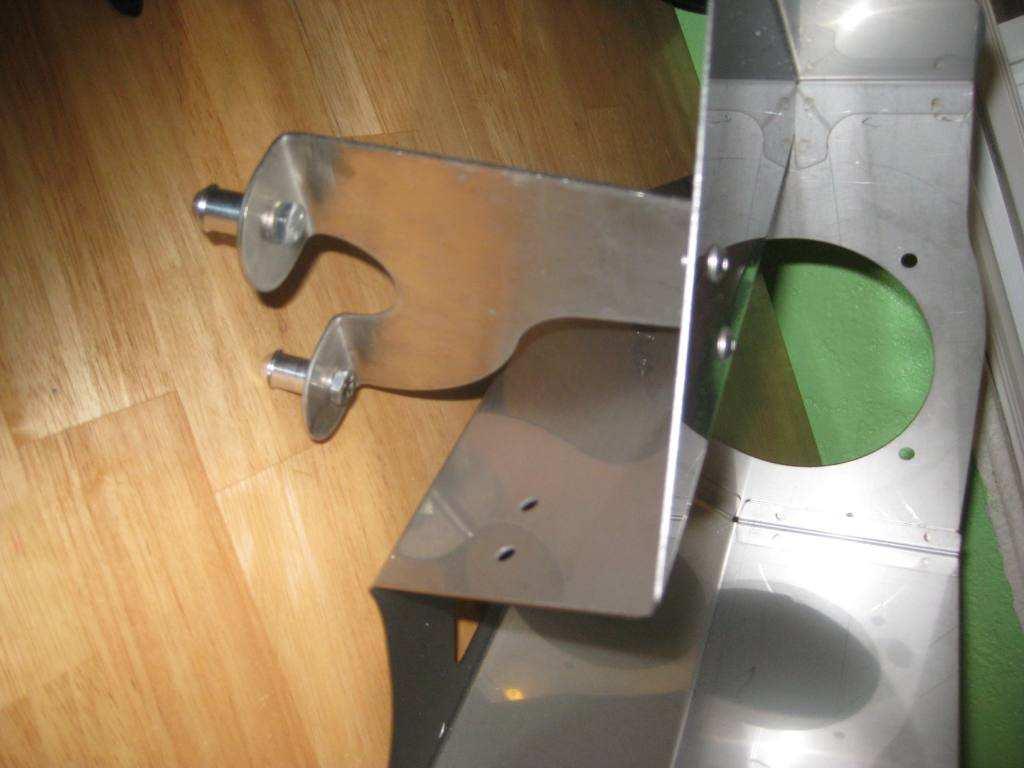
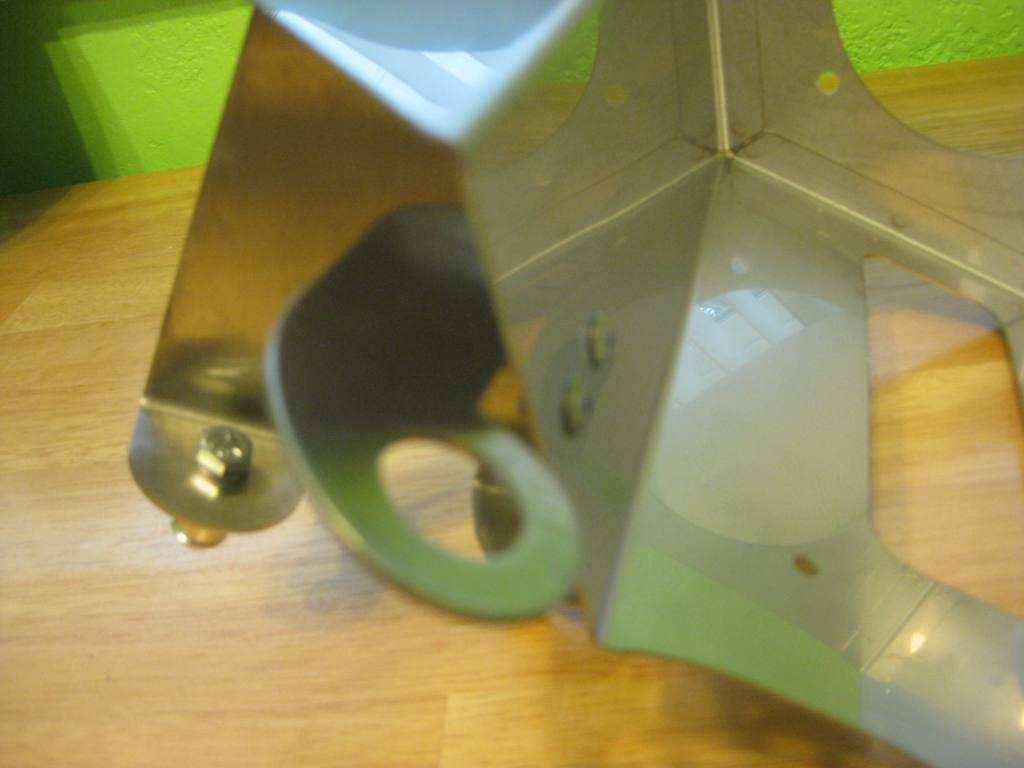
4. Using the Button Head Allen Screws fasten the Large Bracket to the Heat Shield
5. Locate the Following Parts: Small Bracket and (2) #10 x 5/16” Button Head Allen Screws
6. Using the Button Head Allen Screws, fasten the Small Bracket to Heat Shield.
7. Locate the Following Parts: Air Duct and the (4) #10 ½” Button Head Allen Screws with associated Washers and Locknuts
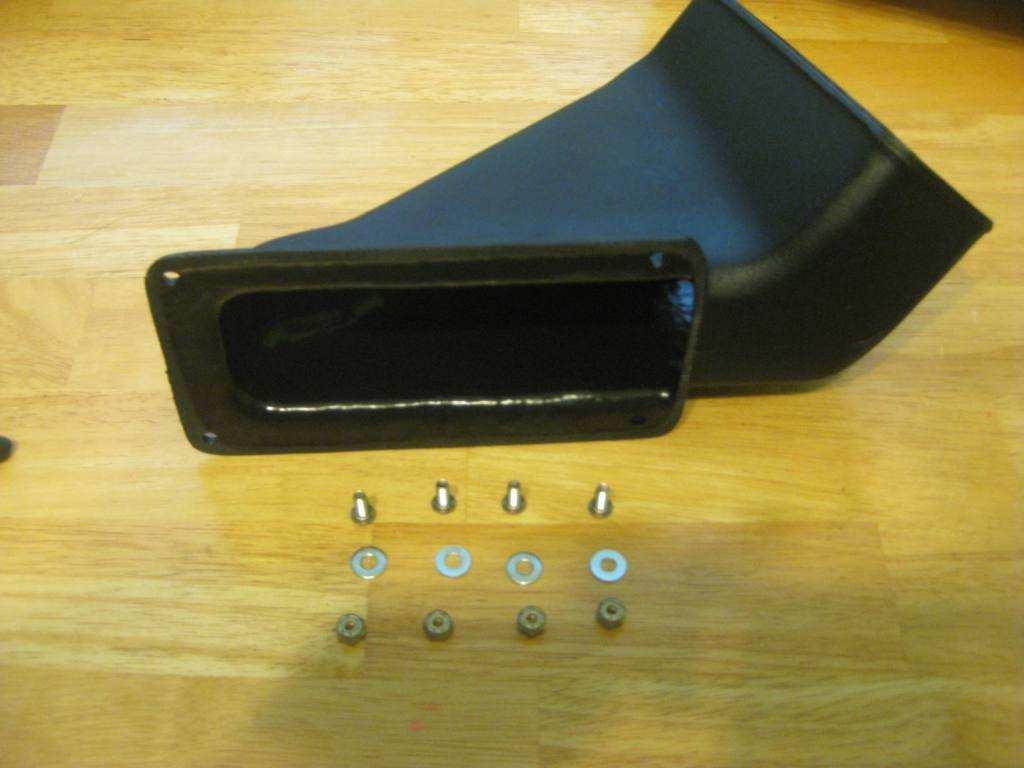
8. Fasten Air Duct to the Heat Shield as seen in the picture below

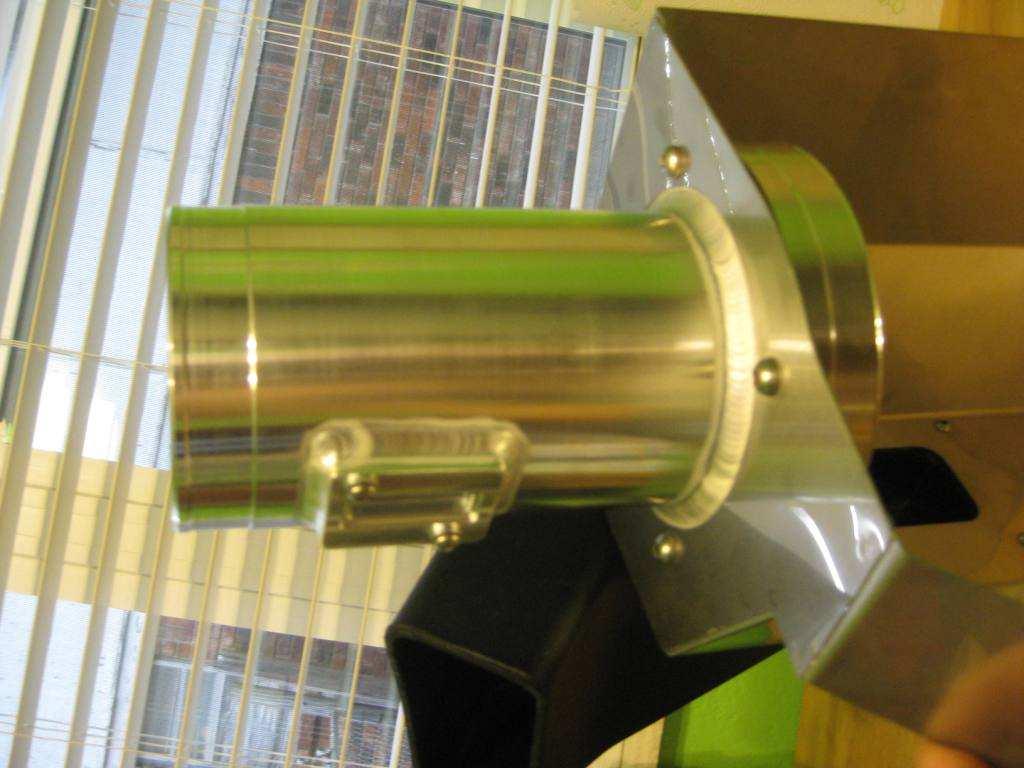
9. Locate the Following Parts: MAF Sensor Pipe, (4) ¼” x 3/ 8” Button Head Allen Screws, and (4) ¼” Washers
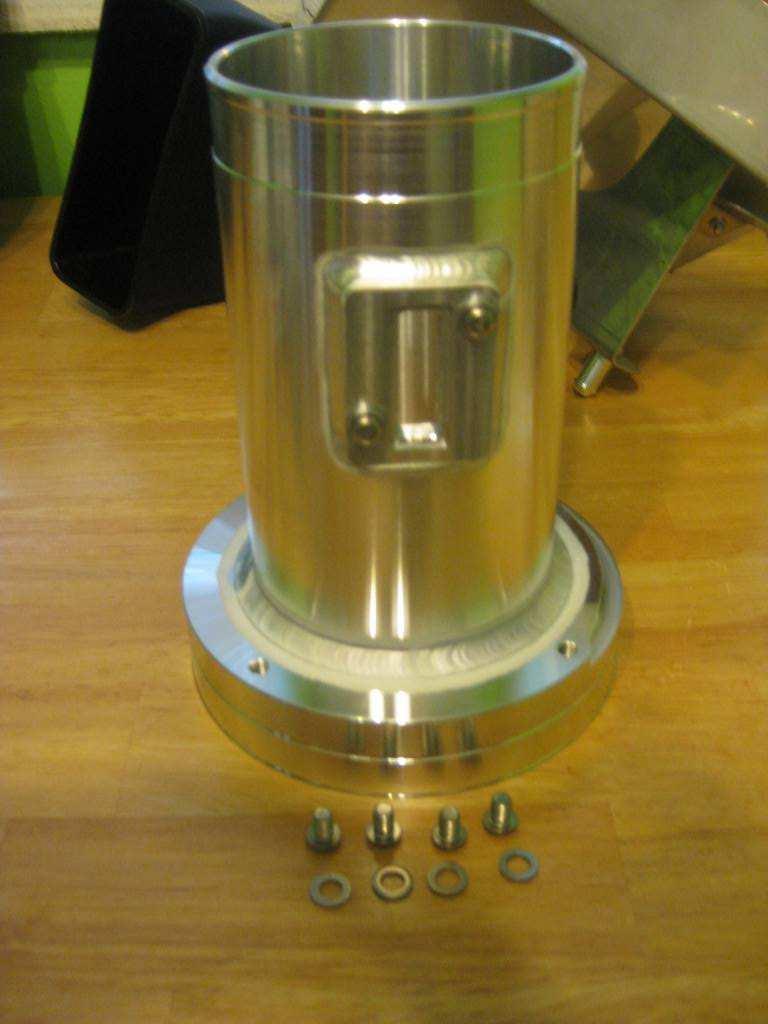
10. Fasten the MAF Sensor Pipe to the Heat Shield using the Button Head Screws and Washers
11. Locate the Following Parts: Large Trim, Small Trim, and (Optional) 3M Weather Stripping Adhesive
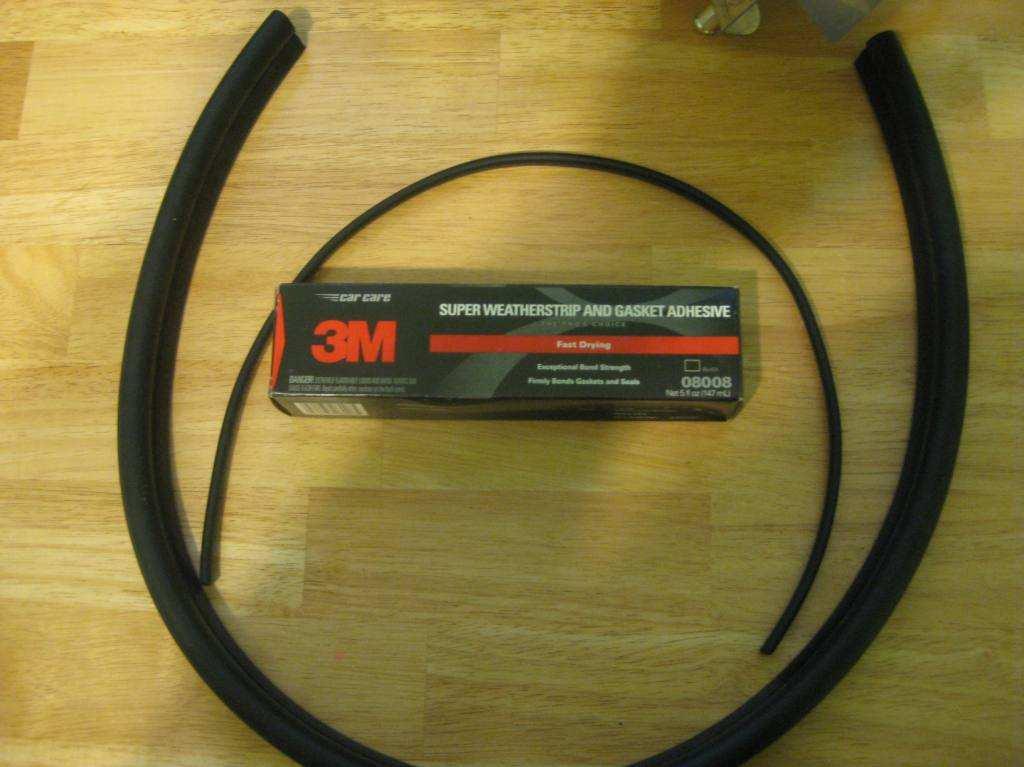
12. Install Large Trim across the top of the Heat Shield and Small Trim along lower side of Heat Shield, using Weather Stripping Adhesive as needed to keep trim in place
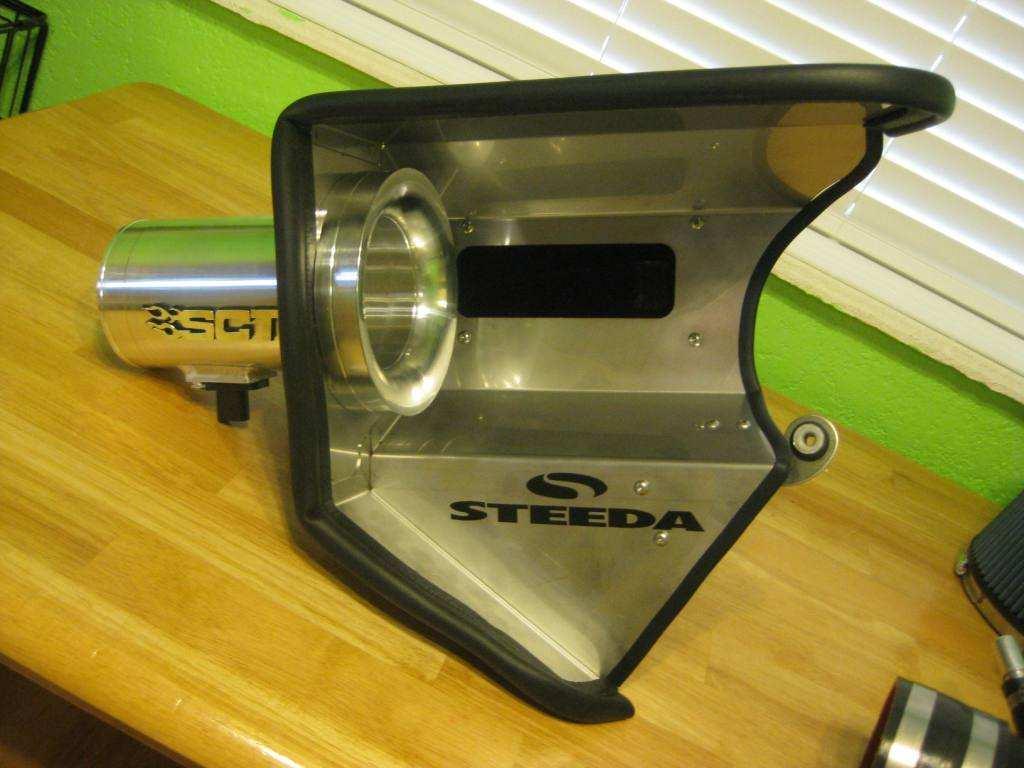
13. Locate and Install Hose Clamp and Conical Filter
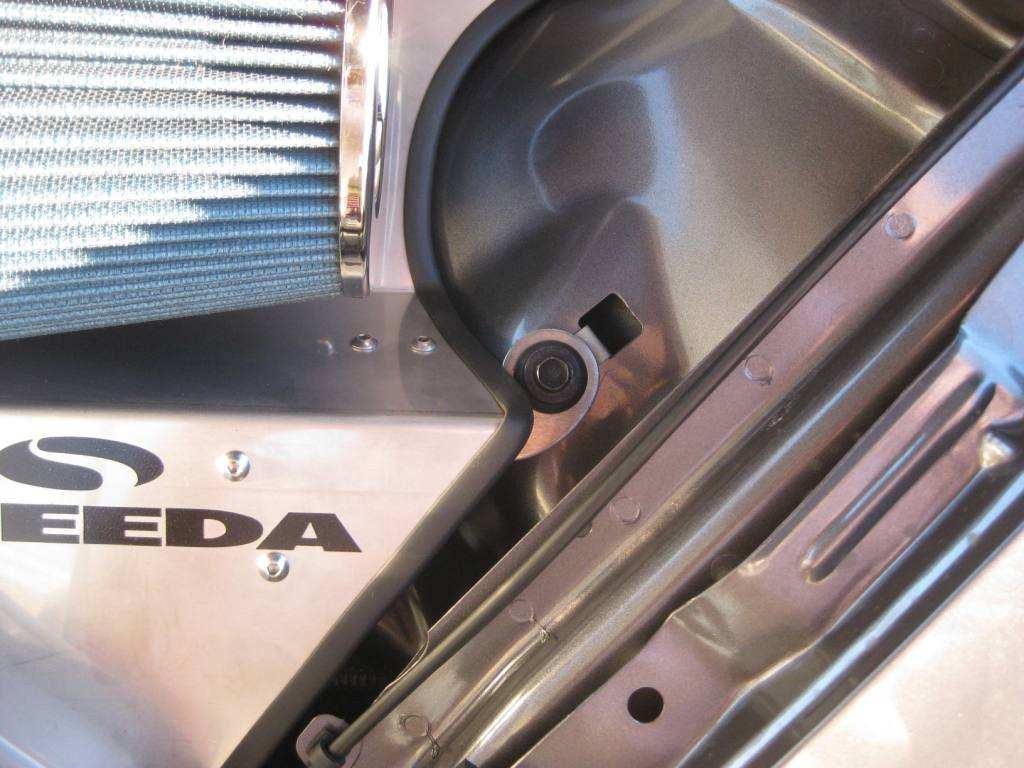
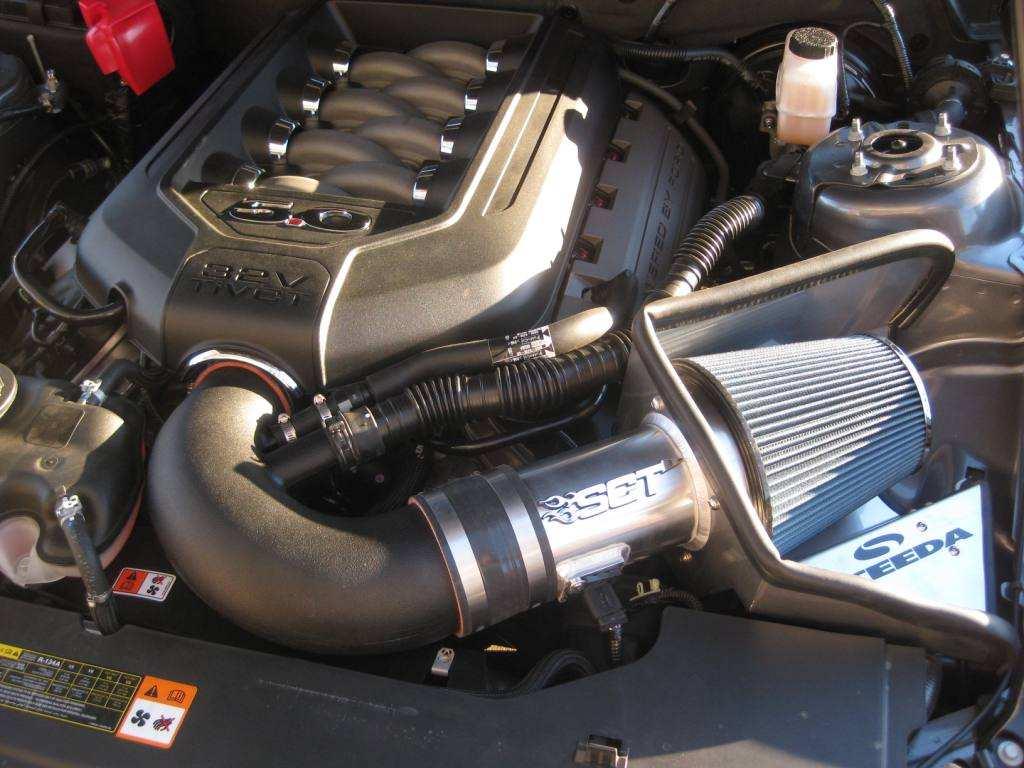
14. Locate the Steeda Vinyl Graphic and install it in the location that looks best to you, as you can in the image above the Graphic is on the flat spot below the filter
Factory Intake Removal Procedure:
1. Remove Engine Cover By pulling straight up, it is only held into place by rubber grommets
2. Disconnect the connector for the MAF Sensor and also disconnect the hoses for the PCV and Noise Tube from the Intake
3. Loosen the clamp securing the Intake Tube to the Throttle Body and unscrew the bolt securing the Intake to the inner fender, then gently pull up and out to remove Entire Intake from vehicle

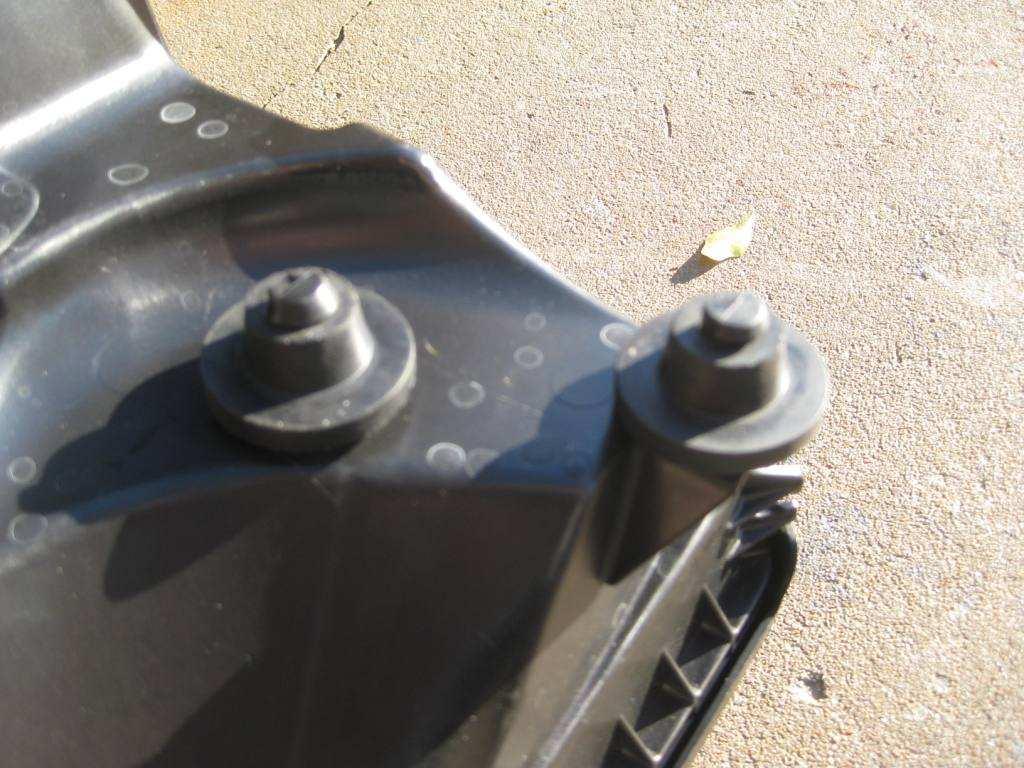
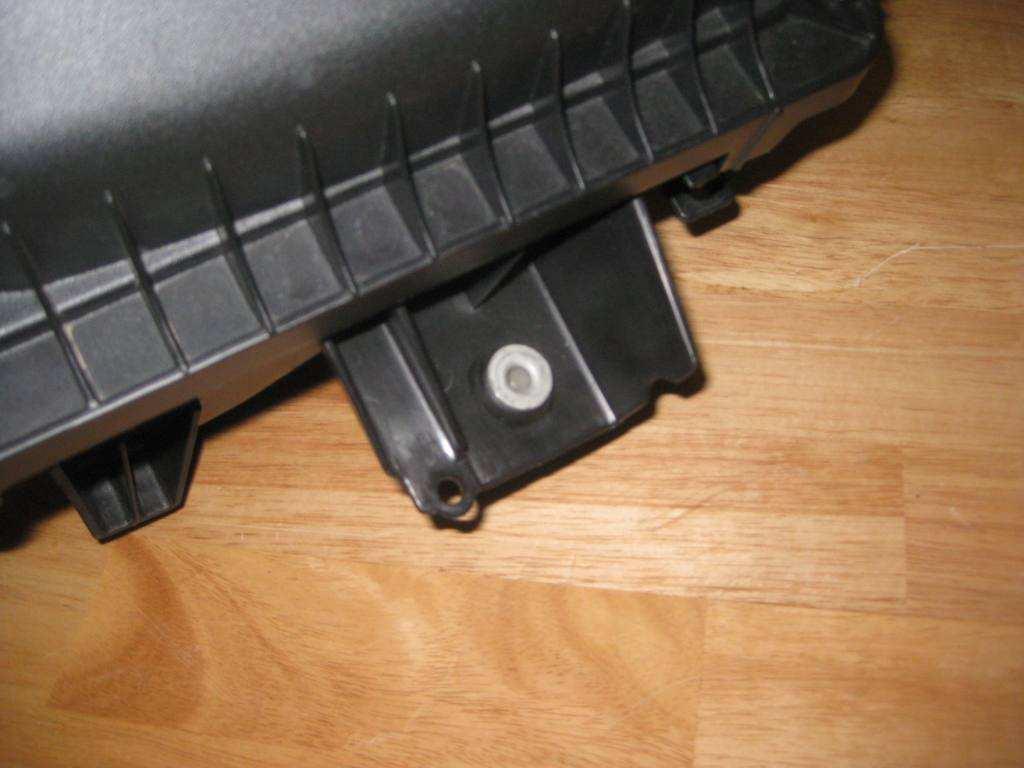
4. Remove Rubber Grommets from the bottom of the Intake and reinstall into inner fender of vehicle
5. Transfer Rubber Grommet from Factory Intake to Steeda Intake
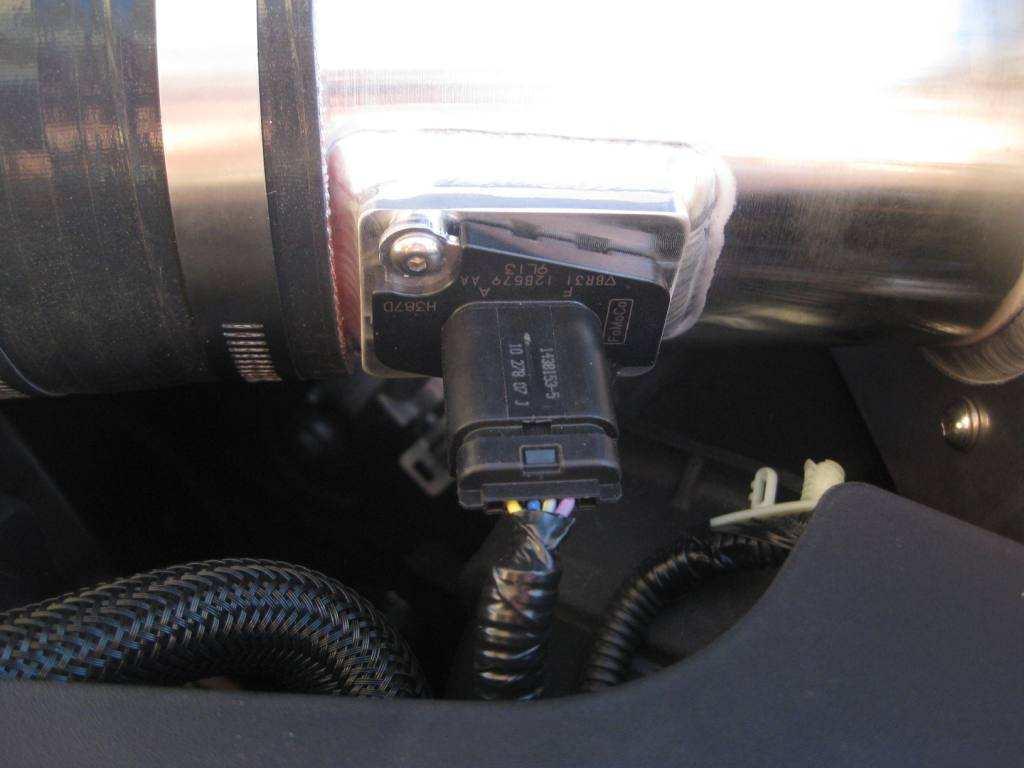
6. Transfer MAF Sensor from Factory Intake to Steeda Intake

Installation Procedure:
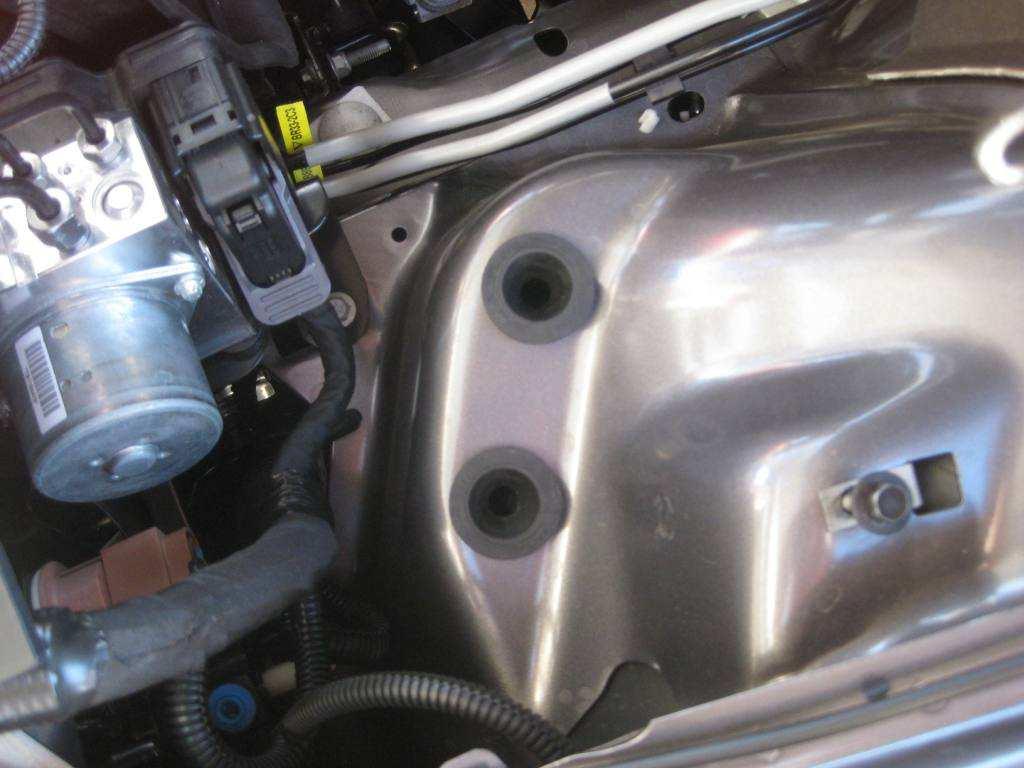
1. Install the Heat Shield Assembly into the vehicle inserting the two Aluminum Dowels into the grommets on the inner fender and properly aligning the Air Duct Tube into the factory duct work. Then reusing the factory bolt secure the assembly to the fender

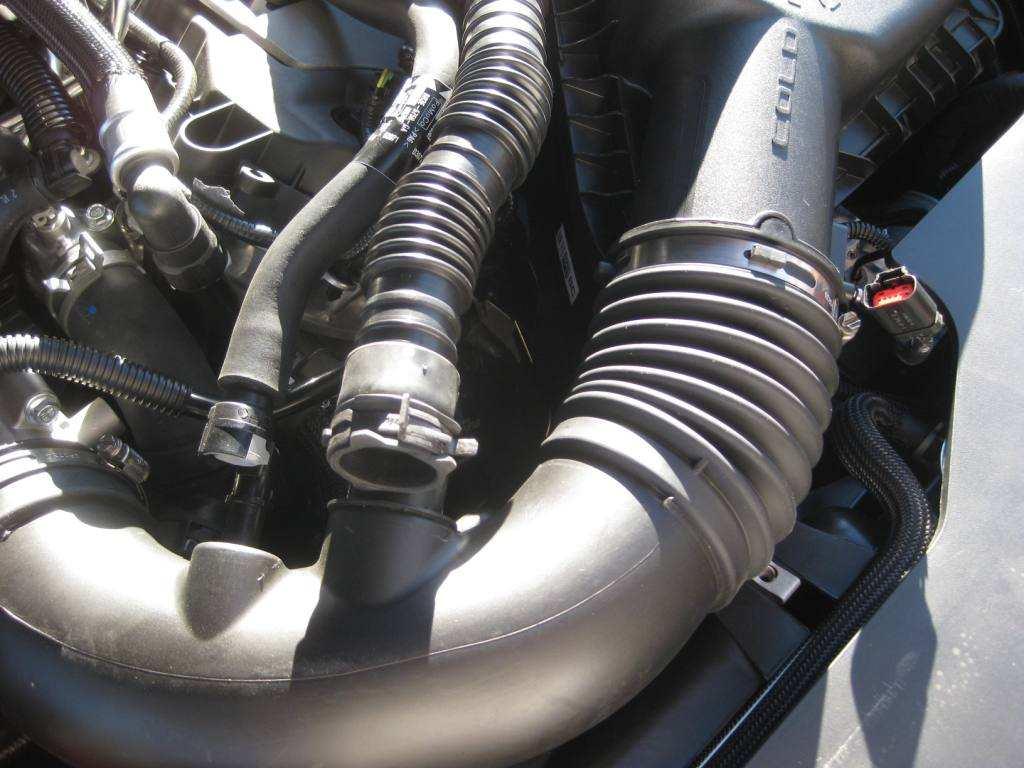
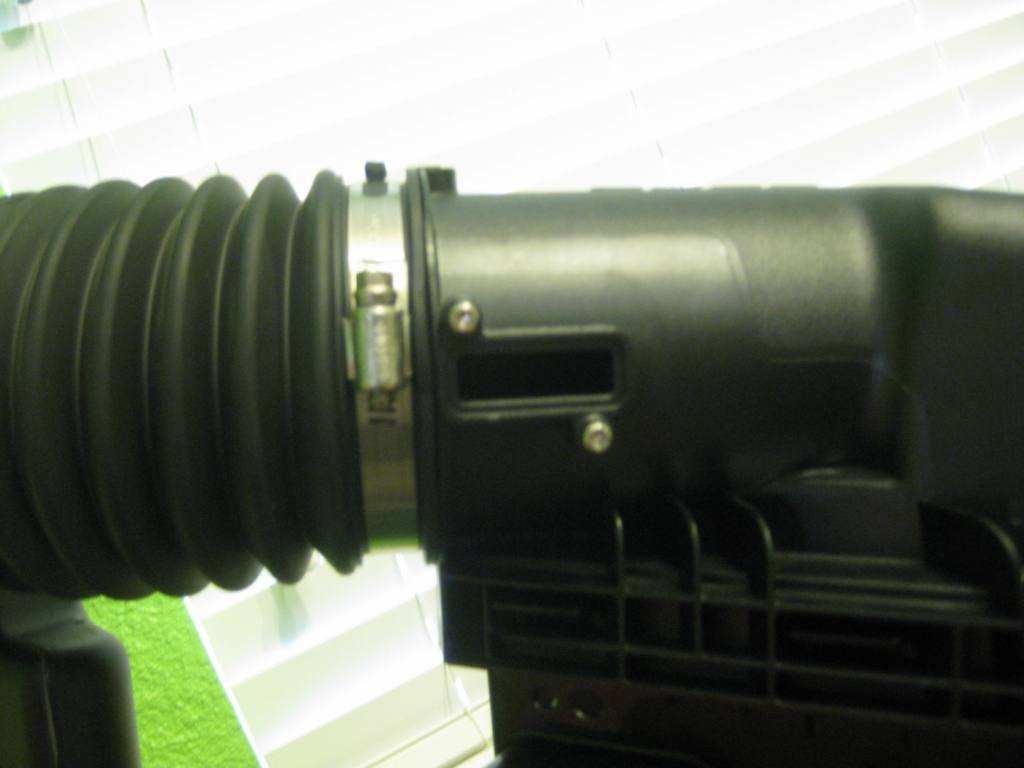
2. Locate the Following Parts: Intake Tube, Smaller Silicone Sleeve, Larger Silicone Sleeve, (2) 51-101 mm Hose Clamps,(2) 64-114 mm Hose Clamps
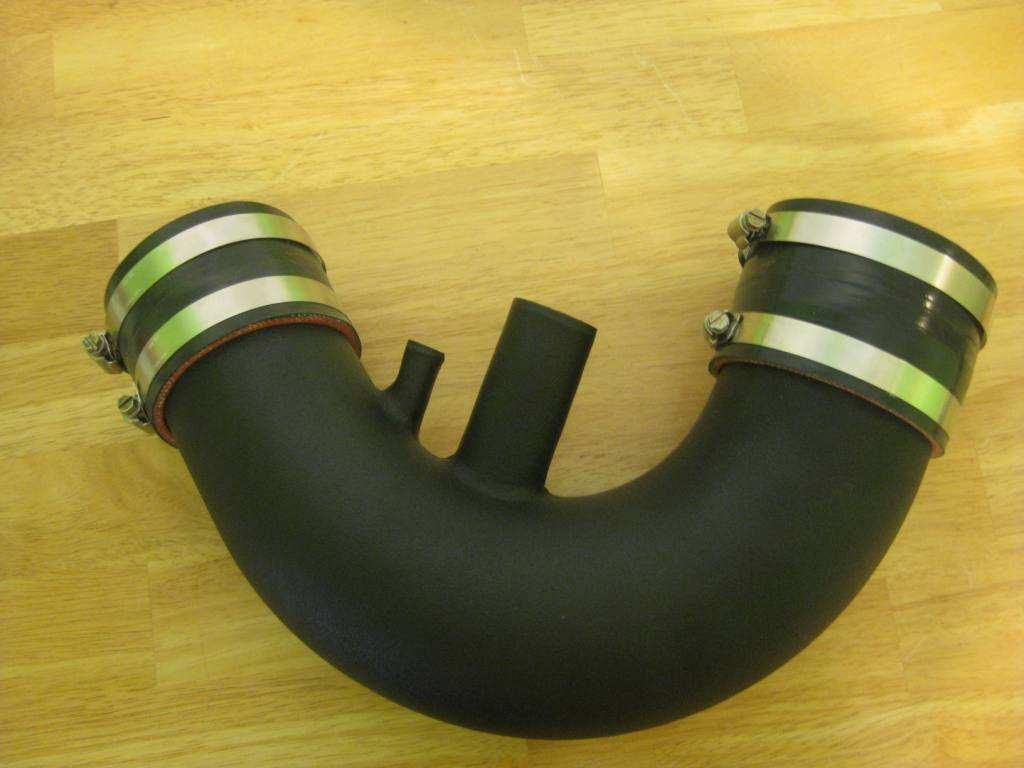
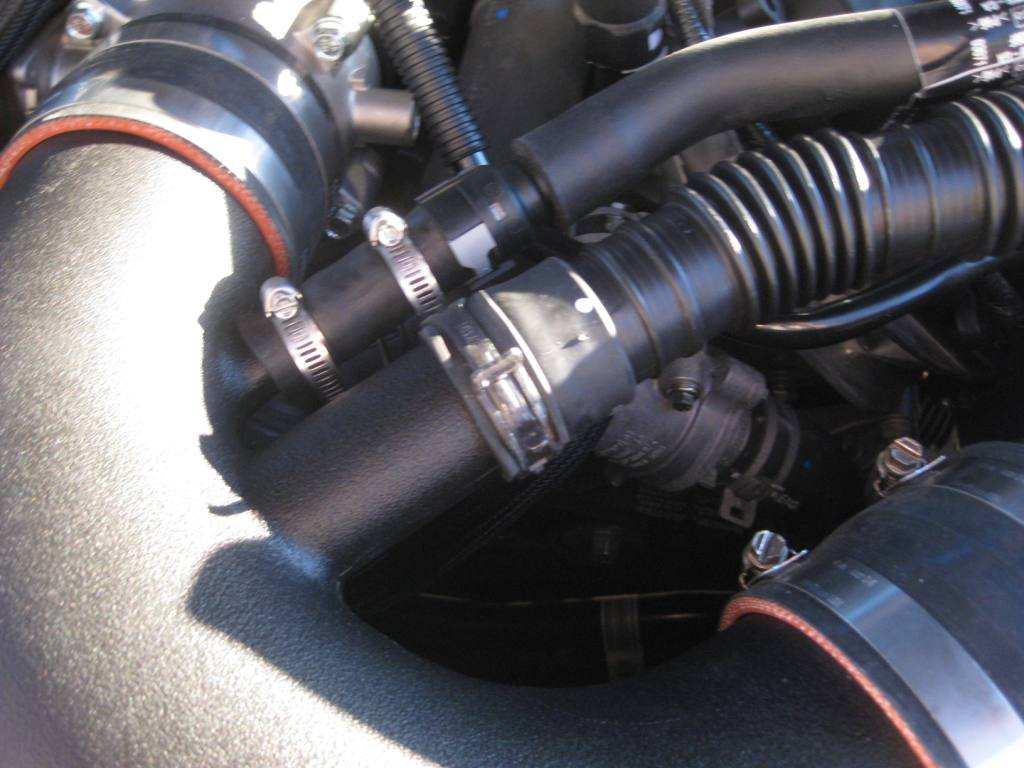
3. Install Larger Silicone Sleeve over the MAF Sensor Tube along with both of the 64-114 mm Hose Clamps, then install the Smaller Silicone Sleeve over the throttle body with both of the 51-101 mm Hose Clamps. Once properly aligned secure all of the hose clamps
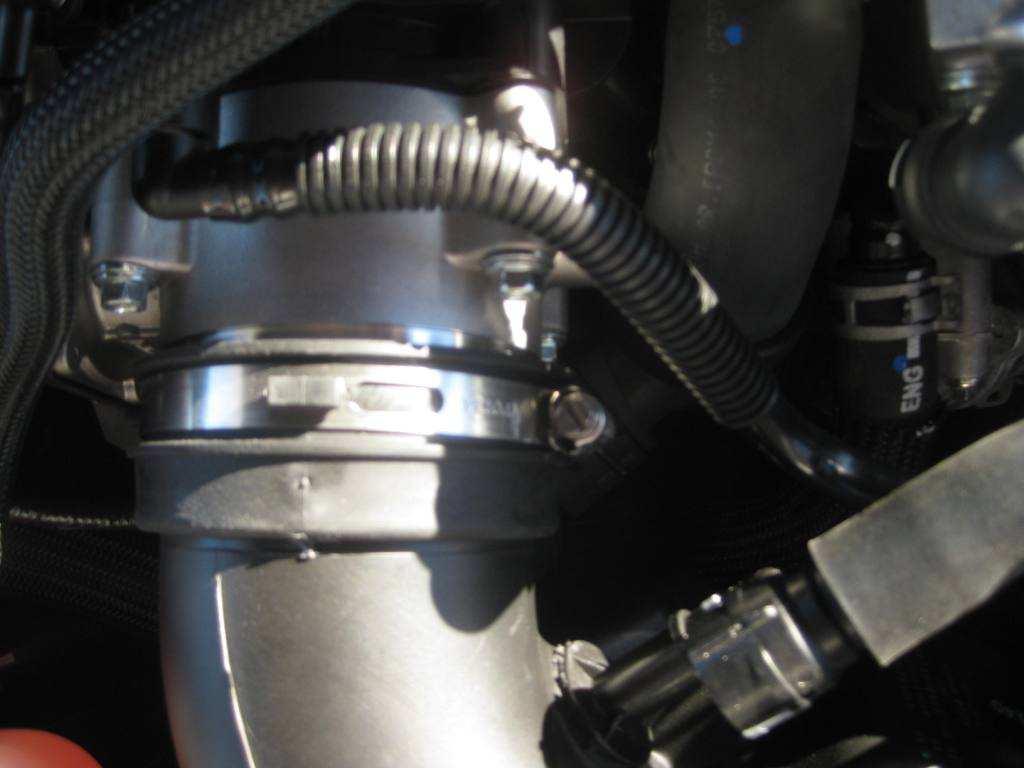
4. Locate the following parts: 5/8” Rubber Hose, (2) 1” Hose Clamps, and PCV Adapter
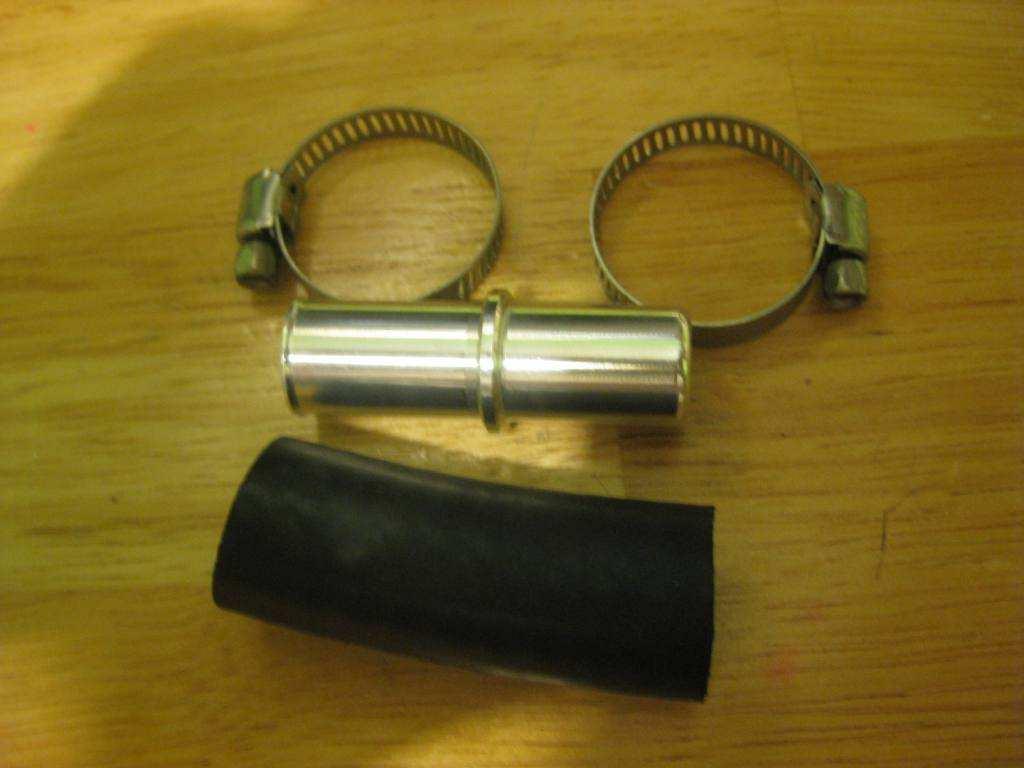
5. Install Hose and PCV Adapter then secure with Hose Clamps
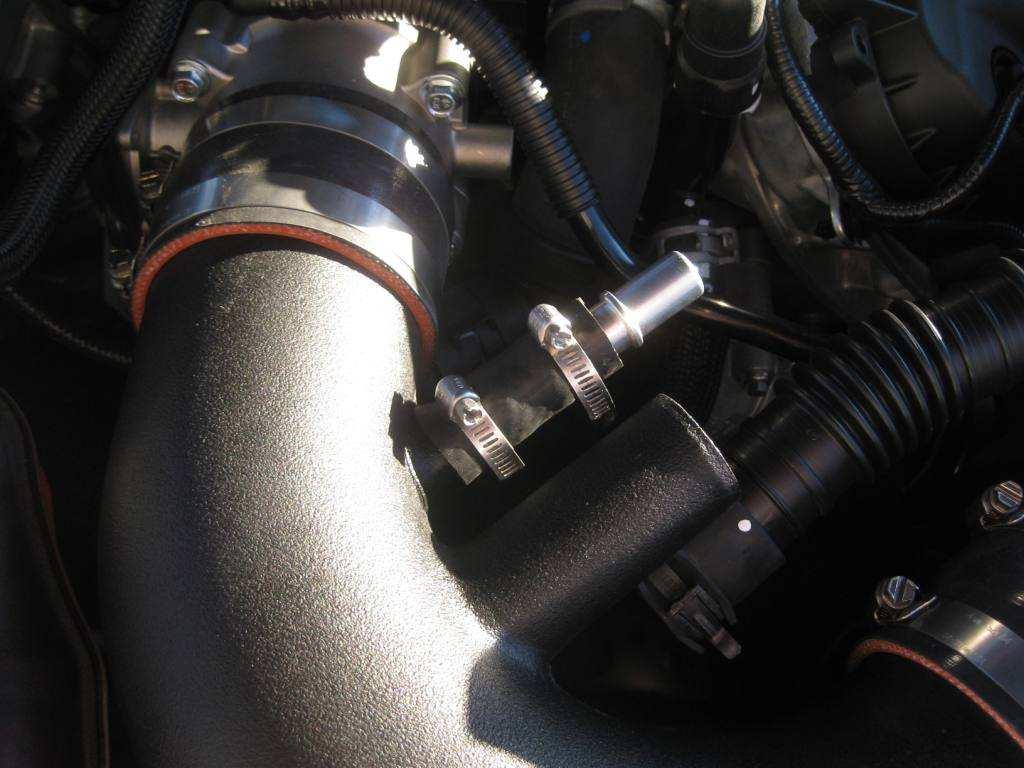
6. Connect PCV Tube to Intake by sliding tube over PCV Adapter till it locks into place
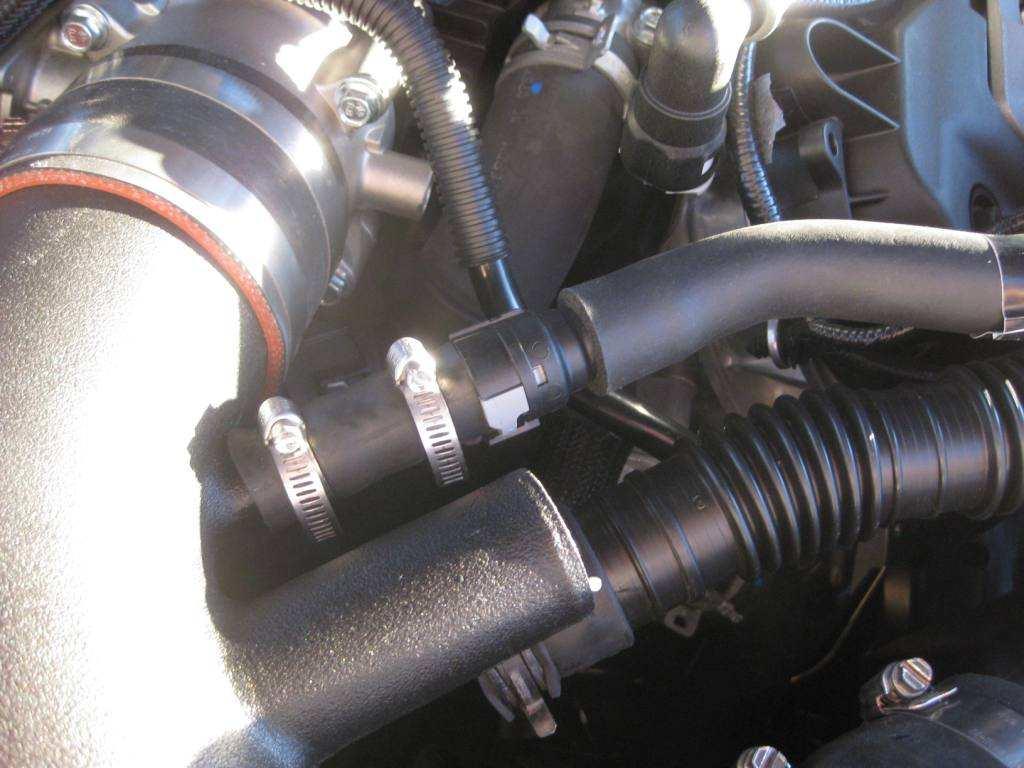
7. Connect PCV Tube to Intake by sliding tube over PCV Adapter till it locks into place
8. Connect the MAF Sensor Harness to the MAF Sensor
9. Reinstall the Engine Cover
10. Program the Engine Computer with a tune designed for the Steeda CAI, a turner such as SCT SF3 Tuner should be used
11. Do Not Start Engine Without Tuning Engine Computer for the New Intake
Related Guides
-
Installation
-
Installation
-
Installation
