 FREE 1 to 3-Day Delivery on Orders $149+ Details
How to Install a Mach 1 Grille Delete Kit on Your 1999-2004 Mustang
Installation Time
45 minutes
Tools Required
- 7mm ratchet
- Flat head screw driver
- Phillips head screw driver
- Dremel / Cutter
- Screws to secure down the pony (You can acquire the security torx bit screws through your local Ford dealer so that your pony cannot be stolen off of your car)

Shop Parts in this Guide
Installation
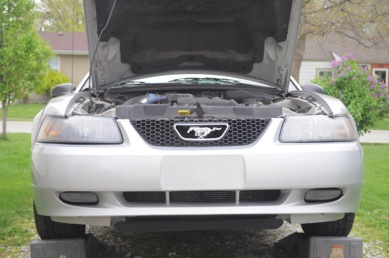
1. Lets replace that ugly honeycomb. This is what your stock setup should look like.
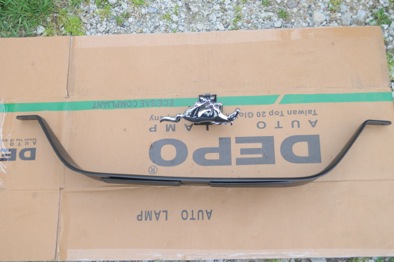
2. Here is what you should receive in your kit, the pony and the delete kit.
3. To start, locate the (4) retaining screws on the top of the factory grille along with the (2) retaining screws that retain the stock fascia. After you have located these screws remove them using the Phillips head screw driver, the flat head screw driver can assist in removing these if they are stubborn. Set the screws aside, you will re-use them later.

4. The next step is to remove the (4) 7mm bolts that hold the honeycomb down at the bottom of the honeycomb. Be patient with this process as it can be frustrating. You can view and remove these bolts by tilting the factory grille forward.

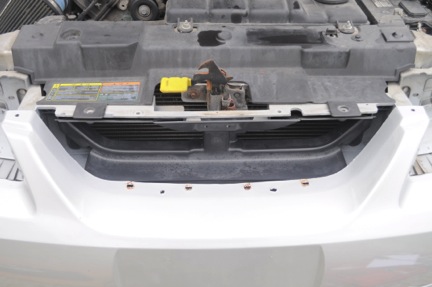
5. Congrats now the stock grille is removed, this is what everything should look like.
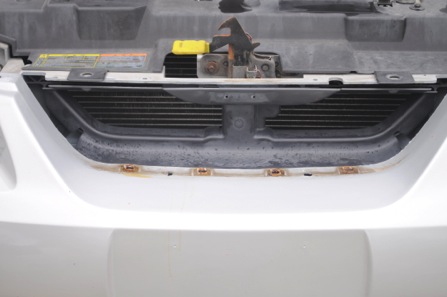
6. This now makes the opportune time to clean out the front fascia and prep it for the installation of the delete kit.
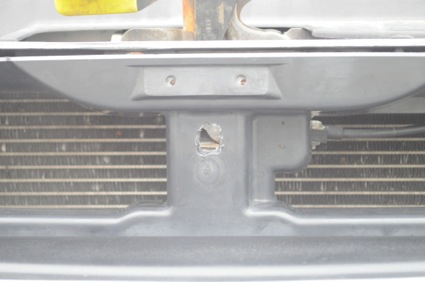
7. Before installing the delete kit prep the area for the pony installation by drilling or cutting a hole into the backing piece that will secure the bottom tab on the pony in place.
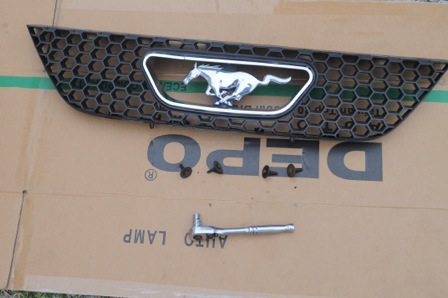
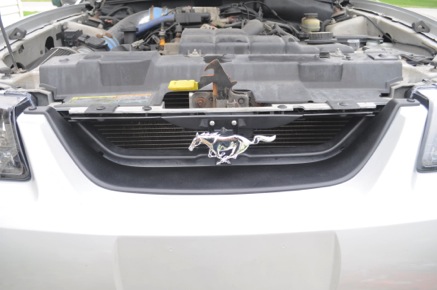
8. Now insert the delete kit and install your pony. The screw holes located in the backing piece are what are used to secure your pony in place. These holes are located in the picture above shown by the arrows.
9. Now replace your (6) retaining screws you removed earlier in the process into their original holes.
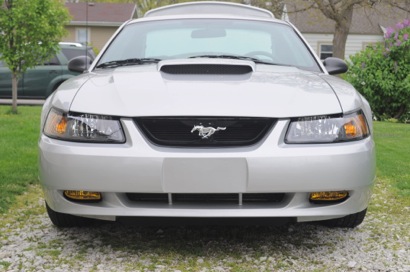
10. You’re finished!
Installation instructions provided by AmericanMuscle customer Patrick Morrison 4-27-12

