 FREE 1 to 3-Day Delivery on Orders $149+ Details
How to Install Full Tilt Boogie Front IRS Differential Mount Bushings (99-04 Cobra) on your Ford Mustang
Installation Time
3 hours
Tools Required
- Jack and Jack Stands (Or a lift)
- Metric Sockets 15,18,21mm, Extensions, and a 12pt 12mm Socket for Driveshaft Bolts
- Channel Lock Pliers and WD-40
- Torque Wrench
- Blue Loctite
- An extra set of hands may help
- (Optional) Impact Wrench
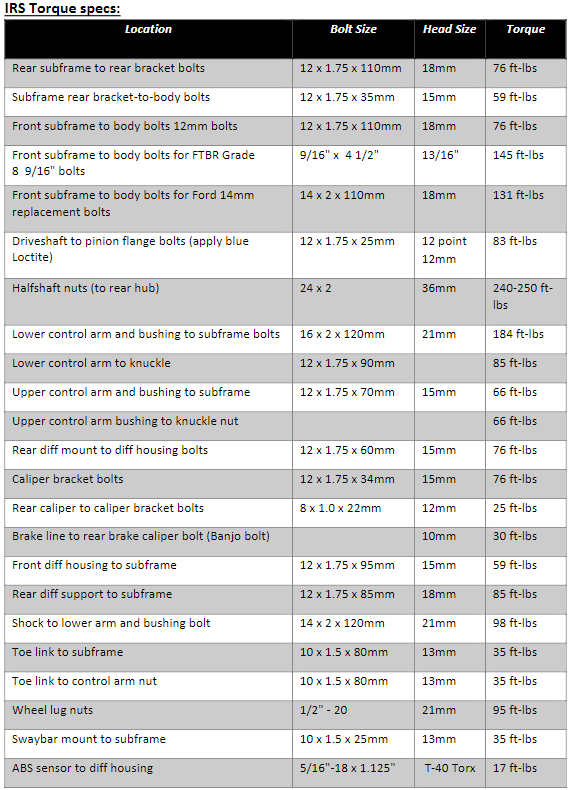
Note: All bolt IRS bolt and head sizes as well as torque specs are listed on the last page for reference. It is highly recommended to use blue Loctite on all bolts that have a used nylon lock nut.
Note: It is HIGHLY recommended that both the front and rear differential mounts are replaced, not just one or the other. If only one set is addressed, it places extra stress on the differential due to how much give the stock bushings have and can potentially do more harm than good. The front differential mount bushings should be installed at the same time a rear differential mount bushing set is installed in which case the diff would be out. However, in this particular guide I’ll describe how to do just the front diff
bushings. If you’ve already dropped the diff to do the rear mount bushings, loosely put the diff back in place without the front diff bushings and skip to step 9.
Install:
1. Chock the front wheels of the car.
2. Raise the rear of the car with a jack and support it with a set of jackstands.
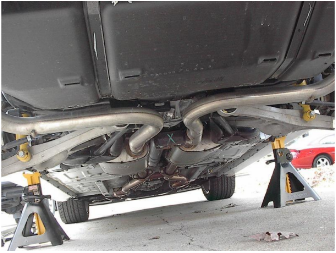
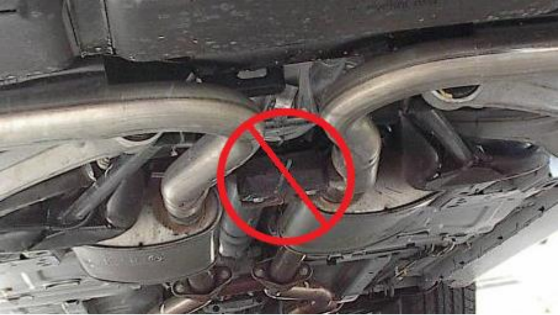
3. Disconnect the catback and remove from hangers (this is where the WD40 and pliers really come in handy).
4. Mark your driveshaft position relative to the pinion and then using a 12pt 12mm socket loosen the driveshaft bolts and tie the driveshaft out of the way.
5. Place a jack under the differential and jack up enough to support it slightly.
6. Loosen, but don’t remove the two 15mm rear diff cover to diff mount bolts. You want
them very loose so that the differential can shift a decent amount, but not loose enough for the bolts to come out on their own.
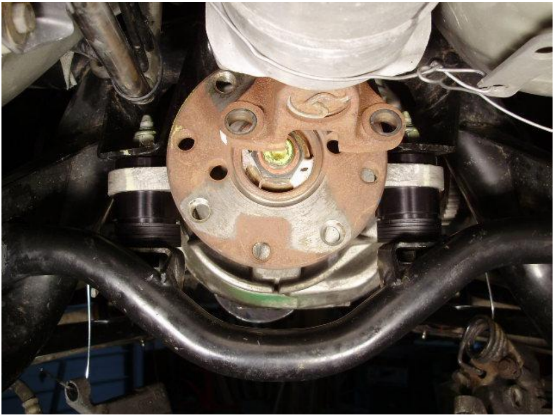
7. Remove the two front 15mm differential mount bolts.
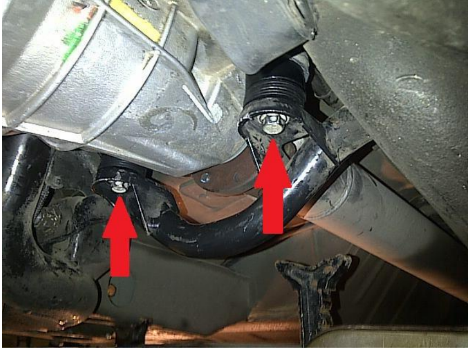
8. Loosen the two 21mm nuts holding the IRS crossmember (torque brace) to the
subframe and slide it off the bolts.
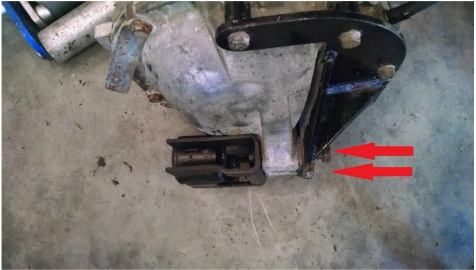
9. This should free up the differential enough to be remove the front differential bushings and any shimming washers. Pull apart each of the differential bushings and remove the m from the differential. For 03/04 Cobras remove the hanging NVH weight and bracket and leave it off. It will not fit correctly and is not needed with the upgraded front bushings.
10. Slide the front torque brace back onto the bolts and put the nuts on, but keep them
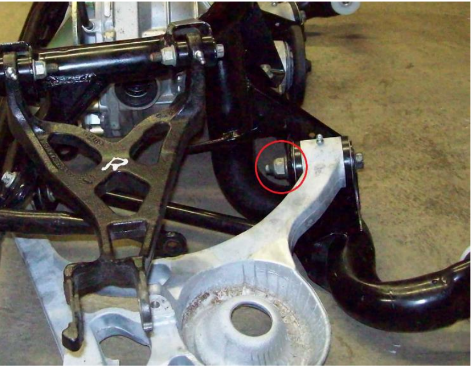
loose. Note: it is highly recommended that 99/01 Cobras upgrade to the 03/04 Cobra style front differential support brace (torque brace) for extra differential support.
11. The FTBR bushings have four pairs of concave and convex mounts that need to be
paired to each other. 2 pair of short ones for the top of the differential and 2 long pairs for the bottom. Then comes the shimming spacers. You want to put as many as possible on the lower mounts to raise the nose of the differential as high as possible to optimize your driveline angle. Usually one spacer is needed on top on each side due to the diff case hitting the subframe mounts.

12. Tighten the front torque brace to the subframe and raise the front of the differential
as high as it will go with the four sets of concave and convex bushings installed. Slide in as many spacers on the bottom as possible. It will vary by car: some may be able to get all 12 underneath, some may get 8. Make sure that there is an equal amount on both sides.
13. Once the right amount of spacers have been chosen begin tightening everything down and the IRS is ready to go back together. (Torque specs down below).
Your install is now complete!
Installation Instructions provided by AmericanMuscle Customer
