 FREE 1 to 3-Day Delivery on Orders $149+ Details
Hawk Brake Pads (1994-2004 Mustang GT/V6 Rear Pair)
Installation Time
60 minutes
Tools Required
- 12mm Hex Wrench
- 12mm Socket
- Pliers
- Jack
- Jack Stand
- Tire Iron
- Tire Stops( Piece of wood or bricks)
- Disc Brake Caliper Tool Set
- Brake Grease
- Gloves (Optional)

Shop Parts in this Guide
Installation
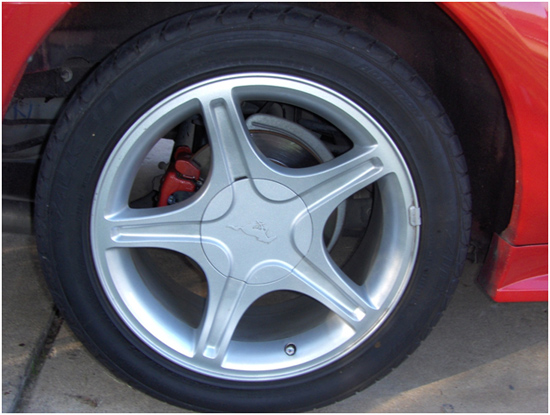
1. First start by placing the car in first gear (do not apply the parking brake because this will engage the caliper piston) and then place tire stops in front/behind the tires to make sure the car will not roll while working on it.
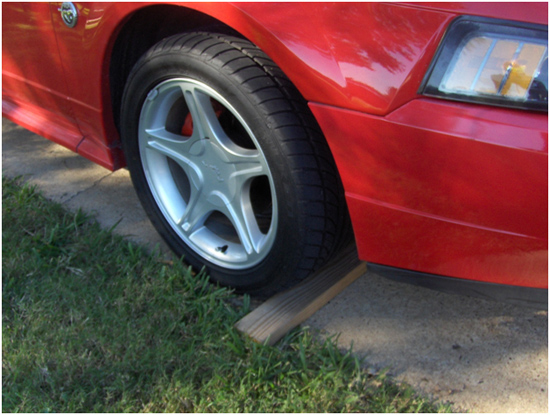
2. First start by placing the car in first gear (do not apply the parking brake because this will engage the caliper piston) and then place tire stops in front/behind the tires to make sure the car will not roll while working on it.
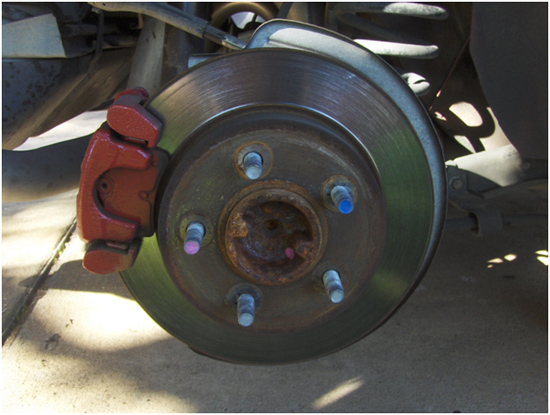
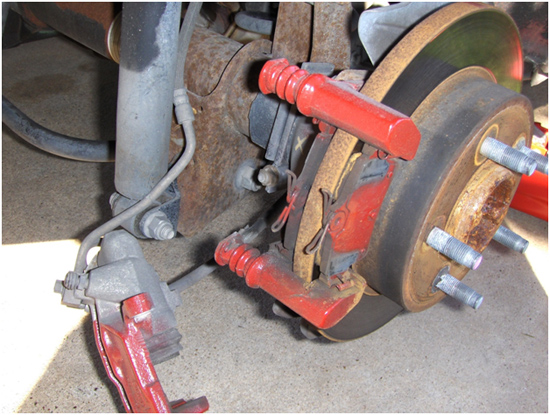
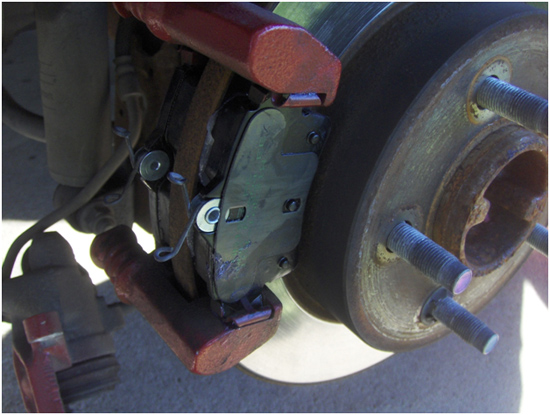
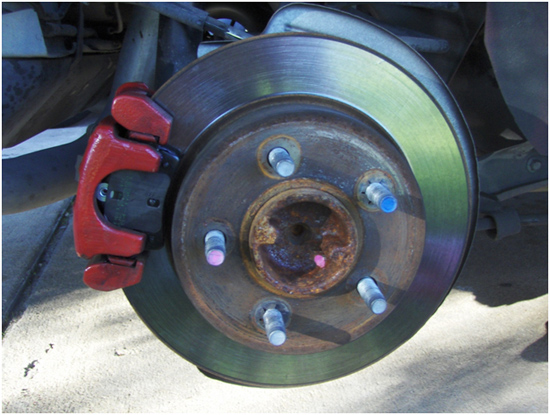
3. Now that the tire is off the ground, remove all the nuts and place them in a container so that you will not lose them. Remove the tire and place it away from you, allowing you room to work. With the tire off and set aside you have a clear view of the caliper. (While the tire is of it’s a great chance to clean up all the old brake dust build up on the inside of the rim).
4. Using a 12mm socket began loosening the top bolt located on the backside of the caliper (do not completely remove the bolt until you remove the bottom bolt). Leaving the top bolt in will make it easier to loosen the bottom bolt without the caliper moving on you.
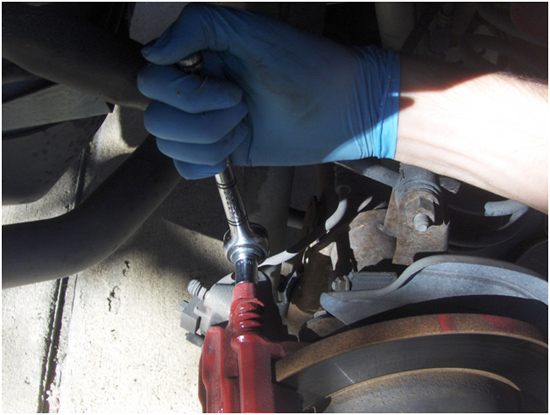
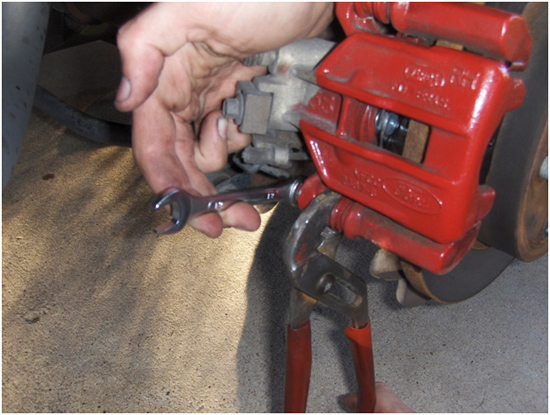
5. After loosening the top bolt, take the 12mm hex wrench to loosen the bottom bolt from the rear of the caliper. (there is not enough room for the socket for this step.) You may need a pair of pliers to hold the connector from spinning while loosening the bolt.
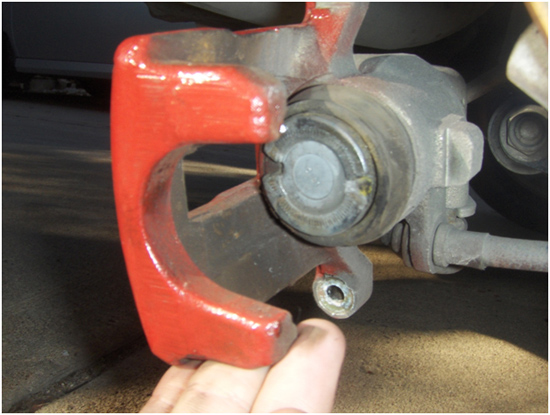
6. Now that both bolts are loose, remove both bolts and gently remove the caliper by pulling it straight up being careful not to bend or pinch any of the brake lines. Warning! In this step, you will be removing the caliper, make sure to have a way to secure it up in the wheel well in such a manner that the line is not stressed.
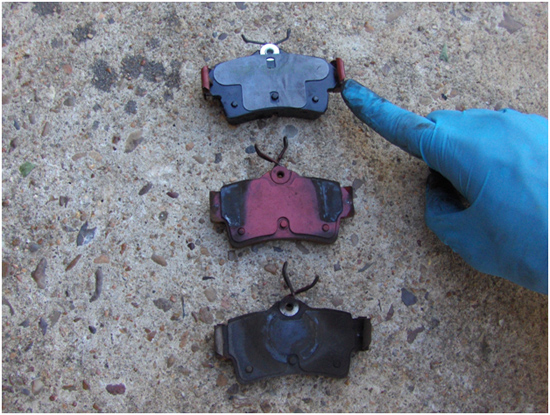
7. Remove the old brake pads. Save the clips because you need them for the next step.
8. Now remove the two clips on the sides of the old worn pads and install them onto the new brake pads. Then apply the brake grease onto the back of the pads.NEVER PUT GREASE ON THE BRAKING SURFACEMake sure that you only apply the grease onto the back of the pad that touches the clip. ***DO NOT APPLY GREASE TO THE FRONT OF THE PAD***
9. After greasing both the passenger side and driver side pads, install pads (with the old clips) back onto the caliper. Make sure that all the clips click into place and are holding the pads securely in place.
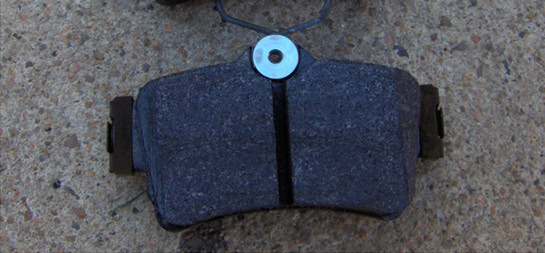
** IMPORTANT INSTALLATION NOTE** Never apply any grease to this surface of the brakes. This surface should remain as clean as possible and should have nothing added to it, under any circumstances **
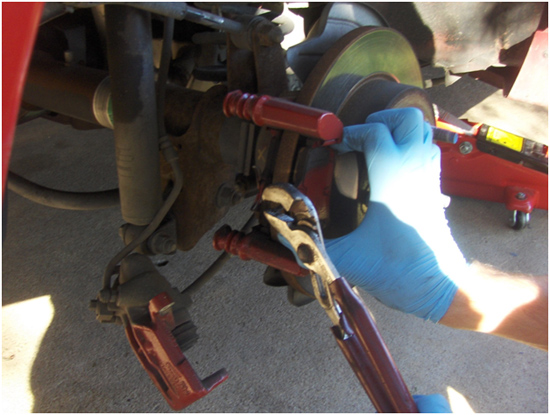
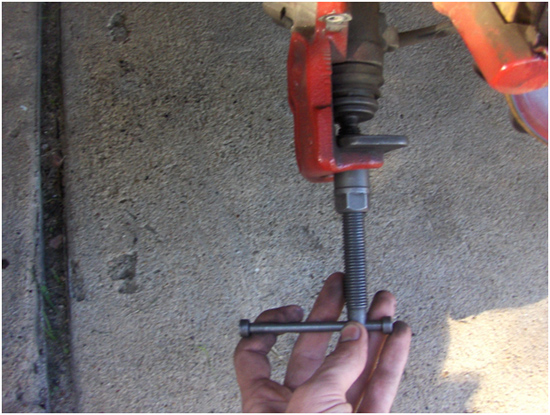
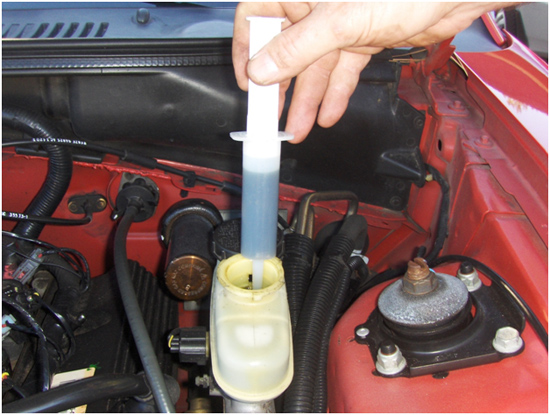
10. Now that both new brake pads are installed it is time to compress the piston back into the caliper. You can rent a disc brake caliper tool set available at your local auto supply store. You must have this tool to compress the rear caliper pistons, if you try to compress them like the fronts (with a C-clamp) you will damage the piston. Remember to check the brake fluid reservoir regularly while compressing the brake fluid back into the lines. If the brake fluid looks as if it is going to over flow make sure to remove the excess before making a mess.

11. Once the caliper pistons are completely compressed, you can now replace the caliper back into position. Make sure the springs on the brake pads are compressed and not getting caught by the caliper, then tighten up both the upper and lower bolts.
12. Now that everything is back in place you can reinstall the wheel and snug the lug nuts into place. Next slowly lower the car back onto the ground. Then evenly tighten up all the lugs in a star pattern and replace the center cover.
13. Repeat all the steps for the opposite side of the car.
14. After finishing installing all brake pads refill the brake fluid reservoir, if you needed to took any out.
15. To break in your new brake pads, make 5-6 easy stops from about 30-35 mph. Then make 2 hard stops from about 45 mph. Then allow the brake system to cool for about 15 Mins. This lets the surface of the new brake pads transfer over to the rotors for optimal braking performance.
16. Now you're ready to go!
Installation instructions provided by AmericanMuscle customer Tyler Shepherd 11.05.09
Related Guides
-
Installation

