 FREE 1 to 3-Day Delivery on Orders $149+ Details
How to Intall JBA Cat4ward Shorty Headers on Your 2005-2010 Mustang GT
Installation Time
1 days
Tools Required
- 8mm Socket
- 10 mm Socket
- 13mm Socket
- 15mm Deep Socket
- Ratchet
- Extensions
- Floor Jack
- 2 Jack Stands
- New Set of Exhaust Gaskets (HIGHLY Recommended)

Shop Parts in this Guide
Installation
Gaskets Note: Some manufactures will state that the stock exhaust manifold gaskets can be reused for this installation. It is highly recommended to purchase a new set of exhaust manifold gaskets to replace the stock gaskets during this install. This is to help prevent any exhaust leaks due to a possible crack or tear in the stock exhaust manifold gaskets. Replacement exhaust manifold gaskets for your Ford 3 valve 4.6 liter V8 can be purchased at any major automotive store (ex. O'reilly, Pep Boys, Autozone). Be prepared to pay around $20-$24 depending on your store, it is also a good idea to pre order this part before the selected day of installation as these gaskets may not be held in store stock.
INSTALLATION INSTRUCTIONS:
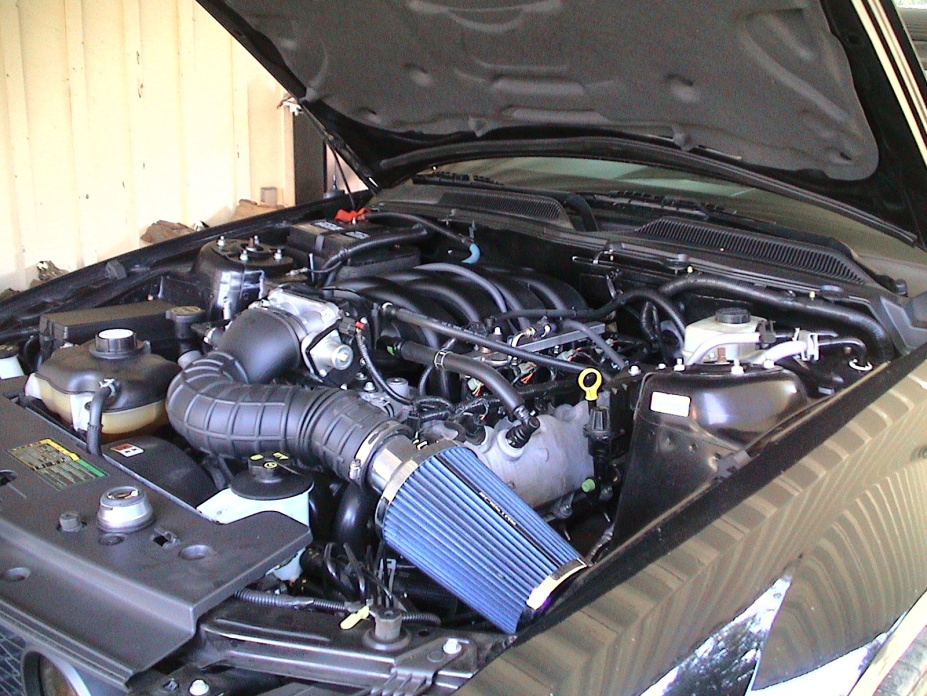
1. Make sure the engine is cool to the touch before working on this install. Second, disconnect the negative (-) battery cable from the battery. This is incredibly important as you will be working with the starter and spark could be created. You may also want to remove the air intake tubing and filter to allow for more room, but this is not required.
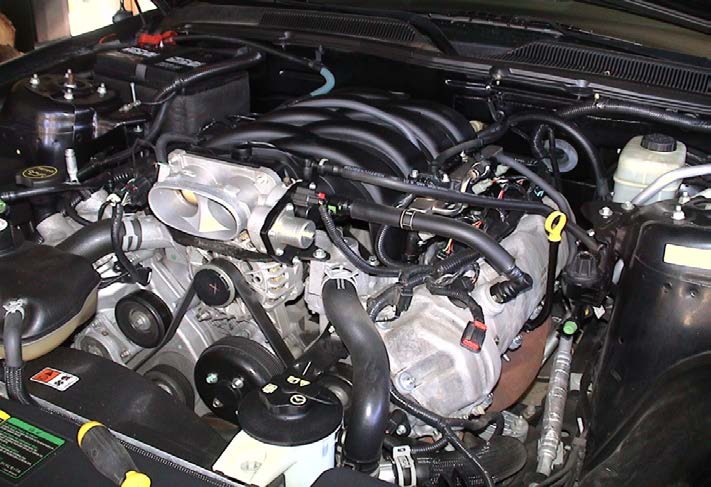
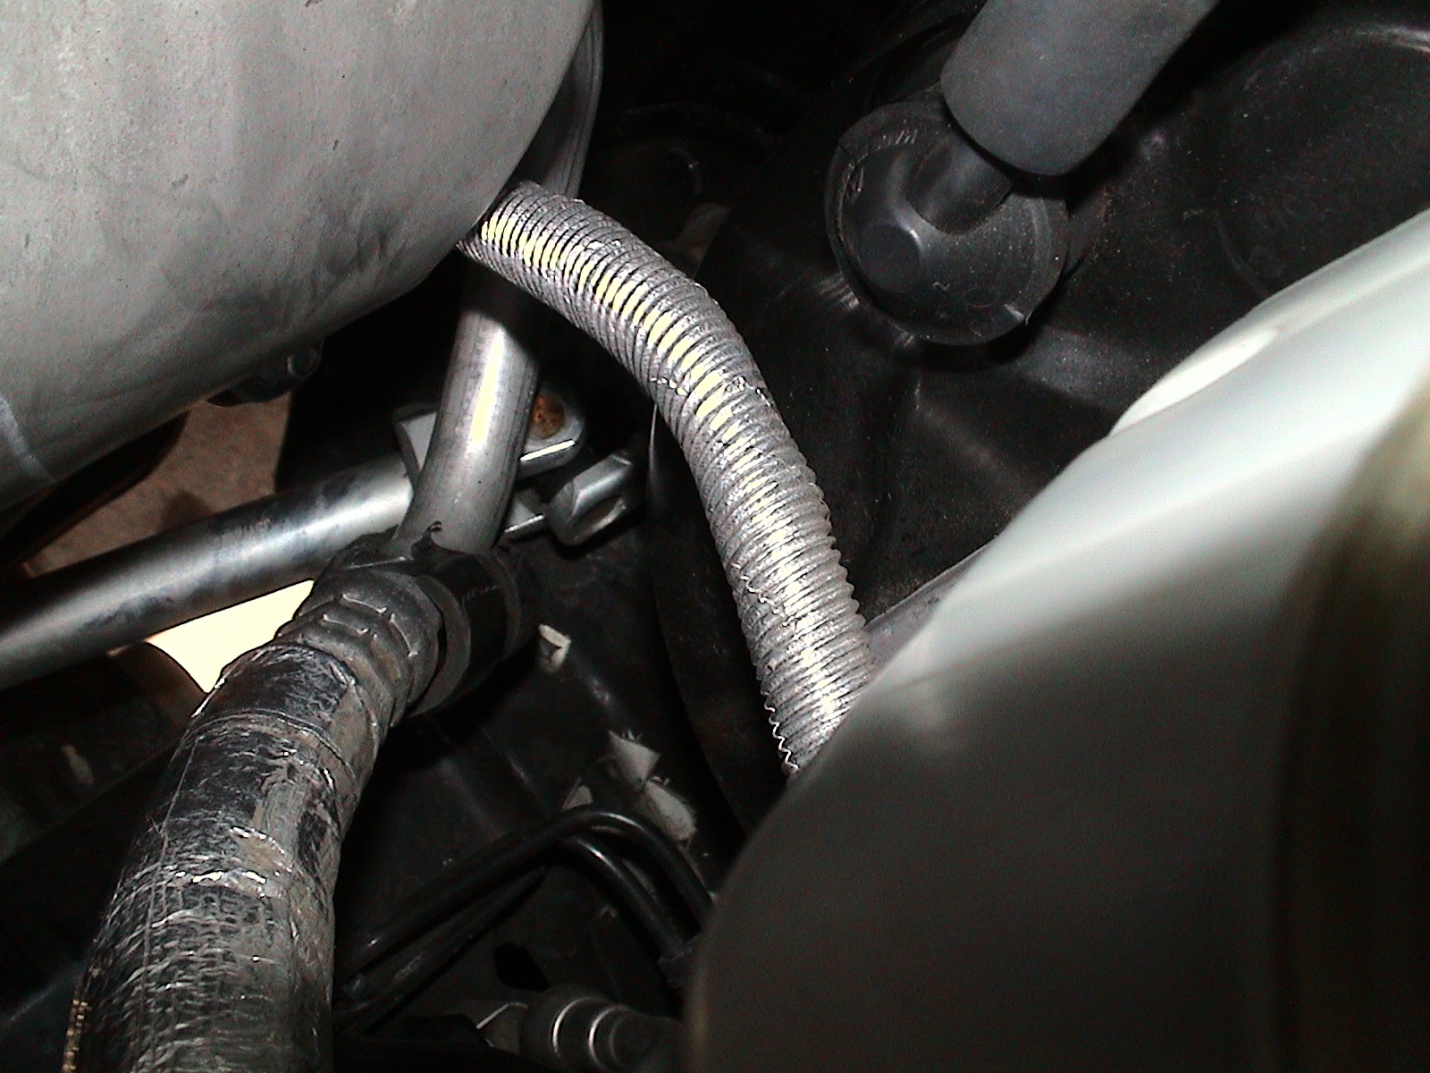
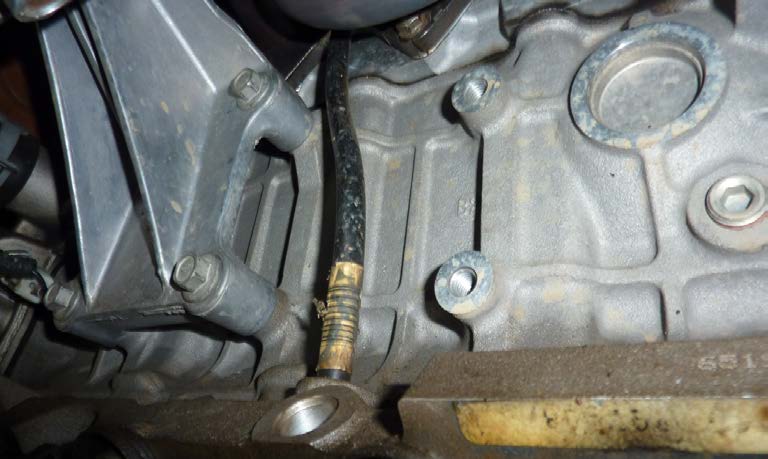
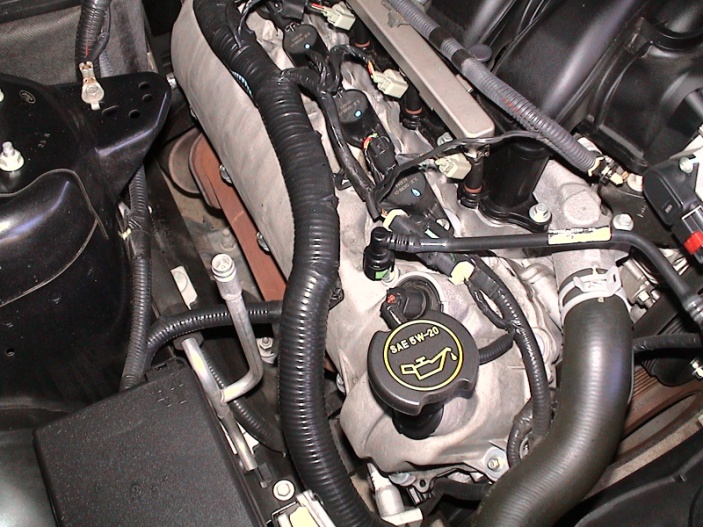
2. Before lifting the car, it is actually easier to loosen the top exhaust manifold studs and any easily reached manifold studs on each side while the car is low on the ground. These studs use a 13mm socket. This is also a good time to remove the oil dip stick. The dip stick is bolted in to the side of the engine block with a 8mm bolt. (Indicated above by YELLOW arrow) Pull up to remove the dipstick.
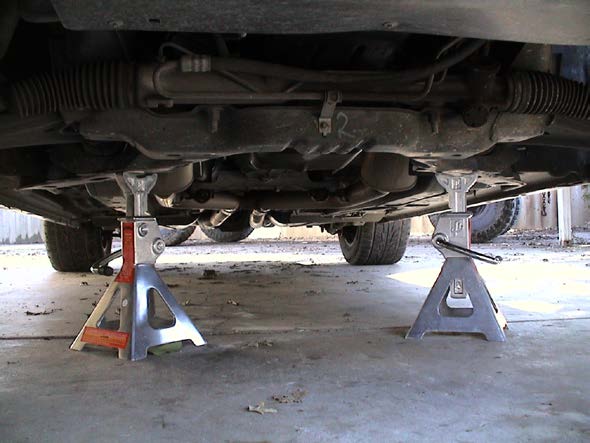
3. Raise the front end of the car, on a solid flat surface, so there is enough room for you to work freely. Make sure to keep the car lifted up with the use of jack stands and NOT the jack/lift alone. Make sure the E-Brake is on to prevent rolling of the vehicle.
4. From under the car, loosen the clamps that attach the exhaust to the H-pipe. These bolts use a 13mm socket. This will release each side of the dual exhaust and the tips. You may now remove each side and move them out of the way.
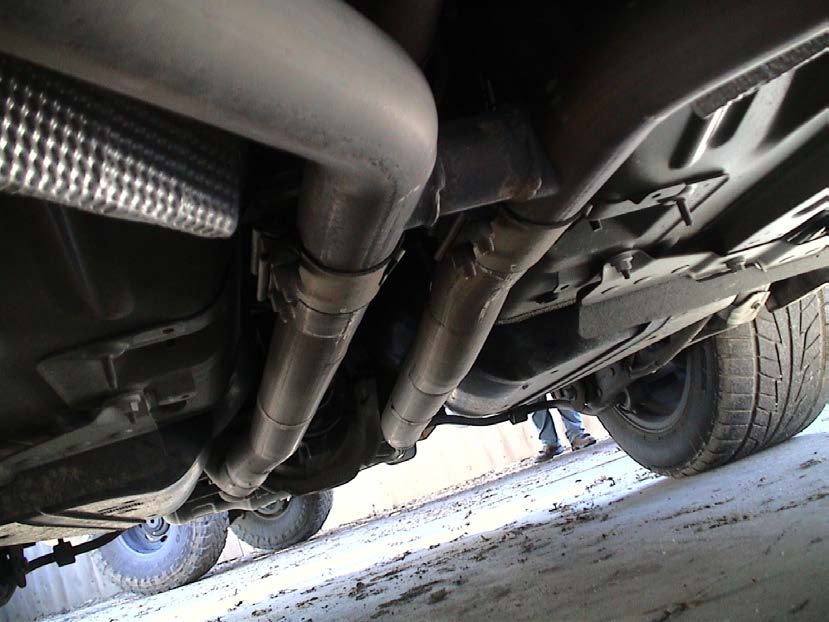
5. Disconnect the 02 sensors from both sides of the exhaust. Each side will have two 02 sensors. Once this is done, unbolt the H-Pipe from the under the car. To do this, follow the exhaust piping up towards the engine until you find the flanges that connect the H-pipe to each exhaust manifold. Each flange will have two (2) bolts that keep the H-pipe connected to each manifold. Use a 13mm to loosen these bolts and remove them. The H-pipe will then be ready to be uninstalled and removed out of your way.
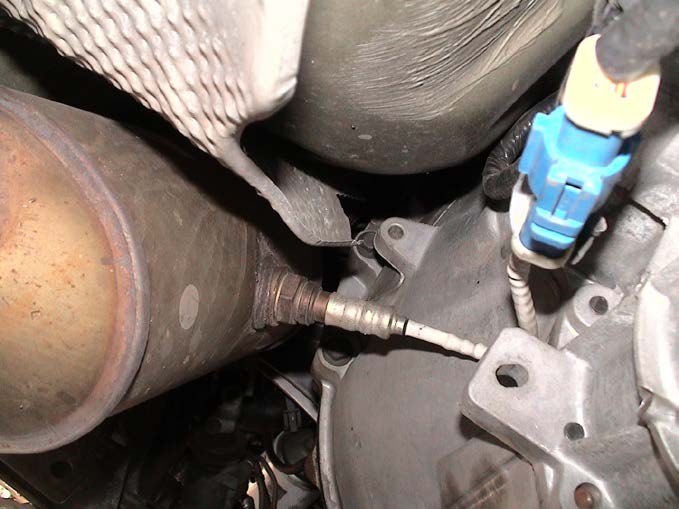
* Blue Clips for each 02 sensor is all that need to be unclipped.
02 sensors can be safely be unscrewed and removed if necessary.
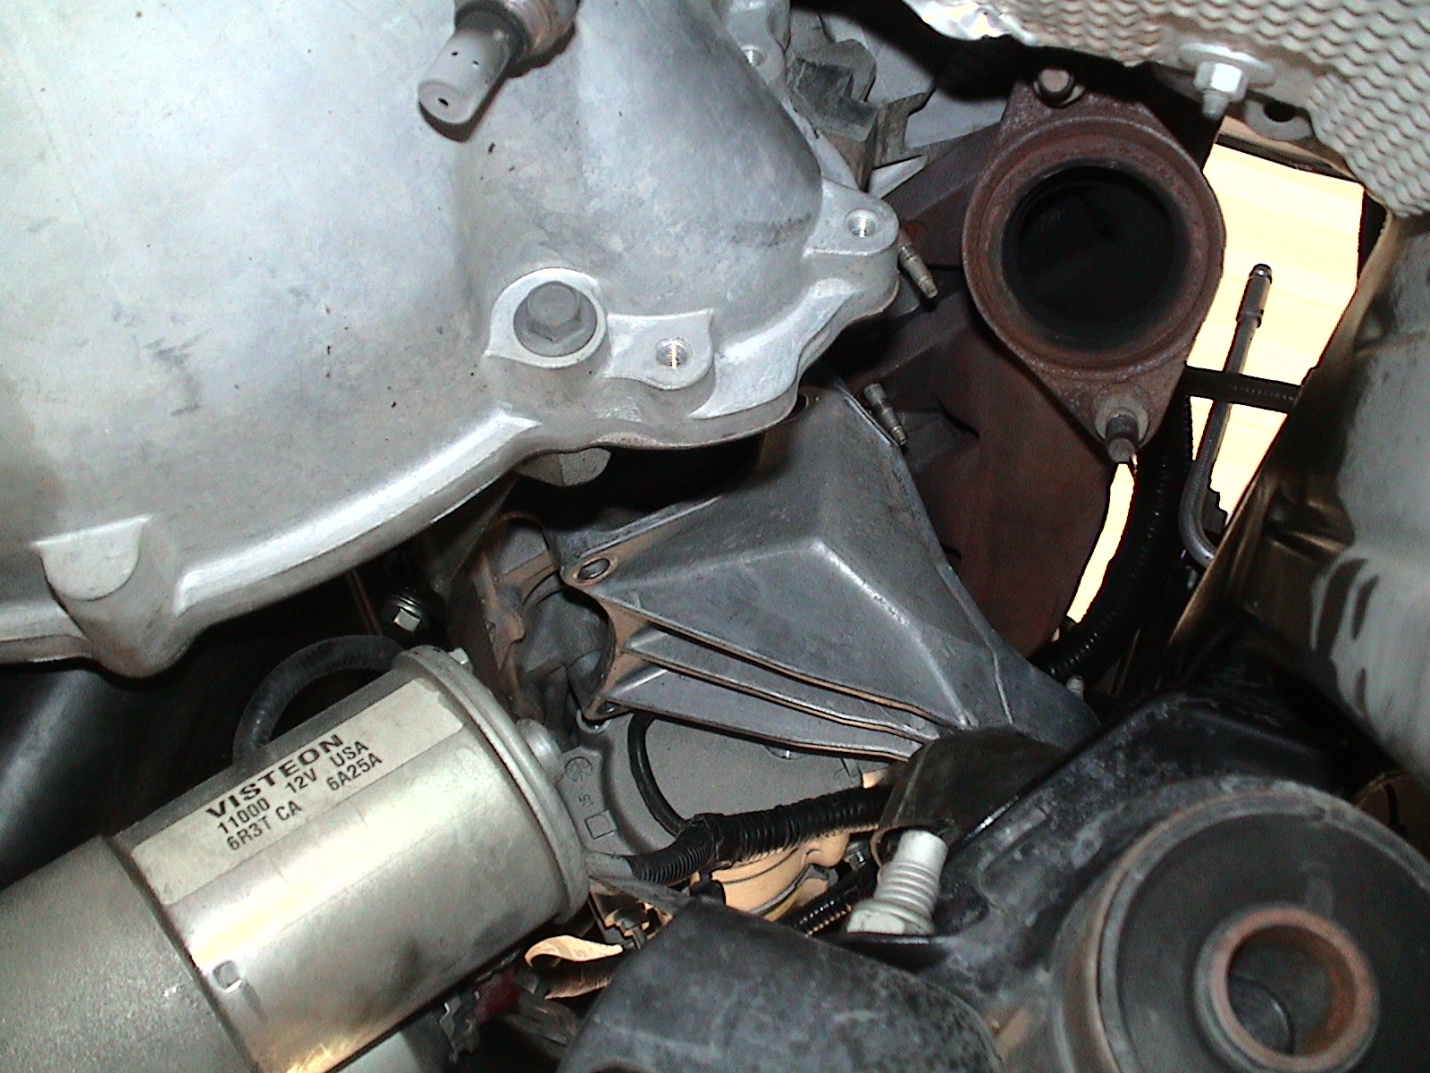
6. Working on the driver side first, the steering shaft must be removed to make room the removal of the stock manifolds and the installation of the new headers. To do this you will need to be under the car, first remove the lower bolt off the steering shaft coupler at the bottom of the steering rack. The picture below will match what you see from under the car on the passenger side of the engine.
*YELLOW arrows point out the bolts that need to be removed to lift the engine. (Engine Mounts)
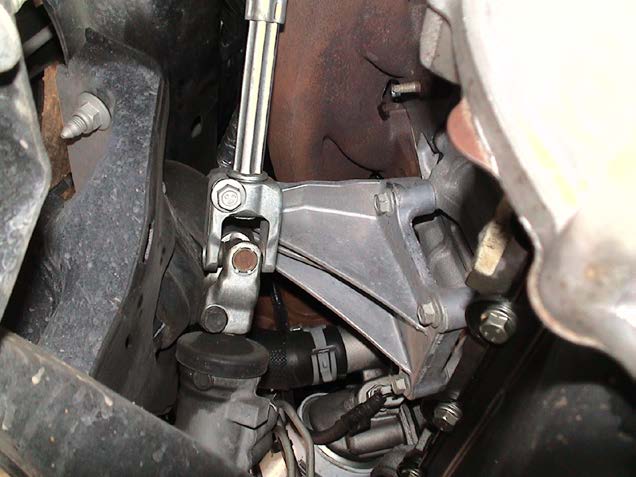
7. Next you will need to remove the bolt at the top of the rack that is attached near the firewall of the car. To reach this bolt you will need to come out from under the car and come in from the top (the hood). The picture below will show what bolt you are looking for. Once the bolts are removed from both the top and bottom of the rack, remove the rack.
*Top of Steering Rack Indicated by RED Arrow in following image*
To make this bolt easy to reach, turn the steering wheel until the head of the bolt is facing straight up and is easily accessible to you. Once this bolt is out, remove the rack and place it out of the way. If you have trouble getting the rack out, you can reach from under the steering wheel inside the cab and pull the shaft back to easily release the rack.

* Once both bottom and top bolts are loosened, the steering rack can be pushed UP to get clearance and then back DOWN to come off of the studs that hold the sleeves in place
8. With the steering rack out of the way, the exhaust manifold studs are much easier to reach. They can be removed at this time with a 13mm socket. It is a good idea to loosen any more exhaust manifold studs that are easy to reach on the passenger side as well.
9. Before you are able to completely remove the factory exhaust manifolds from each side of the engine, you will need more space to pull the manifolds out from under the car. To do this you must lift the engine away from the engine mounts.
10. Secure the weight of the engine with a jack so that you can remove the bolts to the engine mounts. Each engine mount has 4 bolts attached to the engine, use a 15mm to remove each bolt. Once each bolt has been removed, use the jack to slightly lift the engine. Go slow and make sure not cause any damage.
* The red circles indicate each engine mount that needs to have their four (4) bolts removed for the raising of the engine. The driver side engine is the picture located on the left and the passenger side of the engine is the picture located on the right hand side.
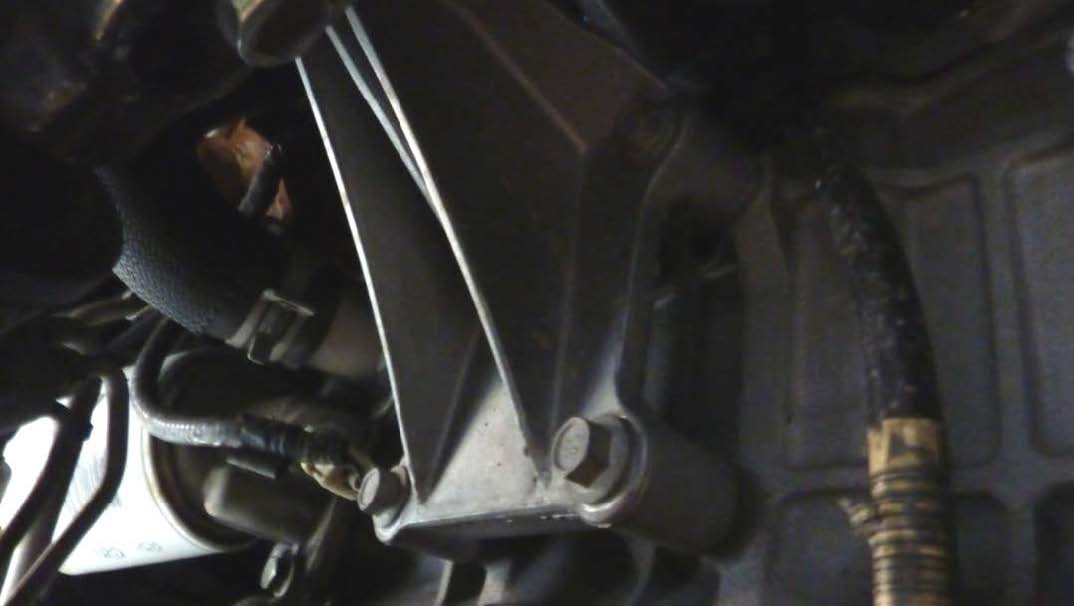

!!! DO NOT ATTEMPT TO LIFT ENGINE BY OIL PAN - OIL PAN WILL BREAK!!!
You should only need to lift the engine between 1 or 2 inches, this should give you more than enough room to remove the stock manifolds.
*ONLY If you have the engine securely stationed, you can temporarily remove the engine mounts if you feel that you need more room to work with while under the car. Make sure to reinstall the engine mounts before lowering the engine back into its proper location once finished the headers have been attached.
11. Now you can remove the driver side exhaust manifold and begin removing the passenger side exhaust manifold. You will see the starter on the passenger side of the engine. You will need to unbolt the starter with a 10mm and then swing it out of the way. It is not necessary to completely remove the starter. Simply swing it out of the way to create the necessary clearance to swap out the manifolds.
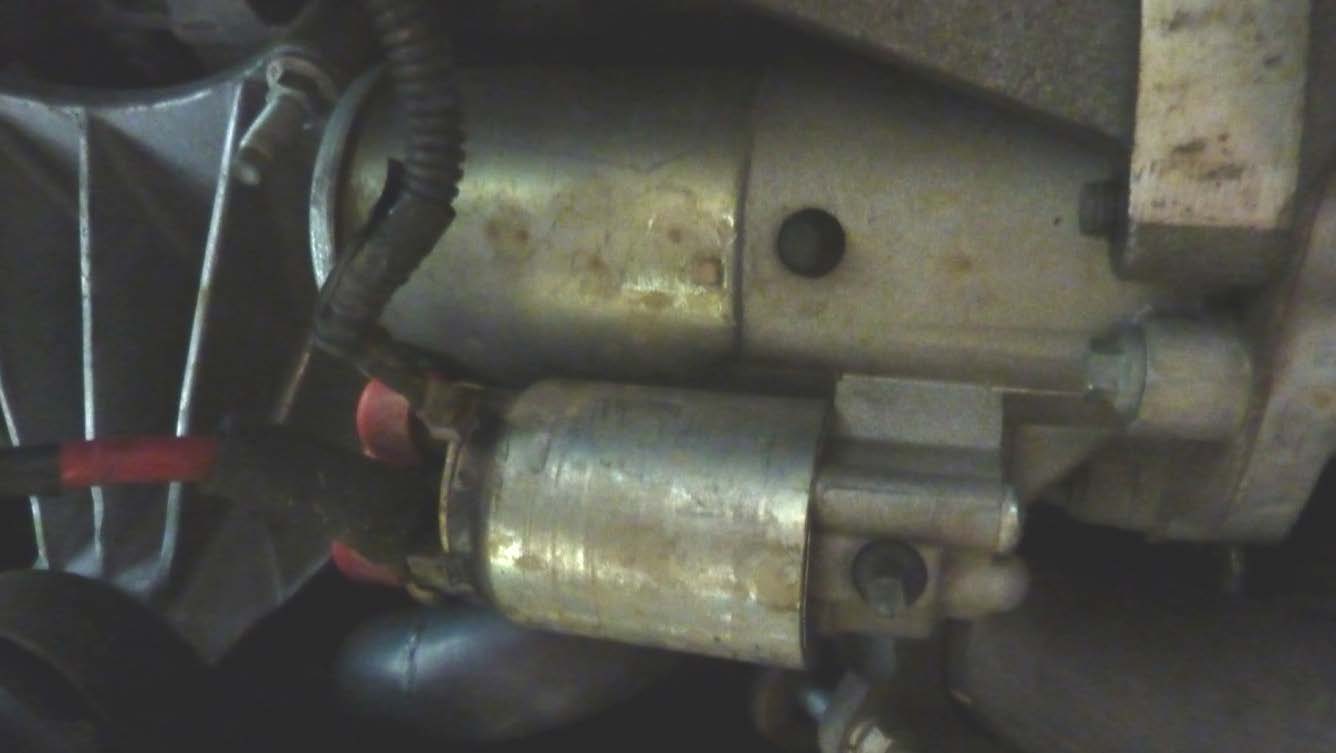
*Red arrows points the individual starter and at one of the two (2) 10mm bolts that need to be removed in order to "swing" the starter. The second bolt will look identical to this bolt and will be located about an inch away from its identical bolt.
12. Remove any remaining manifold studs and then completely remove the exhaust manifold. Now it is finally time to install your new headers. Make sure the header gaskets are lined up properly for each header and begin tightening the headers to the engine with the gaskets in-between the two.
* If you notice that your new set of headers has some of the holes for the bolts notched out, this is because the stock bolts will not fit in those locations. The bolts are too long in those locations and will hit the headers, not allowing them to be fully bolted to the engine. At these locations you must use the newly provide bolts. Other locations you are able to reuse the stock bolts and studs if you wish.
13. Torque specs for the headers should be between 14-16 ft/lbs. Once you have the new headers in place with the studs securely tightened, you can begin reattaching the starter by swinging it back into place and reinstalling the two 10mm bolts. Reinstall the steering rack by sliding the top half of the rack first and then sliding the bottom half of the rack into place. Do not worry about making sure your steering wheel and wheels will line up properly, the rack only reconnects in the correct position so no error can take place. Tighten the top and bottom bolts securely then try to turn the wheel to make sure everything is tightened properly and works correctly.
Do not forget to reinstall the oil dip stick and to reattach the 8mm bolt that holds the top of the dip stick to the engine.
14. Slowly and carefully lower the engine back into place on top of the engine mounts. Reinstall the bolts to the engine mounts. Four bolts to each side of the engine. Torque specs for the engine mounts to the engine block should be between 25-33 ft/lbs.
15. Bring back the H-pipe and reconnect each side of the H-pipe to each Header. The new headers will also have two (2) bolts to bolt the H-pipe to the headers. Align the exhaust so that it will be flush with the header flanges so that no exhaust leaks will be created. Tighten each bolt as well as you can without breaking any bolt. After reconnecting the exhaust, plug the 02 sensors back in to their wiring clips. Finally, reconnect the H-pipe to each side of your dual exhaust. Reconnect these exhaust components by reusing the stock exhaust claps, use a 13mm to tighten these bolts back together. Make sure the exhaust it properly lined up so that no leaks are created and that the exhaust hangers on both the left and right sides of the exhaust are placed in their hanger sleeves that hold the exhaust tips in place. If you do not have the hangers in place then there is a high risk of your exhaust falling off while in motion.
16. After rechecking everything for proper alignment and tightening, reconnect the battery. Now you can fire up the engine and check for any leaks. Feel free to test drive. Once the engine and headers cool back down, it is a good idea to re-torque the header bolts to make sure everything is still tight.
17. Enjoy the extra power and the new sound
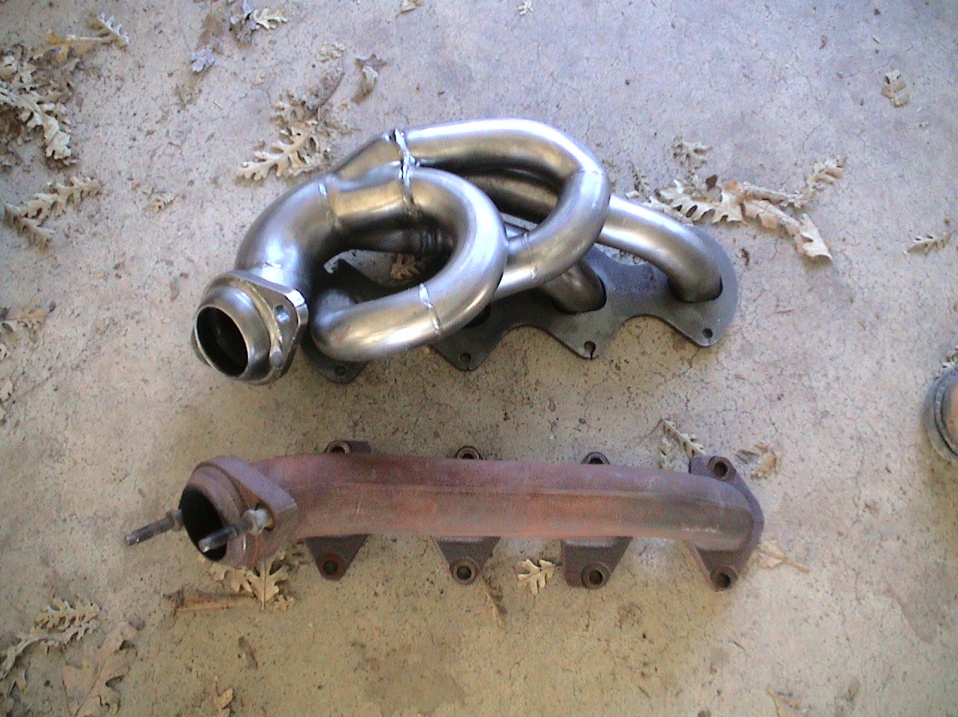
Stock Exhaust Manifolds
JBA Shorty Headers
Installation Instructions written by AmericanMuscle customer Nathan Lambert 4.27.2012

