 FREE 1 to 3-Day Delivery on Orders $149+ Details
How to Install a Cold Air Intake for 2005-2009 Mustang V6
Installation Time
1 hours
Tools Required
- Flat head screwdriver (I used )
- T15 Torx
- Socket wrench
- 10mm socket

Shop Parts in this Guide
Installation
I personally found that this kit will install properly by re-using factory bolts.
Stock Air intake
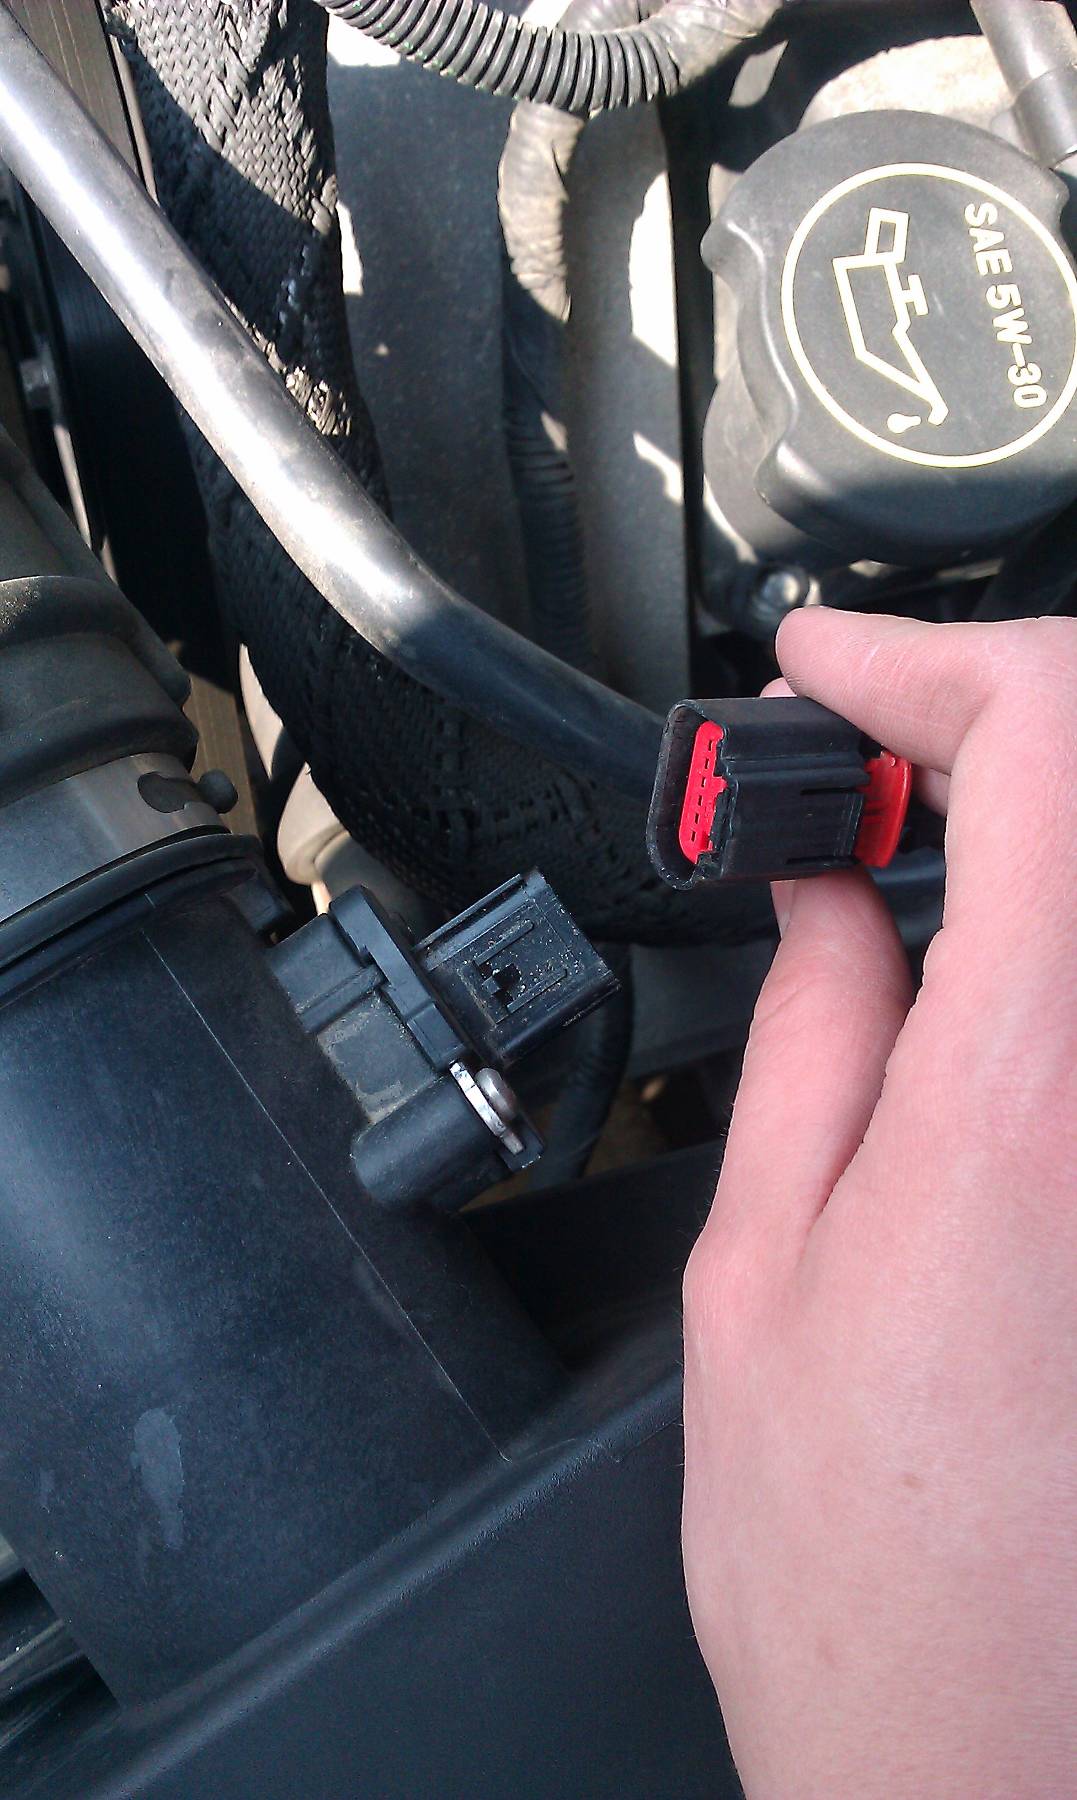
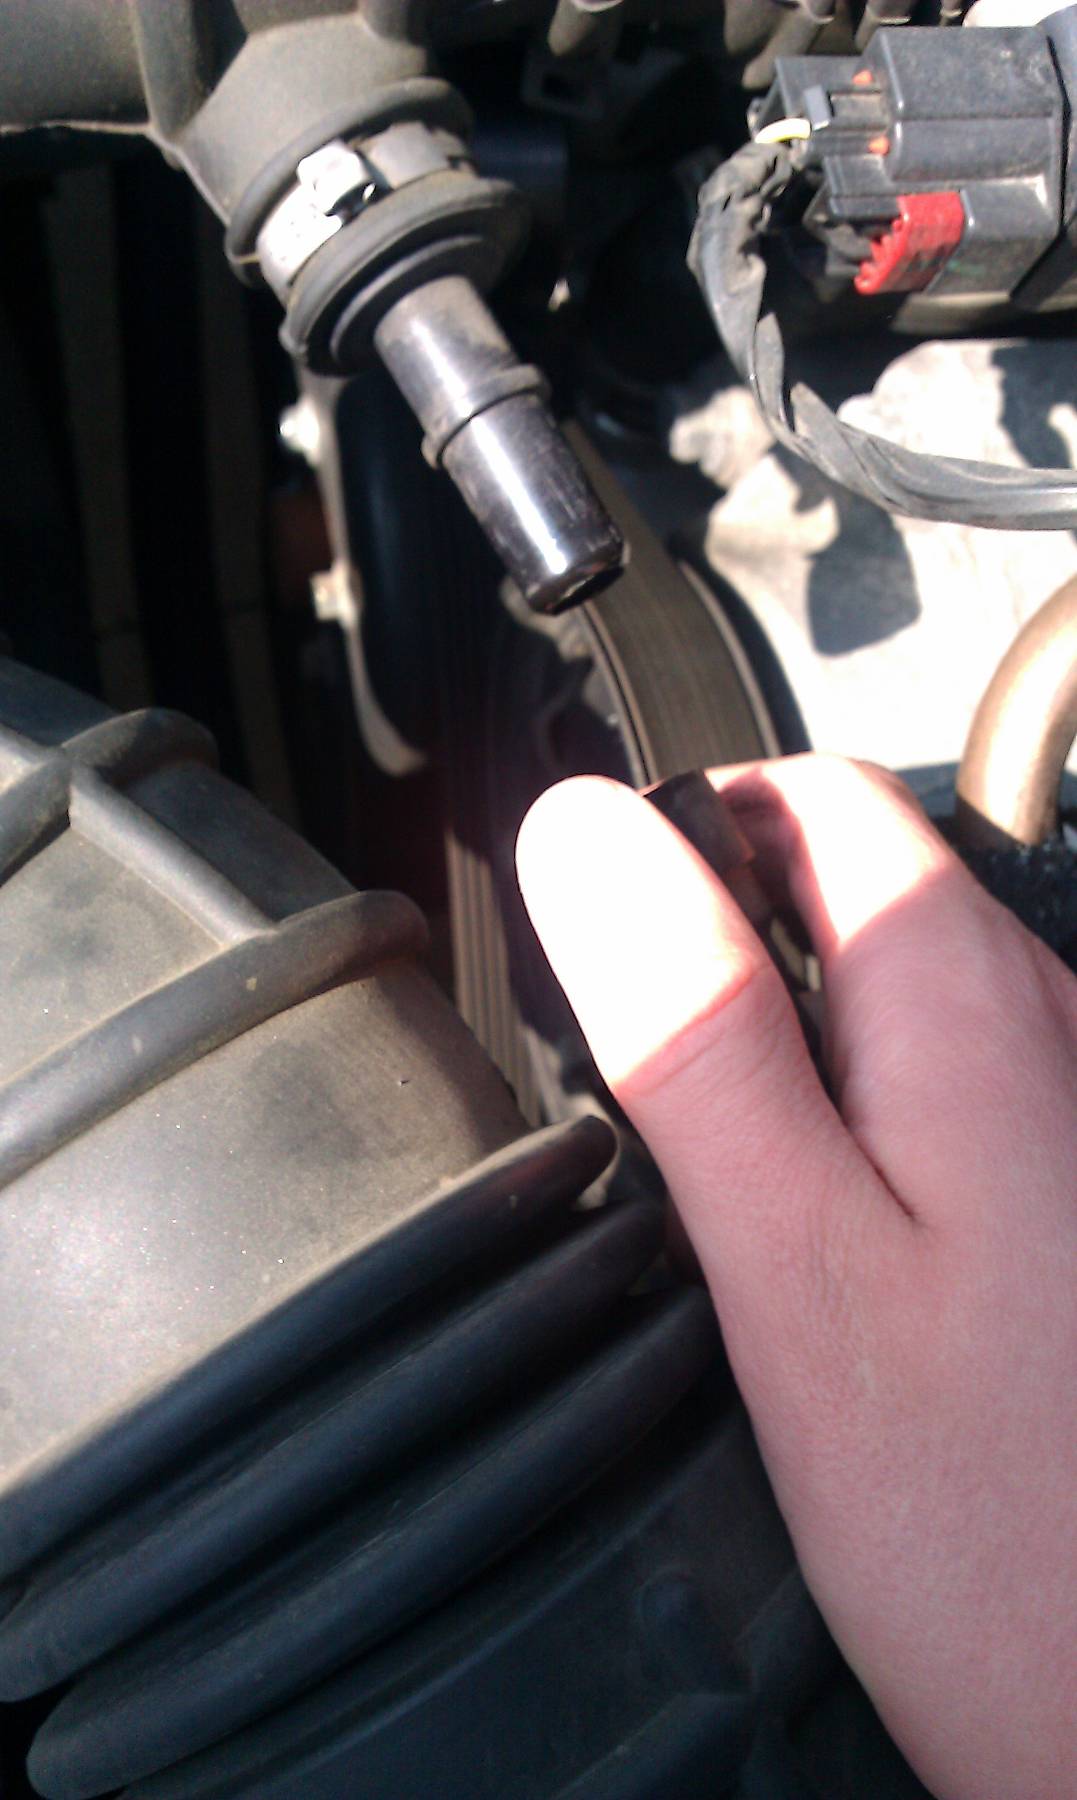
- Disconnect PCV (vacuum) line and the MAFS (Mass Air Flow Sensor)
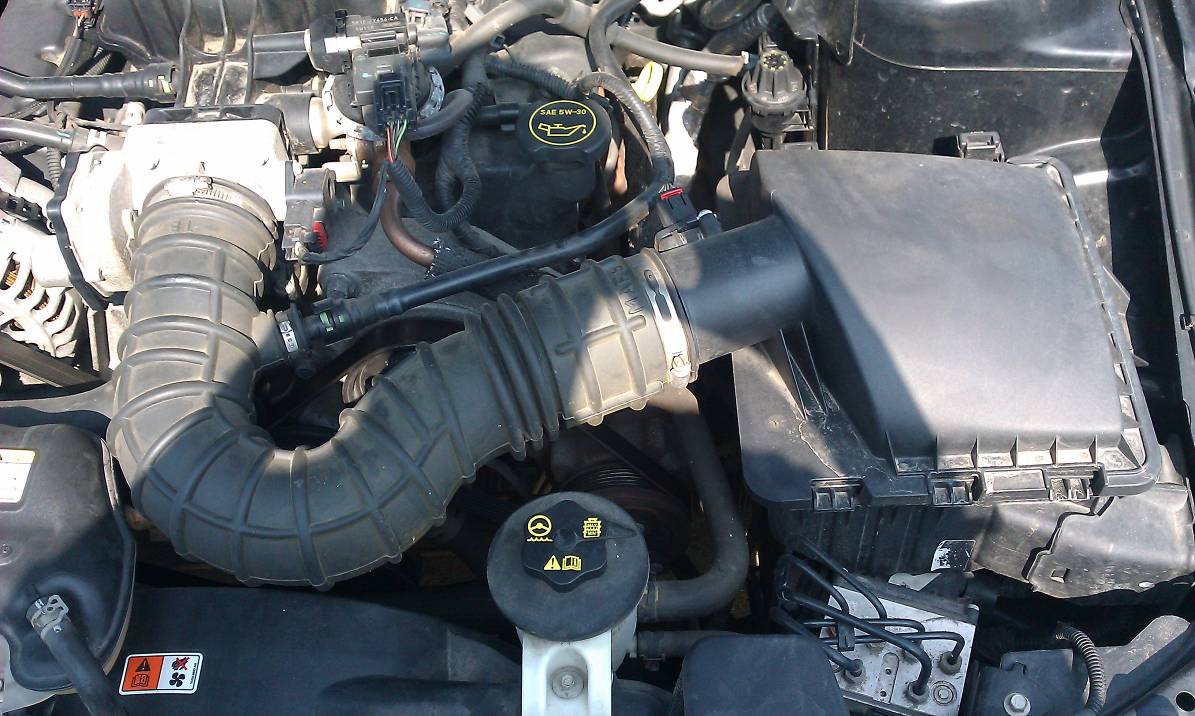
2. Using the screw driver, unscrew the clamps of the stock intake hose. (there is one that holds the hose onto the throttle body and one that holds the hose onto the 3. Remove stock hose and set aside. It should look like this after you remove the stock intake hose:
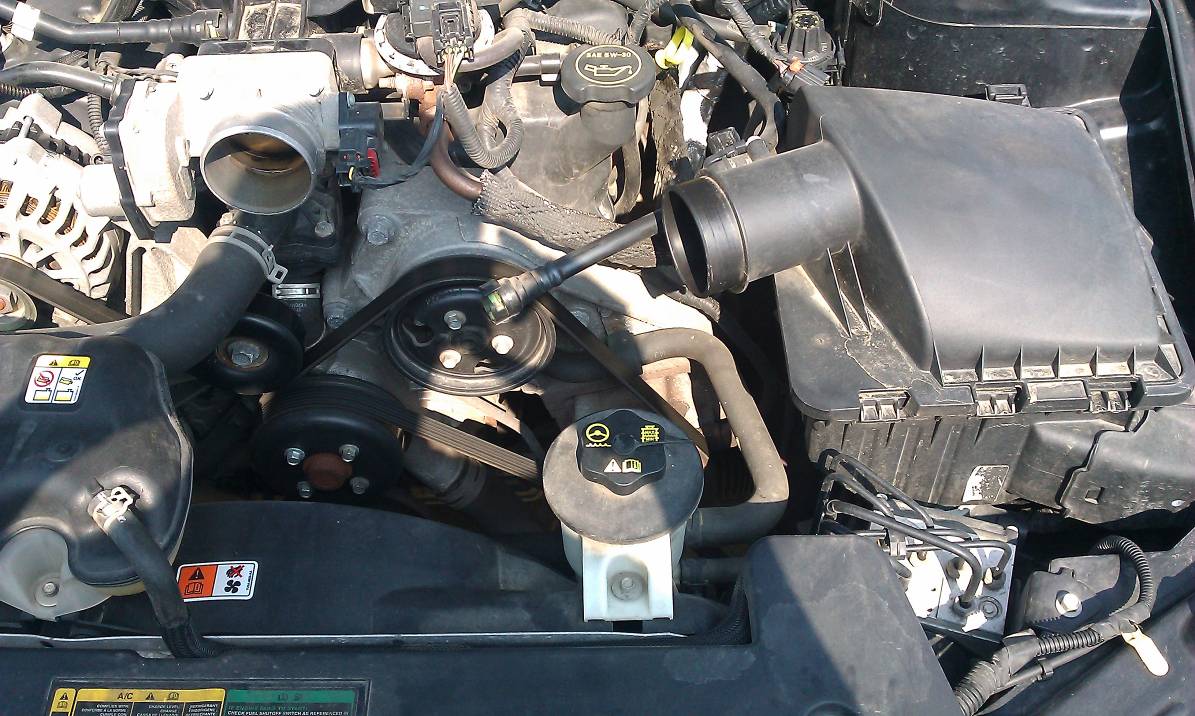
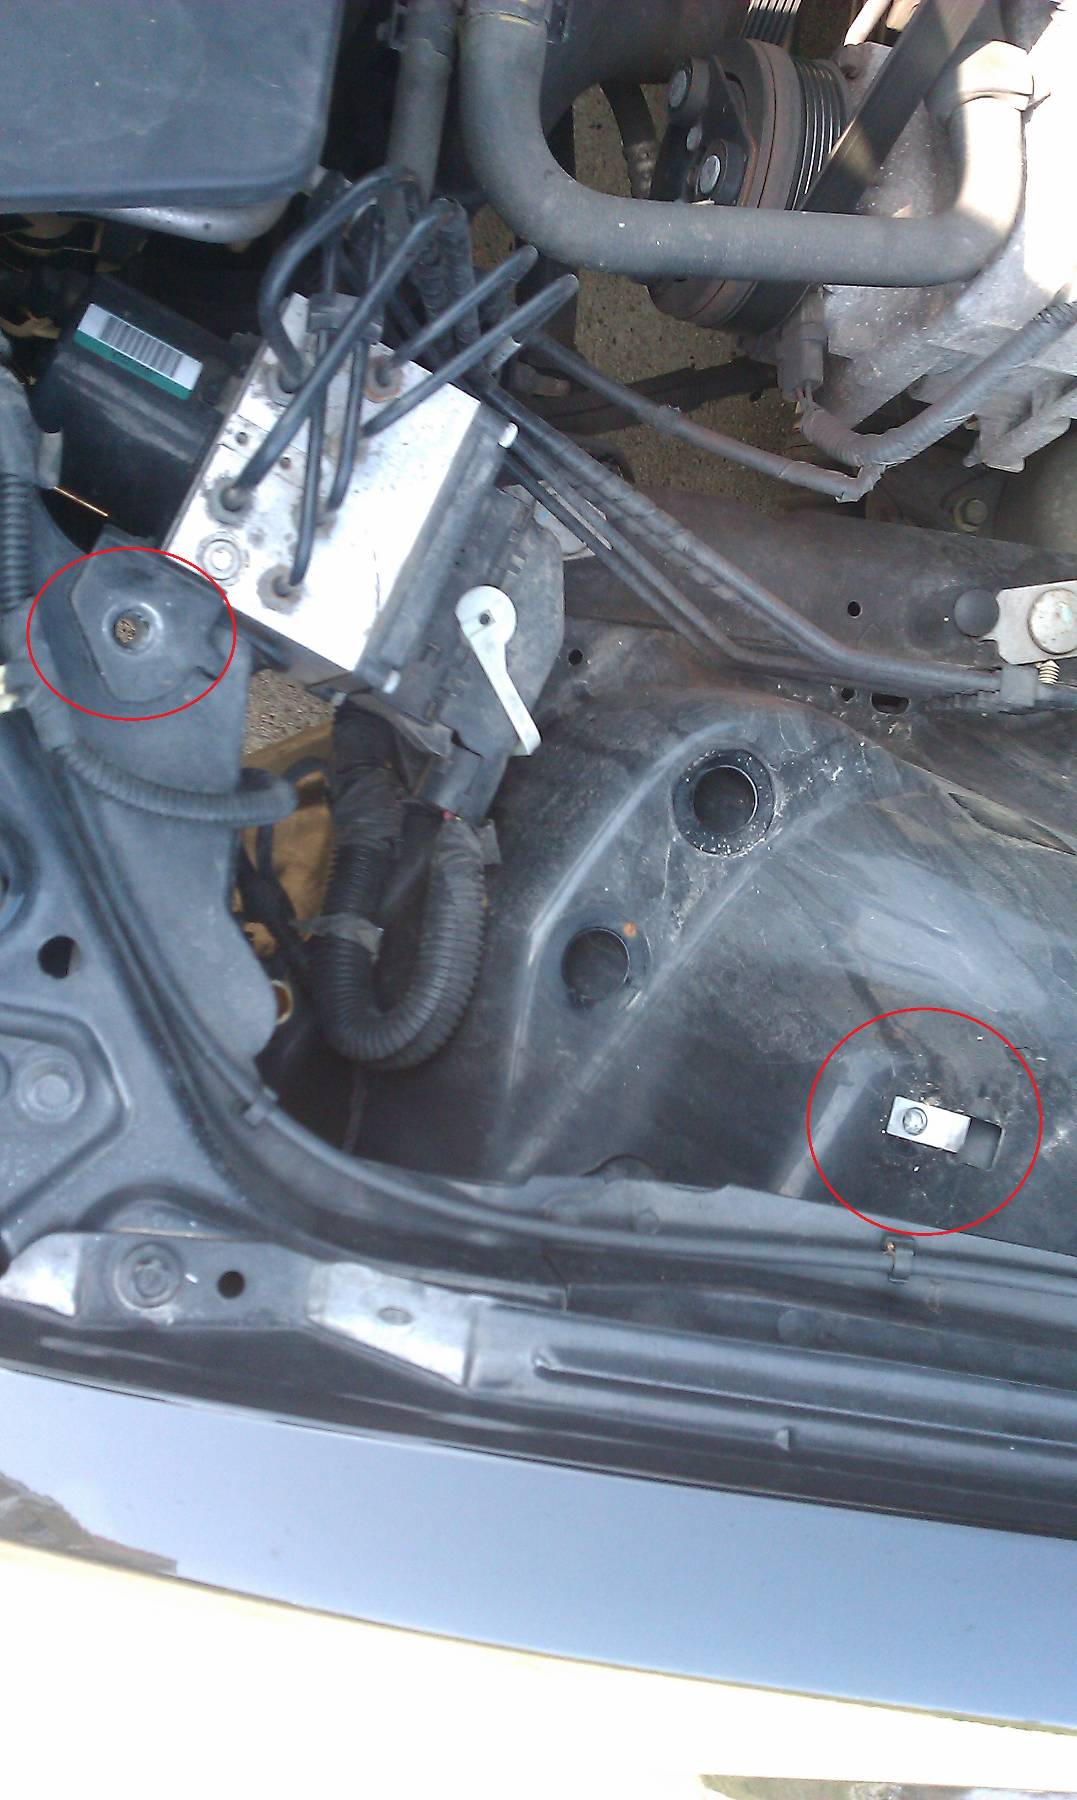
3. Now to remove the factory air box. This will be accomplished by using the socket wrench and 10mm socket.
4. Remove the Air box and set it with the stock intake hose. You should now be looking at something like this ( the bolt on circled to the lower right hand side of those photo being the bolt hole that was securing the Air Box, the top left bolt hole being the second bolt you will need to remove and replace once the heat shield is in place. )
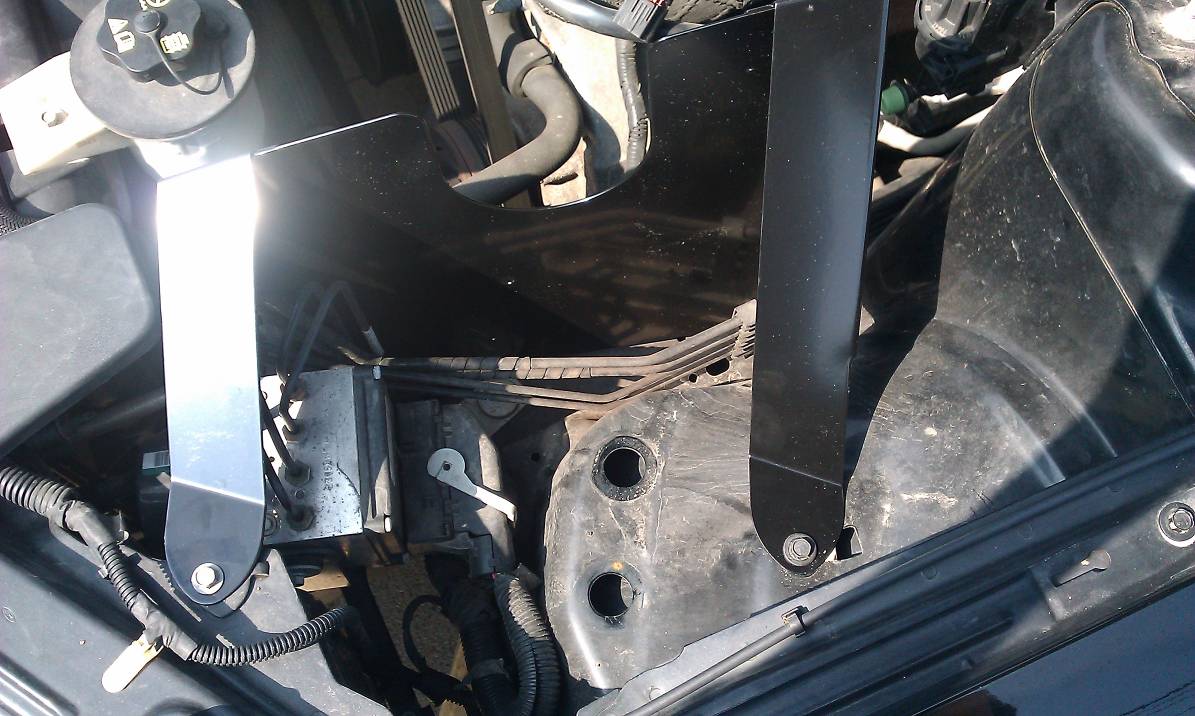
5. Align the holes in the heat shield up with these bolt holes and secure it down. It will look like this:
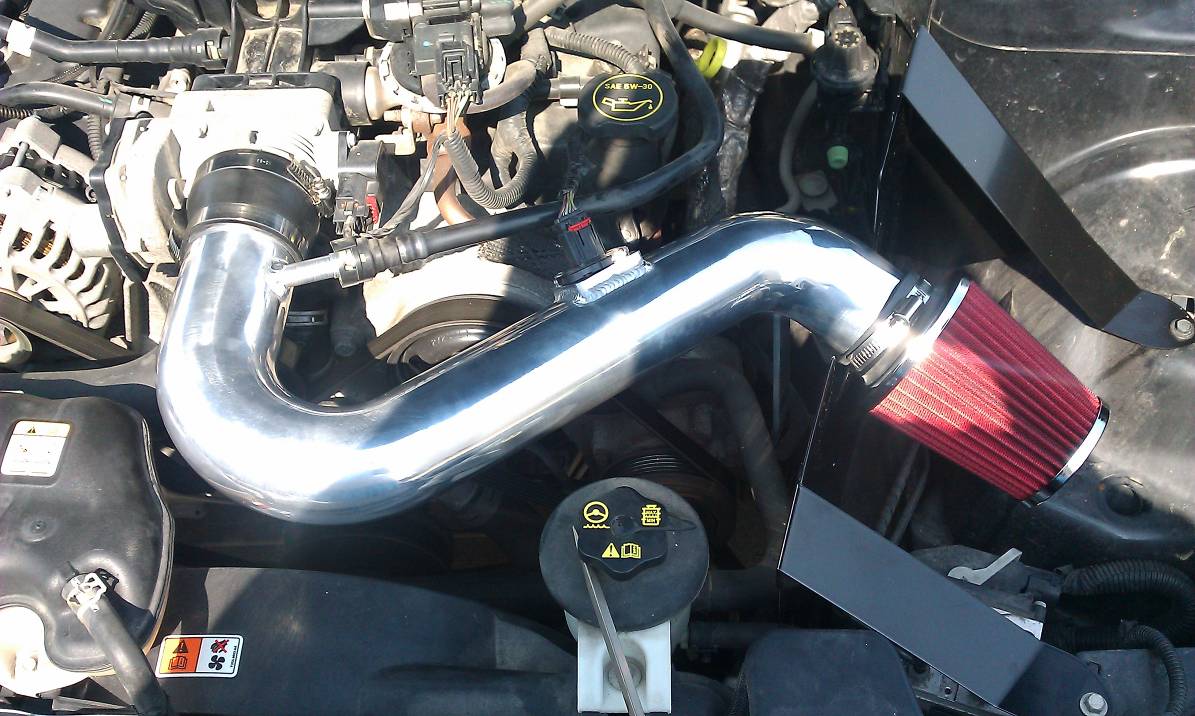
6. Now for the new Cold Air Intake. Using one of the supplied clamps, take the rubber hose connector (rubber piece with one end larger than the other, the smaller end will go onto the piping of the intake) and secure it to the end of the intake that will go on to your throttle body. (this end will have the metal sticking out from it where you will later reconnect the vacuum hose)
7. Using another clamp, secure the filter to the opposite end of the intake pipe.
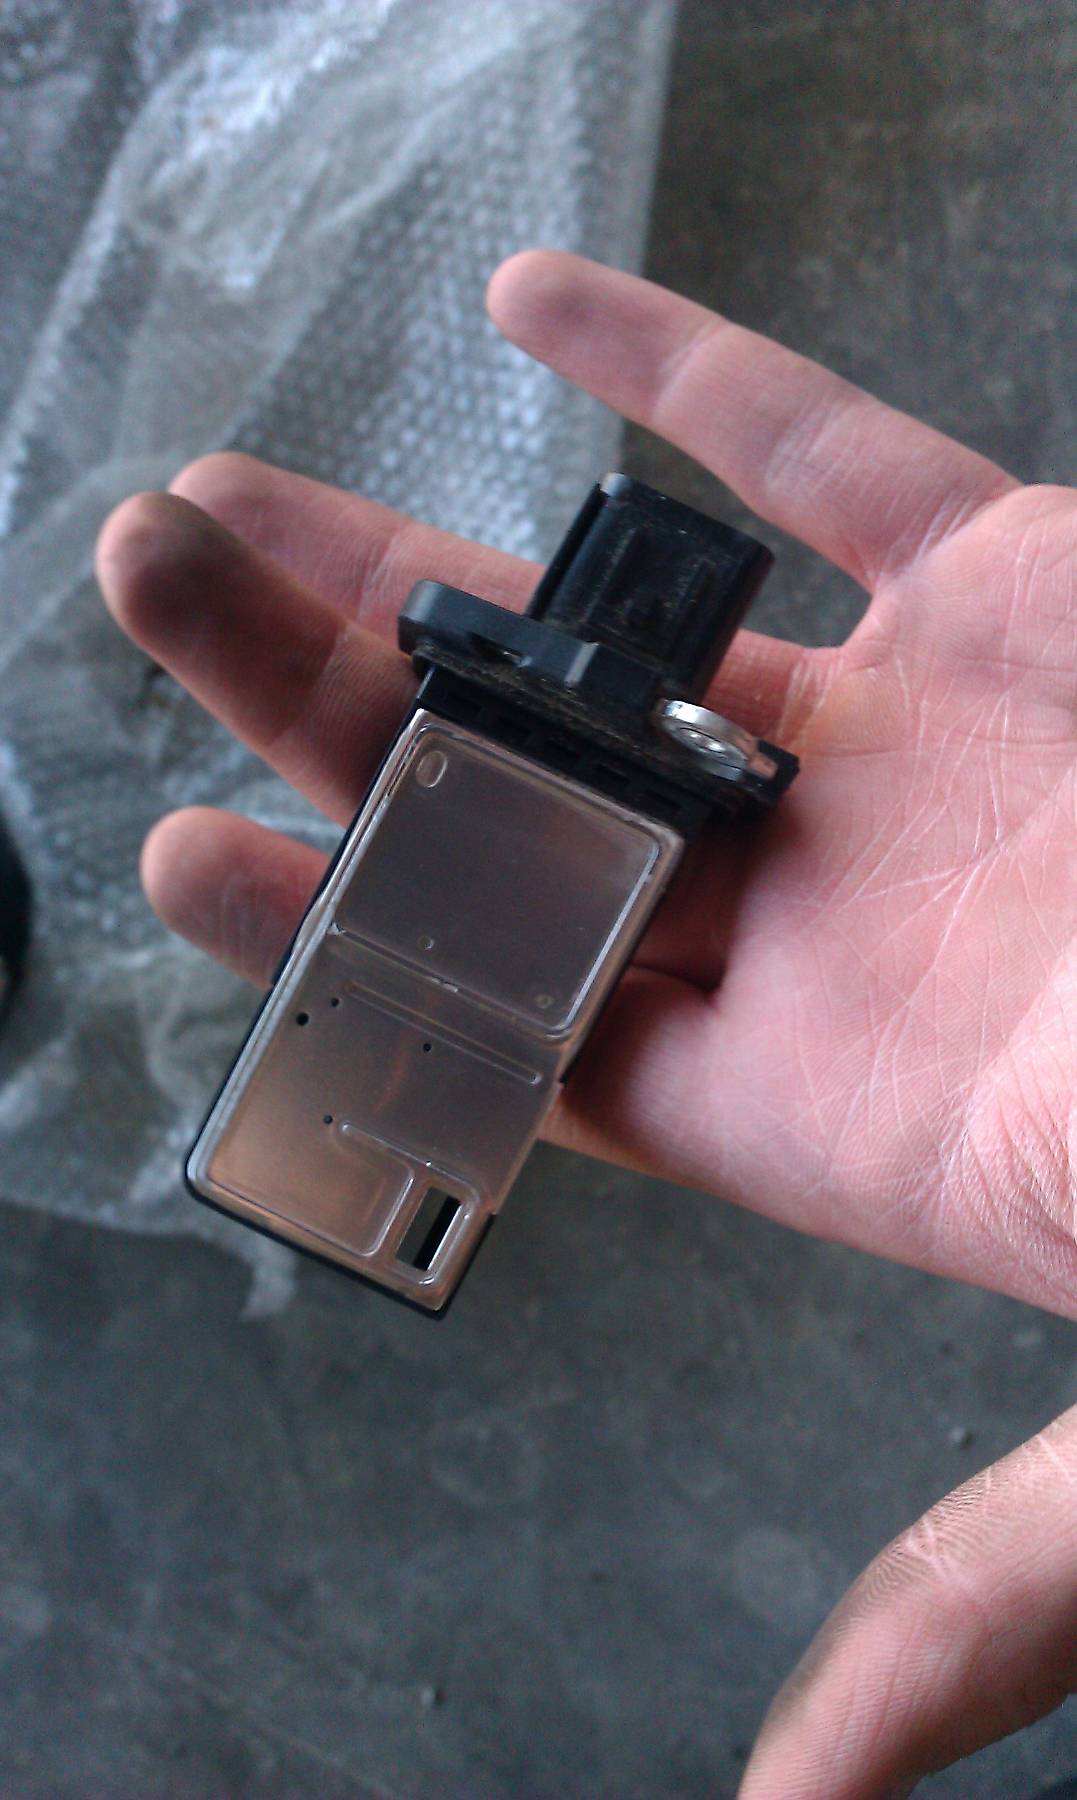
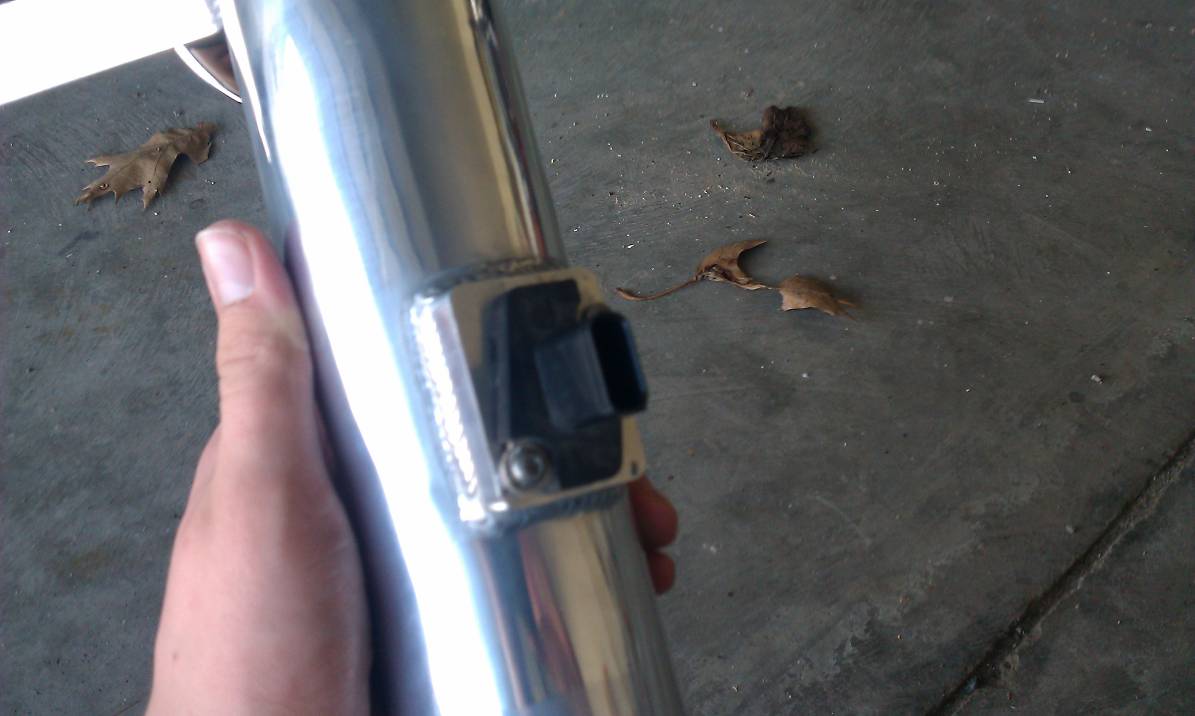
8. Using the T15 Torx, remove the Mass Air Flow Sensor (MAFS) from the factory air box
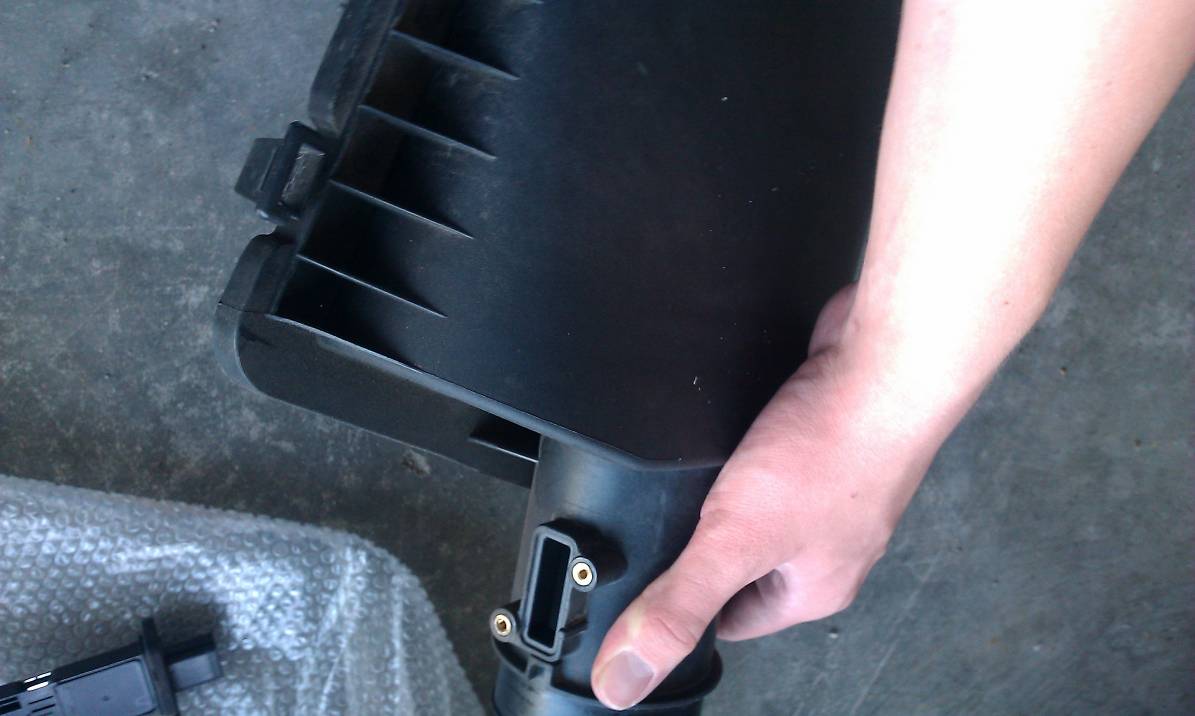
9. Place the MAFS into the Cold Air Intake’s piping (the mounting area will look nearly identical to that of the factory air box. This action will utilize the same screws with T15 Torx heads.)
10. Time to put the intake on! Slide the last clamp over the end with the rubber hose connector on it and put the larger end of the hose connector on to the throttle body.Secure it with the clamp.
11. Make sure that the intake piping is secured to the outer part of the heat shield. This can be done with the threaded grommet and the two nuts that are included with the CAI. This step ensures that the lower support arm for the CAI does not rub against the hose for your power steering.
12. Reconnect the vacuum hose and the MAFS. (For the MAFS I had to let some of the wiring out of the harness to ensure that there was enough for both sensors connected to that harness to function properly. If this needs to be done, it is as simple as pulling some more wire out of the harness)
13. Start the car and listen for any vacuum leaks or possible issues. If anything like this occurs, your check engine light will come on. In that case, double check all of your connections to ensure everything is tight and on correctly
14. Admire the good looks and added performance of your new Cold Air Intake!
Related Guides
-
Installation
-
Installation
-
Installation
