FREE 1 to 3-Day Delivery on Orders $149+ Details
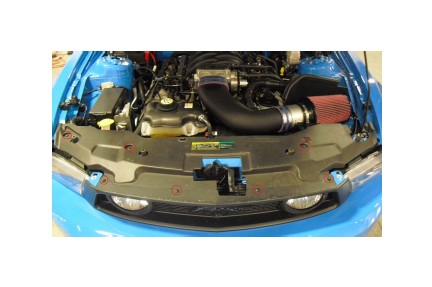
How to Install Modern Billet Polished Retro Mustang Billet Grille Combo Kit (10-12 GT) on your Ford Mustang
Tools Required
- Flat Head & Phillips Head Screwdrivers
- Ratchet with 7mm Socket
- Drill with 3/16 Bit
- Flat Head Screwdriver
- Phillips Head Screwdriver
- 7mm Socket

Shop Parts in this Guide
Step 1: Remove plastic radiator shroud by removing seven plastic retaining pins with a flat‐headed screwdriver.
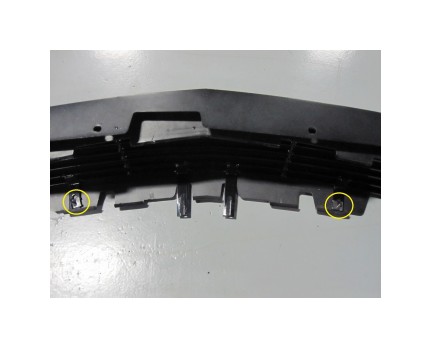
Step 2: Use a flat‐head screwdriver to carefully pry the four outermost mounting tabs of the grille (two on each side) from the bumper cover. Once these outer tabs are loose, carefully but firmly pull up and out on the grille to fully release it from the bumper cover. Make sure to unplug the fog light wiring harness before completely removing grille from the vehicle. Use zip‐ties to secure the harnesses to the radiator support as they will not be used after the install.
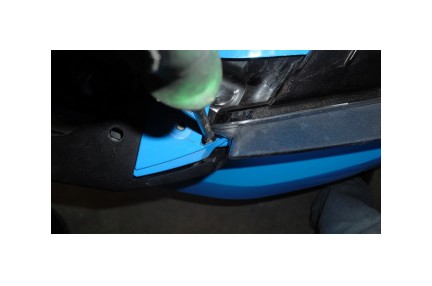
The below photo shows the mounting points of the grille to the front bumper cover. These must all be released to free the grille assembly from the vehicle.
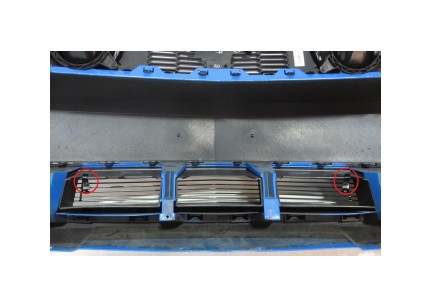
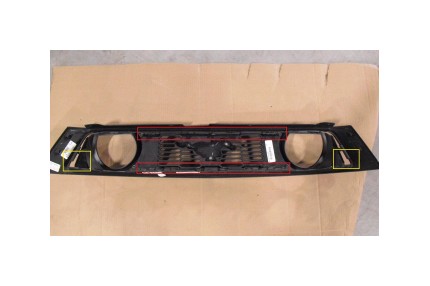
Step 3: Remove the fog lights from the grille using a 7mm socket (3 bolts per side). Then remove the inner grille assembly from the outer grille assembly by first removing the corners of the grille (shown in yellow), then by carefully prying the remaining mounting tabs (shown in red) with a flat‐head screwdriver.
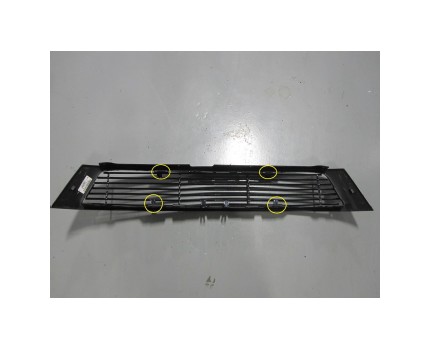
Step 4: Place the billet grille inside the factory grille surround as shown. Mark the locations of the slotted tabs on the grille surround (shown in yellow), and drill two 3/16 holes. Install two of the supplied speed nuts onto the slotted tabs and secure the billet grille to the factory grille surround.
Step 5: Flip the grille over and repeat Step 5 for the top two slotted tabs in the billet grille. Mark and drill the locations of the slotted tabs in the grille surround and use the supplied speed nuts and Phillips head screws to secure the billet grille to the factory grille surround.
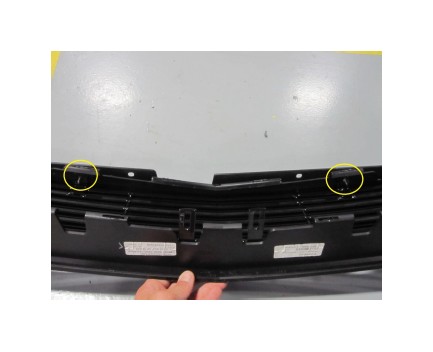
When properly installed, the billet grille will be secured to the factory surround at the four points show below in yellow.
Step 6: Once the billet grille is secure in the surround, re‐install the assembly back onto the vehicle using the two long locating tabs in the billet grille as guidance. Install two of the supplied speed nuts onto the long locating tabs and secure with two of the supplied Phillips head screws as shown.
Step 7: Re‐install the plastic radiator shroud with the clips removed in Step 1 to complete the installation of your billet grille.
Installation Instructions for Lower Billet Grille (10-12 Mustang GT)
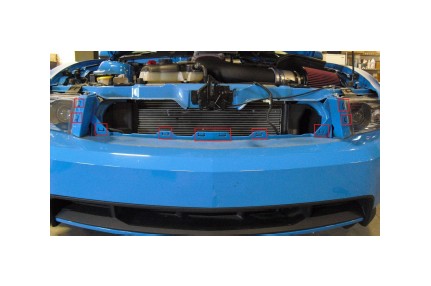
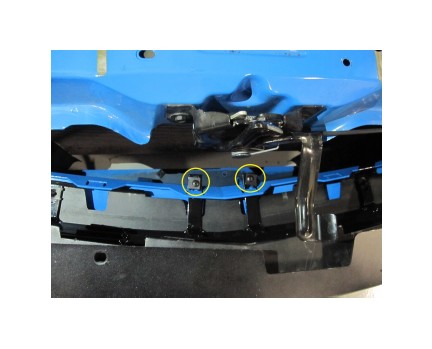
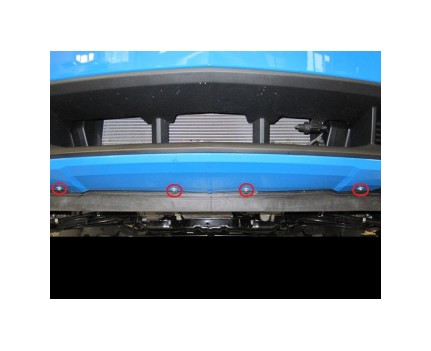
Step 1: You will have to get behind the lower front fascia to install the billet grille. Do this by removing the four 7mm bolts shown below and dropping the plastic splash panel underneath the car. If this does not allow enough access, you can also remove the entire front bumper assembly.
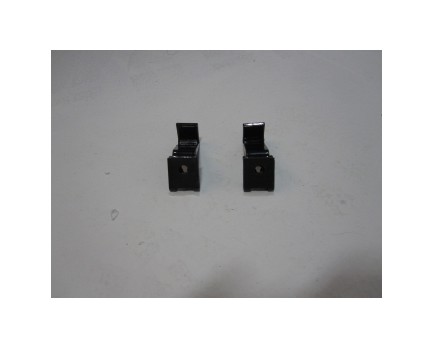
Step 2: Install both of the supplies U‐Clips on to the metal brackets as shown.
Step 3: Center the grille in the opening and place the supplied screws through the holes in the grille. Hand the brackets by the upper portion of the front fascia and thread the screws through the U‐Clips as shown.
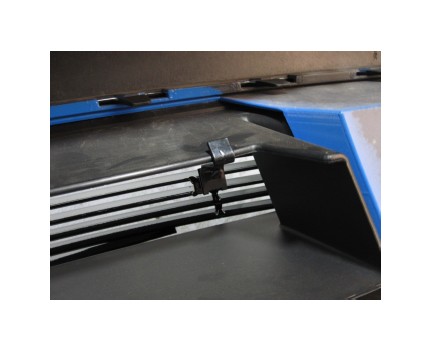
Step 4: Ensure the grille is centered in the opening and tighten both screws until the grille is secure. Re‐install the front splash panel to complete the installation.